
1. Product Overview
The ELEGOO Mercury XS Bundle is a versatile wash and cure station designed for post-processing resin 3D printed models. It features separate washing and curing units, offering efficient cleaning and thorough UV curing for optimal print quality. This bundle includes a handheld UV lamp for detailed curing and is compatible with a wide range of LCD/DLP/SLA 3D resin printers, including ELEGOO Saturn and Mars series.

Image: ELEGOO Mercury XS Bundle Wash and Cure Station with handheld UV lamp and protective glasses.
2. What's in the Box
The ELEGOO Mercury XS Bundle includes the following components:
- Mercury XS Wash Station
- Mercury XS Cure Station
- Handheld UV Lamp
- UV Protective Glasses
- Cleaning Container
- Washing Basket
- Power Adapter
- User Manual
- Tools (Allen wrenches)

Image: All components of the Mercury XS Bundle laid out, including the wash station, cure station, handheld UV lamp, and various accessories.
3. Safety Information
Please read and understand all safety warnings before operating the device. Failure to do so may result in injury or damage to the product.
- Always wear the provided UV protective glasses when operating the curing station or handheld UV lamp to protect your eyes from ultraviolet radiation.
- Handle resin with care. Wear appropriate personal protective equipment (PPE) such as gloves and a respirator when working with liquid resin.
- Ensure proper ventilation in your workspace when using the wash and cure station, especially when using isopropyl alcohol or other cleaning agents.
- Keep the device away from children and pets.
- Do not immerse the main units in water or other liquids.
- Only use the provided power adapter.
4. Setup
Follow these steps for the initial setup of your Mercury XS Bundle:
- Unpack Components: Carefully remove all items from the packaging. Remove any protective films or foam.
- Place Units: Position the wash station and cure station on a stable, level surface.
- Connect Power: Connect the power adapter to the designated port on each unit.
- Install Light Bars (Cure Station): Insert the two L-shaped light bars into their respective slots on the cure station base. Ensure they are securely seated.
- Prepare Wash Tank: Place the washing basket inside the cleaning container. Fill the container with your preferred cleaning solution (e.g., isopropyl alcohol) up to the desired level, ensuring it covers the models you intend to wash.
5. Operating Instructions
5.1 Washing Process
The wash station effectively removes uncured resin from your 3D prints.
- Place Model: After printing, carefully remove your model from the build plate. Place the model into the washing basket within the cleaning container. For larger models or multiple small models, the 7000ml capacity allows for batch cleaning.
- Secure Lid: Close the lid of the cleaning container securely to prevent spills and minimize odor.
- Start Washing: Press and hold the knob on the wash station for three seconds to turn on the machine. Rotate the knob to set the desired washing time (typically 2-5 minutes, depending on model size and resin type). Press the knob again to start the washing cycle. The internal fan will create a powerful rinse to clean the models.
- Remove Model: Once the cycle is complete, the machine will stop. Carefully remove the washing basket and model. Allow the model to air dry or use compressed air to remove excess cleaning solution.
5.2 Curing Process
The curing station uses UV light to fully harden your resin prints, improving their durability and finish.

Image: Illustration of the 360-degree UV curing process using L-shaped light bars and additional UV LEDs beneath the turntable for comprehensive exposure.
- Place Model: Ensure your washed model is dry. Place the model directly onto the rotating turntable of the cure station.
- Cover Unit: Place the anti-UV cover over the cure station. This cover blocks 99.9% of UV rays and automatically stops the curing process if removed, ensuring safety.
- Start Curing: Press and hold the knob on the cure station for three seconds to turn on the machine. Rotate the knob to set the desired curing time (typically 1-5 minutes, depending on resin type and model thickness). Press the knob again to start the curing cycle. The turntable will rotate, and the UV lights will activate for 360° all-round exposure.
- Use Handheld UV Lamp: For intricate details, nooks, and crannies, plug in the handheld UV lamp to its dedicated port. While wearing UV protective glasses, use the handheld lamp to thoroughly cure any hard-to-reach areas.
- Final Inspection: Once the cycle is complete, the machine will stop. Remove the cured model and inspect it for any remaining uncured spots.

Image: Comparison of a 3D printed model before and after being washed and cured, showing improved surface finish and material performance.
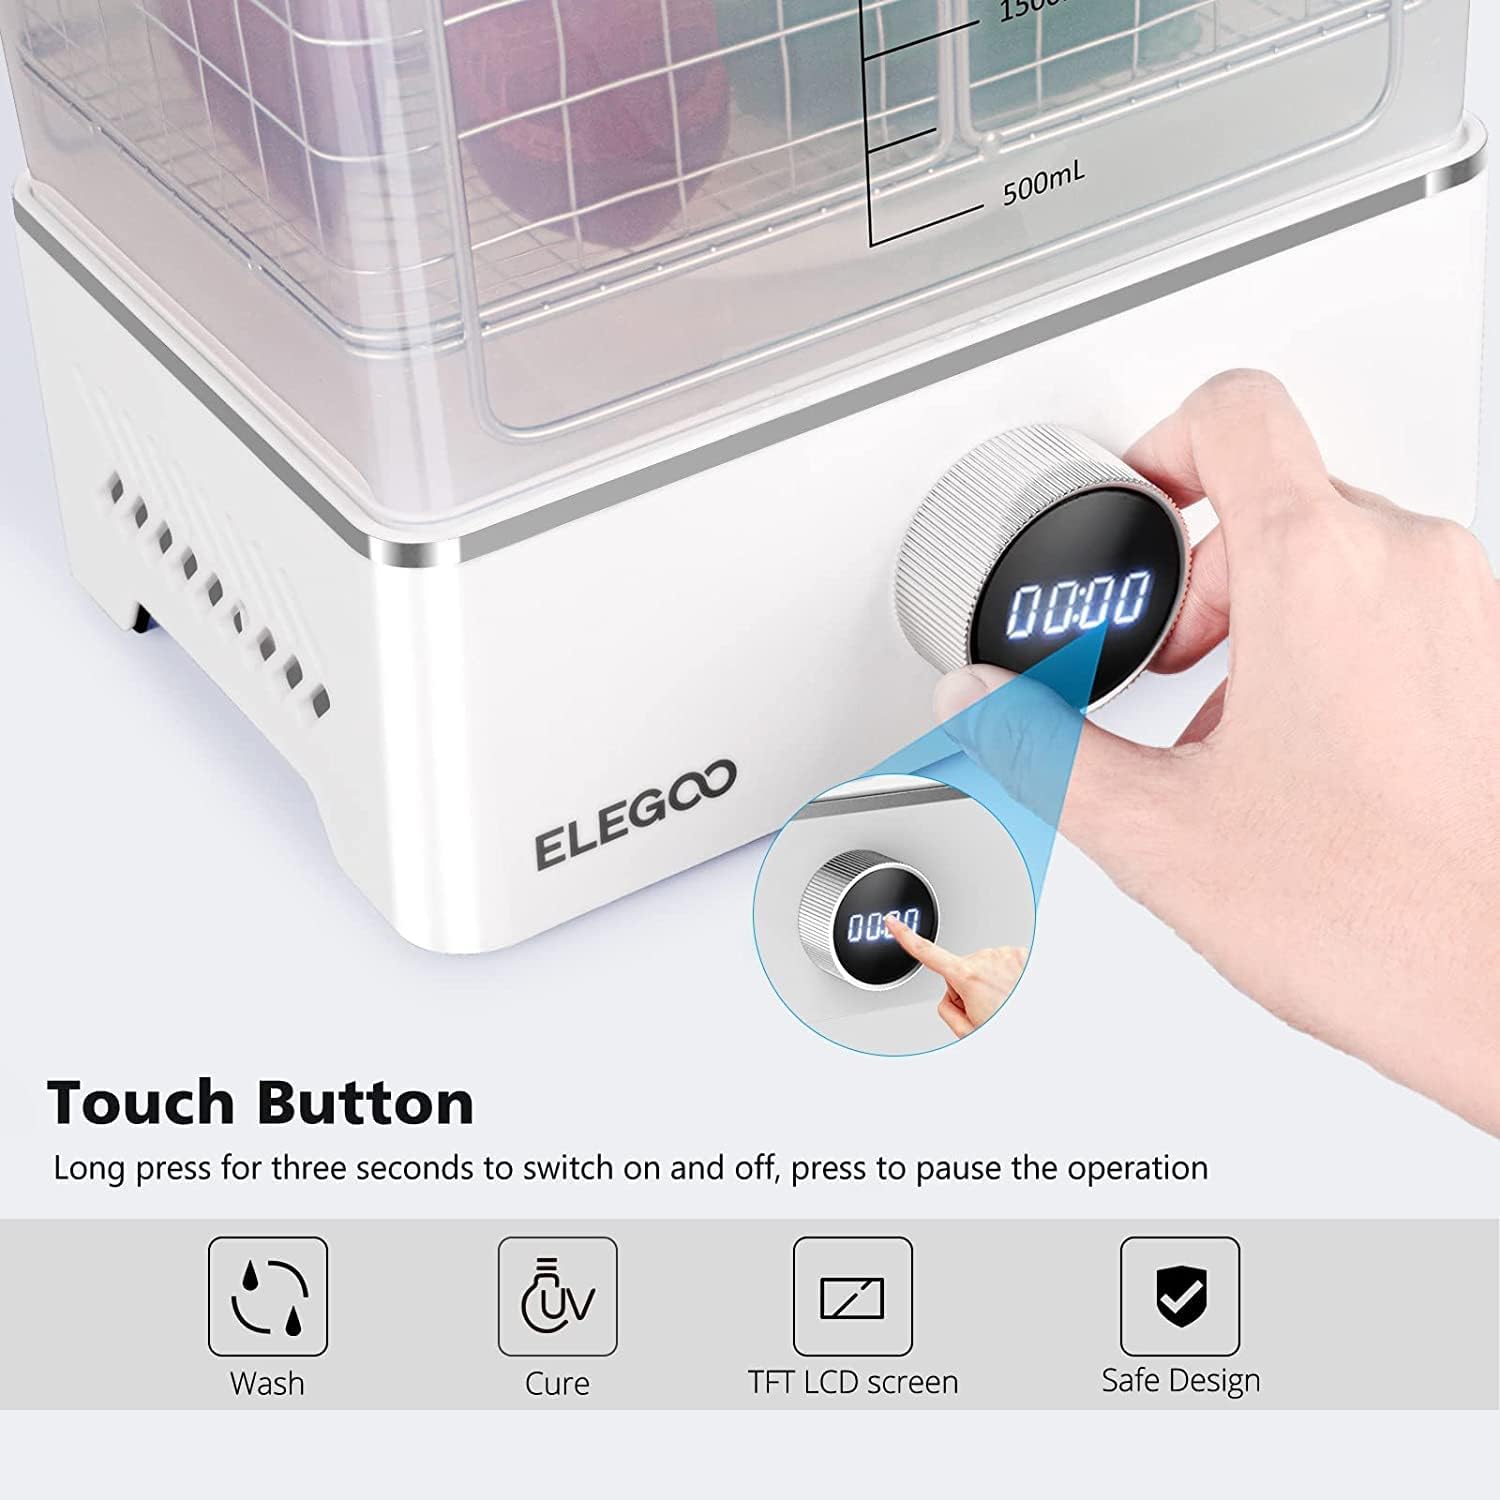
Image: Close-up view of the single knob interface with integrated TFT LCD screen for easy and intuitive operation of wash and cure functions.
6. Maintenance
Regular maintenance ensures the longevity and optimal performance of your Mercury XS Bundle.
6.1 Cleaning the Wash Tank
- After several uses, the cleaning solution may become cloudy with resin residue. Filter the solution through a fine mesh filter or allow the resin particles to settle, then pour off the clean solution. Cure the settled resin under UV light and dispose of it properly.
- Clean the inside of the cleaning container with a soft cloth and fresh cleaning solution.
6.2 Component Replacement
For specific component replacements, refer to the following official ELEGOO video guides:
- Motherboard Replacement (Curing Machine):
- Motherboard Replacement (Cleaning Machine):
- Turnable Bucket Replacement (Cleaning Machine):
- PCB Adapter Board Replacement (Curing Machine):
7. Troubleshooting
If you encounter issues with your Mercury XS Bundle, try the following basic troubleshooting steps:
- No Power: Ensure the power adapter is securely connected to both the unit and a working power outlet. Check if the power outlet is functional.
- Unit Not Starting: Press and hold the knob for at least three seconds to power on the unit. Ensure the UV cover is properly seated on the curing station.
- Incomplete Curing: Increase the curing time. Ensure the model is clean and dry before curing. Verify that the UV light bars are properly installed and functioning. Use the handheld UV lamp for detailed areas.
- Ineffective Washing: Ensure sufficient cleaning solution is in the tank. Increase washing time. Replace old or contaminated cleaning solution.
For more detailed troubleshooting and error codes, please refer to the complete user guide PDF available online.
User Guide: ELEGOO Mercury XS Bundle User Guide (PDF)
8. Specifications
| Feature | Specification |
|---|---|
| Product Dimensions | 18 x 11 x 12 inches |
| Item Weight | 13 Pounds |
| Item Model Number | 3d-printer-accessories |
| Manufacturer | ELEGOO |
| Country of Origin | China |
| Washing Volume | 7000ml (max) |
| Curing Light Source | 2 L-shape light bars (14 UV LEDs each), 4 UV LED beads (bottom) |
| UV Wavelength | 405nm |

Image: Technical drawing showing the dimensions of both the wash and cure stations, including maximum curing size.
9. Warranty and Support
ELEGOO products typically come with a standard manufacturer's warranty. For specific warranty terms and conditions, please refer to the warranty card included with your product or visit the official ELEGOO website.
For technical support, customer service, or to inquire about replacement parts, please contact ELEGOO directly through their official channels. You can also find additional resources and FAQs on their website.
Official Website: www.elegoo.com