
1. Introduction
The Yale YLV/200/DB2 Laptop Safe is designed to provide a secure storage solution for your valuable items, including laptops, documents, cash, and other personal belongings. Featuring solid steel construction, a digital keypad for easy access, and an emergency override key, this safe offers a reliable level of security for everyday use. Please read this manual carefully to ensure proper installation and operation of your safe.

Image 1.1: Front view of the Yale YLV/200/DB2 Laptop Safe, showcasing the digital keypad and key lock.
2. Product Overview
2.1 Key Features
- Standard Security: Offers a good level of security for frequently accessed items such as laptops, keys, passports, cash, and cards.
- Keypad Entry: Easy access with a programmable 3 to 8-digit PIN code, offering over 100,000 possible combinations.
- Locking Mechanism: Equipped with an anti-shock solenoid and anti-shock magnet to prevent forced entry.
- Automatic Lockout: The keypad locks for 20 seconds after three incorrect PIN entries. After three additional incorrect entries, it locks for 5 minutes.
- Easy Reset: Includes two mechanical keys for emergency override and an internal PIN reset button.
- LED Indicators: Features two LED lights for easy status reading: green for open, red for errors, and flashing red for low battery.
- Accreditation: Yale Value safes are accredited under the Police Preferred Specification program.
2.2 Package Contents
Please check the box for the following items:
- 1 x Yale YLV/200/DB2 Laptop Safe
- 2 x Mechanical Emergency Override Keys
- 4 x AA Batteries
- 1 x Set of Fixing Bolts (for wall or floor mounting)
- 1 x User Manual (this document)

Image 2.1: Visual representation of the safe's dimensions and the items included in the package: 2 emergency keys, mounting hardware, 4 AA batteries, and the installation manual.
3. Setup and Installation
3.1 Battery Installation
- Open the safe door using one of the emergency override keys (refer to Section 4.4 if needed).
- Locate the battery compartment on the inside of the safe door.
- Insert the 4 AA batteries, ensuring correct polarity (+/-).
- Close the battery compartment cover.
3.2 Mounting the Safe
For enhanced security, it is highly recommended to fix the safe to a wall or floor using the provided fixing bolts.
- Choose a suitable location for the safe, ensuring it is on a solid surface.
- Open the safe door and locate the pre-drilled mounting holes on the back or bottom of the safe.
- Mark the drilling points on the wall or floor through the holes in the safe.
- Move the safe aside and drill pilot holes at the marked points using an appropriate drill bit for your wall/floor material.
- Position the safe back in place, aligning the holes.
- Insert the fixing bolts through the safe's holes and into the drilled holes.
- Tighten the bolts securely. Do not overtighten.
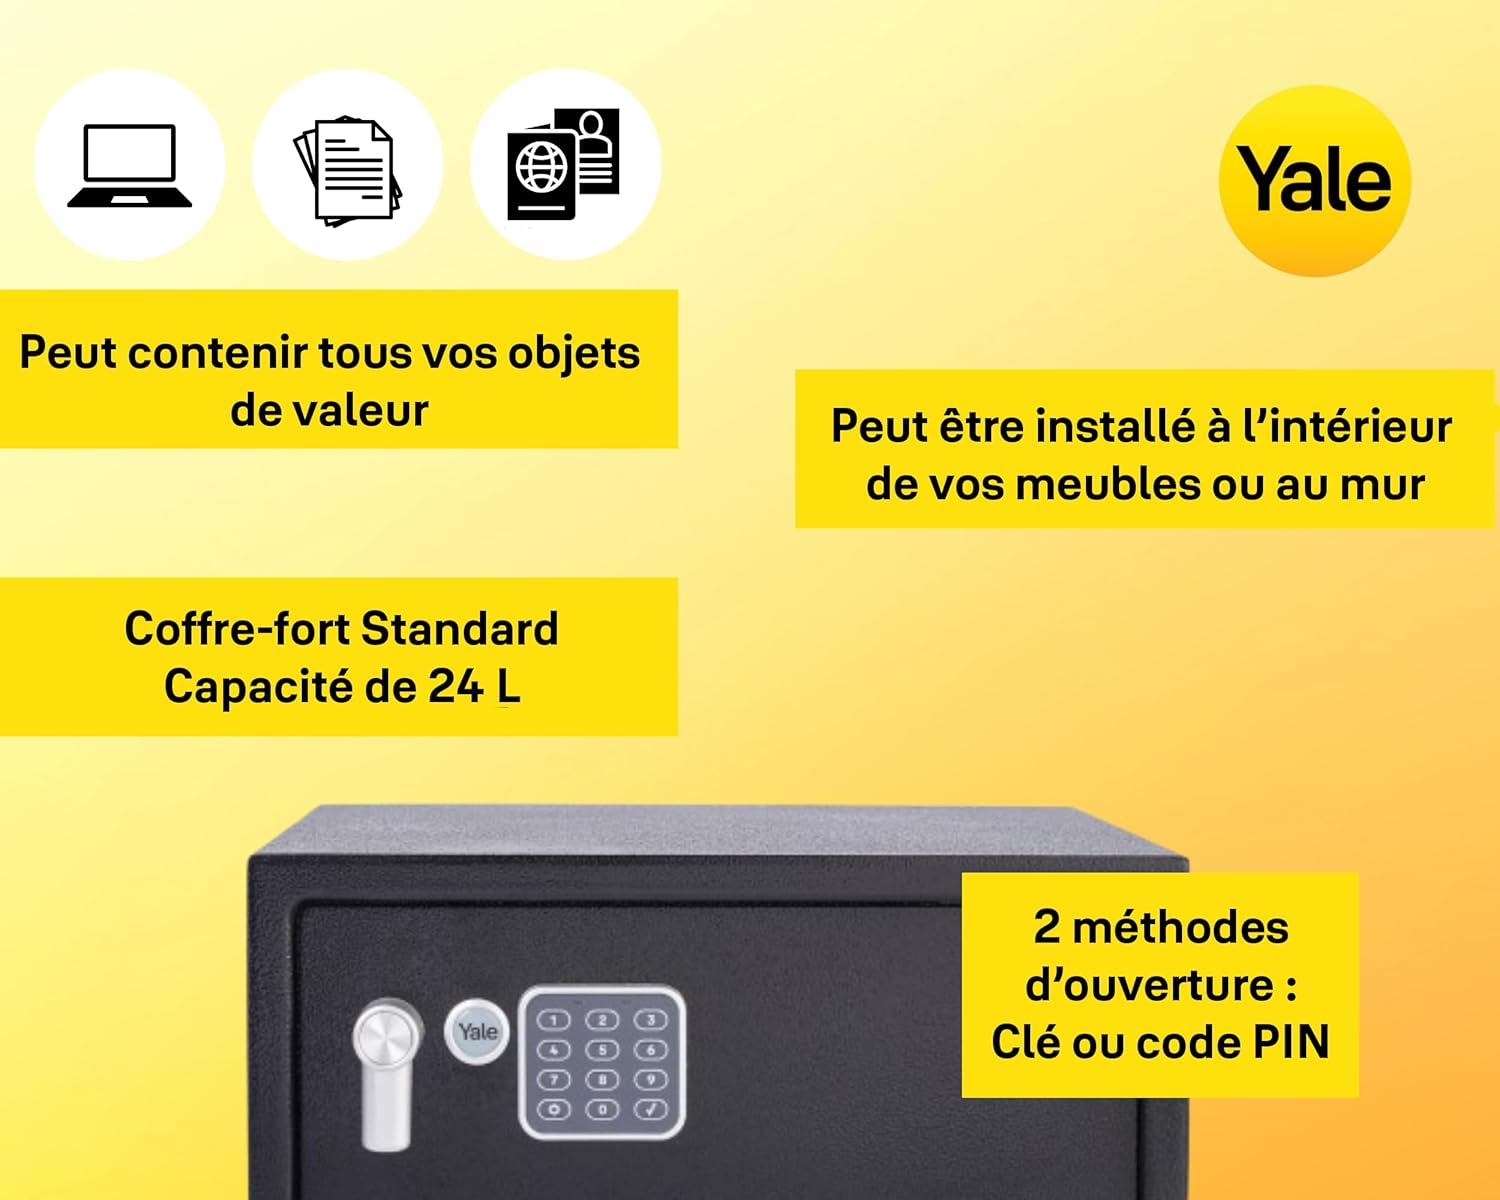
Image 3.1: The Yale safe discreetly installed under a desk, demonstrating a common mounting location.
4. Operating Instructions
4.1 Setting Your User Code (PIN)
The safe comes with a factory default code. It is crucial to change this immediately.
- With the safe door open, press the red reset button located on the inside of the door, near the hinge. You will hear a beep.
- Within 5 seconds, enter your new 3 to 8-digit PIN code on the keypad.
- Press the '#' or 'E' button to confirm. You will hear a confirmation beep.
- Test your new code with the door open before closing it.
4.2 Opening the Safe
- Enter your 3 to 8-digit PIN code on the keypad.
- Press the '#' or 'E' button. The green LED will illuminate, and you will hear a beep.
- Within 5 seconds, turn the knob clockwise (or handle, if applicable) and pull the door open.
4.3 Closing and Locking
- Close the safe door.
- Turn the knob counter-clockwise (or handle, if applicable) to engage the locking bolts. The safe is now locked.
4.4 Emergency Key Override
In case you forget your PIN code or the batteries are depleted, you can use the emergency override key.
- Locate the keyhole, usually hidden behind a small cover on the keypad panel.
- Insert one of the emergency override keys into the keyhole.
- Turn the key clockwise and simultaneously turn the knob/handle to open the safe.
- Once open, you can replace batteries or reset the PIN code using the internal reset button (refer to Section 4.1).
4.5 Automatic Lockout Feature
To prevent unauthorized access through repeated incorrect entries:
- After three consecutive incorrect PIN entries, the keypad will lock for 20 seconds. During this time, no entries can be made.
- If another three consecutive incorrect PIN entries are made after the initial lockout, the keypad will lock for 5 minutes.

Image 4.1: This diagram explains the safe's two-level protection: a 20-second keypad lockout after 3 incorrect PIN entries, followed by a 5-minute lockout after 3 more incorrect entries.
5. Maintenance
- Battery Replacement: When the red LED flashes during operation, it indicates low battery power. Replace all 4 AA batteries promptly to ensure continuous functionality. Use the emergency key if the batteries are completely depleted.
- Cleaning: Clean the safe's exterior with a soft, damp cloth. Avoid abrasive cleaners or solvents that could damage the finish or keypad.
- Key Storage: Store the emergency override keys in a secure location away from the safe, but accessible in case of emergency. Do not store them inside the safe.
6. Troubleshooting
| Problem | Possible Cause | Solution |
|---|---|---|
| Safe does not open with PIN. | Incorrect PIN entered; Batteries are low or dead; Keypad is locked due to multiple incorrect entries. | Re-enter PIN carefully; Replace batteries; Wait for lockout period to expire or use emergency key. |
| Red LED flashes during operation. | Low battery power. | Replace all 4 AA batteries immediately. |
| Safe makes no sound or response. | Batteries are completely dead or incorrectly installed. | Use emergency key to open, then check and replace batteries. Ensure correct polarity. |
| Cannot set new PIN code. | Reset button not pressed correctly; New PIN not entered within 5 seconds; PIN too short/long. | Ensure a clear beep after pressing reset; Enter PIN quickly; Ensure PIN is 3-8 digits. |
7. Specifications
| Feature | Detail |
|---|---|
| Model Number | YLV/200/DB2 |
| Brand | Yale |
| Lock Type | Electronic Lock with Key Override |
| Material | Stainless Steel |
| External Dimensions (H x W x D) | 200 x 430 x 350 mm (7.87 x 16.93 x 13.78 inches) |
| Internal Dimensions (H x W x D) | 190 x 420 x 300 mm (7.48 x 16.54 x 11.81 inches) |
| Capacity | 23 Liters |
| Weight | 7.5 kg (16.5 lbs) |
| Batteries Required | 4 x AA (included) |
| Mounting Type | Wall or Floor Mountable |
| PIN Code Length | 3 to 8 digits |

Image 7.1: A detailed view of the Yale safe with its external dimensions (200mm H, 430mm L, 350mm D) and internal dimensions (190mm H, 420mm L, 340mm D) clearly marked.
8. Warranty and Support
8.1 Manufacturer's Warranty
The Yale YLV/200/DB2 Laptop Safe comes with a 2-year manufacturer's warranty from the date of purchase. This warranty covers defects in materials and workmanship under normal use. Please retain your proof of purchase for warranty claims.
8.2 Customer Support
For technical assistance, warranty claims, or any questions regarding your Yale safe, please contact Yale customer support through their official website or the contact information provided with your purchase documentation.


