
1. Introduction
This manual provides detailed instructions for the operation and maintenance of your JALL Digital Alarm Clock, Model V18039. This device features a wooden electronic LED time display, three alarm settings, and integrated humidity and temperature detection. Please read this manual thoroughly before use to ensure proper functionality and longevity of your product.

Front view of the JALL Digital Alarm Clock, displaying time, humidity, and temperature in red LED digits.
2. Safety Information
- Ensure the clock is placed on a stable, flat surface to prevent falling.
- Keep the device away from water or high humidity environments to prevent electrical hazards.
- Do not expose the clock to direct sunlight or extreme temperatures.
- Use only the provided USB power cord. This clock is not battery operated for primary power.
- Do not attempt to disassemble or repair the device yourself. Contact customer support for assistance.
3. Package Contents
Verify that all items are present in the package:
- JALL Digital Alarm Clock Unit (Model V18039)
- USB to Barrel Power Cord
- User Manual (this document)
4. Product Overview
4.1 Front Display Elements
- Time Display: Shows current time (12-hour or 24-hour format).
- AM/PM Indicator: For 12-hour format.
- Alarm Indicators (1, 2, 3): Light up when an alarm is active.
- Humidity Display (RH%): Shows current relative humidity.
- Temperature Display (°F/°C): Shows current ambient temperature.
4.2 Back Panel Buttons (Typical Layout)
While specific button labels may vary, common functions include:
- SET Button: Enters setting mode for time, date, and alarms.
- UP/DOWN Buttons: Adjust values during setting, or change display modes.
- ALARM Button: Accesses alarm settings.
- SNOOZE Button: Temporarily silences an active alarm.
5. Setup
5.1 Power Connection
- Connect the small end of the USB to barrel power cord to the DC IN port on the back of the clock.
- Plug the USB end of the cable into a standard USB power adapter (not included) and then into a wall outlet.
- The display will illuminate, indicating the clock is powered on.
Important: This clock is designed to be continuously powered by the USB cord. It is NOT battery operated for primary function.

Image illustrating that the clock requires a USB power cord for operation and does not use batteries.
5.2 Initial Time Setting
- Press and hold the SET button (or similar button) on the back of the clock until the time display starts flashing.
- Use the UP and DOWN buttons to adjust the hour. Press SET to confirm.
- Repeat the process to set the minutes.
- Continue pressing SET to cycle through and adjust other settings like year, month, and day if available.
- The clock will automatically exit setting mode after a few seconds of inactivity, or you can press SET repeatedly until the display stops flashing.
6. Operating Instructions
6.1 Setting Time and Date Format
- In normal time display mode, press the UP button to switch between 12-hour and 24-hour time formats.
- To change temperature units (°F/°C), press the DOWN button.

Two clocks demonstrating the ability to switch between 24-hour and 12-hour time formats, and Fahrenheit or Celsius temperature displays.
6.2 Setting Alarms (Up to 3 Alarms)
Your clock supports up to three independent alarms (AL1, AL2, AL3).
- Press the ALARM button (or similar) to enter alarm setting mode. The alarm number (e.g., AL1) will flash.
- Use the UP and DOWN buttons to select which alarm you want to set (AL1, AL2, or AL3). Press SET to confirm.
- The alarm hour will flash. Use UP/DOWN to adjust, then SET to confirm.
- Repeat for alarm minutes.
- After setting the time, you can typically choose the alarm mode:
- Daily: Alarm rings every day.
- Weekday: Alarm rings Monday to Friday.
- Weekend Mode: Alarm rings Saturday and Sunday.
- Press SET to confirm the alarm mode. The alarm indicator (bell icon) for the set alarm will appear on the display.
- To disable an alarm, navigate to its setting and press UP/DOWN until the alarm indicator disappears, or press the ALARM button repeatedly until all alarm indicators are off.
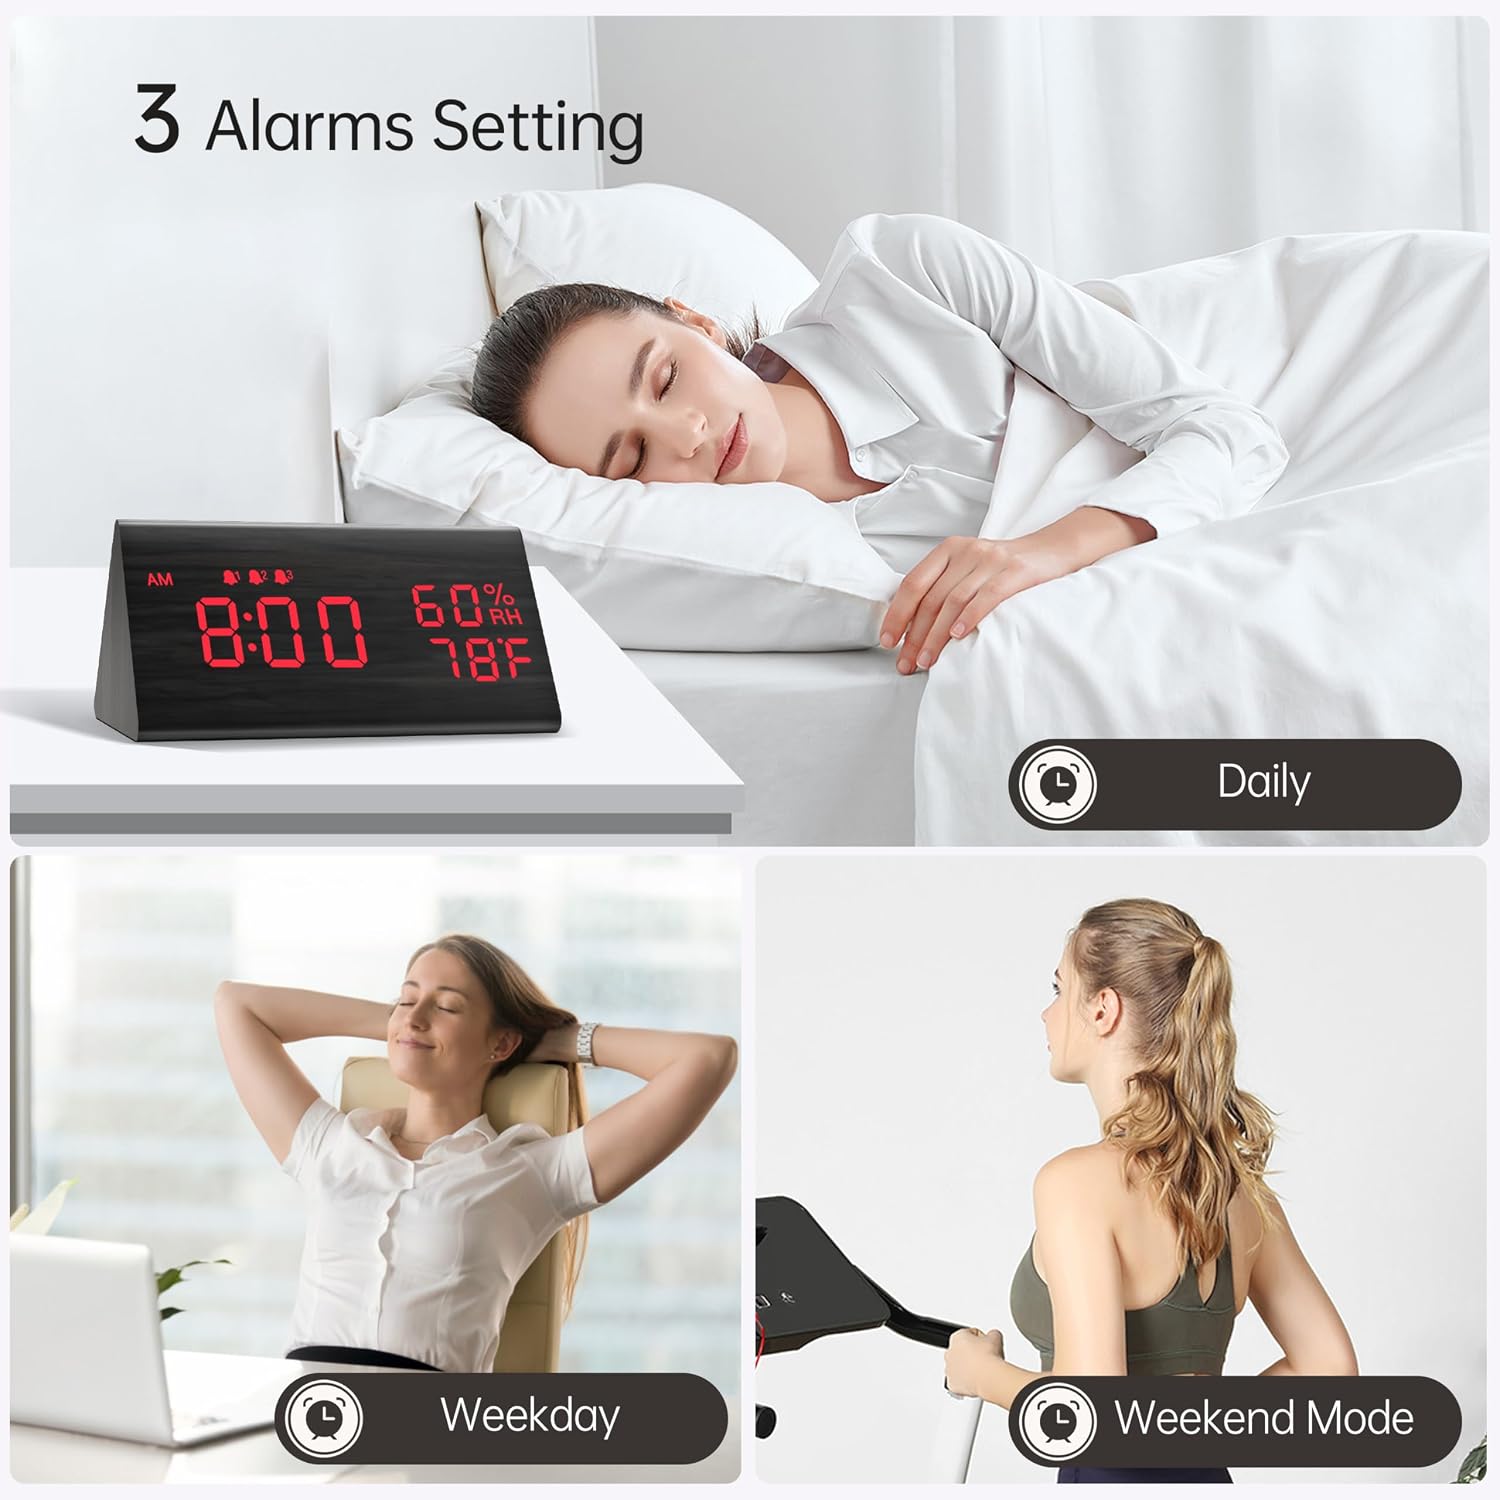
Illustrates the three alarm settings (Daily, Weekday, Weekend Mode) available on the clock.
6.3 Adjusting Brightness (6 Levels)
The clock features 6 levels of display brightness (L1 to L6) to suit your preference.
- In normal time display mode, press the SET button (or a dedicated brightness button) to cycle through the brightness levels.
- Select the desired brightness level (L1 being the dimmest, L6 the brightest).
6.4 Adjusting Volume (5 Levels)
The alarm volume can be adjusted across 5 levels (V1 to V5).
- While in alarm setting mode (after selecting an alarm), you may find an option to adjust the volume using the UP/DOWN buttons.
- Alternatively, some models may have a dedicated volume button or a combination of buttons to access this setting. Refer to the quick start guide for specific button functions.

Shows the clock's display with various volume (V1-V5) and brightness (L1-L6) settings.
6.5 Snooze Function
When an alarm sounds, press any button on the back of the clock to activate the 9-minute snooze function. The alarm will temporarily stop and sound again after 9 minutes.

Depicts the clock with an alarm time, indicating the 9-minute snooze feature.
6.6 Temperature and Humidity Display
The clock continuously monitors and displays the indoor temperature and relative humidity. No special action is required to activate these features.
7. Maintenance
- Clean the clock's surface with a soft, dry cloth. Do not use abrasive cleaners or solvents.
- Avoid blocking the ventilation holes (if any) to ensure proper temperature and humidity sensor readings.
- If storing the clock for an extended period, disconnect it from power and store it in a cool, dry place.
8. Troubleshooting
| Issue | Possible Cause | Solution |
|---|---|---|
| Clock display is off. | No power or power cord issue. | Ensure the USB power cord is securely connected to both the clock and a working power outlet. Check the power adapter. |
| Alarm does not sound. | Alarm not activated or set incorrectly. | Verify that the alarm is enabled (bell icon visible) and the time is set correctly. Check alarm volume. |
| Display is too bright/dim. | Brightness level needs adjustment. | Press the SET button (or dedicated brightness button) to cycle through brightness levels (L1-L6). |
| Incorrect time/date. | Time/date not set or reset after power interruption. | Follow the "Initial Time Setting" instructions to reset the time and date. |
| Temperature/Humidity readings seem inaccurate. | Sensor obstruction or extreme environmental conditions. | Ensure the clock is not placed near heat sources, direct sunlight, or in an area with restricted airflow. Allow time for readings to stabilize. |
9. Specifications
| Feature | Detail |
|---|---|
| Brand | JALL |
| Model Number | V18039 |
| Display Type | Digital LED (Red) |
| Power Source | Corded Electric (USB) |
| Product Dimensions | 5.8"W x 3.1"H x 2.7"D (approximate) |
| Material | Wood |
| Special Features | 3 Alarm Settings, Temperature Display, Humidity Display, Snooze Function, Adjustable Brightness, Adjustable Volume, 12/24 Hour Format, °F/°C Selection |
| Item Weight | 9.9 ounces |

Diagram showing the physical dimensions of the JALL Digital Alarm Clock: 5.8 inches wide, 3.1 inches high, and 2.7 inches deep.
10. Warranty and Support
JALL provides a 365-Day Warranty on this product. This warranty covers manufacturing defects and ensures your satisfaction with the product.
For technical support, warranty claims, or any questions regarding your JALL Digital Alarm Clock, please contact our customer service team:
- Email: support@jall.com (Example, actual email not provided)
- Website: Visit the JALL Store on Amazon
Please have your model number (V18039) and purchase information ready when contacting support.


