
1. Introduction
This manual provides detailed instructions for the safe and effective use of your Huepar Tools 200W Rotary Tool. This versatile tool is designed for various applications including cutting, sanding, grinding, carving, polishing, and drilling. Please read this manual thoroughly before operating the tool and keep it for future reference.
2. Safety Instructions
WARNING: Always follow basic safety precautions to reduce the risk of fire, electric shock, and personal injury.
- Always wear appropriate personal protective equipment, including safety goggles and gloves, when operating the rotary tool.
- Ensure your work area is clean, well-lit, and free from clutter to prevent accidents.
- Secure the workpiece firmly before beginning any operation to prevent movement.
- Maintain a firm grip on the tool and ensure proper balance.
- Do not apply excessive pressure to the tool during use; let the tool do the work.
- For cutting operations, always cut vertically to maintain control and prevent accessory breakage.
- Keep children and bystanders away from the operating area.
- Disconnect the tool from the power source before changing accessories, performing maintenance, or when not in use.
- Store the tool and accessories in a dry, secure place out of reach of children.

Image: Safety warning for cutting discs. Always wear protective gear and cut vertically.
3. Package Contents
Your Huepar Tools 200W Rotary Tool Kit includes the following items:
- 1 x Huepar Tools 200W Multifunction Rotary Tool with 1.8m power cord
- 222 x Assorted Accessories
- 5 x Attachments (e.g., Cutting Guide, Shield, Auxiliary Handle, Flexible Driver, Extensible Stand Clamp)
- 2 x Spare Carbon Brushes
- 1 x Carrying Case
- 1 x User Manual
Specific accessories include:
- Grinding wheels with shank
- Sanding bands and shanks
- Whet stone
- HSS Drills
- Mandrels for cut-off wheels and felt wheels
- Diamond bits
- Drywall cutting bit
- Cut-off wheels (standard and fiberglass)
- Diamond cutting discs
- Sanding paper
- Felt wheels
- Spanner
- Nylon Brush, Steel Brush, HSS Cutter
- Keyless chuck

Image: Overview of the Huepar Tools 200W Rotary Tool and its comprehensive accessory kit.

Image: A detailed layout of the various grinding wheels, sanding bands, drills, and other accessories included.
4. Product Features
The Huepar Tools 200W Rotary Tool is engineered for performance and user comfort:
- Powerful 200W Motor: Delivers robust power for demanding tasks.
- Variable 6-Speed Control: Adjust speeds from 10,000 to 40,000 RPM for optimal control across different materials and applications.
- Ergonomic Design: Comfortable grip for extended use, reducing fatigue.
- Efficient Heat Dissipation: Large ventilation openings prevent overheating and prolong tool life.
- External Carbon Brushes: Easy to access and replace for convenient maintenance.
- Versatile Attachments: Includes a flexible driver for precision work, a protective shield, a cutting guide, and an auxiliary handle for enhanced stability and control.
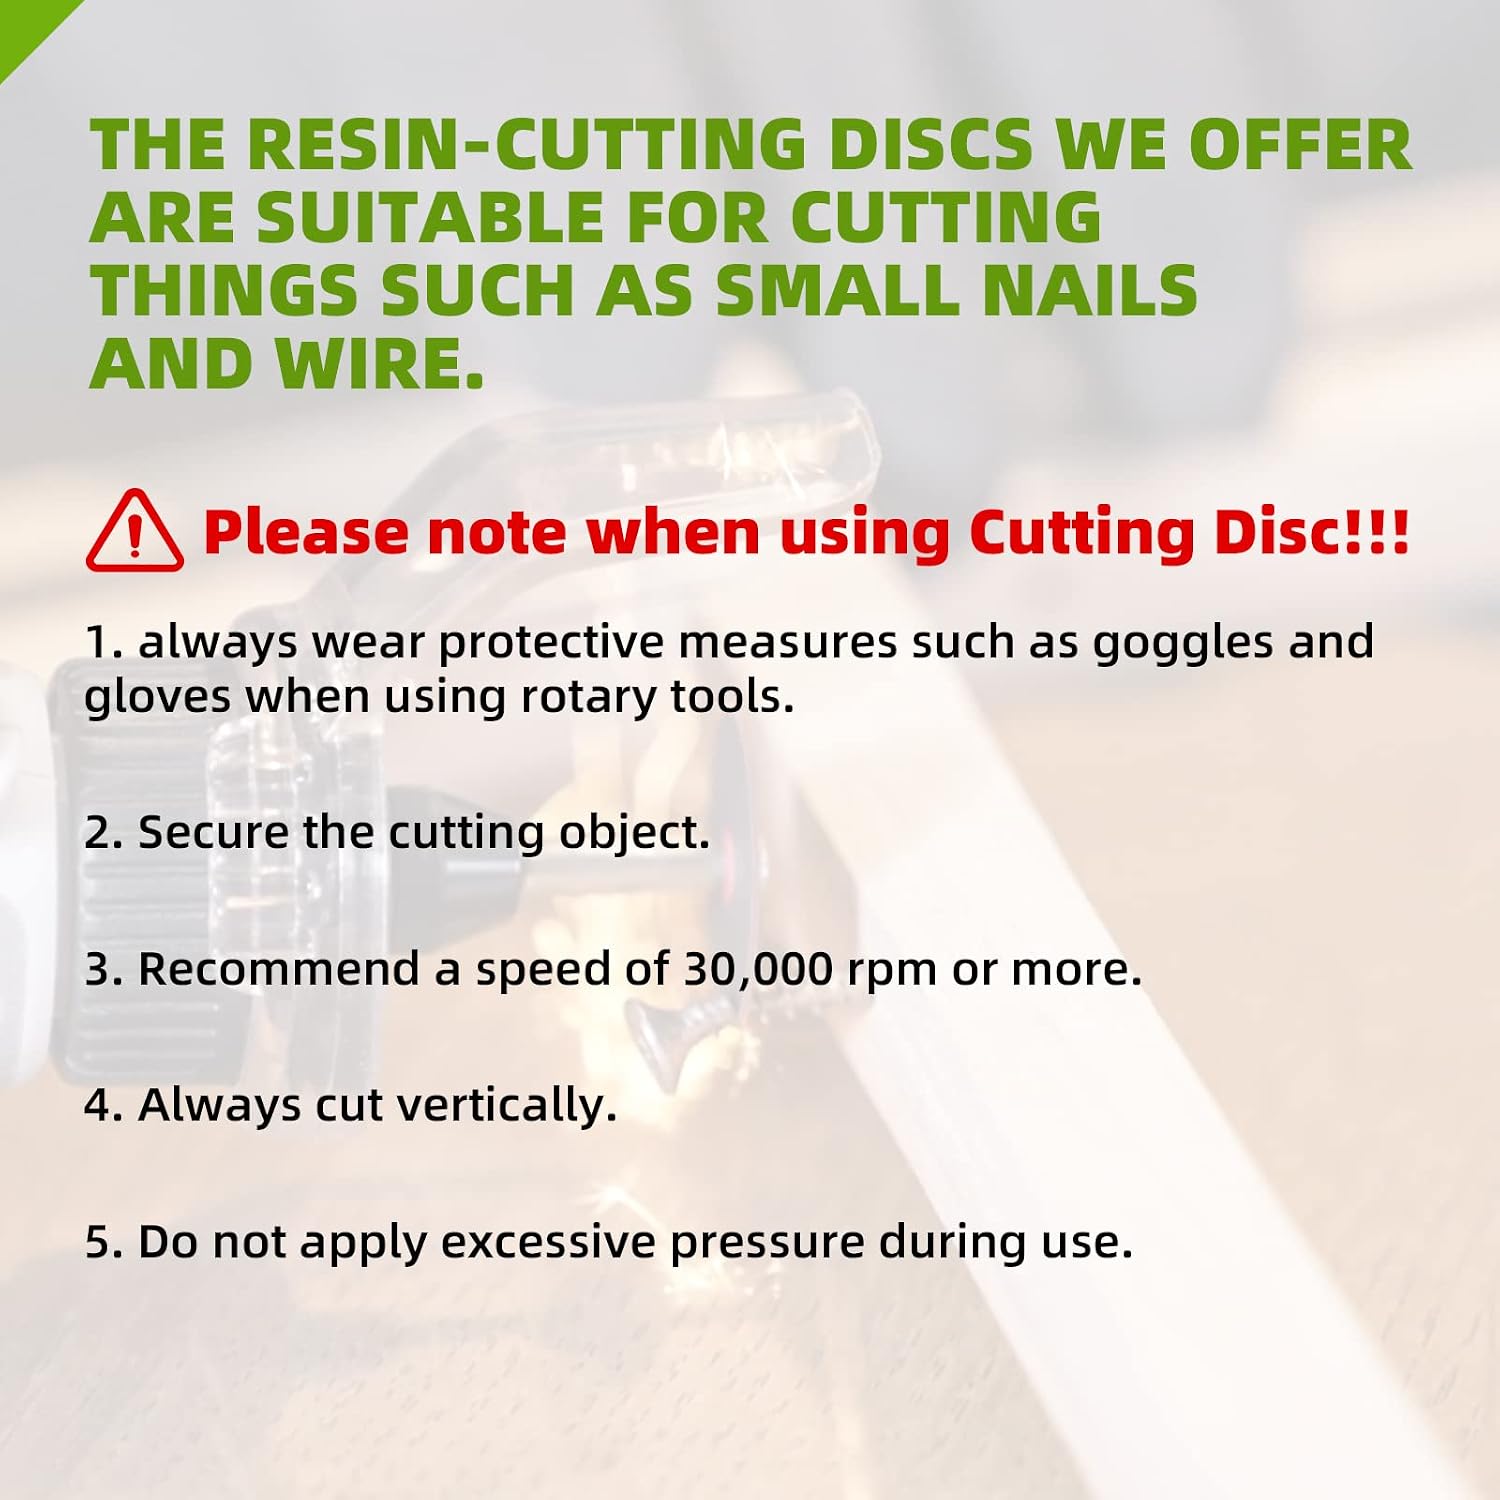
Image: The rotary tool highlighting its ergonomic design and fast heat dissipation features.

Image: Diagram showing key components of the rotary tool including collet, shaft lock button, speed control dial, and power cord.
5. Setup and Accessory Installation
5.1 Installing/Replacing Accessories
- Press and hold the shaft lock button to secure the spindle.
- Unscrew the collet nut using the provided collet wrench.
- Insert the desired accessory into the collet. Ensure the accessory shank is fully seated.
- Tighten the collet nut with the collet wrench until the accessory is securely held. Do not overtighten.
5.2 Installing Cut-Off Wheels & Sandpaper
- Twist off the top of the mandrel for the cut-off wheel.
- Place the HSS cutting wheel or sandpaper disc onto the top of the mandrel.
- Twist the top of the slim end back onto the mandrel to secure the disc.
5.3 Fitting a Sanding Band
- Align the sanding drum and the sanding band.
- Slide the sanding band onto the drum and install it in place.
- Tighten the top screw to expand the expansion screw, which will make the sanding band firmer.

Image: Visual guide for replacing accessories, installing cut-off wheels, and fitting sanding bands.
5.4 Attaching Optional Accessories
- Flexible Driver: Screw the flexible driver onto the tool's collet nut area. This allows for precision work in hard-to-reach areas.
- Shield Rotary Tool Attachment: Attach the shield to the tool's head for protection during cutting or grinding operations.
- Cutting Guide: Use the cutting guide for controlled, straight cuts.
- Auxiliary Handle: Attach the auxiliary handle for improved grip and stability during detailed tasks.

Image: Demonstrates the use of the flexible driver, protective shield, cutting guide, and auxiliary handle.
6. Operating Instructions
6.1 Powering On/Off
Plug the tool into a suitable power outlet. Use the On/Off switch located on the tool body to power the tool on or off.
6.2 Speed Control
The rotary tool features a 6-level variable speed control dial. Rotate the dial to select the desired speed setting from 1 (lowest speed, 10,000 RPM) to 6 (highest speed, 40,000 RPM). Adjust the speed according to the material and the accessory being used.

Image: Illustration of the 6-speed control dial and how different accessories are compatible with the tool.
6.3 Recommended Speed Settings
Refer to the table below for recommended speed settings for various accessories and materials. These are general guidelines; always test on a scrap piece first.
| Function | Accessory Description | Soft wood | Hard wood | Plastic | Steel | Aluminum, brass, etc. | Shell, stone | Ceramic | Glass |
|---|---|---|---|---|---|---|---|---|---|
| Polished Deburr | Grinding wheel | / | / | 15-22 | 25-32 | 15-22 | 15-22 | 20-32 | / |
| Diamond Grinding Needle | / | / | / | / | / | / | 25-32 | 25-32 | |
| Sanding | Sanding band | 10-30 | 10-30 | 10-30 | 10-30 | 10-30 | 25-32 | 10-30 | / |
| Drilling | Drill bits | 25-30 | 25-30 | 15-30 | / | / | / | / | / |
| Polishing | Wool felt wheel | / | / | / | 12-17 | 12-17 | 12-20 | 12-17 | 12-17 |
| Engraving | Engraving Cutters | 25-35 | 25-35 | 12-20 | / | / | / | / | / |
| Cleaning | Stainless brush | 10-15 | 10-15 | / | 10-15 | / | / | / | / |
| Cutting | Cut off wheel | / | / | 15-22 | 25-32 | 25-32 | 25-32 | / | / |
| Cut off wheels fiberglass | / | / | 25-35 | 25-35 | 25-35 | 25-35 | / | / | |
| Diamond cutting disc | / | / | / | / | / | 25-35 | 25-35 | / | |
| Spiral Cutting Bit | Spiral Cutting Bit | For best results, use at 30,000 rpm. | |||||||
| Switch Setting | 1 | 2 | 3 | 4 | 5 | 6 | |||
| Speed Range (RPM) | 10-12K | 16-19K | 23-27K | 30-33K | 33-36K | 38-40K | |||
Note: Each number setting listed in the speed charts represents thousands of RPM (e.g., 15-22 means 15,000-22,000 RPM).
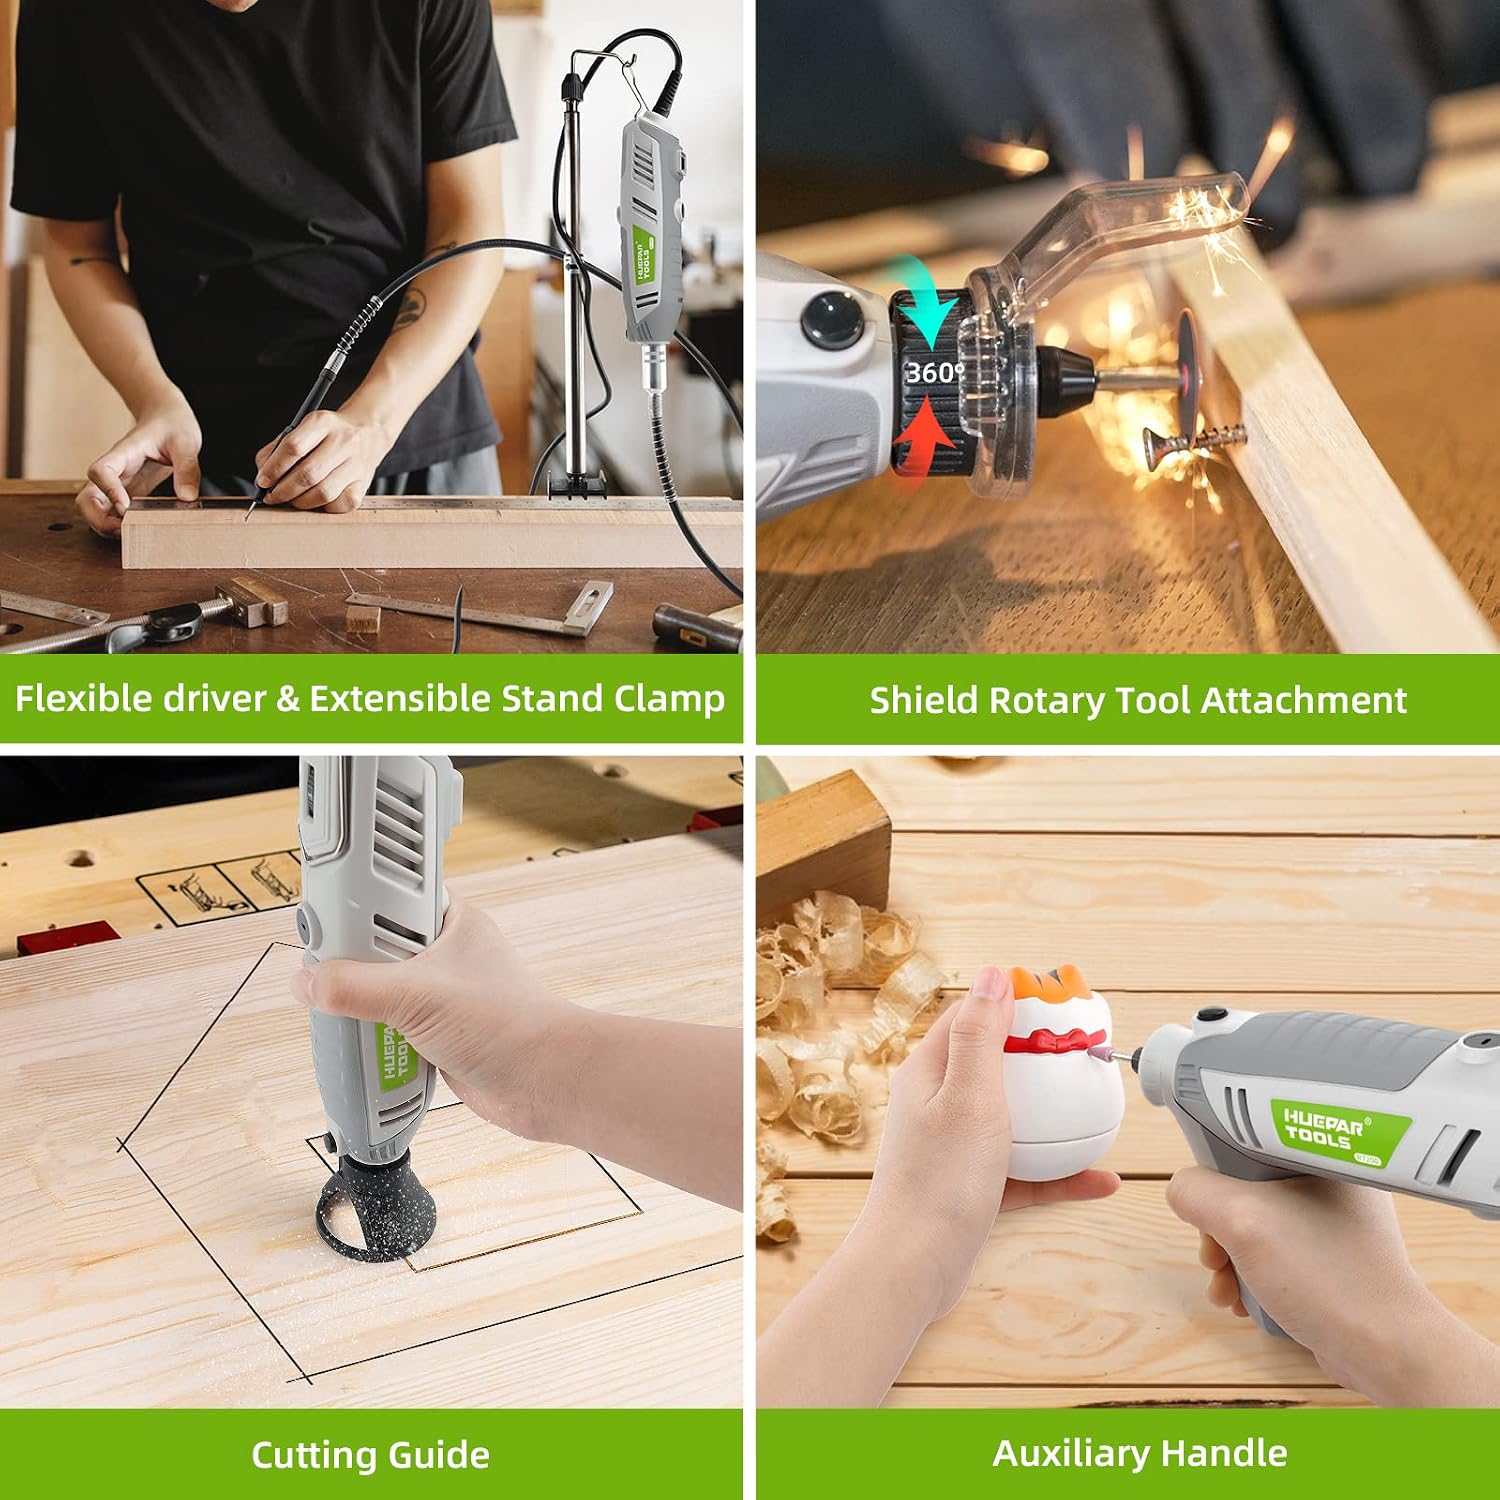
Image: Examples of the rotary tool in action for cutting, carving/engraving, sanding, and drilling tasks.
7. Maintenance
7.1 Cleaning
- Always disconnect the tool from the power supply before cleaning.
- Wipe the tool's exterior with a clean, damp cloth. Do not use harsh chemicals or abrasive cleaners.
- Use compressed air to clear dust and debris from the ventilation openings.
7.2 Carbon Brush Replacement
The Huepar Tools 200W Rotary Tool features external carbon brushes for easy replacement. When the tool's performance decreases or it stops working, the carbon brushes may need to be replaced.
- Ensure the tool is unplugged.
- Locate the brush caps on the sides of the tool housing.
- Unscrew the brush caps using a flathead screwdriver or the provided spanner.
- Remove the old carbon brushes.
- Insert the new carbon brushes, ensuring they are oriented correctly.
- Screw the brush caps back on securely.
7.3 Storage
Store the rotary tool and its accessories in the provided carrying case in a dry, cool place, away from direct sunlight and moisture.
8. Troubleshooting
If you encounter issues with your Huepar Tools 200W Rotary Tool, refer to the following common problems and solutions:
- Tool does not start:
- Check if the power cord is securely plugged into a working outlet.
- Ensure the On/Off switch is in the 'On' position.
- Inspect the carbon brushes; they may need replacement if worn out.
- Tool loses power or runs intermittently:
- Check for loose connections in the power cord.
- Carbon brushes may be worn or dirty; clean or replace them.
- Ensure the speed control dial is set correctly.
- Excessive vibration or noise:
- Ensure the accessory is properly installed and tightened in the collet.
- Check if the accessory is bent or damaged; replace if necessary.
- The flexible shaft, if used, should be properly lubricated and not kinked.
- Tool overheats:
- Ensure ventilation openings are clear of dust and debris.
- Avoid applying excessive pressure during operation.
- Allow the tool to cool down periodically during prolonged use.
If the problem persists after attempting these solutions, please contact Huepar customer support.
9. Specifications
| Model Number | 200W |
| Power Input | 200W |
| Voltage | 230 Volts |
| Power Source | Corded Electric |
| Variable Speed | 6 levels |
| No-Load Speed | 10,000 - 40,000 RPM |
| Collet Size (Max) | 3.2mm |
| Special Features | Keyless chuck, Ergonomic handle, Highly durable, Variable speed |
| Package Dimensions | 34.9 x 26.4 x 10.6 cm |
| Package Weight | 2.67 kg |
10. Warranty and Support
Huepar Tools provides a one-year warranty for this rotary tool. For any questions, technical assistance, or warranty claims, please do not hesitate to contact our customer support team. We offer 24-hour online services to assist you.
Contact Information: Please refer to the contact details provided on the product packaging or our official website.
