
Victoper VT-FLV3000
Victoper LED Tactical Flashlight User Manual
Model: VT-FLV3000 | Brand: Victoper
1. Product Overview
The Victoper LED Tactical Flashlight is a high-powered, super bright, and rechargeable lighting device designed for various applications including emergency situations, outdoor activities, home use, camping, and hiking. It features multiple light modes, zoomable functionality, and a durable, waterproof construction.

Image: The Victoper LED Tactical Flashlight, showcasing its compact design, included charging cable, and carrying holster.
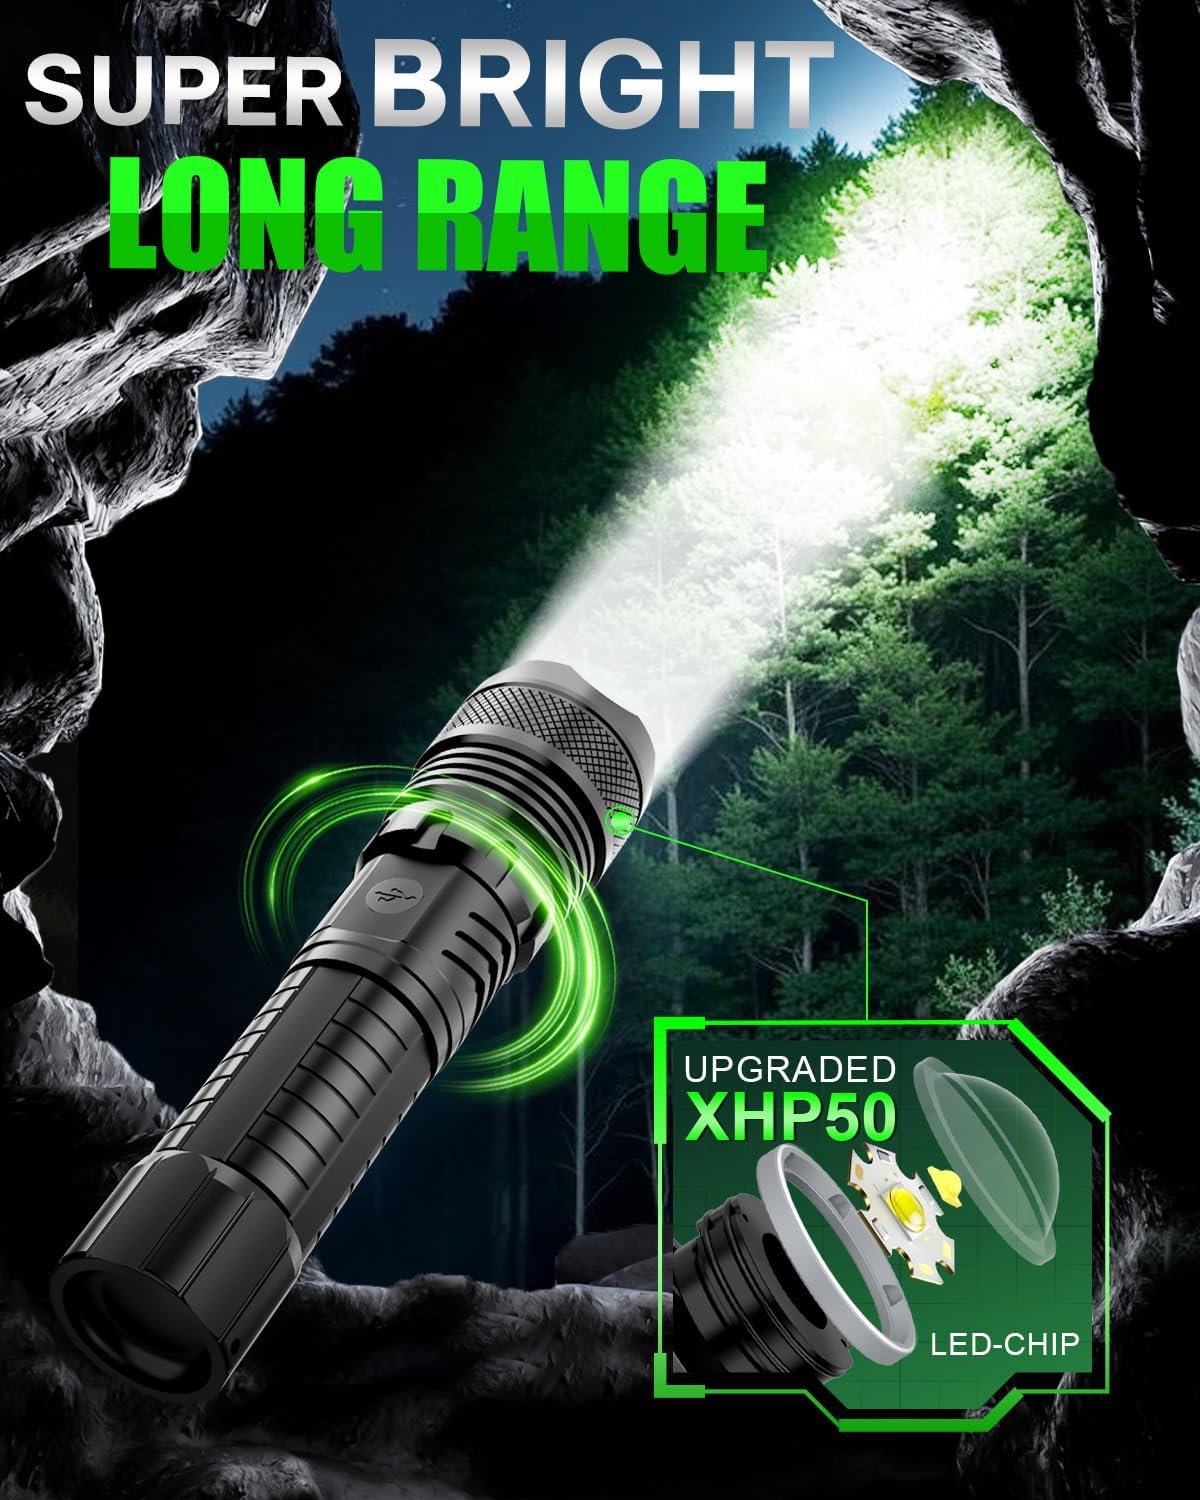
Image: Illustration of the flashlight's super bright and long-range beam in a dark, outdoor environment.
2. Setup and First Use
2.1 Battery Installation
The flashlight requires a 18650 or AAA battery (with adapter). Ensure correct polarity during installation.
- Unscrew the tail cap of the flashlight.
- Remove the white circular insulated sheet from the battery compartment.
- Insert the battery, ensuring the positive pole (+) faces inward towards the flashlight head and the negative pole (-) faces outward towards the tail cap.
- Screw the tail cap back on securely.

Image: Step-by-step diagram illustrating the correct procedure for installing the battery, including polarity.
2.2 Initial Charging
Before first use, fully charge the flashlight. The device features a USB charging port and a power indicator.
- Connect the provided USB charging cable to the flashlight's charging port.
- Connect the other end of the cable to a compatible USB power source (e.g., laptop, power adapter, power bank, car charger).
- Monitor the 4 indicator lights to check charging status. Four lights indicate 100% charge, three lights 75%, two lights 50%, and one light 25%.

Image: Close-up of the flashlight's USB charging port and the four LED power indicator lights, showing charging compatibility with various sources.
3. Operation Guide
3.1 Light Modes
The flashlight features 5 distinct light modes to adapt to various situations:
- High Light Mode: For maximum brightness.
- Medium Light Mode: Balanced brightness for general use.
- Power Saving Mode (Low Light): For extended battery life.
- Strobe Mode: Flashing light for signaling or disorientation.
- SOS Signal Mode: International Morse code signal for emergencies.
To cycle through the modes, press the power button. To turn off the flashlight, long press the power button for two seconds.

Image: Visual representation of the flashlight's five light modes: High, Medium, Low, Strobe, and SOS, with instructions for mode selection and power off.
3.2 Zoom Functionality
The flashlight is equipped with a zoomable head, allowing adjustment between a flood beam and a spot beam.
- Zoom In: Extend the flashlight head forward to narrow the beam for a focused, long-range spot.
- Zoom Out: Retract the flashlight head to widen the beam for a broad, floodlight effect.

Image: Comparison showing the flashlight's zoom-in function for a focused beam and zoom-out for a wider area illumination.
4. Care and Maintenance
To ensure the longevity and optimal performance of your Victoper LED Tactical Flashlight, follow these maintenance guidelines:
- Cleaning: Wipe the flashlight body with a soft, damp cloth. Do not use abrasive cleaners or solvents.
- Battery Care: If storing the flashlight for an extended period, remove the battery to prevent leakage. Recharge the battery regularly to maintain its health.
- Water Resistance: The flashlight is IPX4 waterproof, meaning it is resistant to splashing water from any direction. It is suitable for use in rainy conditions but should not be submerged in water.
- Impact Resistance: Constructed from durable aluminum alloy, the flashlight is designed to withstand impacts. However, avoid unnecessary drops or harsh treatment.

Image: The flashlight being held in a rainy environment, illustrating its IPX4 waterproof rating.
5. Troubleshooting
If you encounter issues with your flashlight, refer to the following common problems and solutions:
| Problem | Possible Cause | Solution |
|---|---|---|
| Flashlight does not turn on. | Low battery; Incorrect battery installation; Loose tail cap. | Charge the battery fully; Reinstall battery with correct polarity; Tighten the tail cap. |
| Light is dim or flickers. | Low battery; Loose connections; Dirty contacts. | Recharge the battery; Ensure tail cap and head are tight; Clean battery contacts with a dry cloth. |
| Cannot change light modes. | Button malfunction; Software issue. | Ensure button is pressed firmly; Try turning off and on again; If problem persists, contact customer support. |
6. Technical Specifications
| Feature | Detail |
|---|---|
| Model Number | VT-FLV3000 |
| Light Source Type | LED |
| Brightness | 350 Lumens (White Brightness) |
| Power Source | Battery Powered |
| Battery Type | 1 Lithium Polymer battery (included), 5000mAh |
| Material | Aluminum Alloy |
| Product Dimensions | 1.6"D x 1.4"W x 6.6"H (6.5 x 1.7 x 1.4 inches) |
| Item Weight | 8.1 Ounces |
| Water Resistance Level | IPX4 Waterproof |
| Special Features | Adjustable Focus, Adjustable Light Modes, High Power, Impact Resistant, Long Range |
7. Package Contents
The Victoper LED Tactical Flashlight package includes the following items:
- 1 x Tactical Flashlight
- 1 x Rechargeable Battery (5000mAh)
- 1 x USB Charging Cable
- 1 x Flashlight Holster
- Note: Depending on the specific package, additional accessories such as a 18650 battery tube or AAA battery holders (batteries not included) may be present.

Image: A visual overview of the complete flashlight set, including the flashlight, rechargeable battery, charging cable, and holster.
8. Warranty and Support
The Victoper LED Tactical Flashlight comes with a limited warranty. For specific details regarding the warranty period and coverage, please refer to the documentation included with your purchase or contact Victoper customer support.
If you have any questions, require technical assistance, or need to report an issue, please contact Victoper customer support. They are committed to providing solutions as soon as possible.
Note: For the most up-to-date support information, please visit the official Victoper website or refer to the contact details provided in your product packaging.
Related documentsVT-FLV3000


Ask a question about this manual
Ask about setup, troubleshooting, compatibility, parts, safety, or missing instructions. Manuals+ will review the question and use this page’s manual context to help answer it.