
Introduction
This manual provides detailed instructions for the installation, operation, and maintenance of your Retoo Wireless Switch with Remote Control. This system allows you to remotely control lighting or other electrical devices up to 1000W using a radio frequency remote control. Please read this manual carefully before installation and use to ensure safe and efficient operation.
Safety Information
- Always cut off the main power supply before attempting any installation or wiring to prevent electric shock.
- Ensure all connections are secure and properly insulated.
- This device is designed for indoor use and has an IP20 rating. Avoid exposure to moisture or extreme temperatures.
- Do not exceed the maximum load capacity of 1000W.
- If you are unsure about electrical wiring, consult a qualified electrician.
Package Contents
Verify that all components are present in your package:
- 1x Wireless Controller (Receiver Unit) with cables
- 1x Remote Control
- Note: The 12V 23A battery for the remote control is not included.

Image: The wireless remote control and the receiver unit with connecting wires.
Specifications
| Feature | Detail |
|---|---|
| Brand | Retoo |
| Item Model Number | 590409422738 |
| Product Dimensions (L x W x H) | 4.5 x 6 x 2.5 cm |
| Item Weight | 30 Grams |
| Color | White |
| Material | Acrylonitrile Butadiene Styrene (ABS), Plastic (Contact Material) |
| Operating Voltage | 12 Volts |
| Current Rating | 23 A |
| Power | 1000 Watts |
| Control Method | Remote Control |
| Connectivity Protocol | Radio Frequency |
| Range | Up to 20 meters (radio frequency) |
| Mounting Type | Wall Mount |
| International Protection Rating | IP20 |
| Compliant Specification | CE |
| Included Components | Wireless Controller with cables and Remote Control |
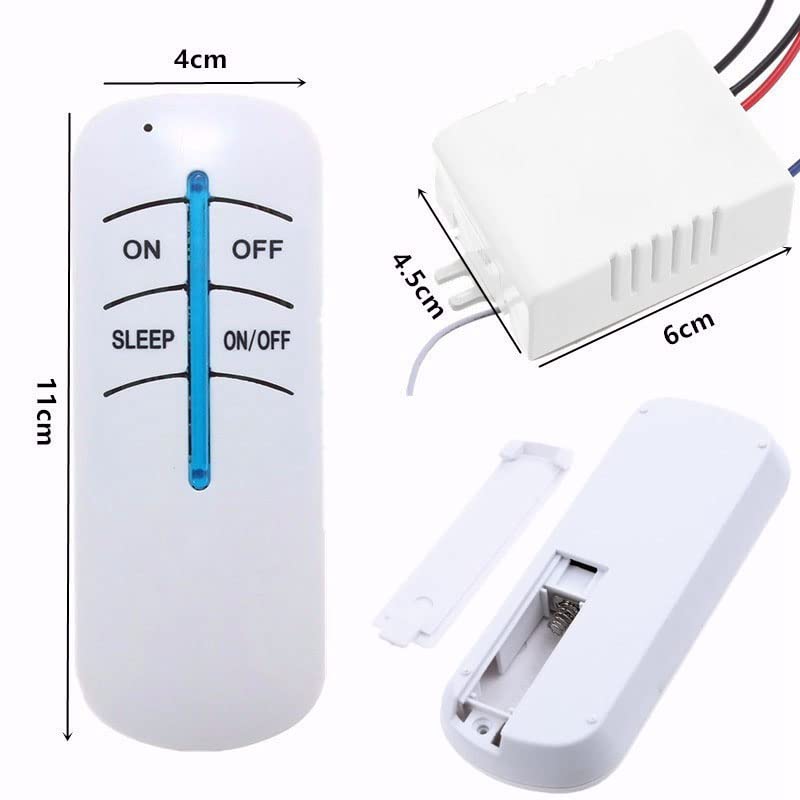
Image: Visual representation of the dimensions for the remote control and receiver unit.
Setup and Installation
Follow these steps to install your Retoo Wireless Switch. Ensure the main power supply is OFF before proceeding.
- Prepare for Installation: Turn off the power to the circuit where you intend to install the wireless switch at your main electrical panel. Verify that the power is off using a voltage tester.
- Identify Wiring: The wireless controller (receiver unit) has several wires. Typically, the black and red wires are for the 12V DC power input, and the remaining wires (e.g., blue) are for the switched output to your lighting or appliance. Refer to the diagram below for typical wiring.
- Connect Power Input: Connect the 12V DC power supply to the designated input wires of the receiver unit. Typically, the black wire is for ground (negative) and the red wire is for DC positive.
- Connect Load Output: Connect the output wires from the receiver unit to your lighting fixture or appliance. Ensure these connections are secure.
- Mount the Receiver: The compact design of the receiver allows it to be hidden behind existing switches or within junction boxes.
- Install Remote Battery: Open the battery compartment on the back of the remote control and insert one 12V 23A battery (not included), ensuring correct polarity.
- Restore Power: Once all connections are made and secured, restore power to the circuit from your main electrical panel.
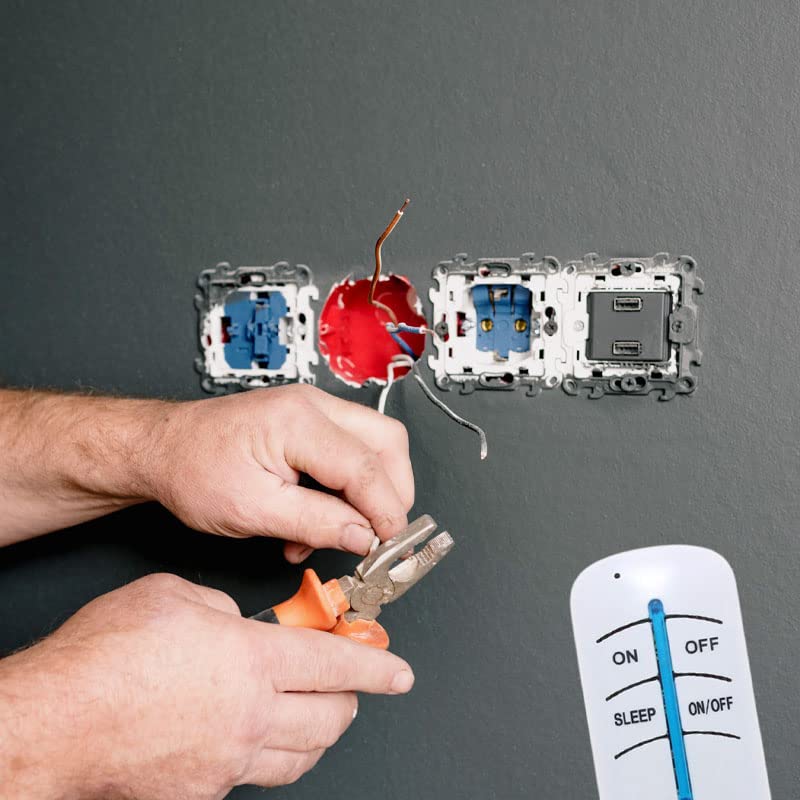
Image: An electrician performing wiring work, illustrating the context of installation.
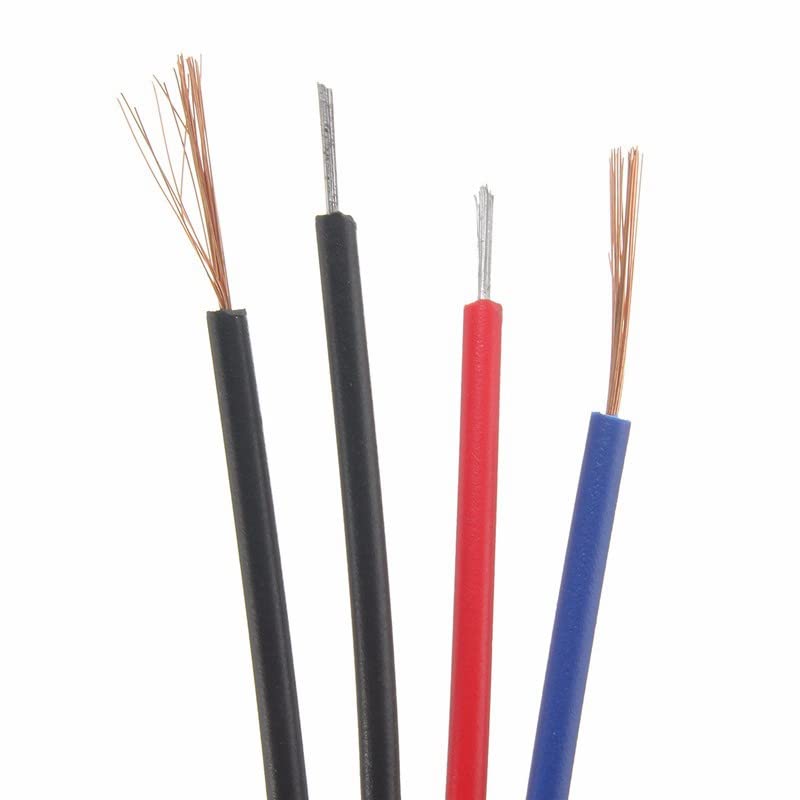
Image: A close-up view of various colored electrical wires, indicating connections.
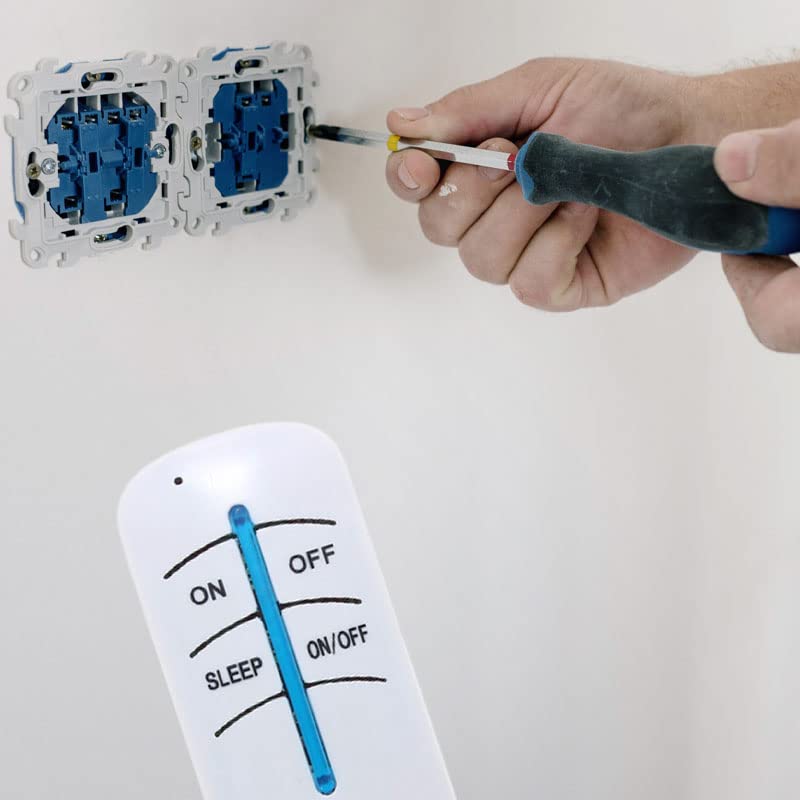
Image: A hand using a screwdriver to secure a wall switch, demonstrating the final steps of installation.
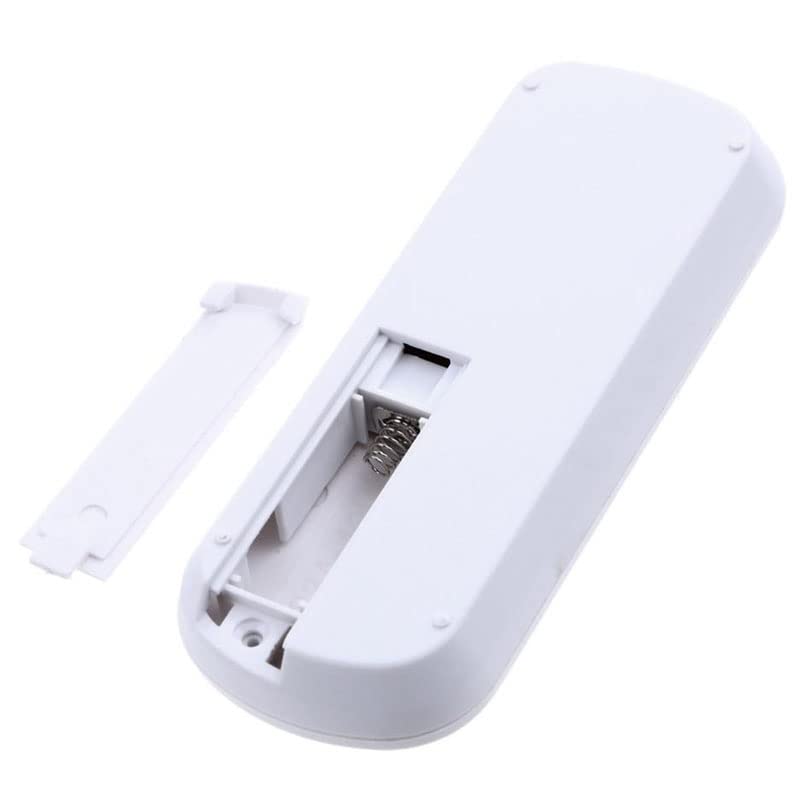
Image: The remote control with its battery compartment open, showing where to insert the battery.
Operating Instructions
The remote control provides simple operation for your connected devices.

Image: A hand holding the wireless remote control in an office environment, demonstrating its use for controlling lights.
- ON Button: Press the 'ON' button to turn on the connected device.
- OFF Button: Press the 'OFF' button to turn off the connected device.
- ON/OFF Button: This button acts as a toggle. Press once to turn on, press again to turn off.
- SLEEP Button: The function of the 'SLEEP' button may vary or be inactive depending on the specific model or pairing. Refer to any additional pairing instructions if provided.
The remote control uses radio frequency (RF) technology, allowing it to control devices through walls and furniture within its 20-meter range.
Maintenance
- Battery Replacement: When the remote control's range decreases or it stops responding, replace the 12V 23A battery. Refer to the 'Setup and Installation' section for battery compartment access.
- Cleaning: Wipe the remote control and receiver unit with a dry, soft cloth. Do not use liquid cleaners or solvents.
- Storage: Store the device in a cool, dry place away from direct sunlight and moisture when not in use for extended periods.
Troubleshooting
| Problem | Possible Cause | Solution |
|---|---|---|
| Device does not respond to remote. |
|
|
| Intermittent control or reduced range. |
|
|
| Device turns on automatically when power is restored. |
|
|
Warranty and Support
Retoo products are designed for durability and reliability. For specific warranty information or technical support, please refer to the retailer's policy or contact Retoo customer service through their official channels. Keep your purchase receipt as proof of purchase.