
1. Introduction
The Logitech G PRO X 2 Lightspeed Wireless Gaming Headset is engineered for professional-grade gaming performance, offering advanced audio technology and versatile connectivity. It features 50mm Graphene drivers for superior sound clarity, LIGHTSPEED wireless technology for low-latency performance, and a detachable microphone with Blue VO!CE technology for clear communication. This headset is compatible with PC, PlayStation 4, PlayStation 5, and Nintendo Switch.
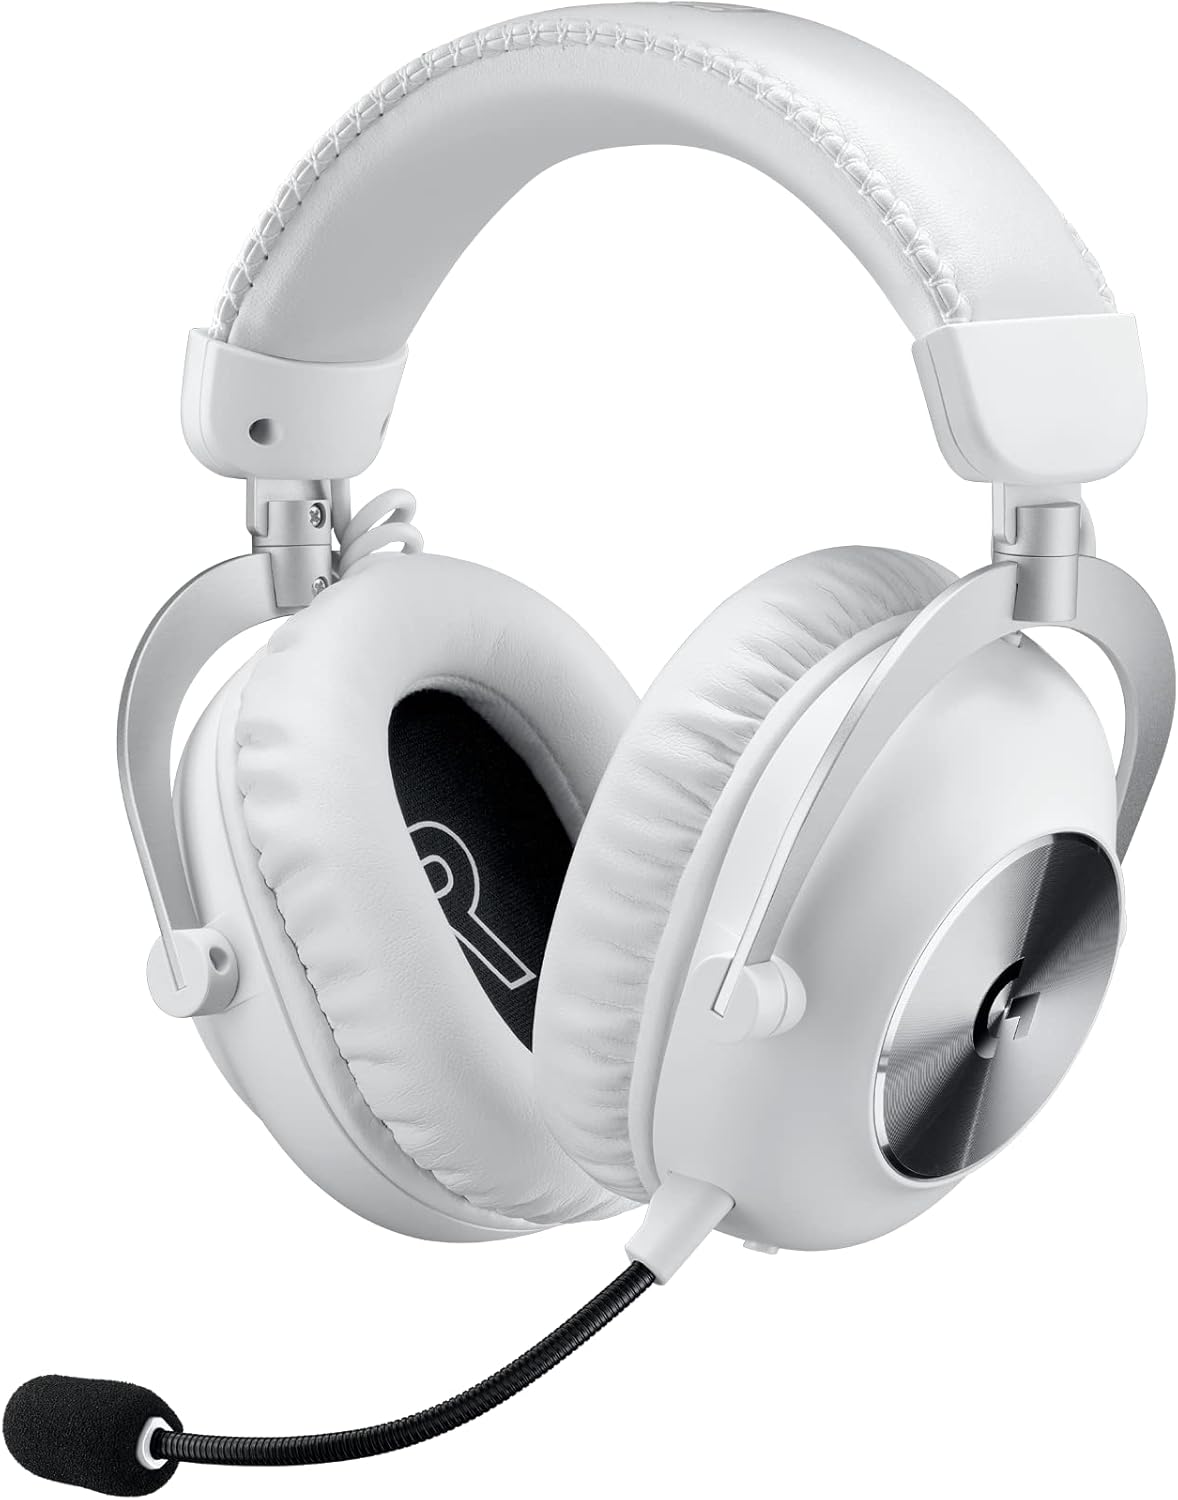
Figure 1: Logitech G PRO X 2 Lightspeed Wireless Gaming Headset.
2. What's in the Box
Verify that all components are present in the packaging:
- Logitech G PRO X 2 Lightspeed Wireless Gaming Headset
- LIGHTSPEED USB-A Wireless Dongle with 3.5mm port
- Detachable 6mm Cardioid Microphone with foam pop filter
- USB-A to USB-C Charging Cable
- 3.5mm Audio Cable
- Extra Pair of Velour Earpads
- Soft Carrying Case

Figure 2: All components included in the product packaging.
3. Setup
3.1 Connecting to PC (LIGHTSPEED Wireless)
- Insert the LIGHTSPEED USB-A Wireless Dongle into an available USB-A port on your PC.
- Power on the headset by pressing and holding the power button until the LED indicator lights up.
- The headset should automatically connect to the dongle. If not, refer to the troubleshooting section or the Logitech G HUB software for pairing instructions.
- For full customization and advanced features like Blue VO!CE and DTS Headphone:X 2.0, download and install the Logitech G HUB software from the official Logitech G website.
3.2 Connecting via Bluetooth
- Ensure the headset is powered on.
- Press and hold the Bluetooth button on the headset until the LED indicator blinks rapidly, indicating pairing mode.
- On your device (e.g., smartphone, tablet), navigate to Bluetooth settings and select "Logitech G PRO X 2" from the list of available devices.
- Once connected, the LED indicator will turn solid blue.
3.3 Connecting via 3.5mm Aux
- Connect one end of the included 3.5mm audio cable to the 3.5mm port on the headset.
- Connect the other end of the 3.5mm audio cable to the audio output jack on your device (e.g., PC, PS5 controller, Nintendo Switch).
- The headset will operate in passive mode when connected via 3.5mm, meaning it does not require power.

Figure 3: Connection options for the headset.
3.4 Charging the Headset
To charge the headset, connect the USB-A to USB-C charging cable to the USB-C port on the headset and the USB-A end to a powered USB port on your computer or a USB wall adapter. A full charge provides up to 50 hours of battery life. A 5-minute charge can provide approximately 1 hour of play time.

Figure 4: Headset battery life and charging.
4. Operating the Headset
4.1 Power On/Off
To power on the headset, press and hold the power button located on the left earcup until the LED indicator illuminates. To power off, press and hold the same button until the LED turns off.
4.2 Volume Control
Adjust the audio volume using the volume roller located on the left earcup. Roll it up to increase volume and down to decrease volume.
4.3 Microphone Usage
Attach the detachable 6mm cardioid microphone to the port on the left earcup. Ensure it is securely inserted. The microphone features Blue VO!CE technology, which can be configured via Logitech G HUB software for enhanced voice clarity and noise reduction. Use the dedicated microphone mute button on the headset to quickly mute or unmute your voice.

Figure 5: Detachable microphone with Blue VO!CE technology.
4.4 Audio Customization (G HUB)
For advanced audio settings, including custom equalizer profiles, DTS Headphone:X 2.0 surround sound, and Blue VO!CE microphone enhancements, use the Logitech G HUB software. This software is required for full customization and is available for Windows PC.
4.5 Swapping Earpads
The headset comes with both leatherette and velour earpads. To swap them, gently pull the existing earpad off the earcup. Align the new earpad with the earcup and press firmly around the edges until it snaps into place.


