
technaxx TX-177
Technaxx Full HD 1080p Projector TX-177 User Manual
Model: TX-177 (Item Model Number: 4971)
1. Introduction
The Technaxx Full HD 1080p Projector TX-177 is a versatile multimedia device designed for high-quality visual and audio experiences. This portable projector offers native 1080P resolution, an integrated 3W speaker, and a long LED lifetime, making it suitable for various applications including home cinema, gaming, and presentations. This manual provides essential information for setting up, operating, and maintaining your projector.

Image 1.1: Front view of the Technaxx Full HD 1080p Projector TX-177.
2. Package Contents
Please check the box for the following items:
- Technaxx FullHD 1080p Projector TX-177
- AV signal cable
- Remote control (2x AAA batteries included)
- HDMI cable
- Power cable
- User manual (this document)

Image 2.1: All items included in the projector package.
3. Product Features
The TX-177 projector is equipped with several features designed to enhance your viewing experience:
- Native 1080P Resolution: Delivers clear and sharp images for movies, games, and presentations.
- Large Projection Size: Capable of projecting images from 50 inches up to 200 inches.
- Integrated 3W Speaker: Provides basic audio output without the need for external speakers.
- Manual Focus Adjustment: Allows for precise image clarity.
- Long LED Lifetime: The LED light source has an estimated lifespan of 40,000 hours.
- Multiple Connectivity Options: Includes HDMI, VGA, USB, SD card, and AV inputs for broad device compatibility.
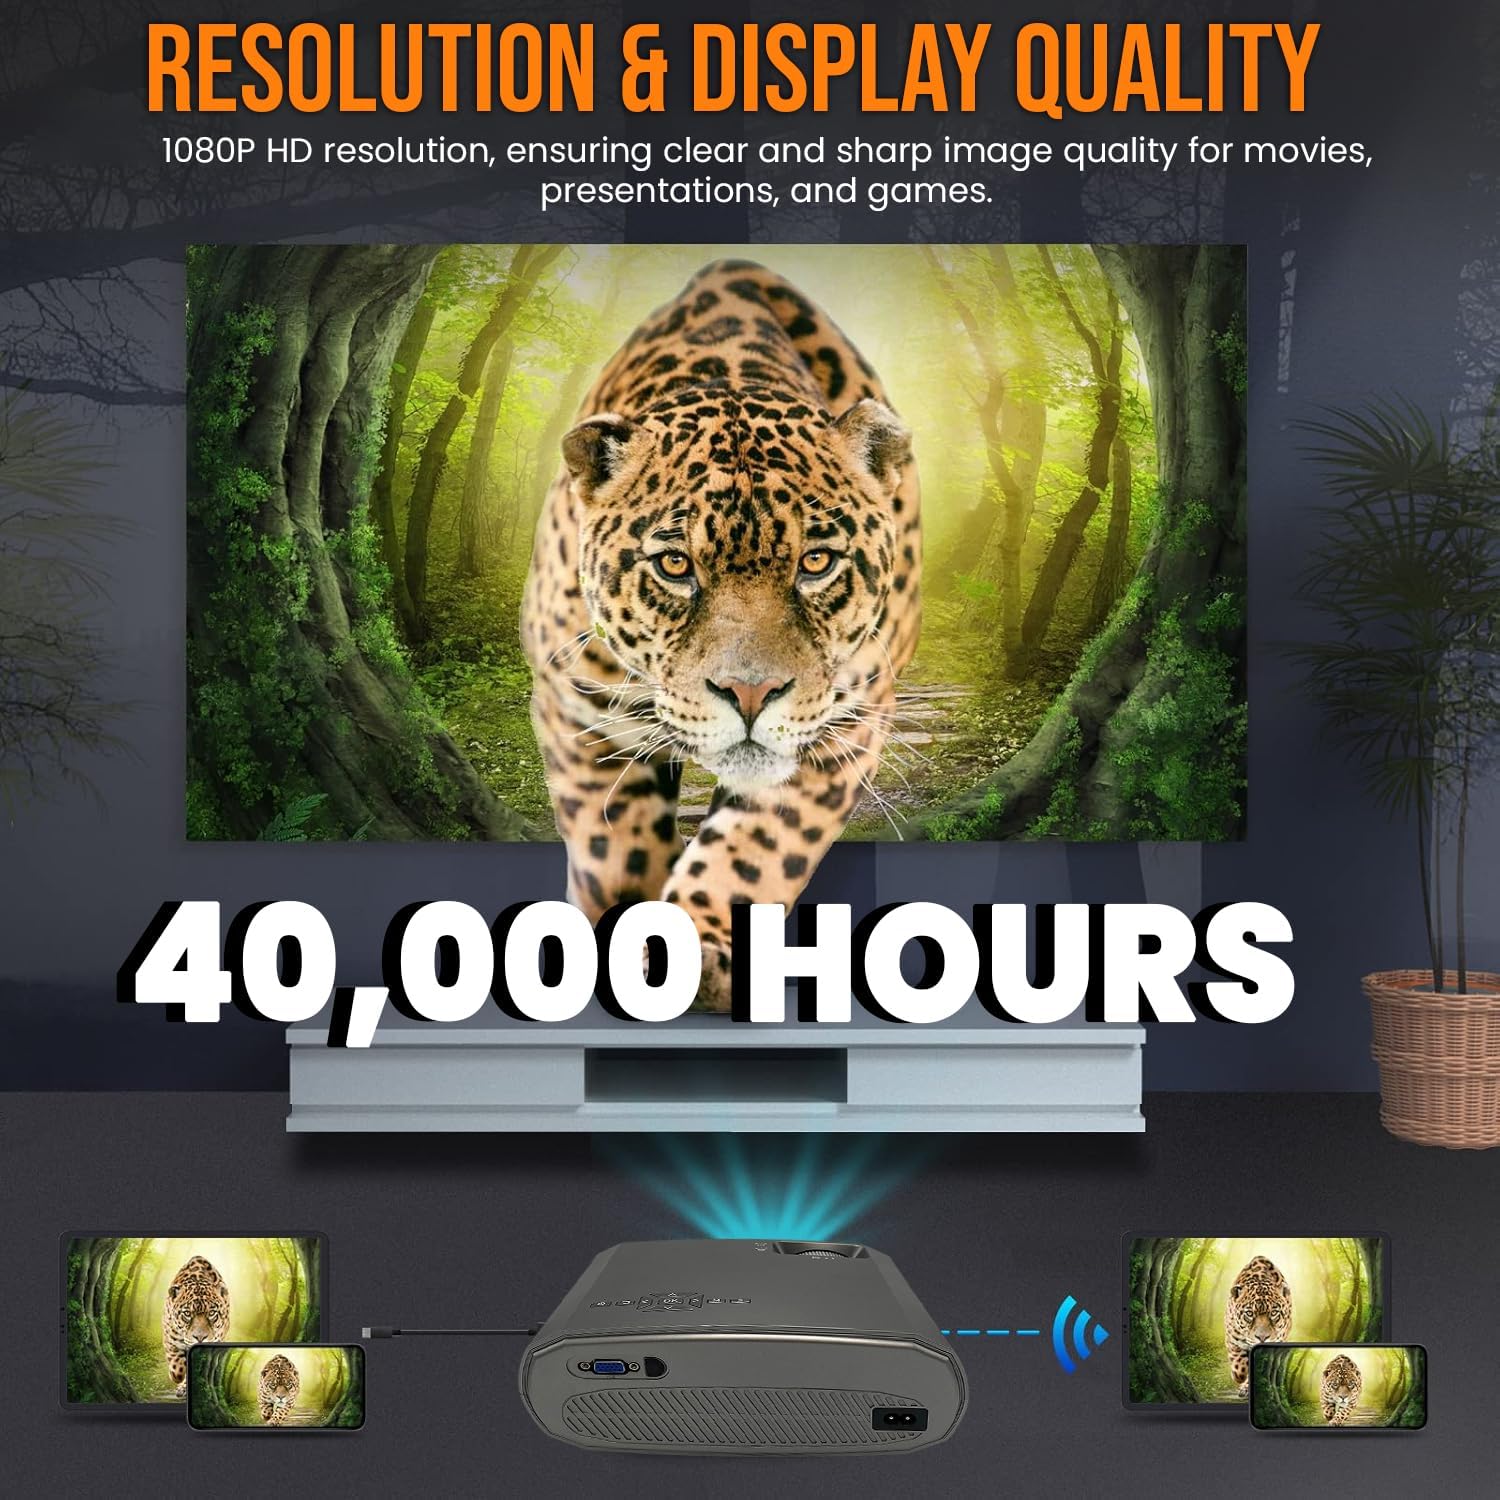
Image 3.1: Highlighting the 1080P resolution and 40,000-hour LED lifespan.

Image 3.2: The integrated 3-watt speaker provides convenient audio.

Image 3.3: Overview of the projector's compatibility with various devices via multiple input ports.
4. Setup
4.1 Placement
Place the projector on a stable, flat surface. Ensure there is adequate ventilation around the unit to prevent overheating. Position the projector directly in front of the screen or wall for the best image quality. The projection distance will determine the image size.
4.2 Power Connection
- Connect the power cable to the projector's power input port.
- Plug the other end of the power cable into a standard electrical outlet.
4.3 Connecting Devices
The TX-177 supports various input sources:
- HDMI: Connect Blu-ray players, game consoles, laptops, or streaming devices using an HDMI cable.
- VGA: Connect older computers or laptops using a VGA cable.
- USB: Insert USB drives for playing media files directly.
- SD Card: Insert an SD card for playing media files directly.
- AV: Use the included AV signal cable to connect devices with composite video and stereo audio outputs.

Image 4.1: Detailed view of the projector's various input ports.
4.4 Focus and Keystone Adjustment
After powering on, adjust the image for clarity and shape:
- Focus: Rotate the focus wheel near the lens until the image appears sharp and clear.
- Keystone Correction: If the image appears trapezoidal (wider at the top or bottom), use the keystone correction wheel to square the image.

Image 4.2: Focus and keystone adjustment wheels for image optimization.

Image 4.3: Labeled diagram of the projector's key adjustable components and ports.
5. Operating Instructions
5.1 Powering On/Off
- To Power On: Press the power button on the projector or the remote control. The indicator light will turn on.
- To Power Off: Press the power button again. The projector will enter standby mode. Always allow the projector to cool down before unplugging it.
5.2 Selecting Input Source
Use the 'Source' button on the remote control or the projector's control panel to cycle through available input sources (HDMI1, HDMI2, VGA, USB, SD, AV). Select the input corresponding to your connected device.
5.3 Menu Navigation
Use the arrow keys and 'OK' button on the remote control to navigate the on-screen display (OSD) menu. Here you can adjust settings such as picture mode, aspect ratio, sound settings, and more.
5.4 Audio Output
The projector has a built-in 3W speaker. For enhanced audio, you can connect external speakers or headphones to the projector's audio output port (3.5mm jack).
6. Maintenance
Proper maintenance ensures the longevity and optimal performance of your projector:
- Cleaning the Lens: Use a soft, lint-free cloth specifically designed for optical lenses. Do not use abrasive cleaners or solvents.
- Cleaning the Casing: Wipe the projector's exterior with a soft, dry cloth. For stubborn marks, use a slightly damp cloth and then dry thoroughly.
- Ventilation: Ensure the ventilation vents are clear of dust and obstructions. Periodically clean them with a soft brush or compressed air.
- LED Lamp Life: The LED lamp is designed for 40,000 hours of use and does not require replacement under normal operating conditions.
7. Troubleshooting
If you encounter issues with your projector, refer to the following common problems and solutions:
| Problem | Possible Cause | Solution |
|---|---|---|
| No image on screen | Incorrect input source selected Loose cable connection Device not powered on | Select the correct input source Check and secure all cable connections Ensure the connected device is powered on |
| Image is blurry | Focus not adjusted Projection distance too far/close | Adjust the focus wheel Move the projector closer or further from the screen |
| Image is trapezoidal | No keystone correction Projector not perpendicular to screen | Adjust the keystone correction wheel Reposition the projector to be directly in front of the screen |
| No sound | Volume too low Mute function active Audio cable not connected (for AV) External speakers not connected/powered | Increase volume Deactivate mute Ensure audio cables are properly connected Check external speaker connection and power |
| Remote control not working | Batteries are dead or incorrectly inserted Obstruction between remote and projector | Replace batteries (2x AAA) Ensure clear line of sight to the projector's IR receiver |
8. Specifications
| Feature | Specification |
|---|---|
| Model Number | TX-177 (4971) |
| Native Resolution | 1920 x 1080 Pixels (Full HD 1080p) |
| Brightness | 15,000 lm (lumens) |
| Projection Size | 50" to 200" (127 cm to 508 cm) |
| LED Lifetime | 40,000 hours |
| Integrated Speaker | 3W |
| Input Ports | 2x HDMI, VGA, USB, SD, AV |
| Product Dimensions | 9.21 x 7.36 x 3.78 inches (23.4 x 18.7 x 9.6 cm) |
| Item Weight | 4.07 pounds (1.85 kg) |
| Power Supply | AC 100-240V, 50/60Hz |
| Batteries (Remote) | 2 AAA batteries (included) |
| Manufacturer | TECHNAXX DEUTSCHLAND GMBH |
9. Warranty and Support
For warranty information and technical support, please refer to the warranty card included with your product or visit the official Technaxx website. You may also contact your retailer for assistance.
Related documentsTX-177


Ask a question about this manual
Ask about setup, troubleshooting, compatibility, parts, safety, or missing instructions. Manuals+ will review the question and use this page’s manual context to help answer it.