
1. Introduction
Thank you for choosing the Dripex Hollywood Lighted Makeup Mirror. This mirror is designed to provide optimal lighting for your makeup application, featuring 14 dimmable LED bulbs, touch controls, and three adjustable light modes. Please read this manual carefully before use to ensure proper installation and operation.
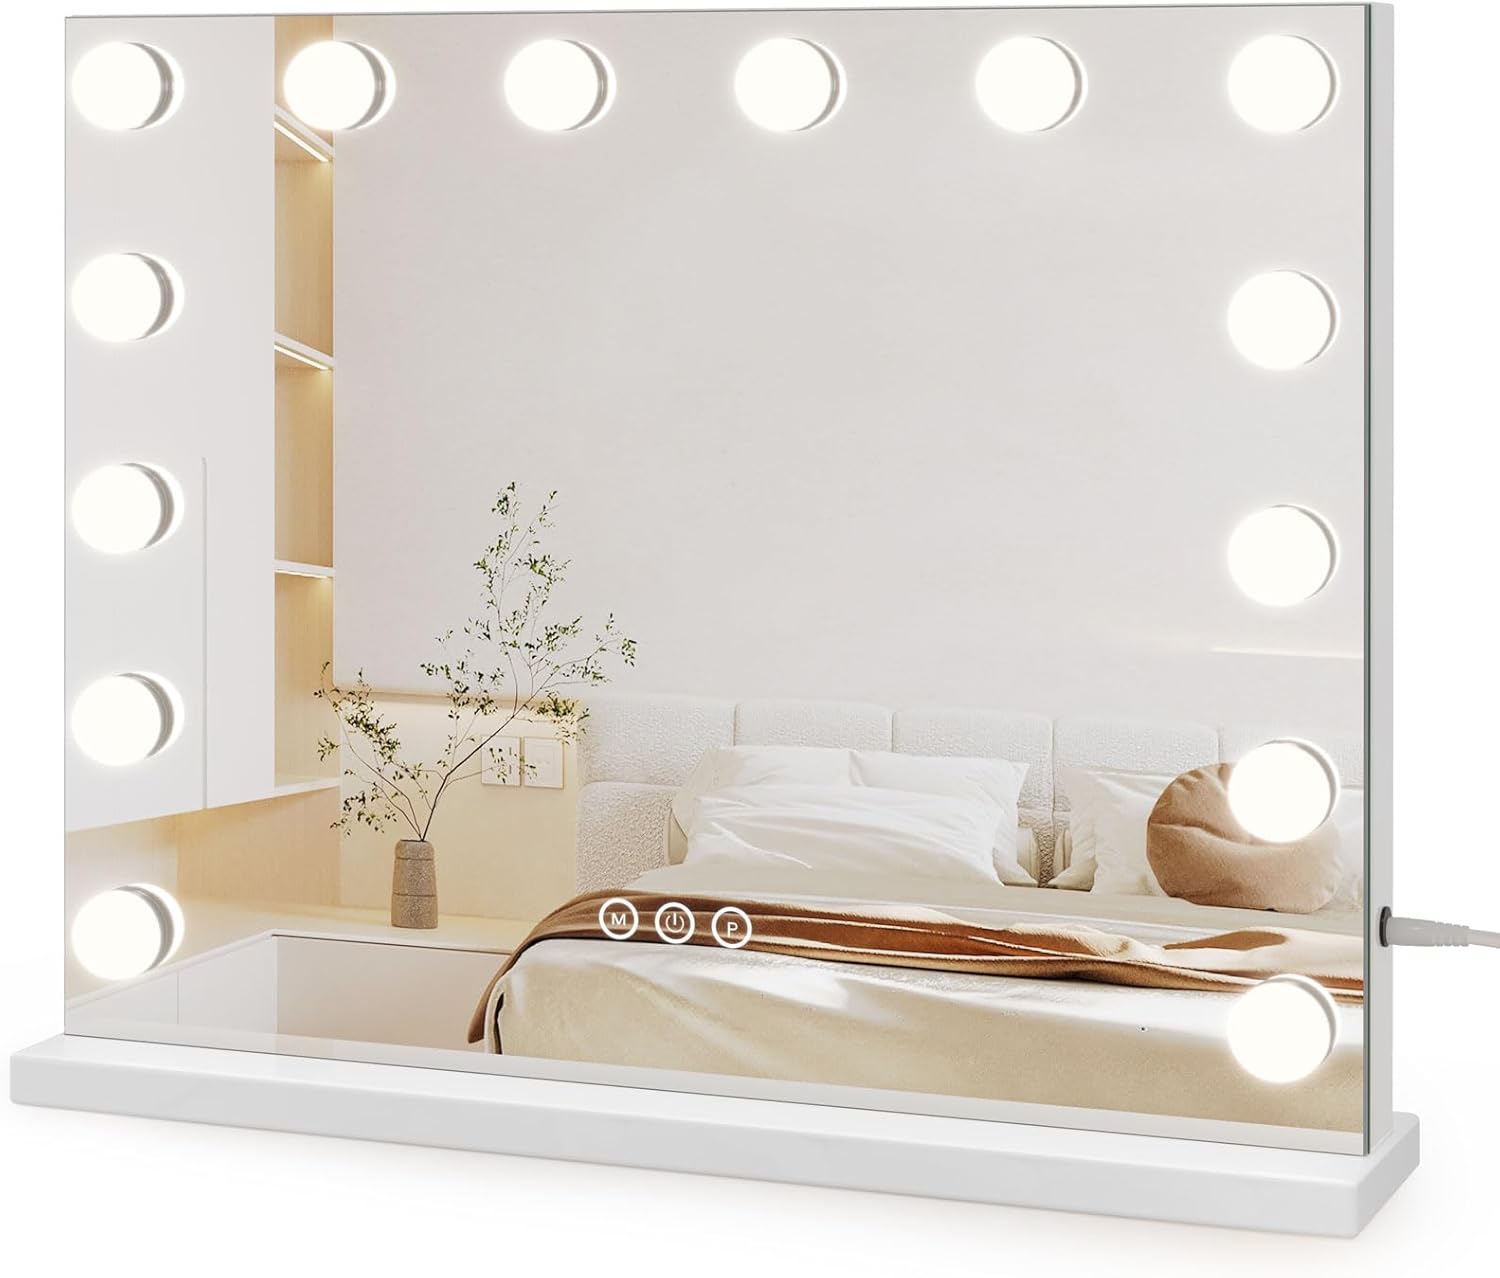
Image 1: The Dripex Hollywood Lighted Makeup Mirror, showcasing its sleek design and illuminated bulbs.
2. Safety Information
This product is fragile; handle it with care. The detachable 10X magnifying mirror may present a choking hazard if not handled correctly. The mirror has sharp edges that can cause injury if you are not careful. Please read the instructions carefully before use.
- Always place the mirror on a stable, flat surface.
- Keep out of reach of children.
- Do not expose the mirror to excessive moisture or direct water contact.
- Unplug the mirror from the power source before cleaning or when not in use for extended periods.
3. Package Contents
Please check the package for the following items:
- Dripex Hollywood Lighted Makeup Mirror (50 x 42 cm)
- Detachable 10X Magnifying Mirror
- USB Power Cable
- Instruction Manual

Image 2: Overview of the mirror's components, including the 14 dimmable LED bulbs, the detachable 10X magnifying mirror, the touch sensor switch, and the USB cable.
4. Setup and Installation
4.1 Tabletop Placement
- Unpack the mirror and all components carefully.
- Place the mirror on a clean, flat, and stable surface, such as a vanity table or dresser.
- Connect the USB power cable to the mirror's power input port and then to a suitable USB power adapter (not included) or a USB port.
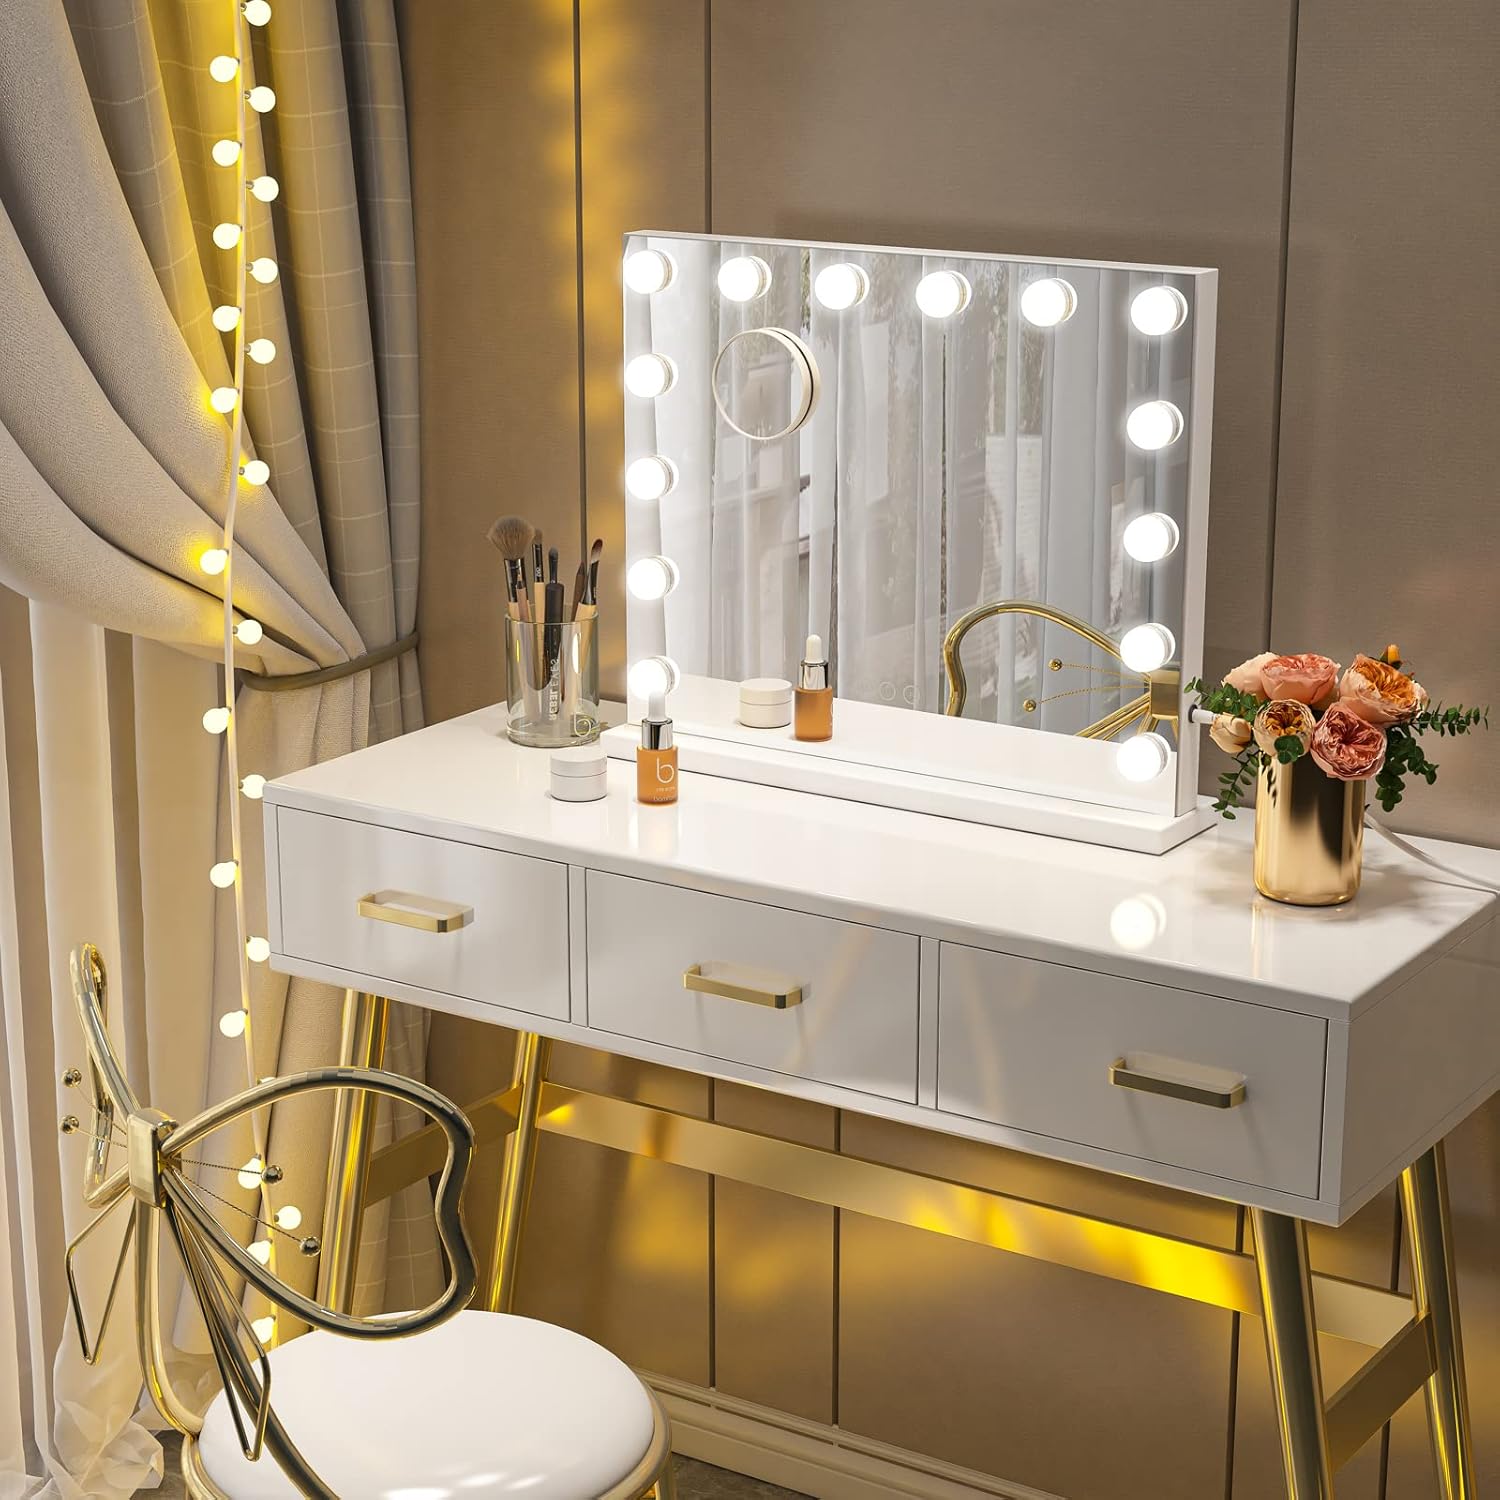
Image 3: The mirror placed on a vanity table, ready for use.
4.2 Wall Mounting (Optional)
The mirror can also be wall-mounted. Ensure you use appropriate wall anchors and screws for your wall type (not included).
- Identify the mounting holes on the back of the mirror.
- Measure the distance between the mounting holes.
- Mark the corresponding positions on the wall.
- Drill holes and insert appropriate wall anchors.
- Secure the mirror to the wall using screws, ensuring it is level and stable.
- Connect the USB power cable as described in section 4.1.

Image 4: The mirror wall-mounted, demonstrating its versatility.
5. Operating Instructions
The mirror features intuitive touch controls located on the mirror surface.
5.1 Power On/Off
- Touch the central power button (O) to turn the mirror lights on or off.
5.2 Adjusting Light Modes
The mirror offers three light modes: Cold Light, Natural Light, and Warm Light.
- Touch the 'M' button (Mode) on the left to cycle through the three light modes.
- Each mode is suitable for different makeup needs:
- Cold Light: Ideal for office or professional makeup.
- Natural Light: Best for outdoor or daily makeup.
- Warm Light: Suitable for evening or party makeup.

Image 5: Visual representation of the three light modes: Cold, Natural, and Warm, demonstrating their different color temperatures.
5.3 Adjusting Brightness
- Press and hold the 'P' button (Power/Brightness) on the right to adjust the brightness level. The brightness will gradually increase or decrease. Release the button when the desired brightness is reached.

Image 6: Illustration of the dimmable brightness feature, showing a range from dim to strong light.
5.4 Memory Function
The mirror is equipped with a memory function that retains your last used light mode and brightness settings when turned off and on again.
5.5 Using the 10X Magnifying Mirror
- The detachable 10X magnifying mirror can be attached to the main mirror surface using its suction cups.
- Use it for detailed tasks such as eyeliner application, eyebrow shaping, or precise skincare.

Image 7: A user applying makeup, utilizing the detachable 10X magnifying mirror for detailed work.
6. Maintenance
- Cleaning the Mirror: Use a soft, lint-free cloth and a glass cleaner to wipe the mirror surface. Avoid abrasive cleaners or harsh chemicals.
- Cleaning the Frame: Wipe the metal frame with a soft, damp cloth.
- Bulb Replacement: The LED bulbs are designed for long-term use (over 50,000 hours) and are not user-replaceable. If a bulb malfunctions, please contact customer support.
- Storage: When not in use, store the mirror in a dry, cool place, away from direct sunlight and moisture.
7. Troubleshooting
| Problem | Possible Cause | Solution |
|---|---|---|
| Lights do not turn on. | No power connection or faulty cable. | Ensure the USB cable is securely connected to both the mirror and a working power source. Try a different USB adapter or port. |
| Touch controls are unresponsive. | Temporary software glitch or dirty sensor. | Unplug the mirror for 30 seconds and plug it back in. Clean the touch sensor area with a soft, dry cloth. |
| Brightness or color mode cannot be changed. | Incorrect button press or temporary issue. | Ensure you are pressing the correct 'M' or 'P' button. Try resetting the mirror by unplugging it. |
8. Specifications

Image 8: Detailed dimensions of the mirror and icons representing its key features: Touch Control, LED Color Adjustable, LED Brightness Dimmable, Wall Mounted, and Brightness Memory.
| Feature | Detail |
|---|---|
| Brand | Dripex |
| Model Name | Hollywood Lighted Makeup Mirror |
| Dimensions (L x W) | 50 x 42 cm (19.7 x 16.5 inches) |
| Frame Material | Metal |
| Color | White |
| Light Source | 14 Dimmable LED Bulbs |
| Light Modes | 3 (Warm, Natural, Cold) |
| Control Type | Touch Control |
| Special Features | Dimmable, Color Changing, Brightness Memory Function |
| Magnification | 10X (detachable magnifying mirror) |
| Mounting Type | Tabletop or Wall Mount |
9. Warranty and Support
Dripex products are manufactured to high-quality standards. For any issues, questions, or support needs, please contact our customer service. Please retain your proof of purchase for warranty claims.
Contact information can typically be found on the product packaging or the retailer's website where you purchased the item.