
Scheppach HM305SL
Scheppach HM305SL Miter Saw User Manual
Model: HM305SL | Brand: Scheppach
1. Introduction
Thank you for choosing the Scheppach HM305SL Miter Saw. This manual provides essential information for the safe and efficient operation, maintenance, and troubleshooting of your new tool. Please read this manual thoroughly before operating the machine and keep it for future reference.
The Scheppach HM305SL is a powerful and versatile compound miter saw designed for precise cutting of wood and plastic materials. Its robust construction and advanced features ensure high performance and safety for various woodworking tasks.
2. Safety Instructions
WARNING: Read all safety warnings, instructions, illustrations, and specifications provided with this power tool. Failure to follow all instructions listed below may result in electric shock, fire, and/or serious injury.
2.1 General Power Tool Safety Warnings
- Keep work area clean and well lit. Cluttered or dark areas invite accidents.
- Do not operate power tools in explosive atmospheres, such as in the presence of flammable liquids, gases, or dust.
- Keep children and bystanders away while operating a power tool.
2.2 Electrical Safety
- Power tool plugs must match the outlet. Never modify the plug in any way.
- Avoid body contact with earthed or grounded surfaces, such as pipes, radiators, ranges, and refrigerators.
- Do not expose power tools to rain or wet conditions.
2.3 Personal Safety
- Always wear eye protection, hearing protection, and a dust mask.
- Dress properly. Do not wear loose clothing or jewelry. Keep your hair and clothing away from moving parts.
- Stay alert, watch what you are doing, and use common sense when operating a power tool.
2.4 Miter Saw Specific Safety
- Always ensure the workpiece is securely clamped before cutting.
- Never attempt to cut freehand.
- Ensure the saw blade is sharp and correctly installed.
- Allow the blade to reach full speed before beginning a cut.
- Do not remove cut-off material until the blade has completely stopped.
3. Package Contents
Carefully unpack all items and check for any damage. Ensure all components are present before discarding packaging materials.
- Scheppach HM305SL Miter Saw Unit
- 305 mm HW Saw Blade (48 teeth)
- Workpiece Clamp
- Dust Bag
- Assembly Tools (e.g., Hex Key)
- User Manual

Figure 3.1: Main unit of the Scheppach HM305SL Miter Saw, showing the saw blade, laser guide, and base.
4. Setup
4.1 Unpacking and Assembly
- Place the saw on a stable, level workbench.
- Secure the saw to the workbench using appropriate fasteners through the mounting holes in the base.
- Install the saw blade:
- Ensure the saw is unplugged.
- Press the spindle lock button.
- Use the provided wrench to loosen the blade retaining bolt.
- Carefully place the 305mm HW saw blade onto the spindle, ensuring the teeth are oriented correctly for cutting.
- Tighten the blade retaining bolt securely.
- Attach the dust bag to the dust extraction port.
4.2 Adjusting the Work Table and Saw Head
The swiveling work table can be adjusted for miter cuts, and the saw head can be tilted for bevel cuts.

Figure 4.1: The swiveling work table can be adjusted from -50° to +50° for precise miter cuts.
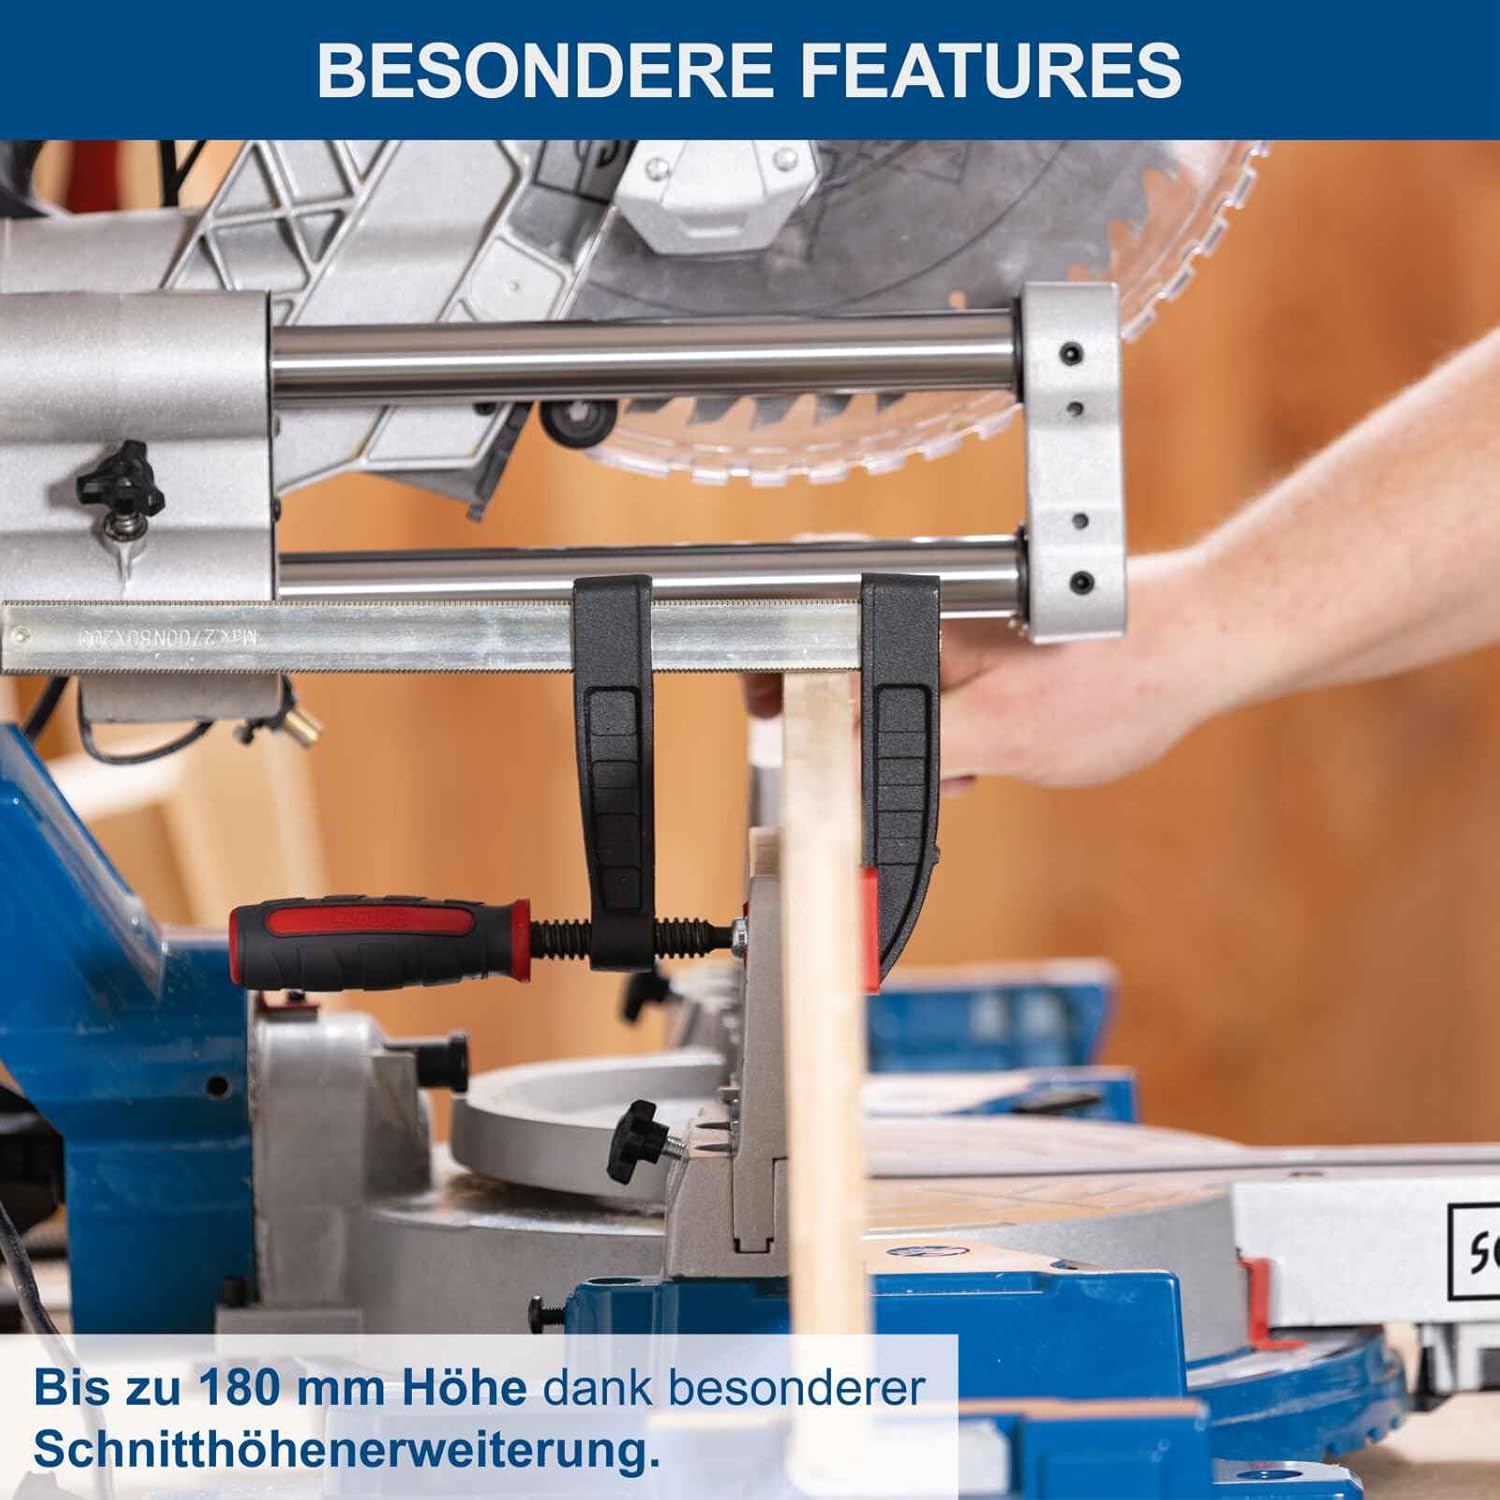
Figure 4.2: The saw head can be tilted up to 48° on both sides for accurate bevel cuts.
- To adjust the miter angle: Loosen the locking knob for the work table, rotate the table to the desired angle (-50° to +50°), and tighten the knob.
- To adjust the bevel angle: Loosen the locking lever for the saw head, tilt the saw head to the desired angle (up to 48° on both sides), and secure the lever.
4.3 Laser Adjustment
The integrated laser provides a precise cutting line for improved accuracy.
- The laser is typically pre-calibrated. If adjustment is needed, consult the detailed instructions in the full manual for laser alignment screws.
5. Operating Instructions
5.1 Basic Operation
- Plug the saw into a suitable 230V power outlet.
- Place the workpiece firmly against the fence and secure it with the workpiece clamp.
- Align the laser line with your desired cut mark on the workpiece.
- Press the power switch to start the saw. The soft start function will ensure a smooth ramp-up to full speed.
- Once the blade reaches full speed, slowly and steadily lower the saw head through the workpiece. For wider materials, utilize the sliding function by pulling the saw head forward before lowering and pushing it back through the cut.
- After the cut is complete, release the power switch and allow the blade to come to a complete stop before raising the saw head and removing the workpiece.

Figure 5.1: The sliding function with double guide allows for cutting wider workpieces without needing space behind the machine.

Figure 5.2: The saw offers a high cutting capacity of up to 180 mm height for thicker materials.
5.2 Cutting Applications
The HM305SL is suitable for various cutting tasks:
- Cross Cuts: Standard cuts across the grain of the wood.
- Miter Cuts: Angled cuts across the face of the workpiece (e.g., for picture frames, trim).
- Bevel Cuts: Angled cuts through the thickness of the workpiece (e.g., for crown molding).
- Compound Cuts: A combination of miter and bevel cuts.
- Grooves/Dadoes: Partial cuts for joinery (requires careful depth adjustment).

Figure 5.3: Examples of common cutting applications for the HM305SL miter saw.
6. Maintenance
Regular maintenance ensures the longevity and optimal performance of your miter saw.
6.1 Cleaning
- Always unplug the saw before cleaning.
- Remove sawdust and debris from the saw, especially around the blade guard, motor vents, and sliding mechanism. Use a brush or compressed air.
- Clean the work table and fence to ensure smooth operation and accurate measurements.
6.2 Blade Care
- Inspect the saw blade regularly for sharpness and damage. A dull blade can cause kickback and poor cut quality.
- Replace worn or damaged blades immediately. Always use a 305mm blade with a 30mm bore, suitable for the material being cut.
6.3 Lubrication
- Apply a thin layer of machine oil or silicone spray to the sliding rails periodically to ensure smooth movement.
7. Troubleshooting
| Problem | Possible Cause | Solution |
|---|---|---|
| Saw does not start | No power supply; Faulty power cord/plug; Overload protection tripped. | Check power connection; Inspect cord/plug; Reset circuit breaker; Allow motor to cool. |
| Poor cut quality (rough edges, burning) | Dull or incorrect blade; Incorrect cutting speed; Workpiece not secured. | Replace blade; Use appropriate blade for material; Ensure workpiece is clamped firmly; Adjust cutting speed. |
| Laser line is inaccurate | Laser misaligned; Debris on laser lens. | Clean laser lens; Refer to manual for laser calibration instructions. |
| Saw blade binds in workpiece | Workpiece not supported correctly; Blade is dull; Forcing the cut. | Ensure proper workpiece support; Replace blade; Do not force the saw through the cut. |
If the problem persists after attempting these solutions, please contact Scheppach customer support.
8. Technical Specifications
| Feature | Specification |
|---|---|
| Model | HM305SL |
| Power Input | 2000 W |
| Voltage | 230 V |
| Saw Blade Diameter | 305 mm |
| Blade Bore Diameter | 30 mm |
| Max. Cutting Width (90°) | 340 mm |
| Max. Cutting Height (90°) | 180 mm |
| Miter Angle Range | -50° to +50° |
| Bevel Angle Range | 0° to 48° (both sides) |
| Weight | 24.6 kg |
| Special Features | Laser guide, Soft start, Sliding function |

Figure 8.1: Cutting capacities and blade specifications.

Figure 8.2: Power, laser, and design features.
9. Warranty and Support
9.1 Warranty Information
Scheppach products are manufactured to high-quality standards and undergo rigorous quality control. This product is covered by a manufacturer's warranty against defects in materials and workmanship. Please refer to the warranty card included with your product for specific terms and conditions, including warranty period and claim procedures.
9.2 Customer Support
For technical assistance, spare parts, or warranty claims, please contact Scheppach customer service. You can find contact information on the Scheppach website or in the warranty documentation.
When contacting support, please have your product model (HM305SL) and serial number ready.
Visit the official Scheppach website for more information: www.scheppach.com
Related documentsHM305SL


Ask a question about this manual
Ask about setup, troubleshooting, compatibility, parts, safety, or missing instructions. Manuals+ will review the question and use this page’s manual context to help answer it.