1. Introduction
Thank you for choosing the Madenia Retro Style Portable 35000 RPM Electric Nail Drill Machine. This professional-grade device is designed for efficient and precise nail care, suitable for both personal and salon use. Its portable design, powerful motor, and user-friendly features make it an ideal tool for various manicure and pedicure tasks, including filing, shaping, polishing, and removing gel or acrylic nails. Please read this manual thoroughly before first use to ensure safe and optimal operation.
2. Product Overview
Key Features
- Rechargeable & Portable: Built-in high-capacity battery provides up to 12 hours of use after a 3-hour full charge, ideal for home or travel. Features a strong clip for easy portability on a belt or pocket.
- Powerful 35000 RPM Motor: Offers variable speeds from 0-35000 RPM for engraving, carving, grinding, sharpening, sanding, and polishing, effectively handling gel polish, acrylic nails, and poly nail gel.
- Low Noise & Low Vibration: Engineered for a quiet and smooth operation, enhancing user comfort.
- Forward/Reverse Direction: Easily switch rotation direction, accommodating both left-handed and right-handed users.
- Retro Style Design: Features a unique dashboard-inspired speed control knob with a pointer for clear speed indication.
Components

Figure 2.1: Main unit (left) and handpiece (right) of the Madenia nail drill.
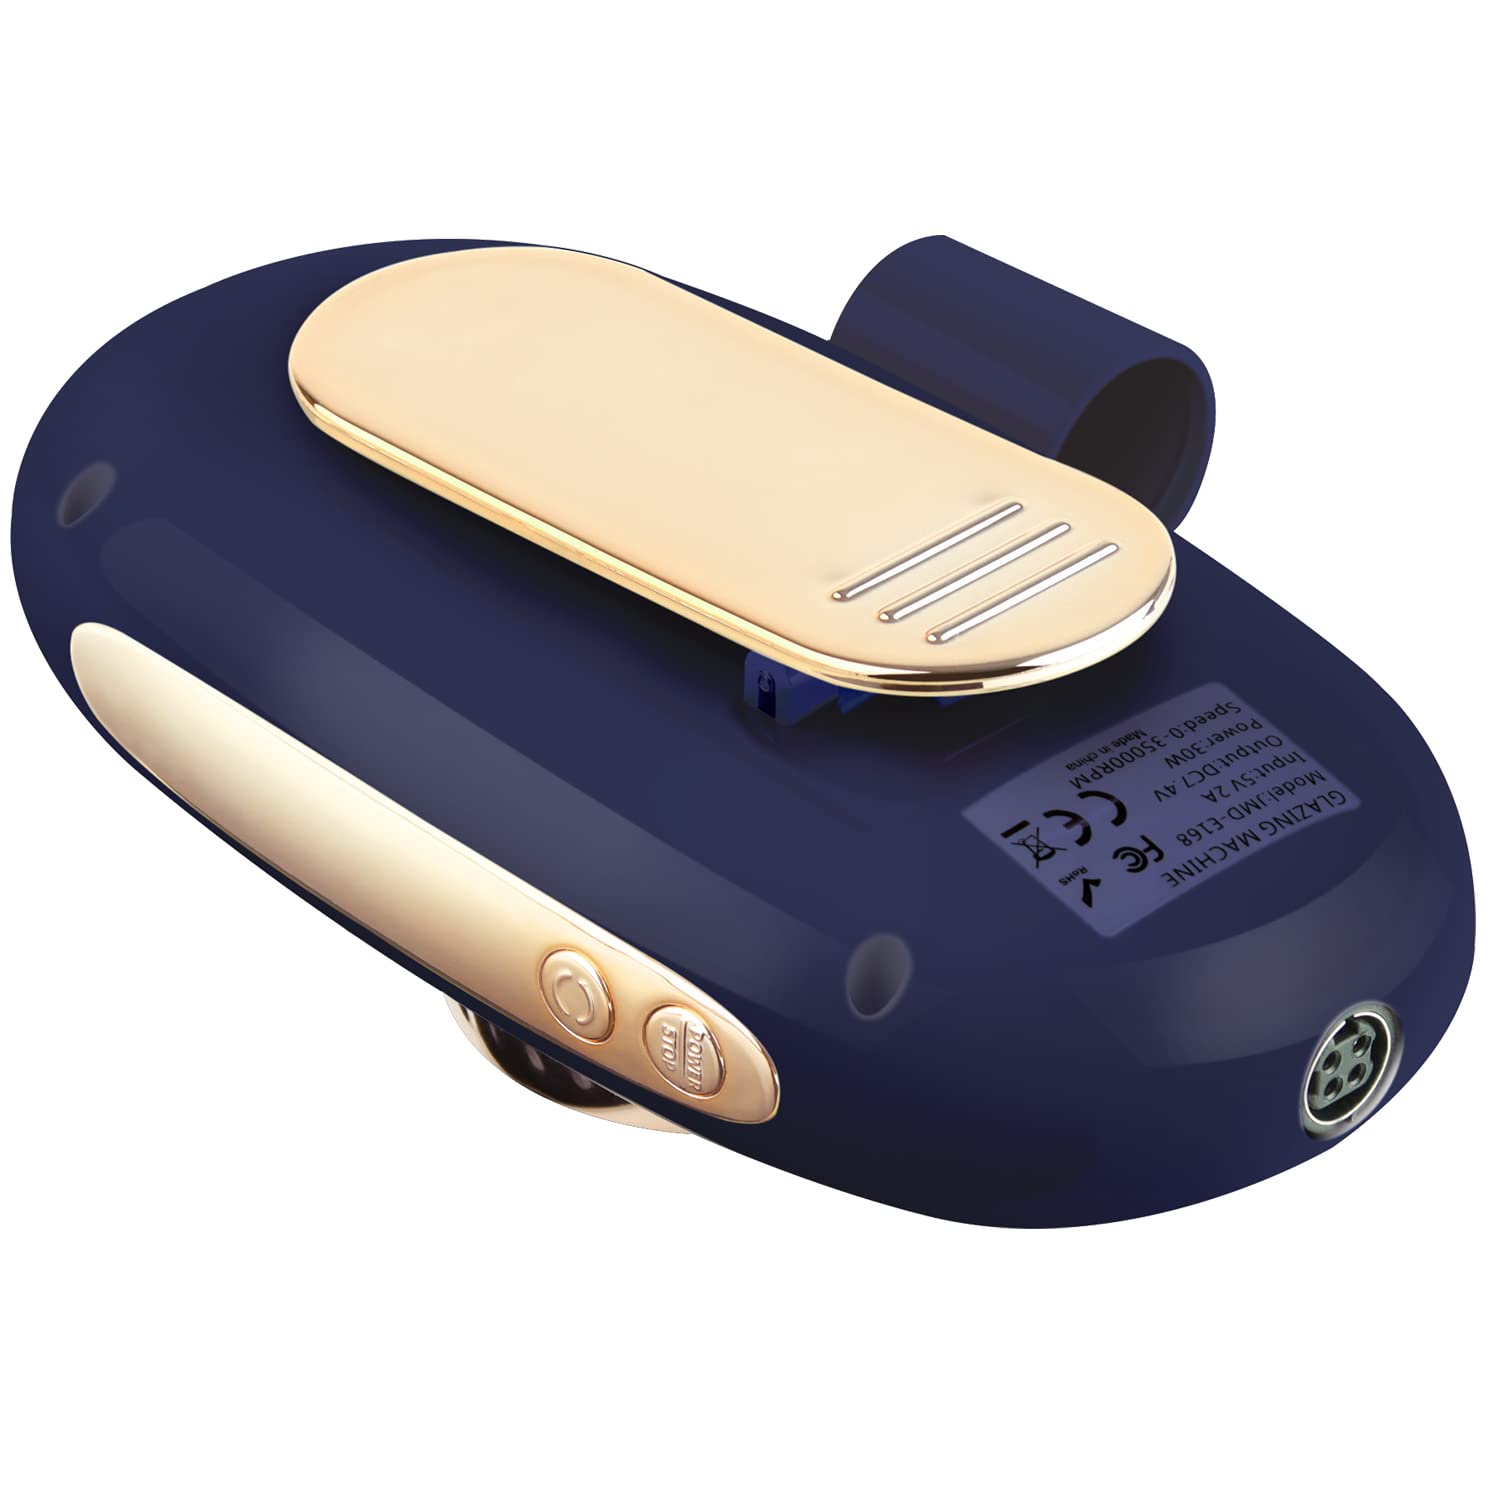
Figure 2.2: Rear view of the control unit, highlighting the belt clip and power input.

Figure 2.3: Angled view of the nail drill, showcasing the speed dial and LED indicators.

Figure 2.4: The nail drill's portability demonstrated by being clipped to clothing.
3. Setup
3.1 Charging the Device
Before first use, fully charge the nail drill. Connect the provided USB charging cable to the charging port on the control unit and plug the other end into a compatible USB power adapter (not included). The LED indicators on the control unit will show charging status. A full charge typically takes 3 hours.
3.2 Attaching the Handpiece
Ensure the control unit is turned off. Align the connector of the handpiece with the corresponding port on the control unit. Gently push until it clicks into place, ensuring a secure connection.
3.3 Inserting Nail Drill Bits
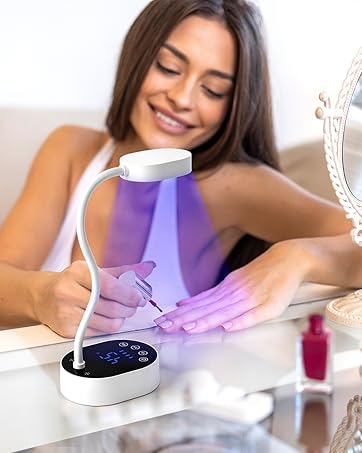
Figure 3.1: Twist the handpiece to unlock the chuck.

Figure 3.2: Insert the desired drill bit into the opening.

Figure 3.3: Twist the handpiece back to lock the bit securely.
- Ensure the handpiece is unlocked by twisting the middle section (refer to Figure 3.1).
- Insert the desired nail drill bit firmly into the opening (refer to Figure 3.2).
- Twist the middle section of the handpiece back to lock the bit securely in place (refer to Figure 3.3). Ensure the bit is fully seated and cannot be pulled out easily.
4. Operating Instructions
4.1 Power On/Off
Press and hold the power button on the control unit to turn the device on or off. The LED indicators will illuminate when the device is on.
4.2 Adjusting Speed
Figure 4.1: Adjusting the speed using the rotary knob.
Rotate the large knob on the control unit clockwise to increase the speed and counter-clockwise to decrease it. The pointer on the retro dashboard display will indicate the current RPM setting (refer to Figure 4.1).
4.3 Changing Rotation Direction (Forward/Reverse)
Locate the F/R (Forward/Reverse) button on the control unit. Press this button to switch the rotation direction of the drill bit. This feature is useful for working on different hands or for specific nail techniques.
4.4 Usage Tips
- Always start with a low speed and gradually increase it as needed.
- Apply light pressure to avoid damaging the nail or skin.
- Keep the handpiece moving to prevent heat buildup on the nail.
- Use appropriate drill bits for different tasks (e.g., fine grit for natural nails, coarser for acrylics).
- Regularly clean and sanitize drill bits after each use.
5. Maintenance
- Cleaning the Device: Wipe the control unit and handpiece with a soft, dry cloth. Do not use harsh chemicals or immerse the device in water.
- Cleaning Drill Bits: After each use, remove debris from drill bits using a small brush. Sanitize bits with an appropriate disinfectant solution.
- Storage: Store the nail drill and its accessories in a cool, dry place, away from direct sunlight and moisture. Keep out of reach of children.
- Battery Care: To prolong battery life, avoid fully discharging the battery frequently. Charge the device regularly, even if not in use for extended periods.
6. Troubleshooting
| Problem | Possible Cause | Solution |
|---|---|---|
| Drill not turning on | Low battery; Power button not pressed correctly; Handpiece not connected securely. | Charge the device; Press and hold the power button; Reconnect the handpiece firmly. |
| Bit not spinning or spinning slowly | Bit not inserted correctly; Chuck not locked; Speed set too low. | Re-insert bit and ensure it's locked; Increase speed using the knob. |
| Excessive vibration or noise | Bent or damaged drill bit; Bit not inserted properly; Handpiece issue. | Replace damaged bit; Re-insert bit correctly; Contact customer support if issue persists. |
| Device overheating | Prolonged continuous use; Blocked ventilation. | Allow device to cool down; Ensure ventilation ports are clear. |
7. Specifications
| Model Name | JMD-168 |
| Brand | Madenia |
| Material | Aluminum |
| Max RPM | 35000 RPM |
| Power Source | Battery Powered |
| Battery Type | 1 Lithium Ion battery required |
| Voltage | 240 Volts |
| Package Dimensions | 7.32 x 5.75 x 4.29 inches |
| Item Weight | 1.92 Pounds |
| Manufacturer | Buythem |
8. Warranty and Support
For warranty information or technical support, please refer to the product packaging or contact Madenia customer service directly. Keep your purchase receipt as proof of purchase for any warranty claims. Contact details can typically be found on the manufacturer's official website or through your retailer.


