
1. Introduction
This manual provides essential instructions for the safe and effective use of your Zasidler Singer Sewing Machine Pedal and Power Cord Replacement. This product is designed to replace original foot pedals and power cords for various Singer sewing machine models, ensuring reliable operation.
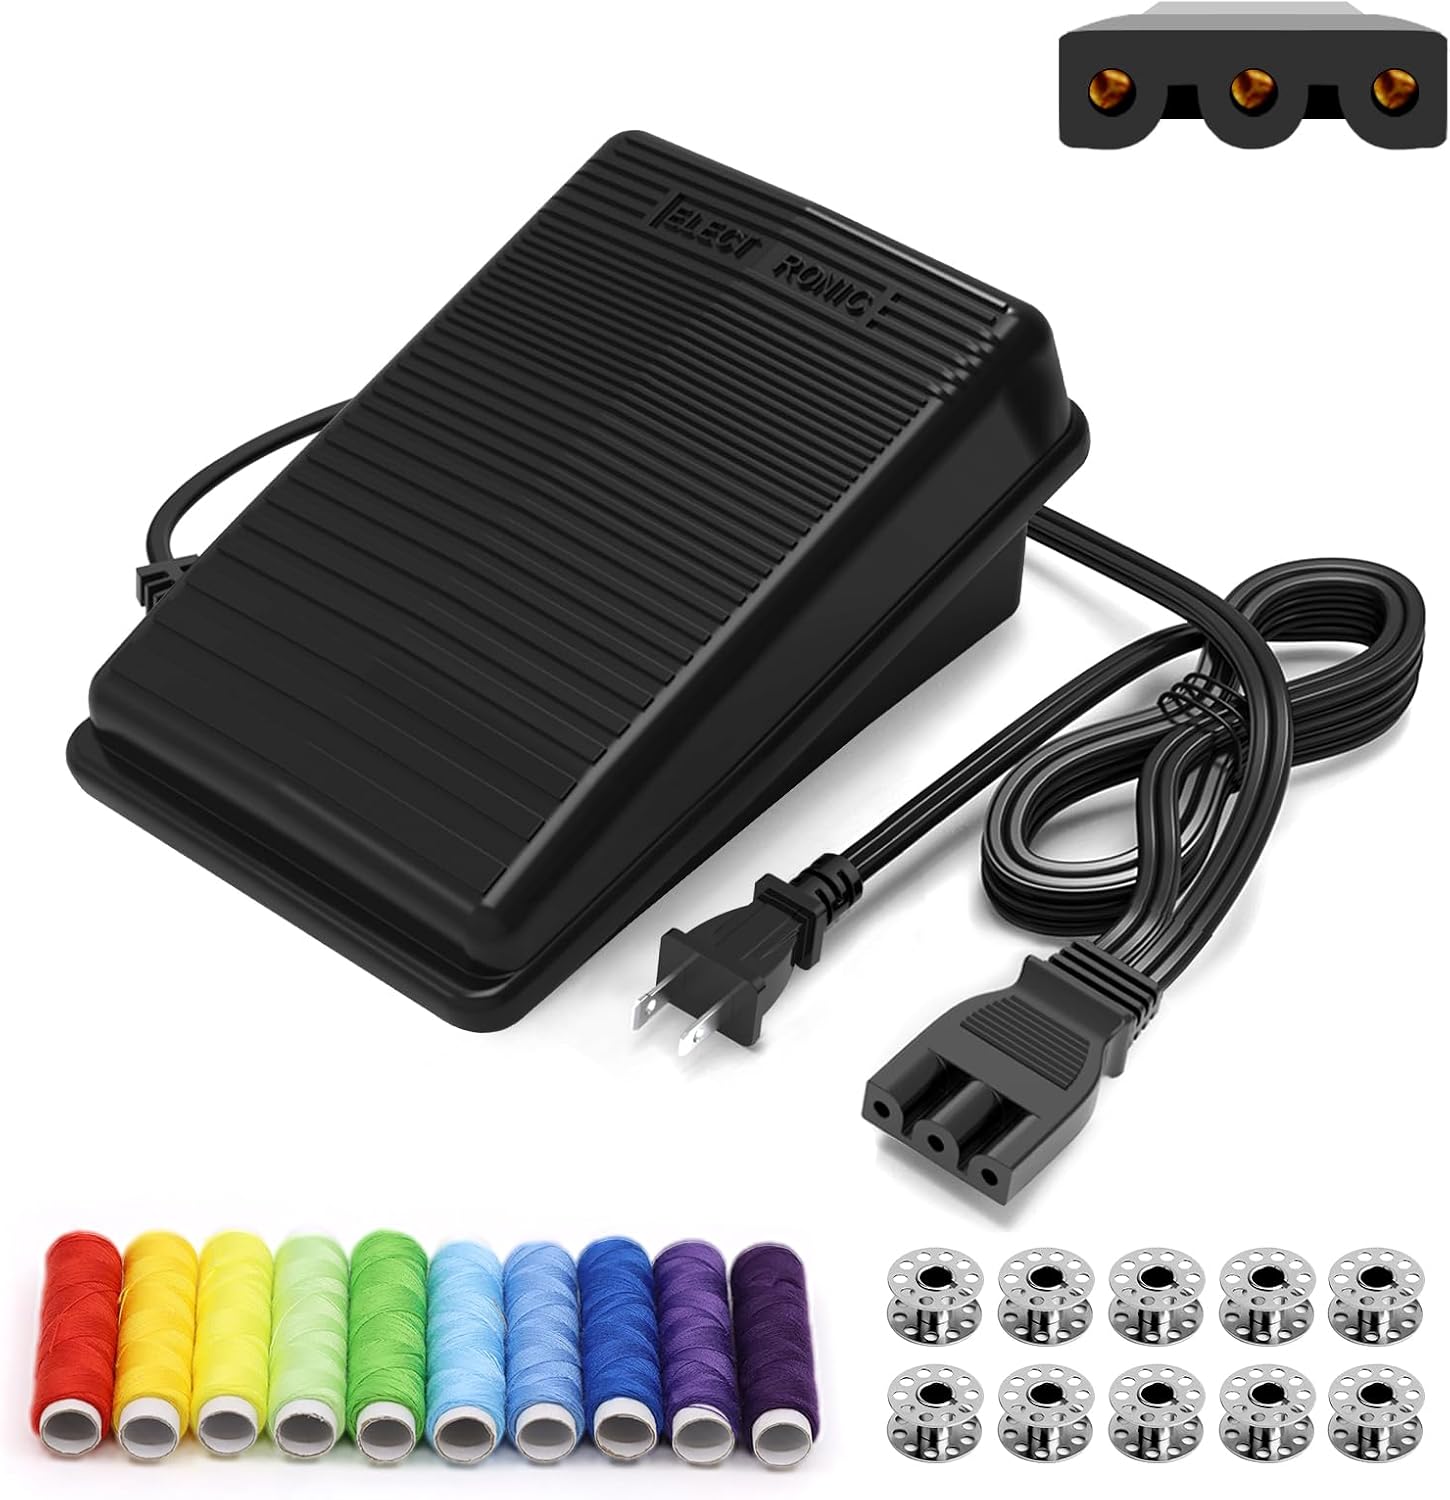
Image 1.1: The Zasidler Singer Sewing Machine Pedal and Power Cord Replacement, shown with included sewing threads and bobbins.
2. Compatibility
This replacement pedal and power cord are compatible with a wide range of Singer sewing machine models. Please verify your machine's model number and the shape of its power input port before installation.
2.1. Compatible Models (Partial List):
- Singer #359102-001, 1120, 1234, 1507, 1725, 2250, 2259, 2662, 2263, 2277, 2732, 2932, 3221, 3223, 3232, 3321, 3337, 3342, 4411, 4423, 4432, 4452, 44s, 50t8, 8280, e99670, m3220, KD 1902, FC 1902, m1500, mx60, Simple 3116, Start 1304, Talent 3323, Fashion Mate 3333, Promise 1512 / 1409 / 1408, Heavy Duty 6380, Esteem II 2273.
- Singer 1116, 1412, 1525, 1732, 1748, 2639, 3207, 3210, 3229, 3810, 3820, 3962, 4111, 4205, 4206, 4210, 4212, 4220, 4228, 5511, 5523, 5532, 5554, 6510, 6518, 6550, 7312, 7350, 85SCH, E10, mx231, m1150, m2100, m3305, m3300, m3400, m3500, Start 1306, Serger s0230, HD725, HD0400S, 14T948DC, 14T967DC, 14T968DC.
If your specific model is not listed, please compare the shape and size of your original plug with the images provided below. For further assistance, contact customer support with photos of your sewing machine's socket or old plug.

Image 2.1: Visual guide for plug compatibility. Ensure your machine's input matches the 'Compatible' shape.

Image 2.2: Guide on how to measure your existing plug to confirm compatibility with the replacement.
3. Setup Instructions
Follow these steps to correctly connect your new sewing machine pedal and power cord.
- Unpack Components: Carefully remove the foot pedal and power cord from its packaging.
- Connect to Sewing Machine: Locate the power input port on your sewing machine. Insert the three-pin connector of the new power cord firmly into this port. Ensure it is fully seated to establish a secure connection.
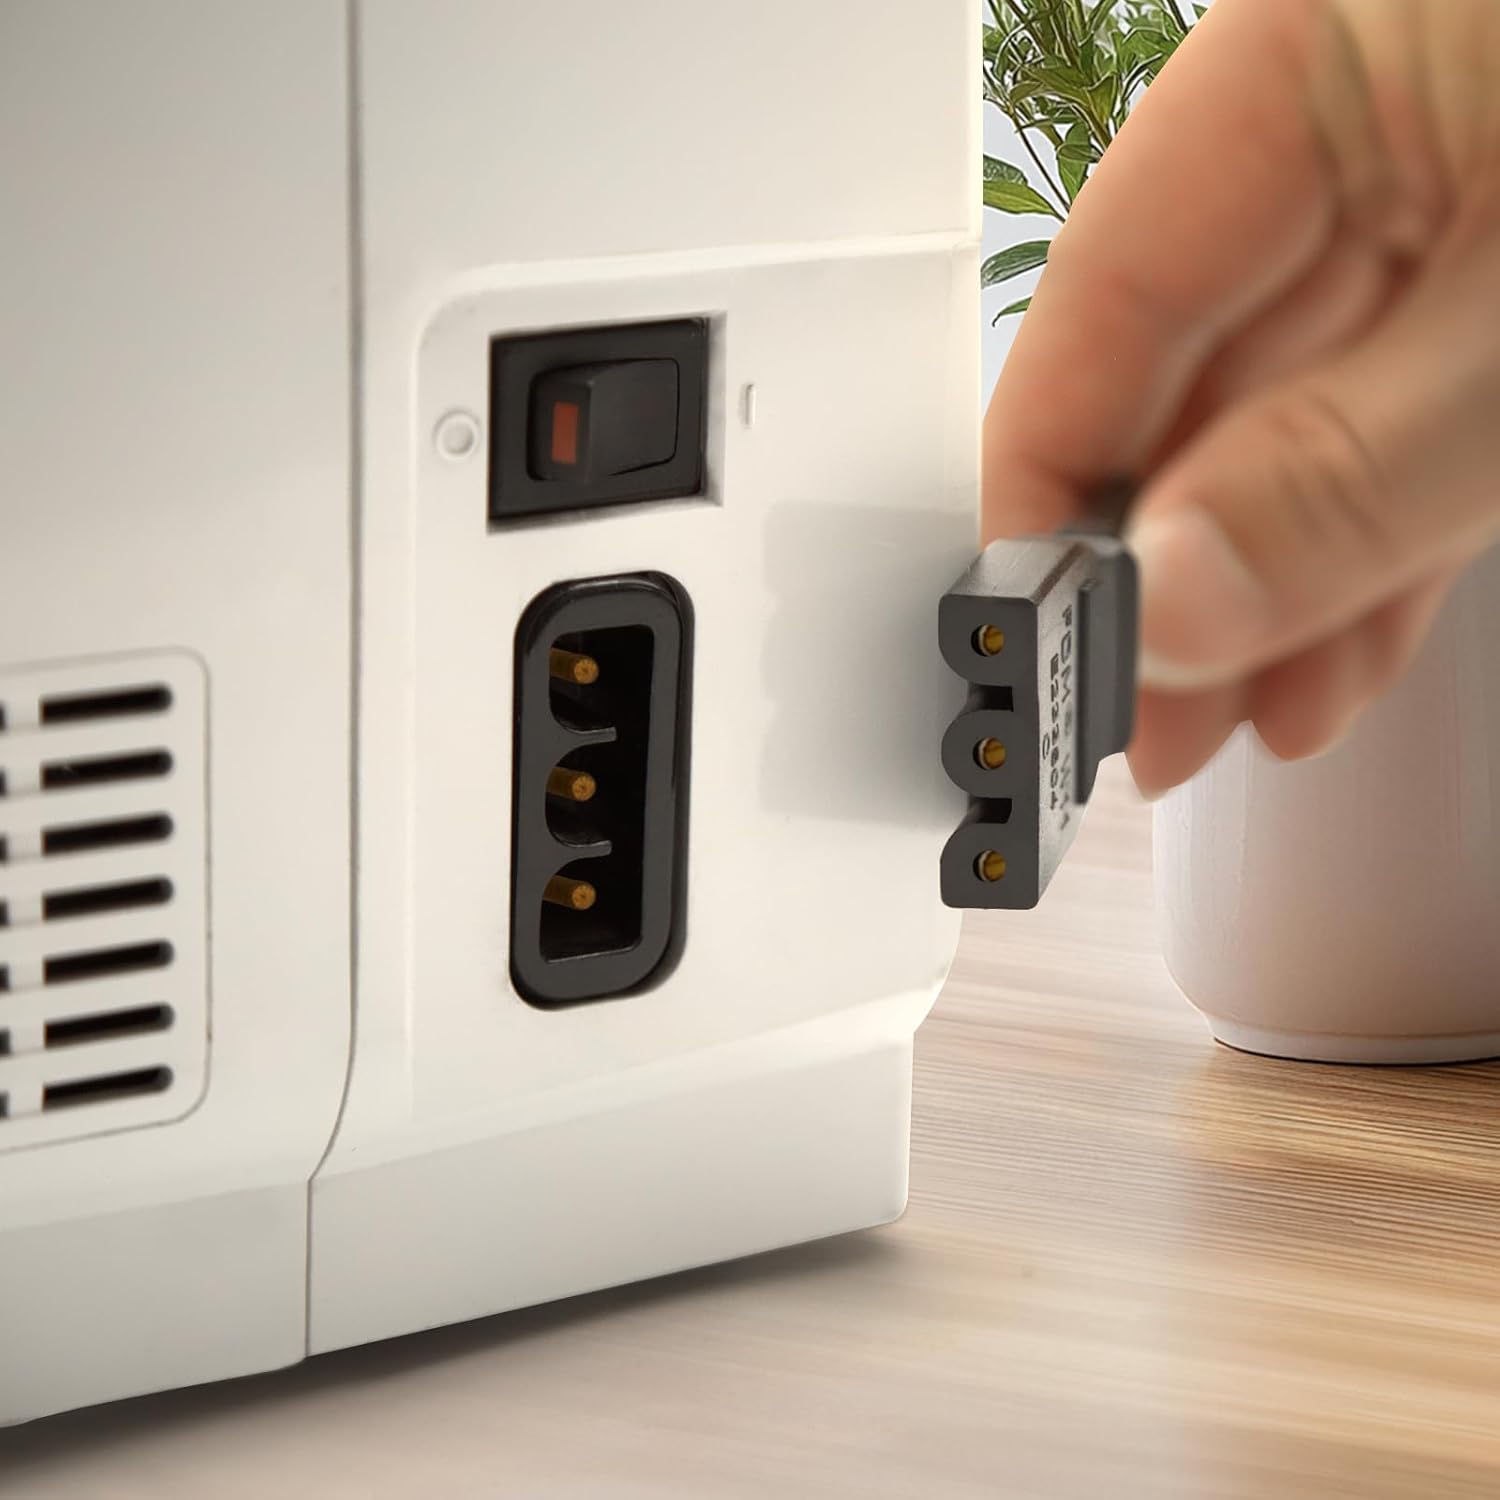
Image 3.1: Demonstrates inserting the power cord connector into the sewing machine's power socket.
- Connect to Power Outlet: Plug the two-prong power plug into a standard electrical wall outlet.

Image 3.2: Illustrates the complete connection of the pedal and power cord to the sewing machine and wall outlet.
- Verify Connection: Ensure all connections are snug. A loose connection may prevent the machine from receiving power.

Image 3.3: Visual guide emphasizing the importance of fully inserting the plug for proper power supply.
4. Operating Instructions
Once the pedal and power cord are correctly installed, operating your sewing machine is straightforward.
- Power On: Turn on your sewing machine using its main power switch.
- Control Speed: Place your foot on the pedal. Press down gently to start sewing at a slow speed. Increase pressure on the pedal to increase the sewing speed. Release pressure to slow down, and fully lift your foot to stop the machine.

Image 4.1: A sewing machine and pedal correctly positioned for operation.
5. Maintenance
Proper care will extend the life of your pedal and power cord.
- Cleaning: Wipe the pedal and cord with a dry, soft cloth to remove dust. Do not use liquid cleaners directly on the electrical components.
- Storage: When not in use, store the pedal and cord in a clean, dry place, away from direct sunlight and extreme temperatures. Avoid kinking or tightly wrapping the cord.
- Inspection: Periodically inspect the cord for any signs of wear, fraying, or damage. If any damage is observed, discontinue use and replace the unit.
6. Troubleshooting
If you encounter issues with your sewing machine pedal and power cord, consider the following:
- Machine Not Powering On:
- Ensure the power cord is fully inserted into both the sewing machine and the wall outlet.
- Check if the wall outlet is functional by plugging in another appliance.
- Verify the sewing machine's main power switch is in the 'ON' position.
- Machine Not Responding to Pedal:
- Confirm the pedal's connector is securely plugged into the machine.
- Inspect the pedal and cord for visible damage.
- Loose Connection: If the plug feels loose in your machine's port, ensure it matches the compatible plug shape. Some older machines may have slightly different port designs. If unsure, contact customer support.
7. Specifications
| Feature | Detail |
|---|---|
| Model Number | Singer #359102-001 |
| Product Dimensions | 7.9 x 5.9 x 2.6 inches |
| Item Weight | 15 ounces |
| Manufacturer | Zasidler |
| Wire Material | Full copper core (0.83 mm² flat wire) |
| Power Specifications | FC-1902 110V~120V 50/60Hz 0.95A |

Image 7.1: Visual representation of the product's internal specifications and quality features.
8. Warranty and Support
Your Zasidler Singer Sewing Machine Pedal and Power Cord Replacement comes with comprehensive support and warranty coverage:
- Warranty: 2-year free replacement service for damages.
- Returns: 30-day no-reason return and refund policy.
- Customer Support: 24-hour online quick response for any product-related inquiries. Please contact us if you have any questions or concerns.
9. Product Videos
No official product videos from the seller were found for this item.