
Bietrun WXM30
Bietrun 8-Channel Wireless Microphone System User Manual
Model: WXM30
Introduction
This manual provides comprehensive instructions for the setup, operation, maintenance, and troubleshooting of your Bietrun 8-Channel Wireless Microphone System. Designed for professional and recreational use, this system offers clear, stable audio performance for various applications including karaoke, church events, conferences, and live performances.
What's in the Box
- 8 x Handheld Microphones
- 1 x Receiver Unit
- 2 x Charging Cables (4-in-1 design)
- 1 x Power Adapter (UL-Certified)
- 4 x Microphone Antennas
- 1 x User Manual
- 1 x 6.35mm to 6.35mm Audio Cable
- 8 x Foam Windscreens (for microphones)
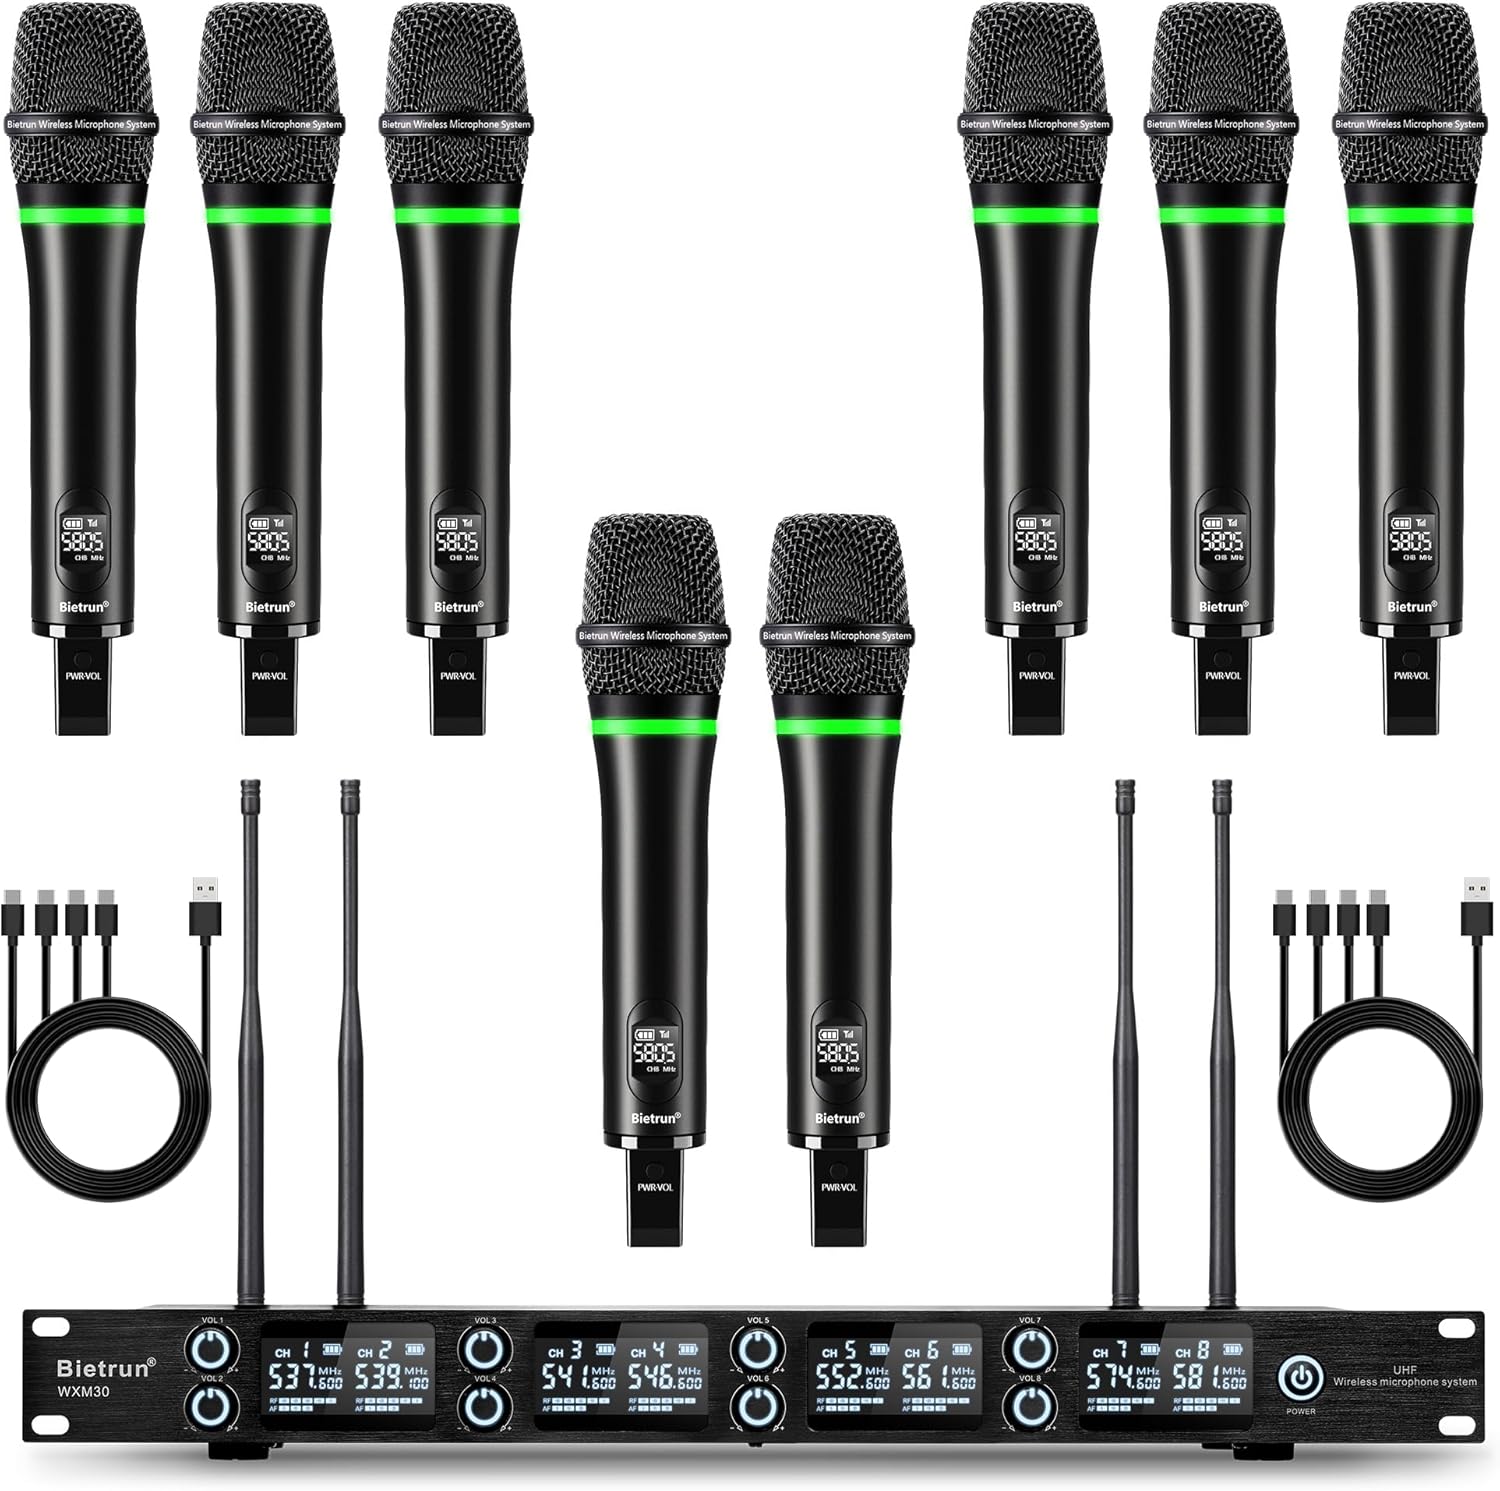
Figure 1: All components included in the Bietrun 8-Channel Wireless Microphone System package.
Setup Guide
1. Receiver Setup
- Place the receiver unit on a stable, flat surface.
- Attach the four microphone antennas to the designated ports on the back of the receiver. Ensure they are securely tightened.
- Connect the UL-Certified power adapter to the DC 12V input on the receiver and plug it into a power outlet.
- Turn on the receiver using the power switch. The LCD display will illuminate.

Figure 2: Rear panel of the receiver with antenna and output connections.
2. Microphone Preparation
- Ensure microphones are charged. Use the provided 4-in-1 charging cables to charge all 8 microphones simultaneously. The LED light ring on the microphone will show red during charging and green when ready.
- For outdoor use or to reduce plosives, attach the foam windscreens to the microphone heads.

Figure 3: Microphones connected for charging using the included 4-in-1 cables.
3. Connecting to Audio Systems
The receiver offers multiple output options for versatile connectivity:
- 6.35mm Output (Mixed Output): Use the included 6.35mm to 6.35mm cable to connect the receiver's "MIX 1-8 OUTPUT" port to the "MIC INPUT" of your amplifier, PA system, karaoke machine, or other audio equipment. This combines all microphone signals into a single output.
- XLR Balanced Outputs (Individual Channel Output): For professional setups requiring individual control over each microphone, use XLR cables (not included) to connect the "BALANCED 1" through "BALANCED 8" XLR ports on the receiver to a mixing console. This allows for separate volume and EQ adjustments for each microphone channel.

Figure 4: Example connection to an audio amplifier for home karaoke setup.
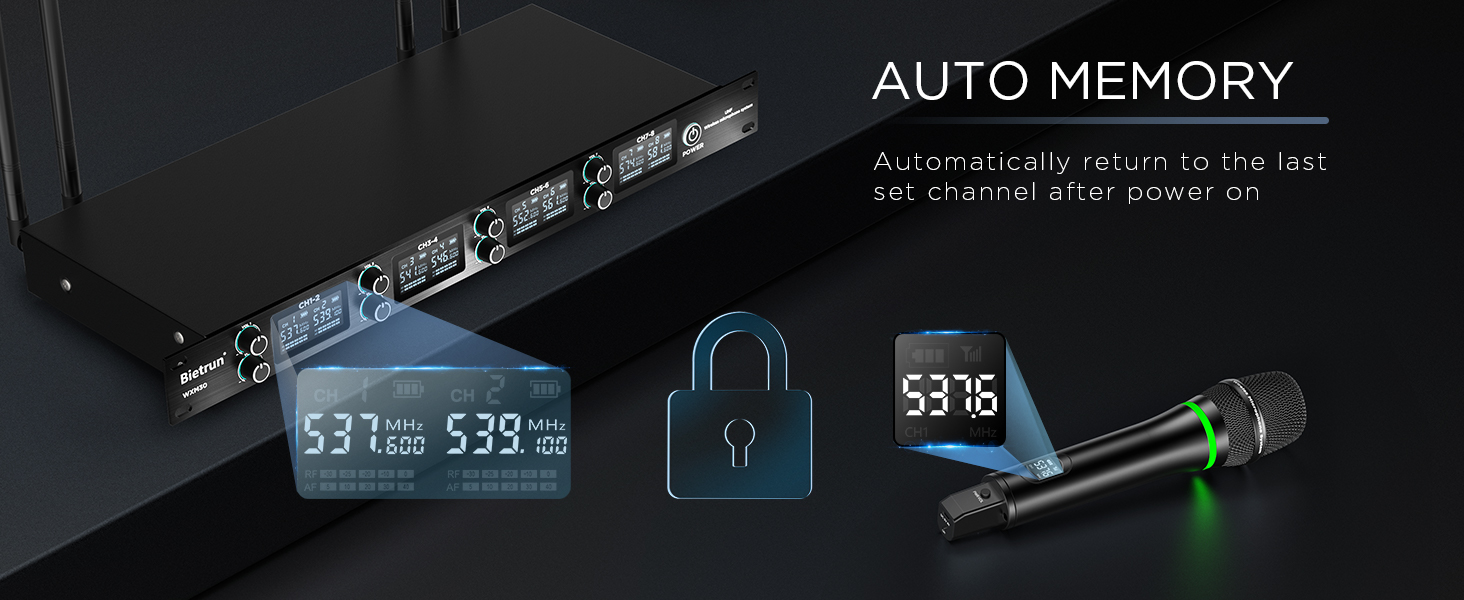
Figure 5: Wide compatibility with various multimedia devices using XLR or 6.35mm connections.
Operating Instructions
1. Powering On Microphones
Long press the "PWR·VOL" button located at the bottom of each microphone to turn it on. The microphone will automatically connect to the receiver. The LED light ring will turn green, and the microphone's LCD display will show its channel, frequency, battery level, and signal strength.

Figure 6: Detailed view of the microphone's display and controls.
2. Adjusting Microphone Volume
- On the Receiver: Each channel on the receiver has a dedicated volume knob (VOL-A, VOL-B, etc.) to adjust the output level for the corresponding microphone.
- On the Microphone: Short press the "PWR·VOL" button on the microphone to cycle through 5 volume levels (U01 to U05). This allows the user to fine-tune their individual microphone volume directly.
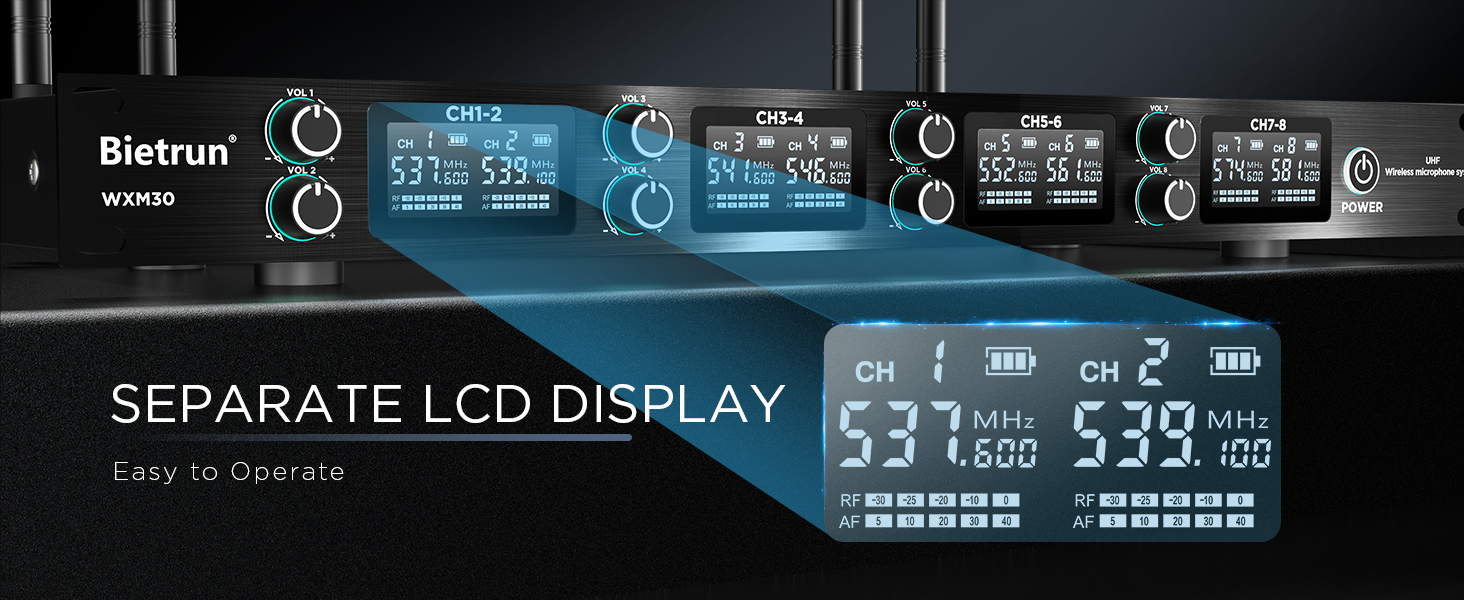
Figure 7: Separate LCD display on the receiver for easy operation.
3. Changing Frequencies (Anti-Interference)
The system operates on UHF selectable frequency bands (500 - 599Mhz) with 5 adjustable frequencies per mic. If you experience interference, you can change the microphone's operating frequency:
- Change Frequency: Double-press the "PWR·VOL" button on the affected microphone to change its operating frequency. The receiver will automatically re-sync.
- Auto-Memory: The system features auto-memory, automatically returning to the last set channel after power on.

Figure 8: Two sets of adjustable frequencies for interference avoidance.
4. Bluetooth Connectivity
The receiver unit features Bluetooth connectivity, allowing you to stream audio from your smartphone or other Bluetooth-enabled devices directly through the system. This is ideal for playing background music or karaoke tracks.
- Activate Bluetooth on your device and search for the Bietrun system.
- Pair your device with the receiver. Once connected, audio played on your device will output through the system.
Video 1: Official Bietrun Wireless Microphone System overview, demonstrating setup and features including Bluetooth connectivity.
Maintenance
- Cleaning: Use a soft, dry cloth to clean the receiver and microphones. Avoid using abrasive cleaners or solvents.
- Microphone Foam Covers: The included foam windscreens can be removed and cleaned separately. This is especially useful in multi-user environments to maintain hygiene and prevent moisture buildup on the microphone head.
- Battery Care: Recharge microphones regularly. Avoid completely draining the battery for extended periods to prolong battery life.
- Storage: When not in use, store the system in a cool, dry place away from direct sunlight and extreme temperatures.
Troubleshooting
No Sound Output
- Check Connections: Ensure all cables (power, audio output) are securely connected to the receiver and your audio system.
- Power On: Verify both the receiver and microphones are powered on.
- Volume Levels: Check volume settings on both the microphones and the receiver, as well as on your connected audio system.
- Microphone Battery: Ensure microphones have sufficient battery charge.
Interference or Dropouts
- Change Frequency: Double-press the "PWR·VOL" button on the affected microphone to change its operating frequency. The receiver will automatically re-sync.
- Antenna Position: Ensure receiver antennas are fully extended and positioned optimally for signal reception.
- Range: Verify that microphones are within the effective operating range (up to 295ft / 50 meters).
- Obstructions: Minimize physical obstructions between the microphones and the receiver.
Microphone Not Connecting
- Power Cycle: Turn off both the microphone and receiver, then power them back on.
- Frequency Sync: Manually try changing the microphone's frequency as described above to force a re-sync.
Specifications
| Feature | Specification |
|---|---|
| Model Number | WXM30 |
| Number of Channels | 8 |
| Connectivity Technology | UHF Wireless |
| Operating Frequency Band | 500 - 599Mhz (US FCC ID compliant) |
| Wireless Range | Up to 295ft (50 meters) |
| Microphone Battery | Built-in 1200mAh rechargeable lithium-ion battery |
| Microphone Work Time | Up to 7+ hours |
| Microphone Charging Time | 3-4 hours |
| Audio Sensitivity | 95dB ± 2dB |
| Polar Pattern | Unidirectional |
| Receiver Outputs | 6.35mm Mixed Output, XLR Balanced Outputs (8 channels) |
| Material | Metal (microphones and receiver) |
Warranty and Support
Bietrun is committed to providing high-quality audio equipment. For any product inquiries, technical support, or warranty claims, please refer to the contact information provided on the official Bietrun website or your purchase documentation. Our team is dedicated to ensuring your satisfaction with our products.
Bietrun, established in 2016, integrates R&D, design, sales, and service, focusing on electro-acoustic systems including portable microphones, wireless audio equipment, and home karaoke systems.
Related documentsWXM30

Ask a question about this manual
Ask about setup, troubleshooting, compatibility, parts, safety, or missing instructions. Manuals+ will review the question and use this page’s manual context to help answer it.