Introduction
Thank you for choosing the Moulinex OW611810 Bread Maker. This appliance is designed to simplify your bread-making process, offering a variety of programs and settings to create delicious homemade bread. Please read this manual carefully before first use to ensure safe and optimal operation of your bread maker. Keep this manual for future reference.
Safety Instructions
Always follow basic safety precautions when using electrical appliances to reduce the risk of fire, electric shock, and/or injury to persons, including the following:
- Read all instructions.
- Do not touch hot surfaces. Use handles or knobs.
- To protect against electric shock, do not immerse cord, plugs, or appliance in water or other liquid.
- Close supervision is necessary when any appliance is used by or near children.
- Unplug from outlet when not in use and before cleaning. Allow to cool before putting on or taking off parts.
- Do not operate any appliance with a damaged cord or plug or after the appliance malfunctions or has been damaged in any manner.
- The use of accessory attachments not recommended by the appliance manufacturer may cause injuries.
- Do not use outdoors.
- Do not let cord hang over edge of table or counter, or touch hot surfaces.
- Do not place on or near a hot gas or electric burner, or in a heated oven.
- Extreme caution must be used when moving an appliance containing hot oil or other hot liquids.
- Always attach plug to appliance first, then plug cord into the wall outlet. To disconnect, turn any control to "off", then remove plug from wall outlet.
- Do not use appliance for other than intended use.
Product Overview
The Moulinex OW611810 is a powerful 1600W bread maker designed for versatility and ease of use. It features a durable plastic exterior and a non-stick interior coating for easy cleaning.
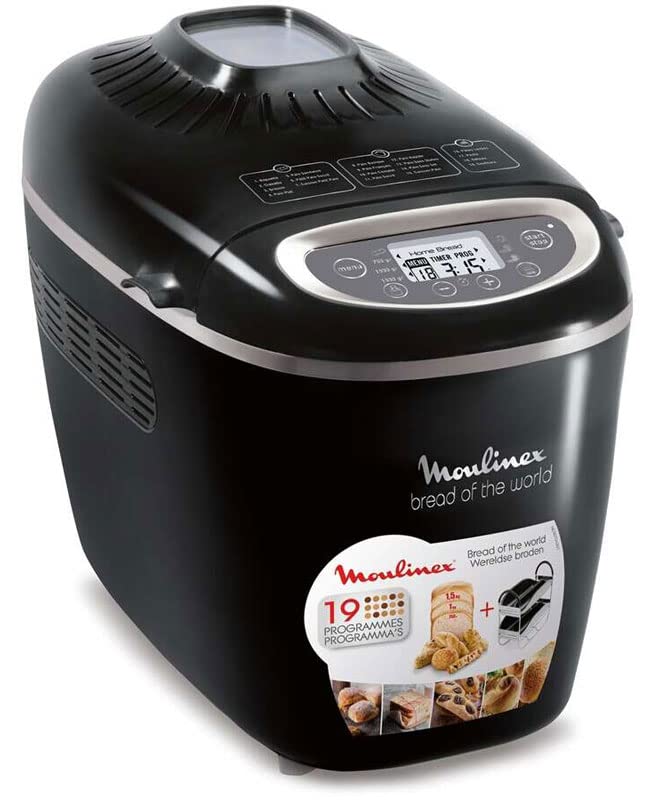
Image: The Moulinex OW611810 Bread Maker shown with a selection of freshly baked breads and included accessories like a baking stand and non-stick plates.
Key Features:
- Power: 1600 Watts for efficient baking.
- Capacity: Adjustable for 750g, 1kg, or 1.5kg loaves.
- Programs: 19 automatic programs for various bread types and doughs.
- Browning Levels: 3 adjustable browning levels.
- Delayed Start: Up to 15 hours for convenient scheduling.
- Keep Warm Function: Automatically keeps bread warm after baking.
- Functions: Includes kneading, rising, cooking, and mixing.
- Accessories: Comes with a baking stand, non-stick plates, and a recipe book.
Setup
1. Unpacking and Initial Cleaning
- Carefully remove the bread maker and all accessories from the packaging.
- Wash the bread pan, kneading paddle, and any other removable accessories in warm, soapy water. Rinse thoroughly and dry completely.
- Wipe the exterior of the bread maker with a damp cloth. Do not immerse the main unit in water.
- Ensure all parts are dry before assembly.
2. Placement
- Place the bread maker on a stable, flat, heat-resistant surface.
- Ensure there is adequate ventilation around the appliance, leaving at least 10 cm of space on all sides.
- Do not place the appliance near flammable materials or under cabinets that could be damaged by steam.
3. Assembling the Bread Pan
- Insert the kneading paddle onto the shaft at the bottom of the bread pan. Ensure it is securely in place.
- Place the assembled bread pan into the bread maker's baking chamber. Press down firmly and turn slightly until it locks into position.

Image: The Moulinex OW611810 Bread Maker positioned on a kitchen counter, surrounded by its accessories including a measuring cup, spoon, and recipe books, illustrating a typical setup.
Operating Instructions
1. Adding Ingredients
- Always add liquid ingredients first, followed by dry ingredients.
- Make a small indentation in the dry ingredients and add the yeast last, ensuring it does not come into direct contact with liquids or salt initially.
- Refer to the included recipe book for precise ingredient measurements and order.
2. Selecting a Program
- Plug the bread maker into a grounded electrical outlet. The display will light up.
- Use the "Menu" button to cycle through the 19 available programs. Each program is designed for specific bread types (e.g., basic, whole wheat, gluten-free, dough, jam).
- Consult the recipe book to match your desired recipe with the appropriate program number.
3. Choosing Loaf Size and Browning Level
- Loaf Size: Press the "Loaf Size" button to select between 750g, 1kg, or 1.5kg. This setting adjusts the baking time and ingredient ratios.
- Browning Level: Press the "Crust Color" button to choose your preferred browning: light, medium, or dark.

Image: A visual representation of different bread loaf sizes (1.5kg, 1kg, 750g) achievable with the Moulinex OW611810 Bread Maker, alongside various smaller baked goods.
4. Delayed Start Function
- To use the delayed start, first select your program, loaf size, and browning level.
- Press the "Timer" buttons (usually + and -) to set the desired delay time. This is the total time until the bread is ready, including the baking cycle. The maximum delay is 15 hours.
- Press the "Start/Stop" button to activate the delayed start. The timer will count down.
- Note: Do not use the delayed start function with recipes containing highly perishable ingredients like milk, eggs, or fresh fruit, as they may spoil.
5. Starting and Stopping
- Press the "Start/Stop" button to begin the selected program. The indicator light will illuminate.
- To stop a program, press and hold the "Start/Stop" button for a few seconds until the machine resets.
6. After Baking
- Once the program is complete, the bread maker will beep and automatically switch to the "Keep Warm" function for up to 1 hour.
- Carefully remove the bread pan using oven mitts, as it will be hot.
- Invert the bread pan onto a wire rack to release the bread. If the kneading paddle remains in the bread, carefully remove it with a non-metallic utensil.
- Allow the bread to cool on a wire rack for at least 30 minutes before slicing.
Maintenance and Cleaning
Regular cleaning ensures the longevity and optimal performance of your bread maker.
1. Before Cleaning
- Always unplug the appliance from the power outlet and allow it to cool completely before cleaning.
2. Cleaning the Bread Pan and Kneading Paddle
- Remove the bread pan from the bread maker.
- If the kneading paddle is stuck, fill the pan with warm water and let it soak for 10-15 minutes to loosen it.
- Wash the bread pan and kneading paddle with warm, soapy water using a soft sponge or cloth. Do not use abrasive cleaners or metal scouring pads, as these can damage the non-stick coating.
- Rinse thoroughly and dry completely before storing or reassembling.
3. Cleaning the Exterior and Interior
- Wipe the exterior of the bread maker with a soft, damp cloth.
- Clean the interior baking chamber with a damp cloth to remove any crumbs or residue.
- Do not use harsh chemicals or abrasive materials on any part of the appliance.
- Never immerse the main unit in water or any other liquid.
4. Storage
- Ensure the bread maker is clean and completely dry before storing.
- Store the appliance in a cool, dry place, away from direct sunlight and moisture.
Troubleshooting
If you encounter issues with your bread maker, please refer to the following common problems and solutions:
| Problem | Possible Cause | Solution |
|---|---|---|
| Bread does not rise or rises too much. | Incorrect yeast amount, old yeast, incorrect water temperature, wrong flour type. | Ensure yeast is fresh and correctly measured. Use lukewarm water (around 40°C/105°F). Check flour type and recipe. |
| Bread is too dense or heavy. | Too much flour, too little liquid, incorrect program selected. | Measure ingredients precisely. Ensure correct liquid-to-flour ratio. Select appropriate program for dense breads. |
| Crust is too thick or too thin. | Browning level setting, recipe variations. | Adjust the "Crust Color" setting. Some recipes naturally produce thicker or thinner crusts. |
| Kneading paddle stuck in bread. | Common occurrence. | Allow bread to cool slightly, then carefully remove the paddle with a non-metallic utensil. |
| Bread maker does not start. | Not plugged in, power outage, program not selected, "Start/Stop" button not pressed. | Check power connection. Ensure a program is selected and the "Start/Stop" button is pressed firmly. |
Specifications
| Feature | Detail |
|---|---|
| Brand | Moulinex |
| Model Number | OW611810 |
| Color | Black |
| Power/Wattage | 1600 W |
| Capacity | 1.5 kg (adjustable to 750g, 1kg) |
| Number of Programs | 19 |
| Browning Levels | 3 |
| Delayed Start | Up to 15 hours |
| Keep Warm Function | Yes |
| Exterior Material | Plastic |
| Interior Coating | Non-stick |
| Package Dimensions | 48.6 x 37.9 x 30.4 cm |
| Weight | 8.7 kg |
Warranty and Support
For warranty information and customer support, please refer to the warranty card included with your product or visit the official Moulinex website. Keep your proof of purchase for any warranty claims.
If you require further assistance or have questions not covered in this manual, please contact Moulinex customer service.


