Introduction
The elemage Home Security Camera is a versatile, wireless outdoor camera designed to enhance your home security. Featuring 1080P resolution, rechargeable battery, color night vision, and advanced motion detection, it provides comprehensive surveillance. With siren and spotlight alarms, two-way talk, and flexible cloud/SD storage options, this IP65 weatherproof camera offers reliable monitoring for both indoor and outdoor environments.
What's in the Box

Figure 1: Package Contents. The box includes the elemage security camera, a wall mounting bracket, screws and wall anchors for installation, a USB charging cable, and this user manual.
- elemage Home Security Camera (Model: ZS-GQ3)
- Wall Mounting Bracket
- Mounting Screws and Wall Anchors
- USB Charging Cable
- User Manual
Setup Guide
1. Charging the Camera
Before initial use, fully charge the camera's built-in rechargeable battery using the provided USB cable. Connect the USB cable to the camera's charging port and a standard 5V USB power adapter (not included). A full charge can last several weeks depending on usage frequency (e.g., less than 50 alarms per day).

Figure 2: Internal battery of the elemage camera, highlighting its long battery life capability.
2. App Installation and Pairing
The elemage camera operates via a dedicated mobile application. Follow these steps to install the app and pair your camera:
- Download and Install "Elemage Cam" App: Search for "Elemage Cam" in your smartphone's app store (Google Play Store for Android or Apple App Store for iOS) and install it.
- Reset Camera: Power on the camera. If it's a new setup or you're re-pairing, locate the reset button (usually a small pinhole) and press it for a few seconds until the camera indicates reset mode (e.g., an LED indicator changes color or flashes).
- Scan the QR Code: Open the "Elemage Cam" app, create an account if prompted, and follow the in-app instructions to add a new device. The app will likely ask you to scan a QR code displayed on the camera or in the manual to initiate pairing.
- Connect Successfully: Ensure your smartphone is connected to a 2.4GHz Wi-Fi network. The camera is only compatible with 2.4GHz Wi-Fi. Follow the remaining prompts in the app to complete the connection process. Once successful, you will see your camera's live feed in the app.

Figure 3: Step-by-step guide for connecting the camera to the "Elemage Cam" app.
3. Installation and Placement
The elemage camera is designed for cordless installation and can be mounted on a wall or placed on a flat surface. Its IP65 weatherproof rating makes it suitable for outdoor use, capable of withstanding rain and snow in temperatures from -4°F to 122°F (-20°C to 50°C).
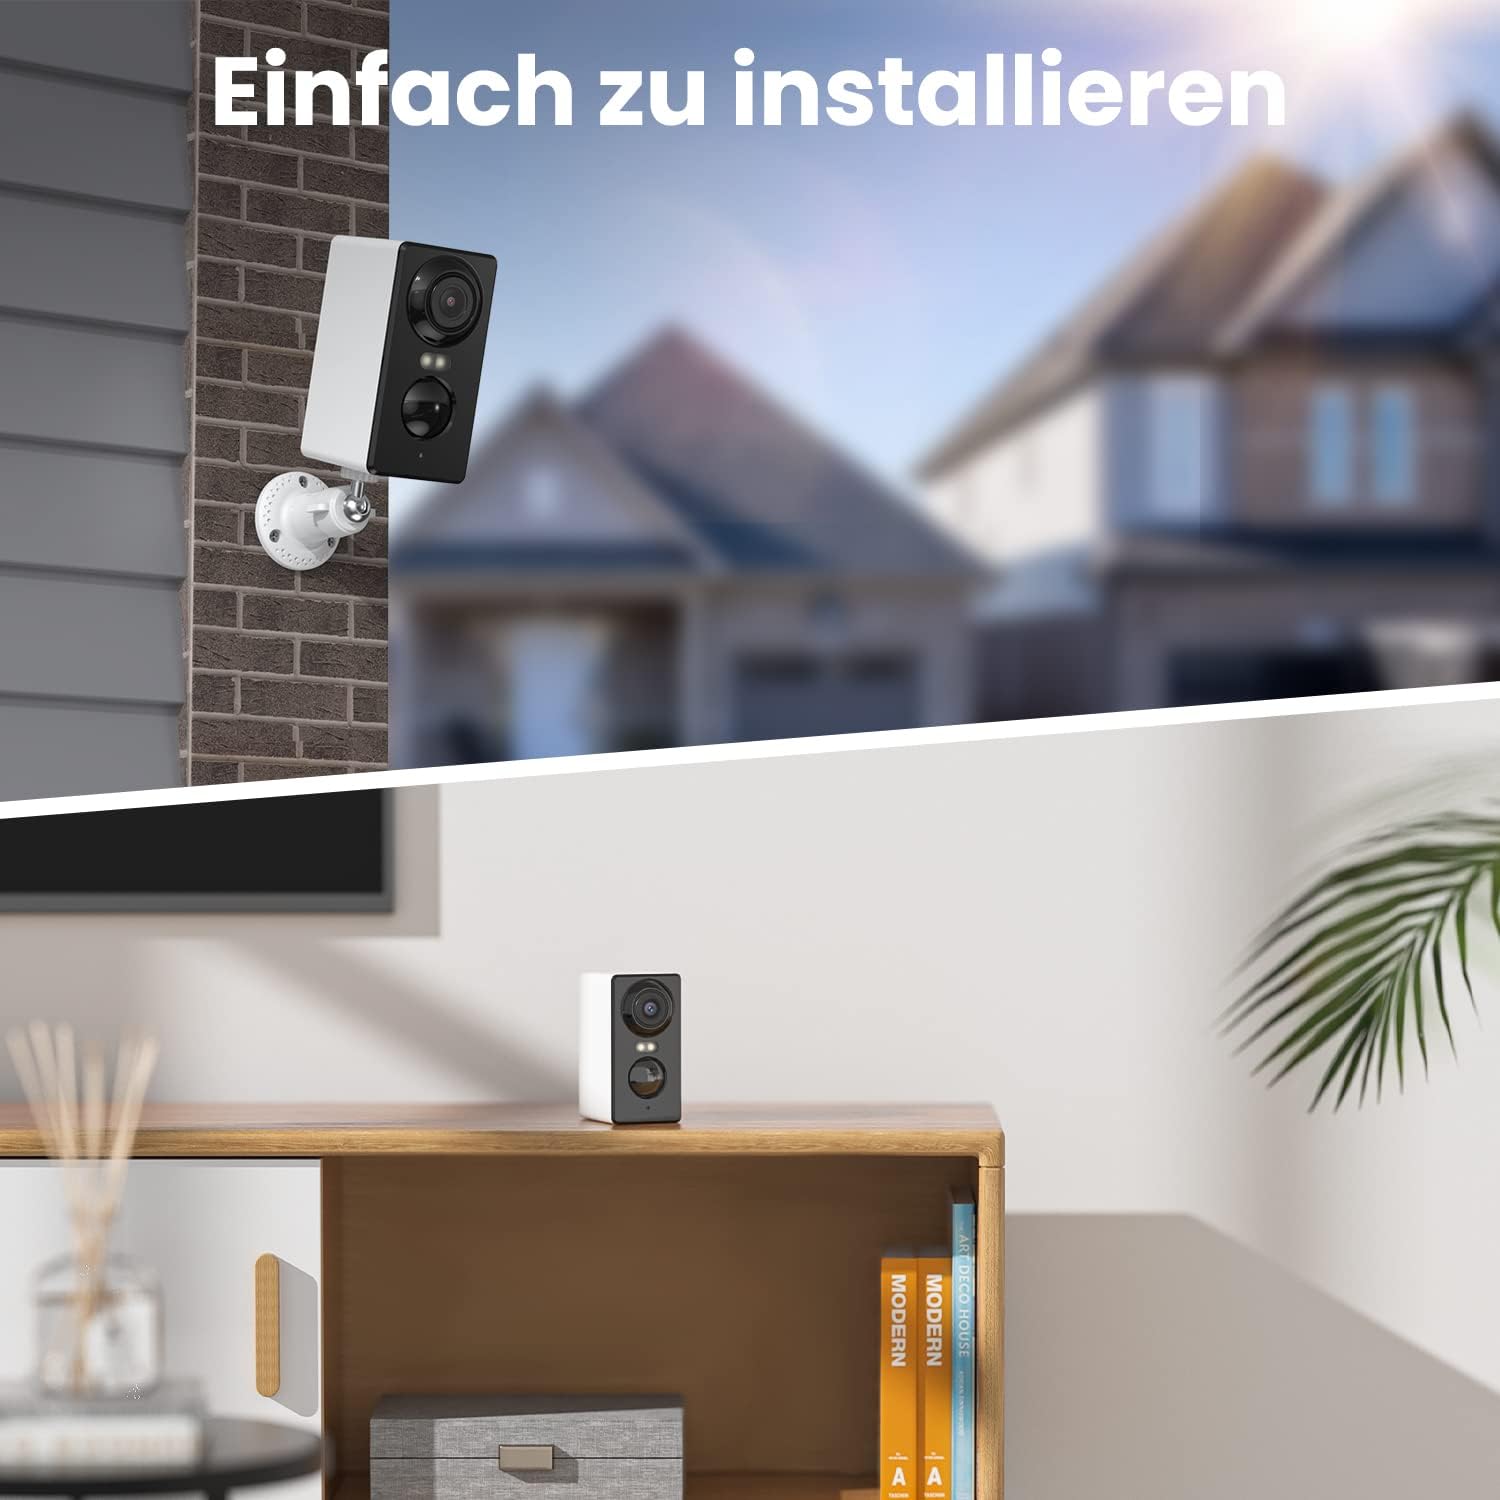
Figure 4: Examples of camera installation, both mounted outdoors and placed indoors.
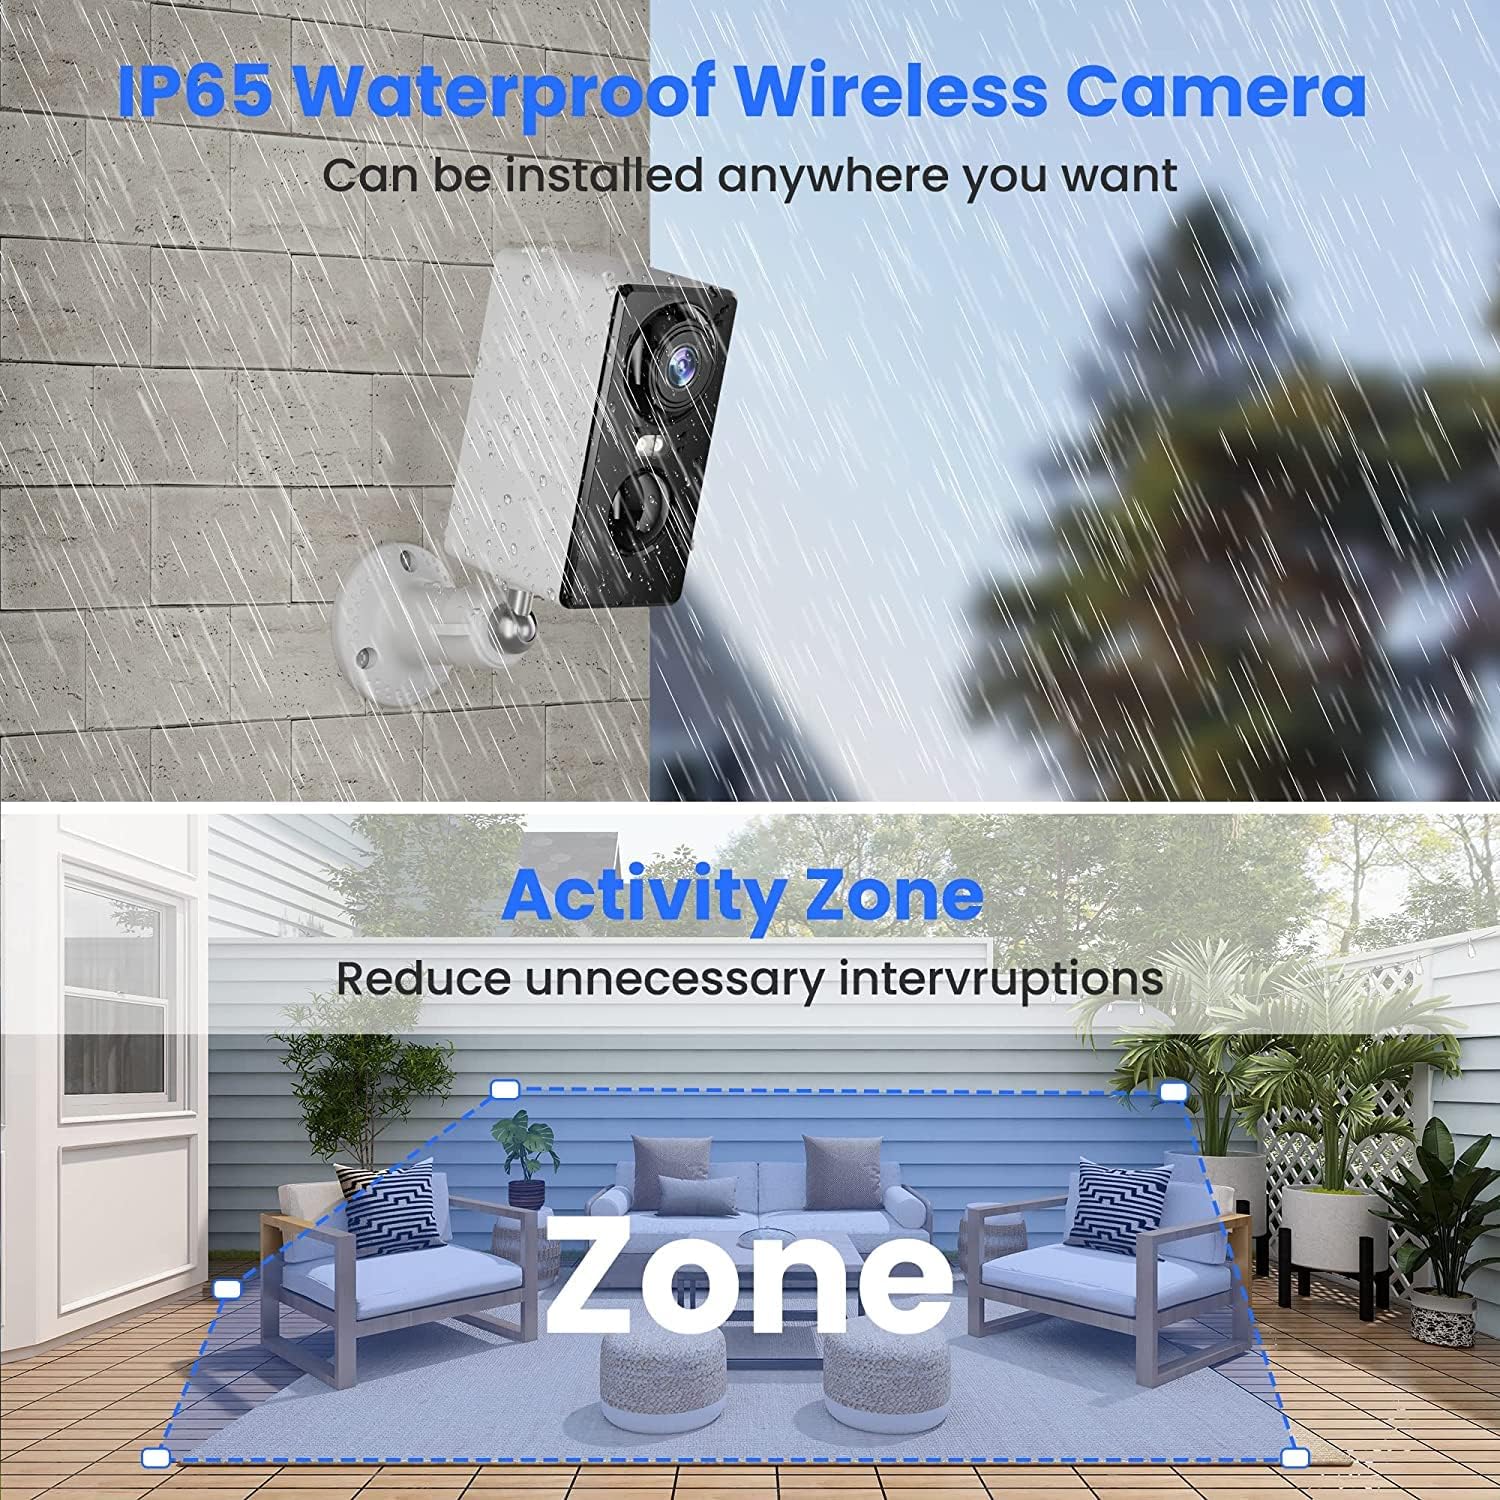
Figure 5: The camera's IP65 waterproof design allows for reliable outdoor installation in various weather conditions. Users can also define specific activity zones to reduce unnecessary alerts.
Operating Instructions
1. Live Video and Multi-Device Sharing
Access the live video feed from your camera anytime, anywhere through the "Elemage Cam" app. The camera features a 1/3" HD camera with a 2.8mm focal length and a fixed 120° wide-angle lens, providing clear 1080P resolution. You can also share access to the camera with family members, allowing multiple mobile devices to view and control the live feed simultaneously.

Figure 6: The camera supports multi-device viewing and sharing, enabling multiple users to access the live feed.

Figure 7: Manage multiple cameras across different locations from a single app interface.
2. Two-Way Talk
The integrated two-way intercom feature allows you to communicate with visitors or deter unwanted guests directly through the camera. Simply use the "Hold to talk" function within the app to speak, and listen for responses.
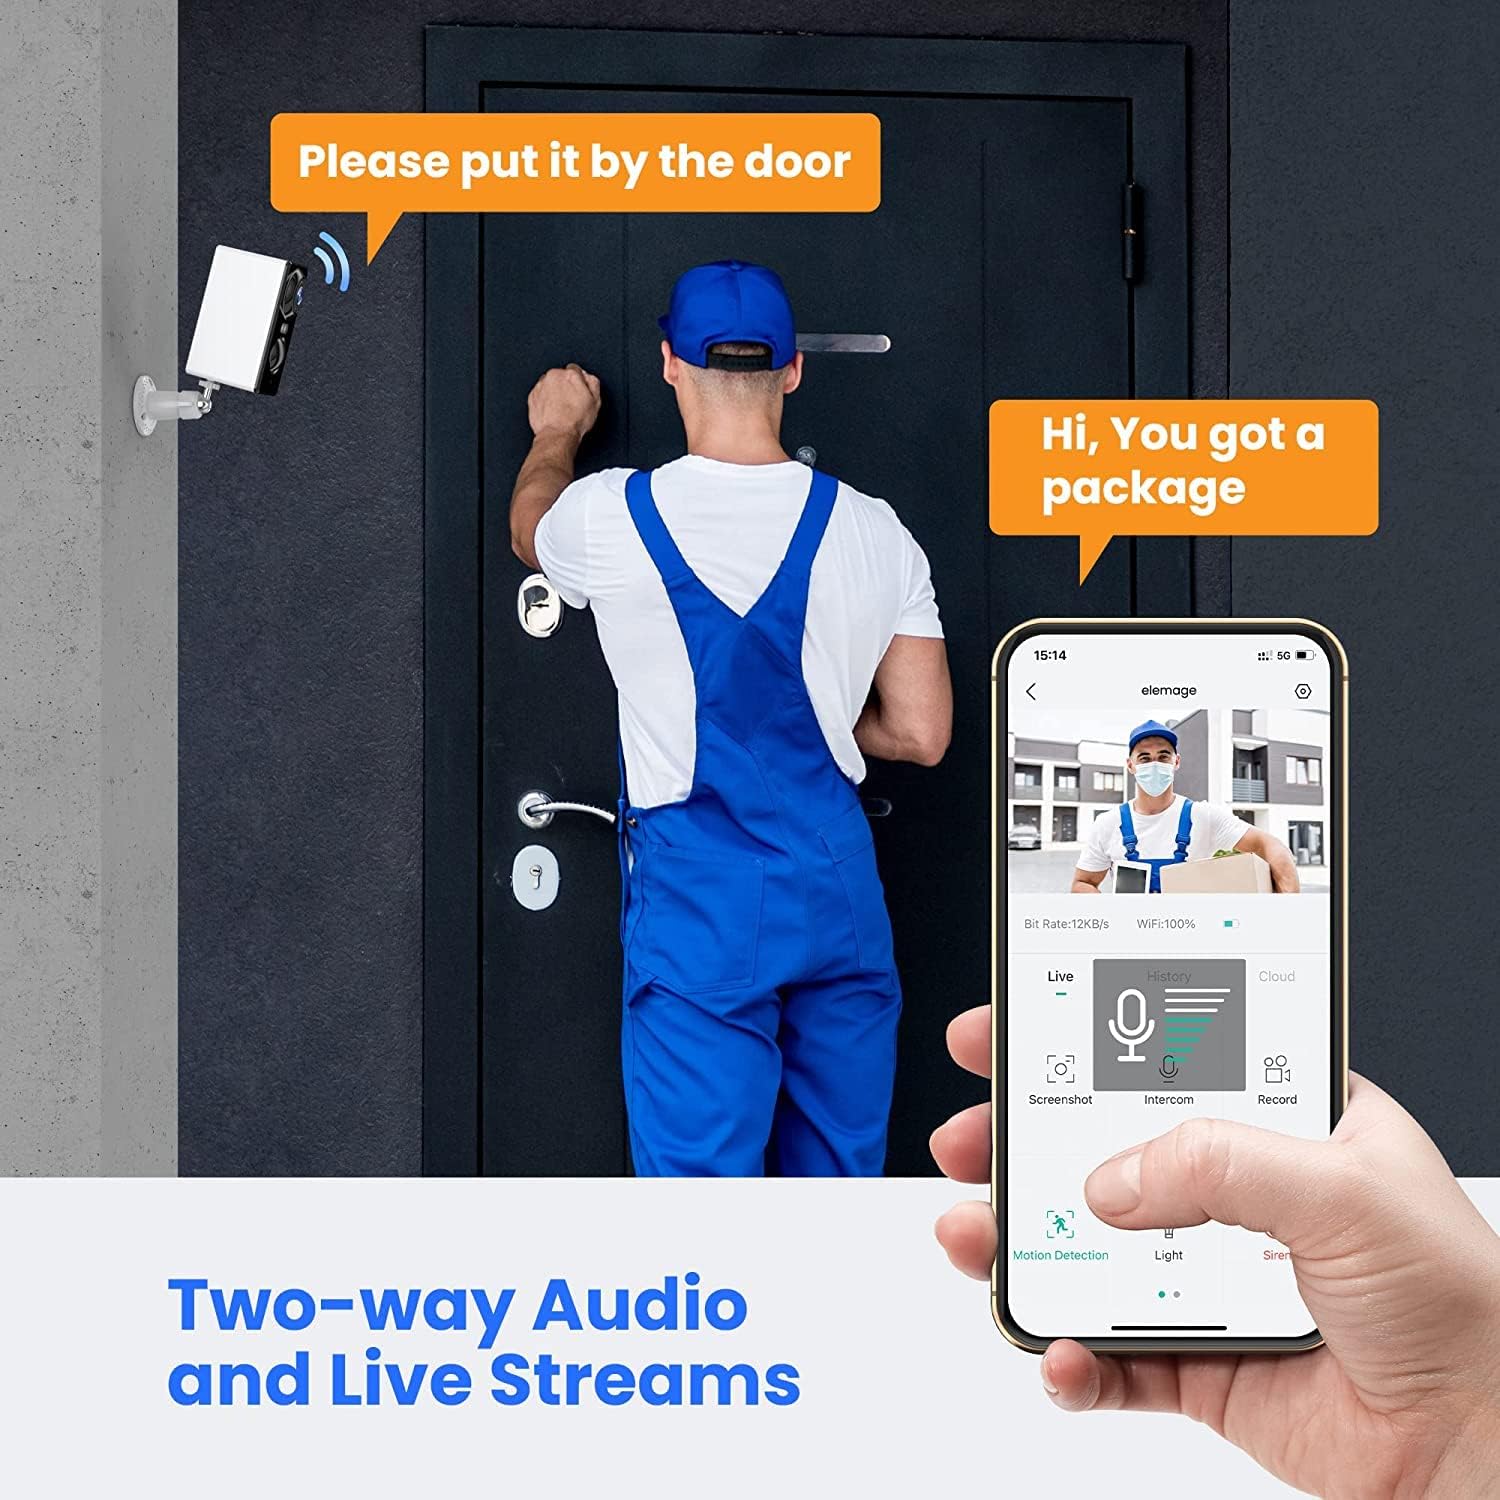
Figure 8: Utilize the two-way audio feature to communicate with individuals near the camera.

Figure 9: The app interface for clear response voice intercom, enabling real-time communication.
3. Smart PIR Motion Detection and Alerts
The camera utilizes advanced Passive Infrared (PIR) sensors for accurate motion detection, minimizing false alarms. When motion is detected, the camera can automatically activate a siren and spotlight alarm, send real-time notifications to your phone, and record up to 30 seconds of video. You can review these recorded clips for up to 3 days.

Figure 10: Smart PIR motion detection triggers siren, spotlight, and sends instant alerts to your device.

Figure 11: Adjust the PIR motion detection sensitivity (10 levels available) to suit your environment and reduce unwanted alerts.
Customized Detection Area
To further reduce false alarms and focus on specific areas, you can customize motion detection zones within the app. This allows the camera to only trigger alerts when motion occurs in designated areas.

Figure 12: Create customized motion detection zones to prevent alerts from irrelevant areas.
Setting Time Plan of Detection
You can schedule specific times for motion detection to be active, optimizing battery life and alert relevance.

Figure 13: Configure a time schedule for motion detection to be active.
4. Night Vision
The camera offers both color night vision and infrared (IR) night vision, allowing clear visibility up to 49 feet (15 meters) in low-light conditions. The built-in spotlight enables full-color night vision when motion is detected.

Figure 14: The camera provides 1080P color night vision with a motion-activated spotlight, alongside standard black and white night vision.
5. Storage Options
Recorded video footage can be stored in two ways:
- Micro SD Card: Insert a Micro SD card (not included) into the camera's designated slot. The camera supports cards up to 128GB.
- Cloud Storage: The camera offers cloud storage options for convenient access to your footage. Check the "Elemage Cam" app for details on available cloud plans and free history retention (e.g., 7 days of free history).

Figure 15: The camera supports both cloud storage (with free history) and local storage via a Micro SD card (up to 128GB).
Maintenance
1. Battery Management
The camera's battery life varies based on usage, especially the frequency of motion detection events and live viewing. To maximize battery life, consider adjusting motion detection sensitivity, setting time plans for detection, and minimizing continuous live streaming. Recharge the camera when the battery level is low, as indicated in the app.
2. Cleaning
Periodically clean the camera lens and housing with a soft, damp cloth to ensure clear image quality and proper sensor function. Avoid using harsh chemicals or abrasive materials that could damage the camera's surface or lens.
Troubleshooting
| Problem | Possible Cause / Solution |
|---|---|
| Camera not connecting to Wi-Fi. |
|
| Frequent false alarms. |
|
| Poor battery life. |
|
| Mounting bracket does not hold position. |
|
| Video recording delay. |
|
Specifications
| Feature | Detail |
|---|---|
| Model Number | ZS-GQ3 |
| Video Capture Resolution | 1080p |
| Effective Video Resolution | 1080 Pixels |
| Field Of View | 120 Degrees |
| Connectivity Technology | Wireless (2.4GHz Wi-Fi only) |
| Power Source | Battery Powered (Rechargeable Lithium Ion) |
| Battery Capacity | 5200 Milliampere Hour (mAh) |
| Water Resistance Level | IP65 Waterproof |
| Night Vision | Color Night Vision, Infrared Night Vision |
| Motion Sensor | PIR (Passive Infrared) |
| Alert Type | Audio and Motion (Siren, Spotlight, Notifications) |
| Storage Options | Micro SD Card (up to 128GB), Cloud Storage |
| Two-Way Talk | Supported |
| Operating Temperature | -4°F to 122°F (-20°C to 50°C) |
| Dimensions (L x W x H) | 1.81 x 2.32 x 3.54 inches |
| Item Weight | 7.5 ounces (213 Grams) |
Warranty and Support
Warranty Information
Please refer to the product packaging or the official elemage website for detailed warranty information. Typically, elemage products come with a limited warranty covering manufacturing defects.
Customer Support
For technical assistance, troubleshooting, or any product-related inquiries, please contact elemage customer support. You can often find contact details on the official elemage website or within the "Elemage Cam" app.
An official User Guide PDF is also available for download: Download User Guide (PDF)


