1. Introduction
The Axis Communications P3268-LVE is an advanced dome surveillance camera designed for high-quality indoor security monitoring. Featuring Forensic WDR, LIGHTFINDER 2.0, and OPTIMIZE technologies, it delivers clear images even in challenging light conditions. This camera is built for reliable performance and ease of integration into existing surveillance systems.

Figure 1: Side view of the Axis P3268-LVE dome camera with its integrated sun shield.
2. What's in the Box
Verify that all components are present before proceeding with installation:
- Axis Communications P3268-LVE Security Camera
- Installation Guide
- Mounting Hardware
3. Technical Specifications
Key technical details for the Axis P3268-LVE camera:
| Feature | Specification |
|---|---|
| Model Number | 02332-001 |
| Indoor/Outdoor Usage | Indoor |
| Connectivity Technology | Wired (Wi-Fi for certain functions) |
| Mounting Type | Ceiling Mount |
| Video Capture Resolution | 8K |
| Video Encoding | H.264 or H.265 |
| Low Light Technology | Night Color, LIGHTFINDER 2.0 |
| Special Feature | Forensic WDR, Low Light |
| Alert Type | Motion Only |
| International Protection Rating | IP67 |
| Power Source | 12 Volts (DC), 14.4 Watts |
| Dimensions (L x W x H) | 50 x 19.69 x 11.02 inches |
| Item Weight | 1.19 pounds |
| Flash Memory Type | SD |
| Material | Metal |

Figure 2: Bottom view of the Axis P3268-LVE camera, highlighting the brand logo and dome structure.
4. Setup and Installation
Follow these general steps for setting up your Axis P3268-LVE camera. Refer to the detailed installation guide included in the box for specific instructions and safety warnings.
- Unpack and Inspect: Carefully remove the camera and all accessories from the packaging. Inspect for any signs of damage.
- Mounting: Choose a suitable ceiling location for installation. Use the provided mounting template and hardware to securely attach the camera base. Ensure the mounting surface can support the camera's weight.
- Cable Connections: Connect the network cable (Ethernet) to the camera's port. If using a separate power supply, connect the 12V DC power adapter. For Power over Ethernet (PoE), a separate power adapter is not required.
- Initial Power-Up: Once connected, power on the camera. The camera will perform a self-test.
- Network Configuration: Access the camera's web interface via a network browser. Use the Axis IP Utility or similar tool to discover the camera's IP address. Follow the on-screen prompts to set up a strong password and configure network settings.
- Image Adjustment: Adjust the camera's pan, tilt, and zoom (PTZ) as needed to achieve the desired field of view. Fine-tune image settings such as brightness, contrast, and WDR for optimal video quality.
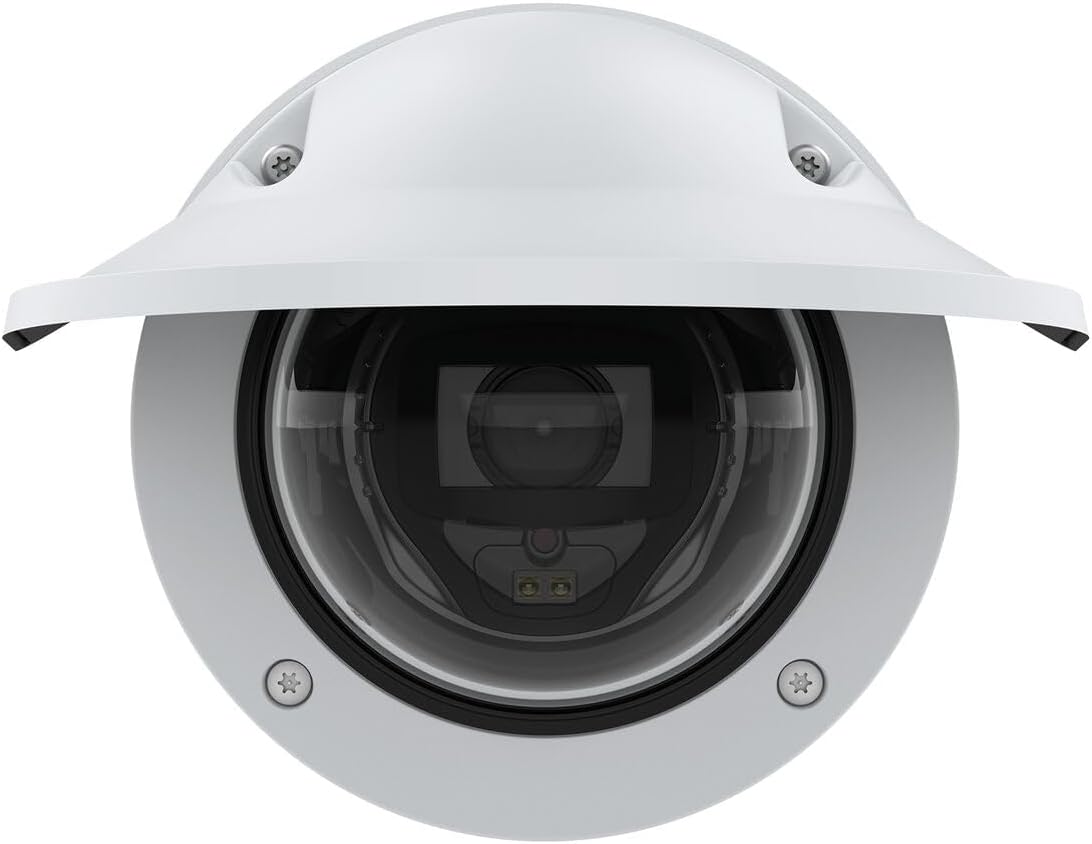
Figure 3: Front view of the Axis P3268-LVE camera, showing the lens and sun shield.
5. Operating Instructions
The Axis P3268-LVE camera is designed for continuous surveillance. Here are general operating principles:
- Live View: Access the camera's live video feed through its web interface or a compatible video management system (VMS).
- Recording: Configure recording settings, including continuous recording, event-triggered recording (e.g., motion detection), and schedule-based recording. Recordings can be stored on an SD card (if installed) or a network-attached storage (NAS).
- Motion Detection: Utilize the camera's motion detection capabilities to trigger alerts or recordings when movement is detected within specified areas of the frame.
- Remote Access: Set up remote access to view live feeds and recordings from anywhere using a secure connection and appropriate network configuration.
- Firmware Updates: Regularly check for and install firmware updates from the Axis Communications website to ensure optimal performance, security, and access to new features.

Figure 4: Another side view of the Axis P3268-LVE camera, showcasing its robust design.
6. Maintenance
Proper maintenance ensures the longevity and optimal performance of your camera:
- Cleaning: Gently clean the camera's dome and lens with a soft, lint-free cloth. For stubborn dirt, use a mild cleaning solution specifically designed for optical surfaces. Avoid abrasive materials or harsh chemicals.
- Firmware: Keep the camera's firmware updated to the latest version. This provides security enhancements, bug fixes, and new functionalities.
- Cable Inspection: Periodically check all cables for wear, damage, or loose connections.
- Environmental Check: Ensure the camera's operating environment remains within specified temperature and humidity ranges.
7. Troubleshooting
If you encounter issues with your Axis P3268-LVE camera, consider the following:
- No Power: Verify that the power supply is connected correctly and that the power outlet is functional. If using PoE, ensure the network switch or injector is providing power.
- No Video: Check network cable connections. Ensure the camera has a valid IP address and is accessible on the network. Restart the camera and the network device (router/switch).
- Poor Image Quality: Clean the camera lens and dome. Adjust focus and image settings in the camera's web interface. Ensure sufficient lighting in the surveillance area.
- Network Connectivity Issues: Confirm network cable integrity. Check router/switch settings. Ensure no IP address conflicts.
- Camera Not Responding: Try power cycling the camera. If the issue persists, a factory reset might be necessary (refer to the full manual for reset procedures).
For more complex issues, consult the comprehensive support documentation available on the Axis Communications website or contact their technical support.
8. Warranty and Support
Your Axis Communications P3268-LVE camera is covered by a manufacturer's warranty. For detailed information regarding warranty terms, duration, and conditions, please refer to the warranty card included with your product or visit the official Axis Communications website.
For technical support, product documentation, software downloads, and frequently asked questions, please visit the Axis Communications support portal:
Always ensure you have your product model number (02332-001) and serial number ready when contacting support.


