Introduction
Thank you for choosing the FTOYIN FT1 Projection Alarm Clock. This device combines a digital alarm clock with a projection feature, FM radio, and displays temperature and humidity. This manual provides detailed instructions for setup, operation, maintenance, and troubleshooting to ensure optimal performance and longevity of your product.
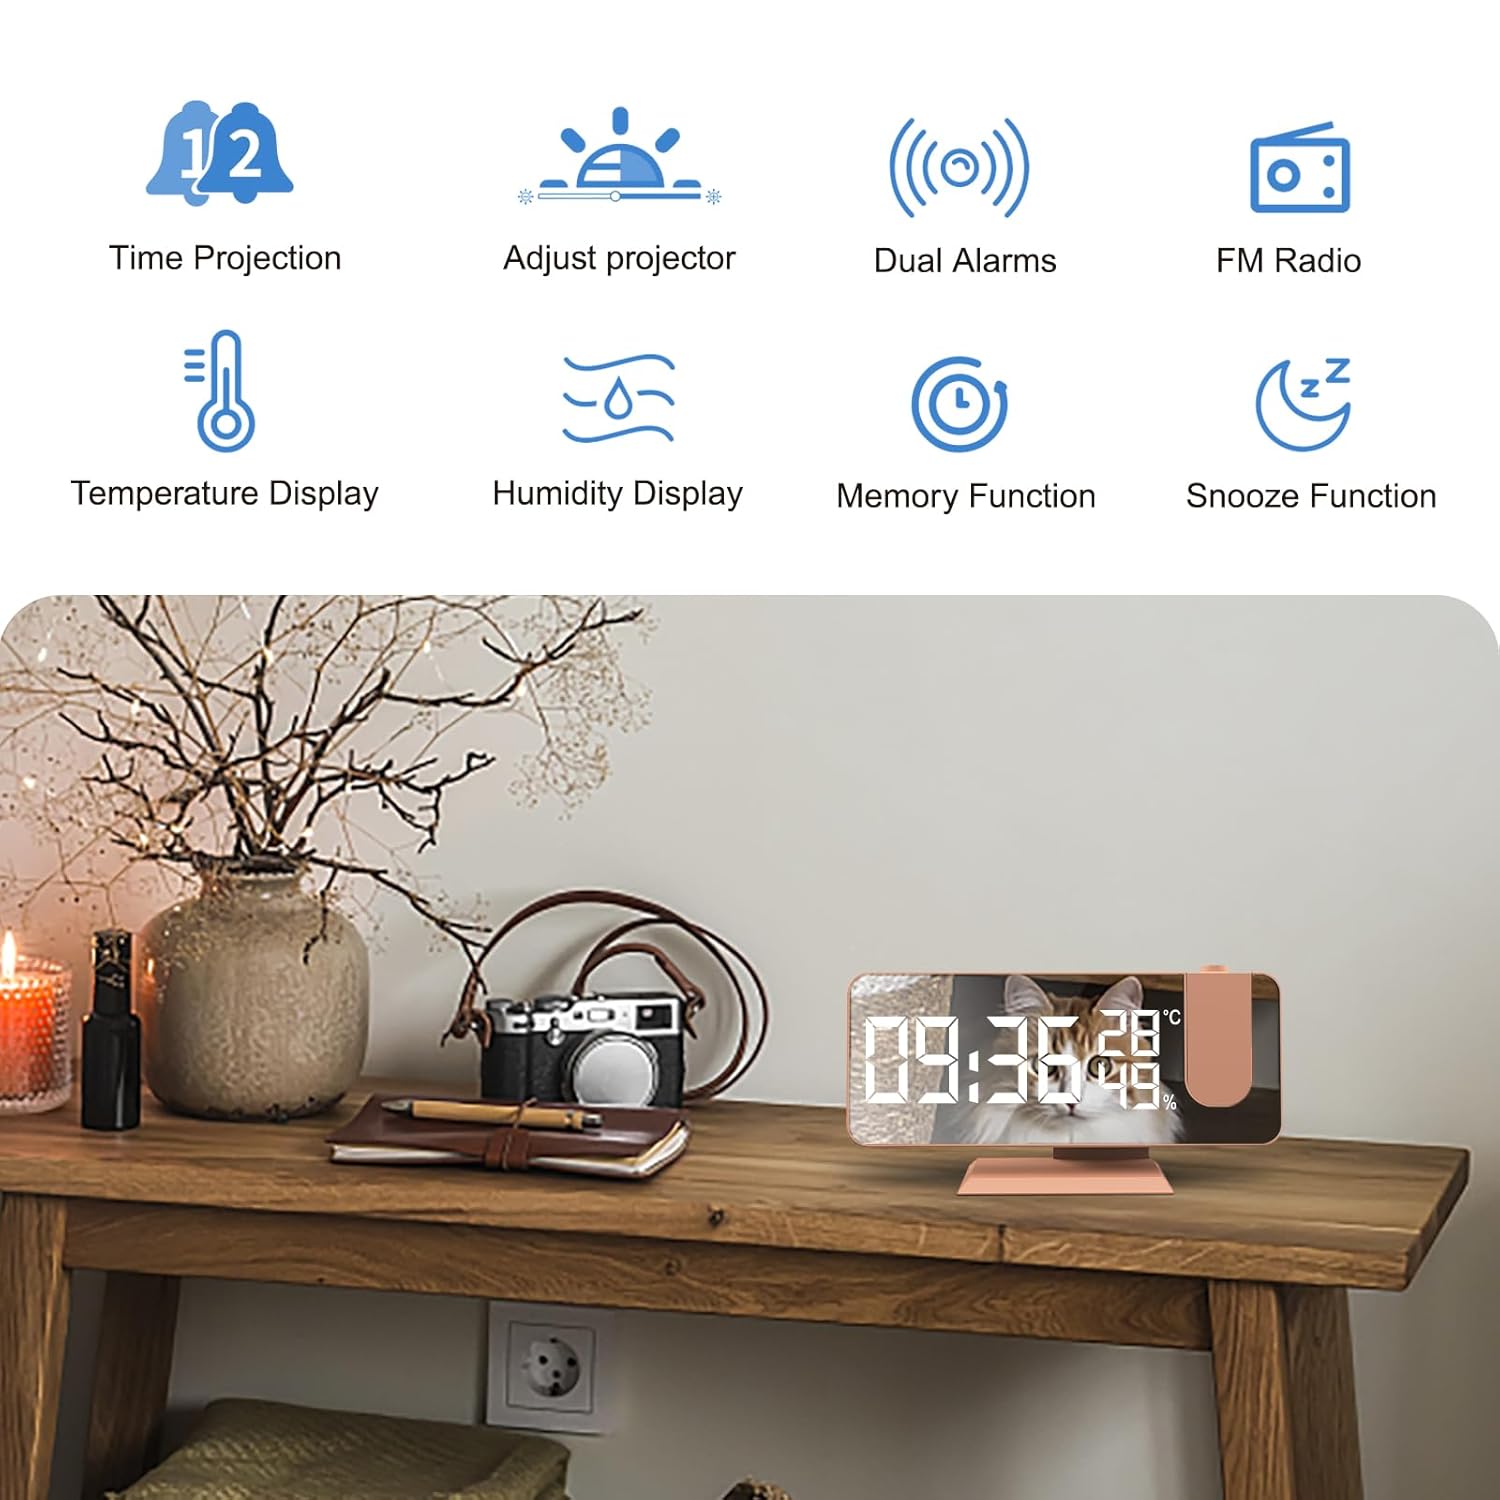
Image: Overview of the FTOYIN FT1 Projection Alarm Clock and its key features.
Setup
1. Power Connection
Connect the provided USB cable to the DC 5V input port on the back of the alarm clock. Plug the other end into a compatible USB power adapter (not included) and then into a wall outlet. The clock will power on automatically.
2. Backup Battery Installation
For memory retention during power outages, install one CR2032 Lithium Battery (included) into the battery compartment located on the back of the unit. This battery ensures that time, alarm, and radio settings are preserved if the main power is disconnected.

Image: Rear panel of the alarm clock, highlighting connection points and controls.
Operating Instructions
1. Time Setting
- Press the 'Set' button to enter time setting mode.
- Use the 'Up/Project' and 'Down' buttons to adjust hours and minutes.
- Press 'Set' again to confirm each step and move to the next setting (e.g., 12H/24H format).
2. Display Brightness Adjustment
The display has 4 levels of brightness: Bright, Medium, Dim, and Off. Press the 'Snooze/Light' button repeatedly to cycle through these levels manually. The clock also features an automatic dimming function that adjusts brightness based on ambient light. To activate or deactivate automatic dimming, refer to the specific button on the back panel labeled 'Automatic Dimming'.

Image: Visual representation of the 4-level brightness adjustment.
3. Projection Function
- To activate the time projection, press the 'Up/Project' button.
- Adjust the focus ring on the projector lens to achieve a clear image on your wall or ceiling.
- The projection can be rotated 180 degrees for optimal viewing.
- There are 3 levels of projection brightness.

Image: The projection feature displaying time on a surface.
4. Alarm Setting (Dual Alarms)
- Press the 'Alarm' button to set Alarm 1. Use 'Up/Project' and 'Down' to adjust the time. Press 'Alarm' again to confirm.
- Repeat the process for Alarm 2.
- To activate snooze mode, press the 'Snooze/Light' button when the alarm sounds. The alarm will sound again after a set interval.
5. FM Radio
- Extend the antenna on the back of the unit for better reception.
- Press the 'Radio Sleep' button to turn on the FM radio.
- Use the 'Up/Project' and 'Down' buttons to manually tune to a station (76-108 MHz).
- To automatically search and store stations, press and hold the 'Radio Sleep' button.
- The auto-off function allows you to set a sleep timer (5 to 90 minutes) after which the radio will automatically turn off.

Image: The FM radio function in use, highlighting frequency range and volume control.
6. Temperature & Humidity Display
The clock automatically displays real-time indoor temperature and humidity. You can switch between Celsius (℃) and Fahrenheit (℉) modes by pressing the 'Down' button. Note that humidity deviation is ±5% and temperature deviation is ±1℃.
7. Volume Adjustment
The alarm and radio volume can be adjusted from 0 to 15 levels using the 'Volume' buttons on the back of the unit.
8. USB Charging Port
The 5V USB charging port on the back of the clock allows you to charge external electronic devices such as mobile phones or tablets.
Maintenance
- Cleaning: Wipe the clock's surface with a soft, dry cloth. Do not use abrasive cleaners or solvents.
- Battery Replacement: Replace the CR2032 backup battery annually or if settings are not retained during power outages. Ensure correct polarity when inserting the new battery.
- Storage: If storing the clock for an extended period, disconnect it from power and remove the backup battery.
Troubleshooting
| Problem | Possible Cause | Solution |
|---|---|---|
| Clock display is blank. | No main power supply. | Ensure USB cable is securely connected and power adapter is plugged into a working outlet. |
| Projection is blurry. | Focus not adjusted. | Rotate the focus ring on the projector lens until the image is clear. |
| FM radio reception is poor. | Antenna not extended or poor signal. | Fully extend the antenna. Try repositioning the clock for better signal. Perform an automatic station search. |
| Alarm does not sound. | Alarm not activated or volume too low. | Verify alarm is set and activated. Increase alarm volume. |
| Settings are lost after power outage. | Backup battery is dead or missing. | Install or replace the CR2032 backup battery. |
Specifications
- Model: FT1
- Material: Acrylonitrile Butadiene Styrene (ABS)
- USB Input: DC 5V
- FM Frequency: 76-108 MHz
- Projection Distance: 0.5-5m (1.6 - 16.4 ft)
- Volume Adjustment: 0-15 levels
- Hour Format: 12H/24H selectable
- Display Brightness: 4 levels (manual) + Automatic Dimming
- Projection Brightness: 3 levels
- Backup Battery: 1x CR2032 Lithium Battery (included)
- Temperature Display: ℃/℉ selectable (Deviation ±1℃)
- Humidity Display: (Deviation ±5%)
- Item Weight: 35g
- Dimensions (LxWxH): Approximately 25 x 38 x 25 Millimeters (Product dimensions may vary slightly)
Warranty and Support
FTOYIN products are designed for reliability and performance. For any questions, technical support, or warranty claims, please contact your retailer or the FTOYIN customer service directly. Please retain your proof of purchase for warranty purposes.
Note: Specific warranty terms and conditions may vary by region and retailer.


