
1. Introduction
The BougeRV Li 30A PWM Solar Charge Controller is an intelligent regulator designed to manage power flow from your solar panels to your battery system. It is compatible with various 12V or 24V battery types, including LFP, AGM, SLD, FLA, and features a backlit display for easy monitoring and a USB port for charging devices. This manual provides essential information for safe installation, operation, and maintenance of your solar charge controller.
2. Safety Information
Please read all instructions carefully before installation and operation. Failure to follow these instructions may result in damage to the unit, personal injury, or property damage.
- Ensure all connections are tight and correct to avoid excessive voltage drop and potential overheating.
- Connect the battery first, then the solar panel, and finally the load. Disconnect in the reverse order.
- The controller is designed for specific battery types. Ensure the correct battery type is selected in the settings.
- Install the controller in a well-ventilated area, away from direct sunlight and moisture.
- This device is for off-grid solar systems only.
- Do not attempt to disassemble or repair the controller yourself. Contact qualified personnel for service.

Figure 2.1: The BougeRV solar charge controller features an 8-point safety system, including protection against PV overvoltage, battery high voltage, over-current, low temperature, high temperature, over-voltage, solar panel reverse polarity, and battery reverse polarity.
3. Package Contents
Verify that all items are present in the package:
- 1 x BougeRV 30A PWM Solar Charge Controller
- 8 x Spade Terminals
- 1 x User Manual (this document)

Figure 3.1: Contents included in the BougeRV 30A PWM Solar Panel Regulator package.
4. Product Overview
The BougeRV 30A PWM Solar Charge Controller features a robust design with an intuitive interface for monitoring and control.

Figure 4.1: Front view of the BougeRV 30A PWM Solar Charge Controller, highlighting its backlit display and smartphone app connectivity.
4.1. Key Features
- Easy-Read Backlit Display: Cycles through PV status and battery status every 3 seconds, with real-time values. The larger screen and 50% brightness in no operation mode ensure readability in dim light.
- Li Compatibility: Supports various Lithium batteries (LiFePO4, Ternary lithium, Lithium-Titanium-Oxide) with specific LCD icons. Includes a jumpstart function for overly discharged lithium batteries.
- Battery Compatibility: Compatible with 12V or 24V SLD, FLD, GEL, AGM, SLA, LiFePO4, ternary lithium, and LTO batteries. Programmable for optimal charging and maintenance.
- High PV Input: Max PV input voltage of 55V, handling up to 450W for 12V systems and 900W for 24V systems.
- Safe Wiring: Comes with spade terminals for secure and neat wiring.

Figure 4.2: The backlit LCD screen provides clear, real-time information on battery and solar panel status.

Figure 4.3: The display automatically cycles between charging voltage and current for quick monitoring.

Figure 4.4: Detailed view of the controller's ports and controls.
5. Setup and Installation
Follow these steps for proper installation of your solar charge controller.
5.1. Wiring Sequence
- Connect the Battery: First, connect the positive wire of the battery to the battery positive terminal on the controller, then the negative wire to the battery negative terminal. Ensure the battery is charged enough for the controller to recognize it (minimum 8V).
- Connect the Solar Panel: Next, connect the positive wire of the solar panel to the solar panel positive terminal on the controller, then the negative wire to the solar panel negative terminal.
- Connect the Load (Optional): Finally, connect the DC load to the load terminals on the controller.
Important Note:
- Always connect the battery first and disconnect the solar panel last to prevent damage to the controller.
- When using the spade terminals, turn the screwdriver counterclockwise first to open the wire clamp holes before inserting wires.
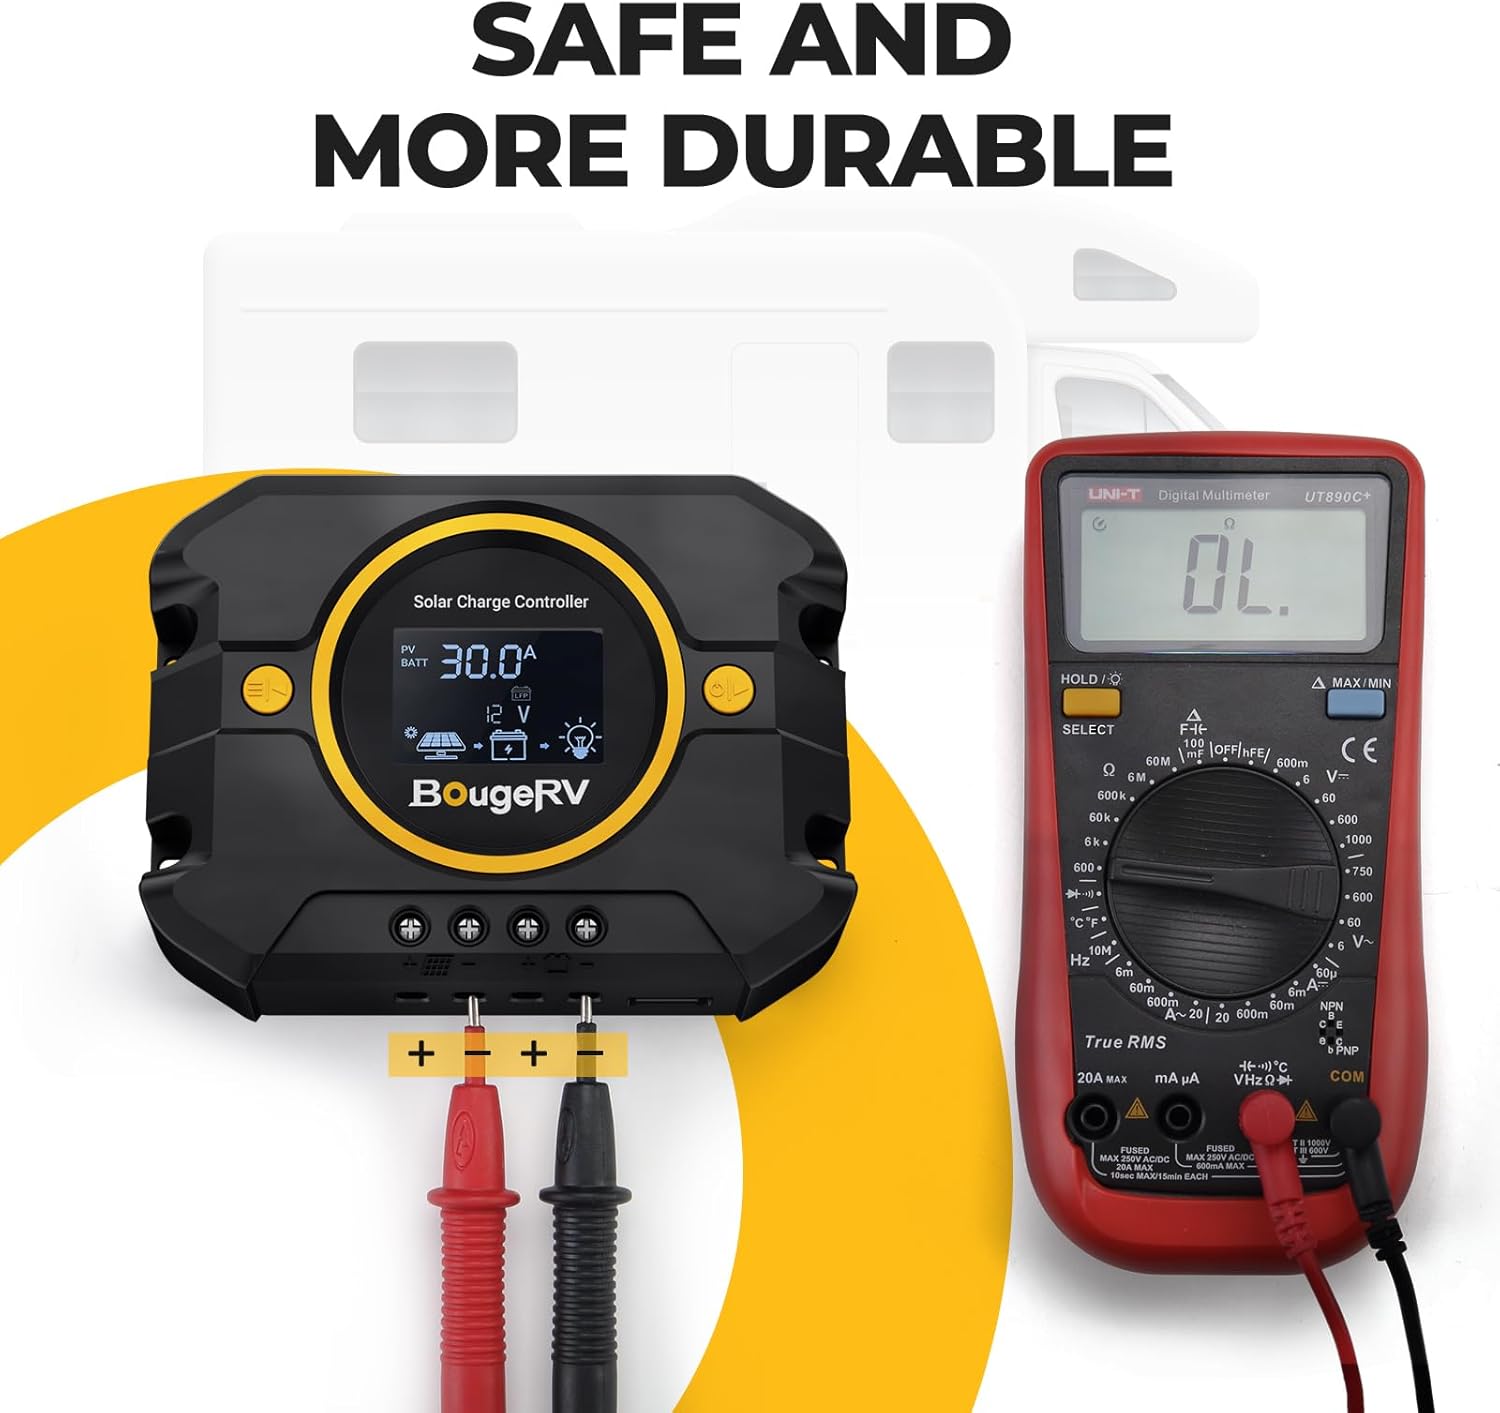
Figure 5.1: Proper wiring connections for the solar charge controller.
6. Operating Instructions
6.1. Display and Button Functions
The controller features a backlit LCD display and two buttons for navigation and settings.

Figure 6.1: Left button for menu navigation.

Figure 6.2: Right button for power and setting adjustments.
6.2. Battery Type Selection
The controller supports various battery types. Ensure you select the correct type for optimal charging and battery longevity.

Figure 6.3: The display shows specific icons for different battery types, including GEL, SEL, AGM, LI, LFP, FLD, and LTO.
6.3. Smartphone App Connectivity
The controller features built-in Bluetooth for monitoring and setting adjustments via a smartphone app.
- Download the App: Search for "BougeRV" on your app store or scan the QR code provided in the manual.
- Pairing: Ensure Bluetooth and GPS are enabled on your phone. Open the app, click the BT logo, and connect to the device. You may need to register an account.

Figure 6.4: Instructions for downloading and pairing the BougeRV app. For app download, visit http://b.nxw.so/2o42ln.
Video 6.1: This video demonstrates the process of connecting the BougeRV solar controller to the app and navigating through its data display features, including real-time numerical and line graph displays, and historical data.
7. Maintenance
Regular maintenance ensures optimal performance and longevity of your solar charge controller.
- Cleaning: Periodically clean the controller's exterior with a dry cloth to remove dust and debris. Ensure ventilation openings are clear.
- Connections: Regularly check all wiring connections for tightness and corrosion. Loose connections can cause overheating and damage.
- Environment: Ensure the installation environment remains dry and free from excessive temperatures or humidity.
8. Troubleshooting
This section addresses common issues you might encounter with your solar charge controller.
| Problem | Possible Cause | Solution |
|---|---|---|
| Controller display is off. | No power from battery or solar panel; battery voltage too low. | Check battery connections and voltage. Ensure solar panels are receiving sunlight. Battery needs at least 8V to activate the controller. |
| Battery not charging. | Incorrect wiring; solar panel issue; incorrect battery type setting. | Verify wiring sequence (battery first, then solar). Check solar panel output. Ensure correct battery type is selected in settings. |
| Load not working. | Load disconnected; battery voltage too low; overcurrent protection. | Check load connections. Ensure battery has sufficient charge. Reduce load or check for short circuits. |
| Bluetooth connection issues. | Bluetooth/GPS off; app not registered; interference. | Ensure Bluetooth and GPS are enabled on your phone. Register an account in the app. Try connecting closer to the controller. |
9. Specifications
| Feature | Detail |
|---|---|
| Model Number | P2430N |
| Rated Charge Current | 30A |
| System Voltage | 12V/24V Auto-recognition |
| Max PV Input Voltage | 55V |
| Max PV Input Power (12V) | 450W |
| Max PV Input Power (24V) | 900W |
| Battery Compatibility | SLD, FLD, GEL, AGM, SLA, LiFePO4, Ternary Lithium, LTO |
| Product Dimensions | 5.92 x 3.95 x 1.92 inches |
| Item Weight | 11.3 ounces |
10. Warranty and Support
BougeRV products come with a standard warranty. For detailed warranty information and customer support, please refer to the official BougeRV website or contact their customer service directly.
You can visit the official BougeRV store on Amazon for more products and support: BougeRV Amazon Store
