
1. Introduction
This user manual provides essential information for the installation, operation, maintenance, and troubleshooting of your Cersanit Moduo CleanOn Floor-standing WC Pan, model K116-001. Please read this manual thoroughly before installation and use to ensure proper function and longevity of the product.
2. Safety Information
Always adhere to local plumbing codes and regulations during installation. If you are unsure about any step, consult a qualified professional plumber. Ensure all water connections are properly sealed to prevent leaks. Do not use abrasive cleaners or tools that could damage the ceramic surface or plastic seat.
3. Product Overview
The Cersanit Moduo CleanOn WC Pan is a modern, floor-standing toilet designed for efficient flushing and easy cleaning. Its CleanOn technology ensures a rimless design for enhanced hygiene.

Figure 3.1: Front view of the Cersanit Moduo CleanOn Floor-standing WC Pan. This image displays the complete toilet unit, including the ceramic pan and cistern, highlighting its compact and modern design suitable for various bathroom aesthetics.
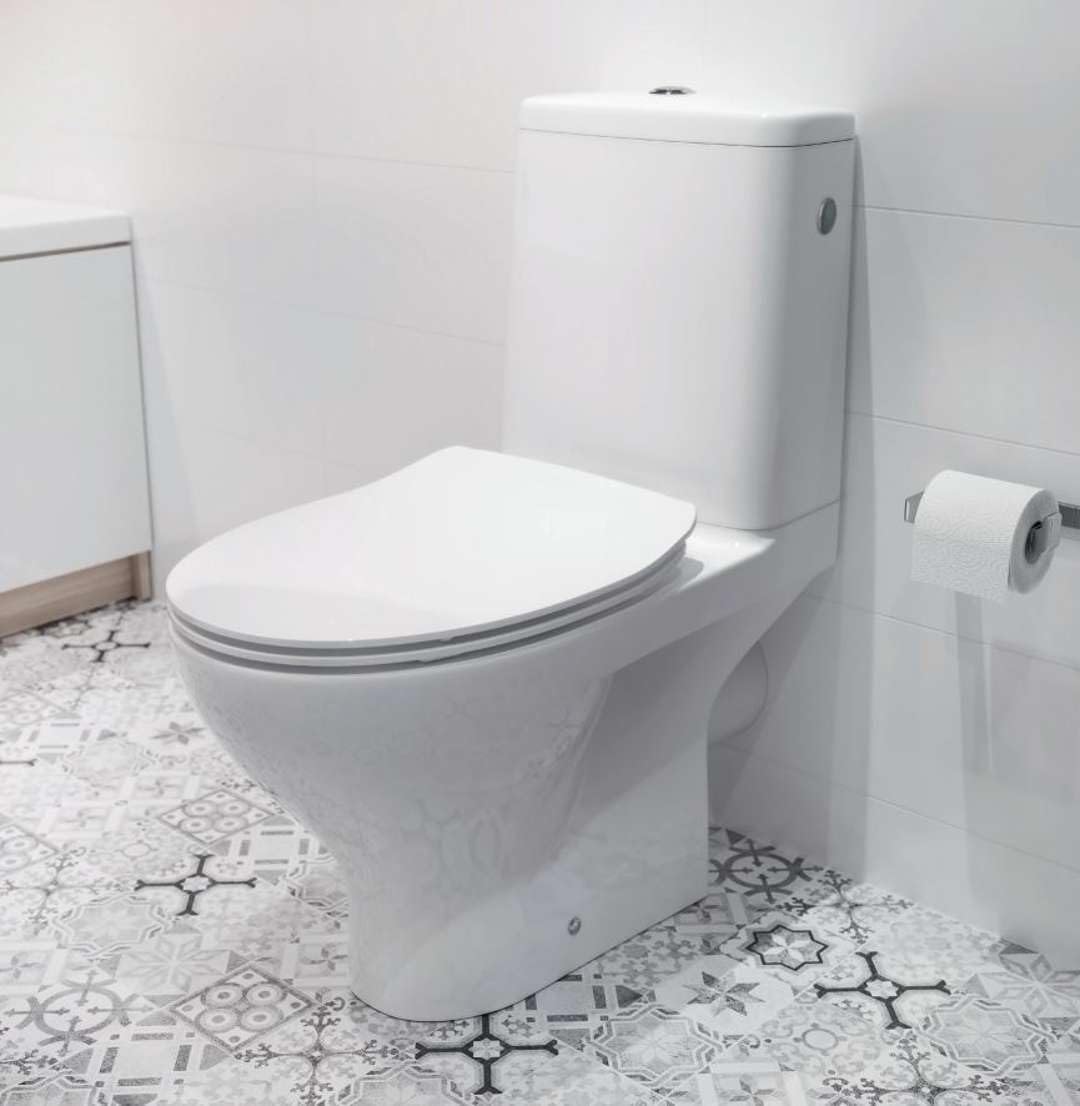
Figure 3.2: Cersanit Moduo CleanOn WC Pan installed in a typical bathroom setting. This image demonstrates how the toilet integrates into a bathroom space, showing its size and appearance when in use.

Figure 3.3: Technical drawing illustrating the dimensions of the Cersanit Moduo CleanOn WC Pan. This diagram provides critical measurements (in millimeters) for planning installation, including height, width, depth, and connection points.
4. Setup and Installation
Installation of the Cersanit Moduo CleanOn Floor-standing WC Pan should be performed by a qualified plumber to ensure correct and secure fitting. Refer to Figure 3.3 for precise dimensions and rough-in measurements.
4.1. Pre-installation Checks
- Ensure all necessary components are present and undamaged.
- Verify that the floor and wall are level and structurally sound to support the WC pan.
- Confirm that water supply and waste pipe connections are correctly positioned according to the technical drawing.
4.2. Installation Steps (General Guide)
- Turn off the main water supply to the bathroom.
- Position the WC pan over the waste outlet and mark the fixing points on the floor.
- Drill holes at the marked points and insert appropriate fixings.
- Apply a wax ring or suitable sealing compound around the waste outlet.
- Carefully lower the WC pan onto the waste outlet and align with the fixing points.
- Secure the WC pan to the floor using the provided or recommended fasteners. Do not overtighten.
- Connect the water supply line to the cistern inlet valve.
- Install the toilet seat according to its specific instructions.
- Turn on the water supply and check for any leaks. Flush the toilet several times to ensure proper operation.
5. Operating Instructions
The Cersanit Moduo CleanOn WC Pan operates like a standard toilet. Press the flush button on the cistern to activate the flush mechanism. The dual-flush system (if applicable) allows for a full or partial flush to conserve water. Refer to the cistern's specific instructions for details on flush volume settings.
6. Maintenance
Regular cleaning and maintenance will ensure the longevity and hygienic performance of your WC pan.
6.1. Cleaning the Ceramic Pan
- Use a soft cloth or sponge with mild, non-abrasive bathroom cleaner.
- For the CleanOn rimless design, wipe the entire inner surface of the bowl thoroughly.
- Rinse thoroughly with clean water after cleaning.
- Avoid using harsh chemicals, abrasive powders, scouring pads, or strong acids/alkalis, as these can damage the ceramic glaze.
6.2. Cleaning the Toilet Seat
- Clean the plastic toilet seat with a soft cloth and mild soap and water.
- Do not use abrasive cleaners or solvents, as they can discolor or damage the plastic.
6.3. General Care
- Check for any signs of leaks around the base or water connections periodically.
- Ensure the flush mechanism operates smoothly. If issues arise, consult the troubleshooting section or a professional.
7. Troubleshooting
This section addresses common issues you might encounter with your WC pan.
| Problem | Possible Cause | Solution |
|---|---|---|
| Water continuously runs into the bowl. | Faulty flapper/flush valve seal or fill valve issue. | Inspect and clean the flapper/flush valve seal. Adjust or replace the fill valve if necessary. |
| Weak flush. | Low water level in cistern, clogged rim jets (unlikely with CleanOn), or partial blockage in trap. | Adjust water level in cistern. Check for blockages in the trap or waste pipe. |
| Toilet leaks at the base. | Loose mounting bolts or damaged wax ring/seal. | Tighten mounting bolts (do not overtighten). If leak persists, the toilet may need to be removed and the wax ring/seal replaced. Consult a plumber. |
| Toilet seat is loose. | Mounting screws are loose. | Tighten the screws securing the toilet seat to the pan. |
If the problem persists after attempting these solutions, it is recommended to contact a qualified plumber or Cersanit customer support.
8. Specifications
| Feature | Detail |
|---|---|
| Brand | Cersanit |
| Model Number | K116-001 |
| Material (WC Pan) | Ceramic |
| Material (Toilet Seat) | Plastic |
| Installation Type | Floor-standing |
| Shape | Oval |
| Manufacturer | Cersanit |
9. Warranty and Support
9.1. Manufacturer's Warranty
This product comes with a 2-year manufacturer's warranty. Please retain your proof of purchase for any warranty claims. The warranty covers defects in materials and workmanship under normal use and service.
9.2. Spare Parts Availability
Information regarding the availability of spare parts for this specific model is currently unavailable. For inquiries about replacement parts, please contact Cersanit customer support directly.
9.3. Customer Support
For further assistance, technical support, or warranty claims, please refer to the contact information provided on the official Cersanit website or your product packaging.


