
XOSS XL-400
XOSS XL-400 Bike Headlight User Manual
Model: XL-400
1. Introduction
Thank you for purchasing the XOSS XL-400 Bike Headlight. This USB rechargeable bike light is designed for night riding, offering powerful illumination and enhanced safety features. With its durable aluminum alloy shell and waterproof design, it is suitable for various cycling environments, including road, mountain, and commuter biking. Please read this manual carefully before use to ensure proper operation and maintenance.
2. Safety Information
- Always ensure the light is securely mounted before riding.
- Do not look directly into the light beam when it is on, as it can cause temporary vision impairment.
- Keep the light away from children.
- Charge the battery in a dry, well-ventilated area.
- Do not disassemble or modify the light, as this will void the warranty and may cause damage.
- While the light is waterproof, avoid prolonged submersion.
3. Package Contents
Please check the package to ensure all items are present:
- XOSS XL-400 Headlight
- USB Charging Cable
- GoPro Adaptor
- GoPro Adaptor Bolt
- Handlebar Mount
- User Manual (this document)

4. Product Overview
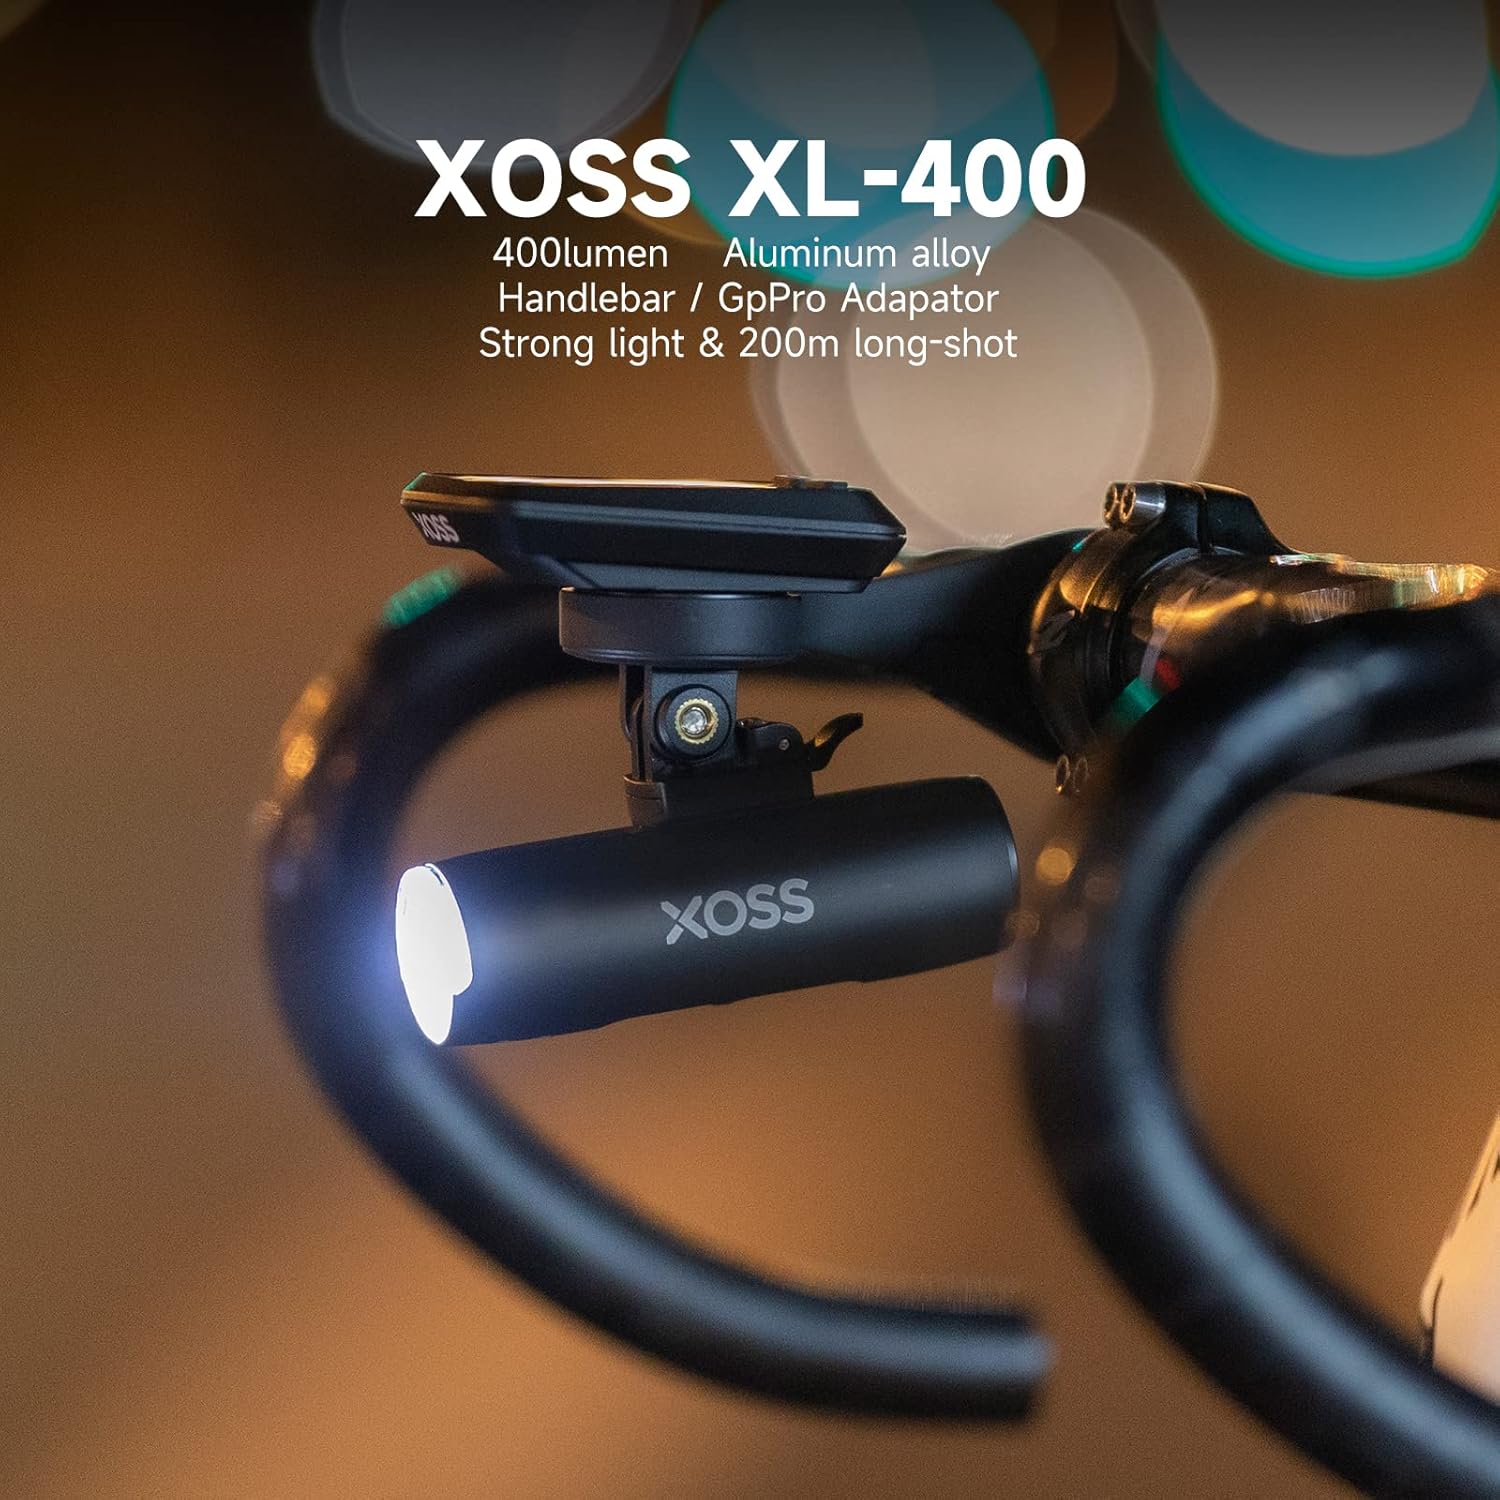
The XOSS XL-400 is a compact and powerful bike headlight designed for optimal visibility and durability.
- Aluminum Alloy Shell: Provides fall protection and efficient heat dissipation.
- Side Indicator Light: Enhances side visibility for increased safety.
- Lightweight and Small: Weighs 119g and measures 94mm in length, making it easy to carry and mount.
- Uniform Light Spot: Features a lens optical design for even light distribution, improving night riding safety.


5. Setup and Installation
The XL-400 offers two primary mounting options: Handlebar Mount and GoPro Adaptor.
5.1 Handlebar Mounting
- Attach the handlebar mount to your bicycle's handlebar using the provided strap or screw, ensuring it is secure and stable.
- Slide the XL-400 headlight onto the mount until it clicks into place.
- Adjust the angle of the light to ensure optimal illumination of your path.

5.2 GoPro Adaptor Mounting
The XL-400 can be mounted using a GoPro adaptor, allowing it to be used with bike computer mounts that feature a GoPro interface.
- Attach the GoPro adaptor to the bottom of the XL-400 headlight using the provided bolt.
- Secure the GoPro adaptor to your bike computer mount's GoPro interface.
- Ensure the connection is tight and the light is stable.
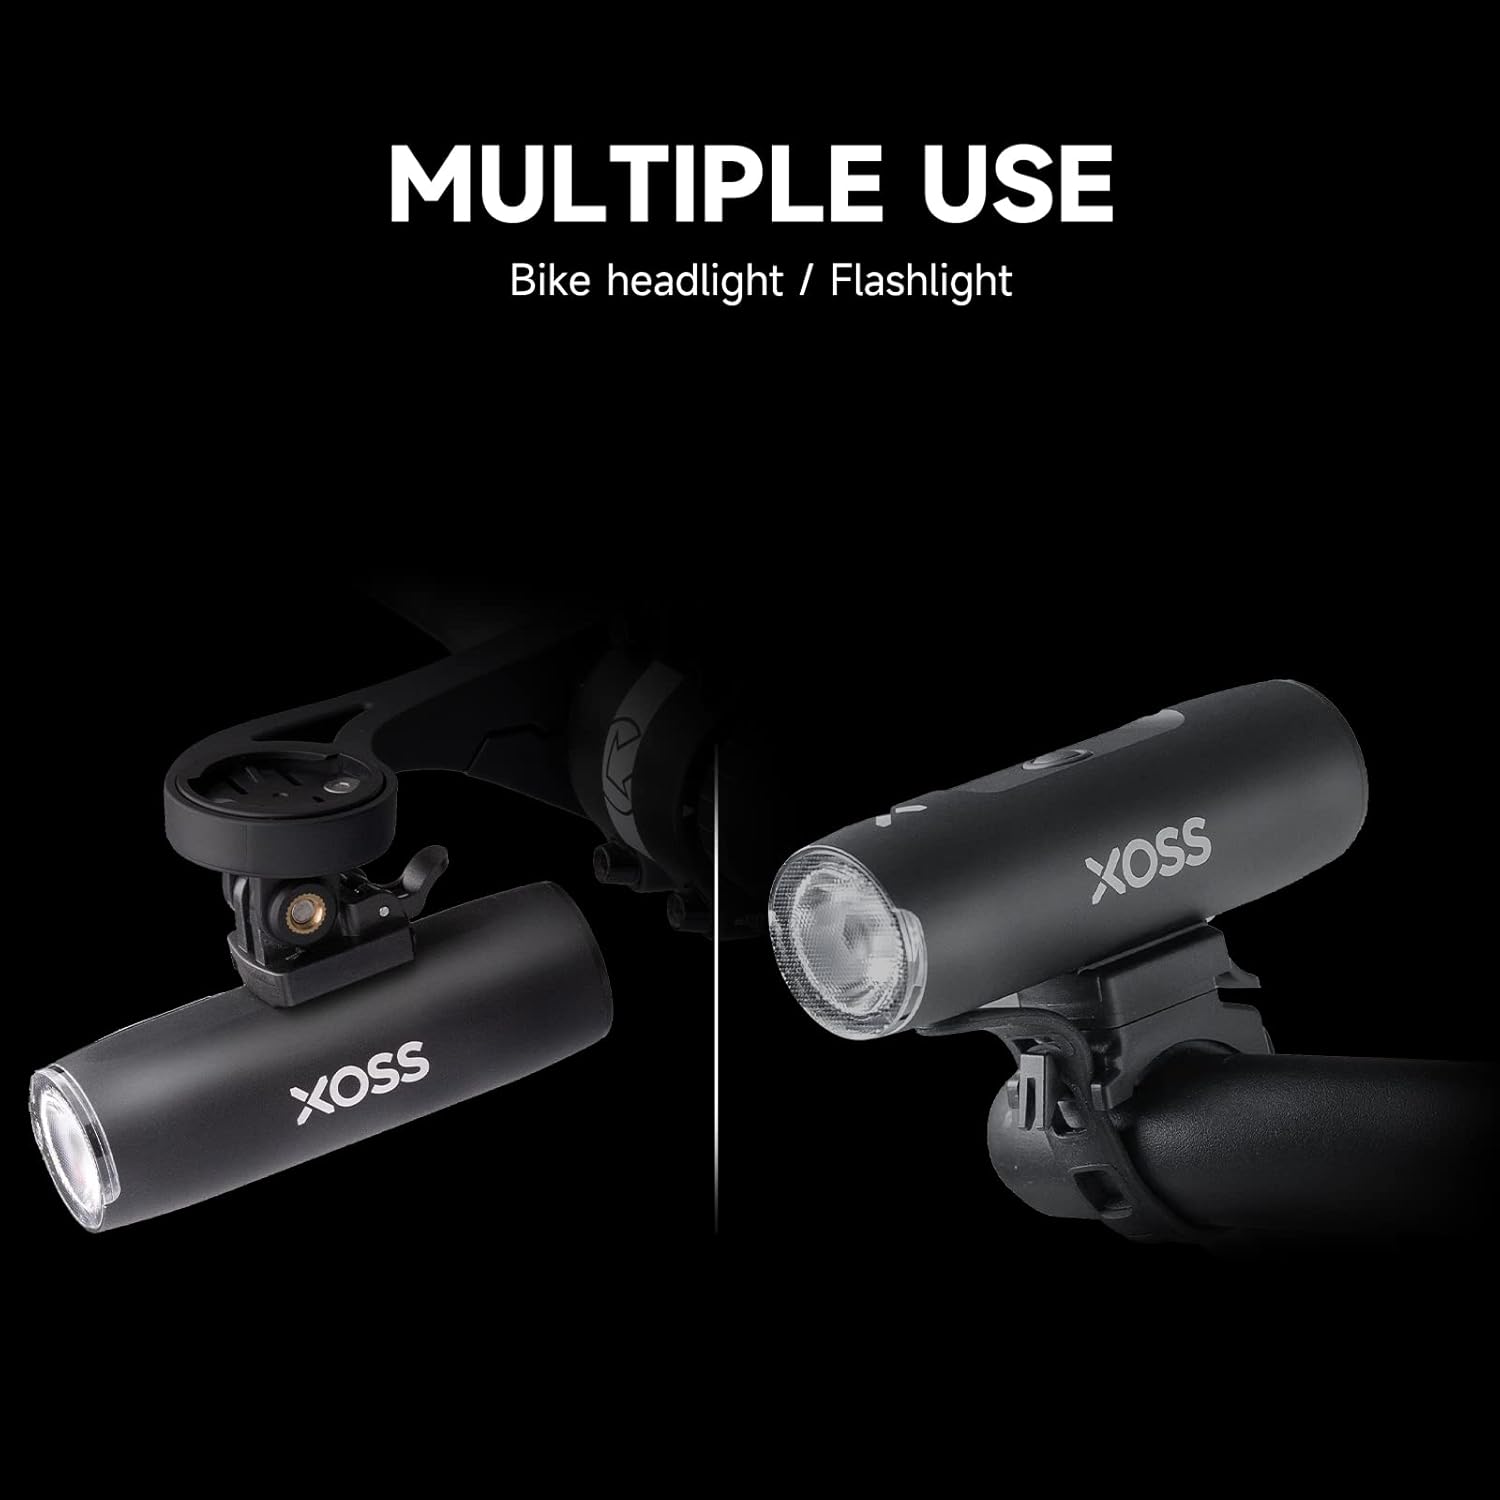
The light is designed for easy installation and removal, allowing you to quickly detach it for charging or security.

6. Operating Instructions
6.1 Power On/Off and Mode Selection
The XL-400 features five lighting modes:
- High Brightness: 400 lumens, ideal for maximum visibility.
- Medium Brightness: Balanced illumination for general use.
- Low Brightness: For extended battery life or less demanding conditions.
- Fast Flashing: For increased daytime visibility or emergency signaling.
- SOS Mode: For emergency situations.
To control the light:
- Power On/Off: Press and hold the power button for approximately 2 seconds.
- Change Mode: Once the light is on, click the power button to cycle through the five lighting modes.

6.2 Charging the Battery
The XL-400 features a built-in 2200mAh rechargeable battery and a Micro-USB charging interface.
- Locate the Micro-USB charging port on the light.
- Connect the provided USB charging cable to the light and to a USB power source (e.g., computer, wall adapter).
- The power indicator light will show the charging status. Charge the light fully before first use.
- A full charge provides approximately 2.5 hours of use in high-brightness mode.
The power indicator allows you to monitor the real-time battery level and charge the device promptly when needed.
6.3 Video Demonstration
Watch this official video for a visual guide on the XL400 Bike Front Light features and usage:
Video 6.1: Official demonstration of the XOSS XL-400 Bike Front Light, showcasing its features, mounting options, and lighting modes.
7. Maintenance
- Cleaning: Wipe the light with a soft, damp cloth. Do not use abrasive cleaners or solvents.
- Storage: Store the light in a cool, dry place when not in use. If storing for an extended period, charge the battery every 3-6 months to maintain its health.
- Water Resistance: The XL-400 is designed to be waterproof (IPX4 rating), making it resistant to splashes and rain. However, avoid submerging it in water.

8. Troubleshooting
| Problem | Possible Cause | Solution |
|---|---|---|
| Light does not turn on. | Battery is depleted. | Charge the light fully using the provided USB cable. |
| Light turns off unexpectedly. | Low battery. | Recharge the light. |
| Light modes are not changing. | Button not pressed correctly or internal issue. | Ensure a firm click when pressing the button. If issue persists, contact customer support. |
| Light is not securely mounted. | Mounting bracket loose or incorrectly installed. | Re-tighten the mounting bracket or re-install the light ensuring it clicks into place. |
9. Specifications
| Feature | Detail |
|---|---|
| Model | XL-400 |
| Brightness | 400 Lumens (Max) |
| Lighting Modes | 5 (High, Medium, Low, Fast Flashing, SOS) |
| Battery Capacity | 2200mAh |
| Battery Life (High Brightness) | Approx. 2.5 hours |
| Charging Interface | Micro-USB |
| Material | Aluminum Alloy |
| Weight | 119 Grams |
| Dimensions (Length) | 94mm |
| Water Resistance Rating | IPX4 |
| Mounting Type | Handlebar Mount, GoPro Adaptor |
10. Warranty and Support
XOSS is committed to providing high-quality products and excellent after-sales support.
- Warranty: This product comes with a one-year warranty from the date of purchase.
- Customer Support: If you encounter any problems with the product or have any questions, please do not hesitate to contact XOSS customer service. We will endeavor to answer your questions as soon as possible.
- Official Website: For more information and support, visit the official XOSS store: XOSS Store on Amazon.
Related documentsXL-400


Ask a question about this manual
Ask about setup, troubleshooting, compatibility, parts, safety, or missing instructions. Manuals+ will review the question and use this page’s manual context to help answer it.