Introduction
Thank you for choosing the EUG Auto Focus Smart Projector. This manual provides essential information for setting up, operating, and maintaining your projector to ensure optimal performance and longevity. Please read this manual thoroughly before using the product and retain it for future reference.
Image: The EUG Auto Focus Smart Projector, showcasing its sleek design and connectivity ports.
Safety Information
To prevent fire or electric shock, do not expose this appliance to rain or moisture. Do not open the cabinet. Refer servicing to qualified personnel only.
- Ensure proper ventilation around the projector.
- Do not block ventilation openings.
- Use only the power cord supplied with the projector.
- Avoid direct eye exposure to the projector lens when the lamp is on.
- Keep the projector away from water and high humidity environments.
What's in the Box
Verify that all items are present upon unboxing:
- EUG Auto Focus Smart Projector
- HDMI Cable
- Power Cord
- User Manual (this document)
- Remote Control
Product Overview
Components and Ports
Familiarize yourself with the various parts of your projector:

Image: Rear view of the projector highlighting various input/output ports including HDMI, USB, AV, and audio out.
- Lens: Projects the image onto the screen.
- Focus Sensor: Used for automatic focus adjustment.
- Ventilation Openings: Essential for heat dissipation. Do not block.
- Control Panel: Manual buttons for basic operations.
- HDMI Ports: Connect to devices like laptops, gaming consoles, or TV sticks.
- USB Ports: Connect USB drives for media playback or firmware updates.
- AV Port: Connect to older devices using an AV cable.
- Audio Out (3.5mm Jack): Connect external speakers or headphones.
- Power Input: Connect the power cord.
Setup
1. Placement
Position the projector on a stable, flat surface or mount it to the ceiling. Ensure the lens is perpendicular to the projection surface for the best image quality. The projection distance affects the screen size.

Image: Diagram illustrating recommended projection distances for various screen sizes, from 35 inches at 3.8 feet to 200 inches at 13 feet.
2. Power Connection
Connect the supplied power cord to the projector's power input and then to a power outlet.
3. Initial Power On and Auto-Correction
Press the power button on the projector or remote control. The projector will automatically perform auto-focus and 6D keystone correction to provide a clear, rectangular image within approximately 3 seconds. This feature automatically detects environmental changes and adjusts the image.

Image: Visual representation of auto keystone correction, 4P keystone, and horizontal/vertical keystone adjustments, along with the zoom function.
4. Network Connection (Wi-Fi 6)
Navigate to the settings menu on the projector's interface. Select 'Network' or 'Wi-Fi' and choose your desired network. Enter the password if prompted. The projector supports both 2.4GHz and 5GHz Wi-Fi 6 for stable and fast transmission.
5. Bluetooth Connection
To connect external Bluetooth devices like speakers or headphones, go to the Bluetooth settings. Enable Bluetooth and select your device from the list to pair. The projector features upgraded Bluetooth 5.3 for efficient audio transmission.
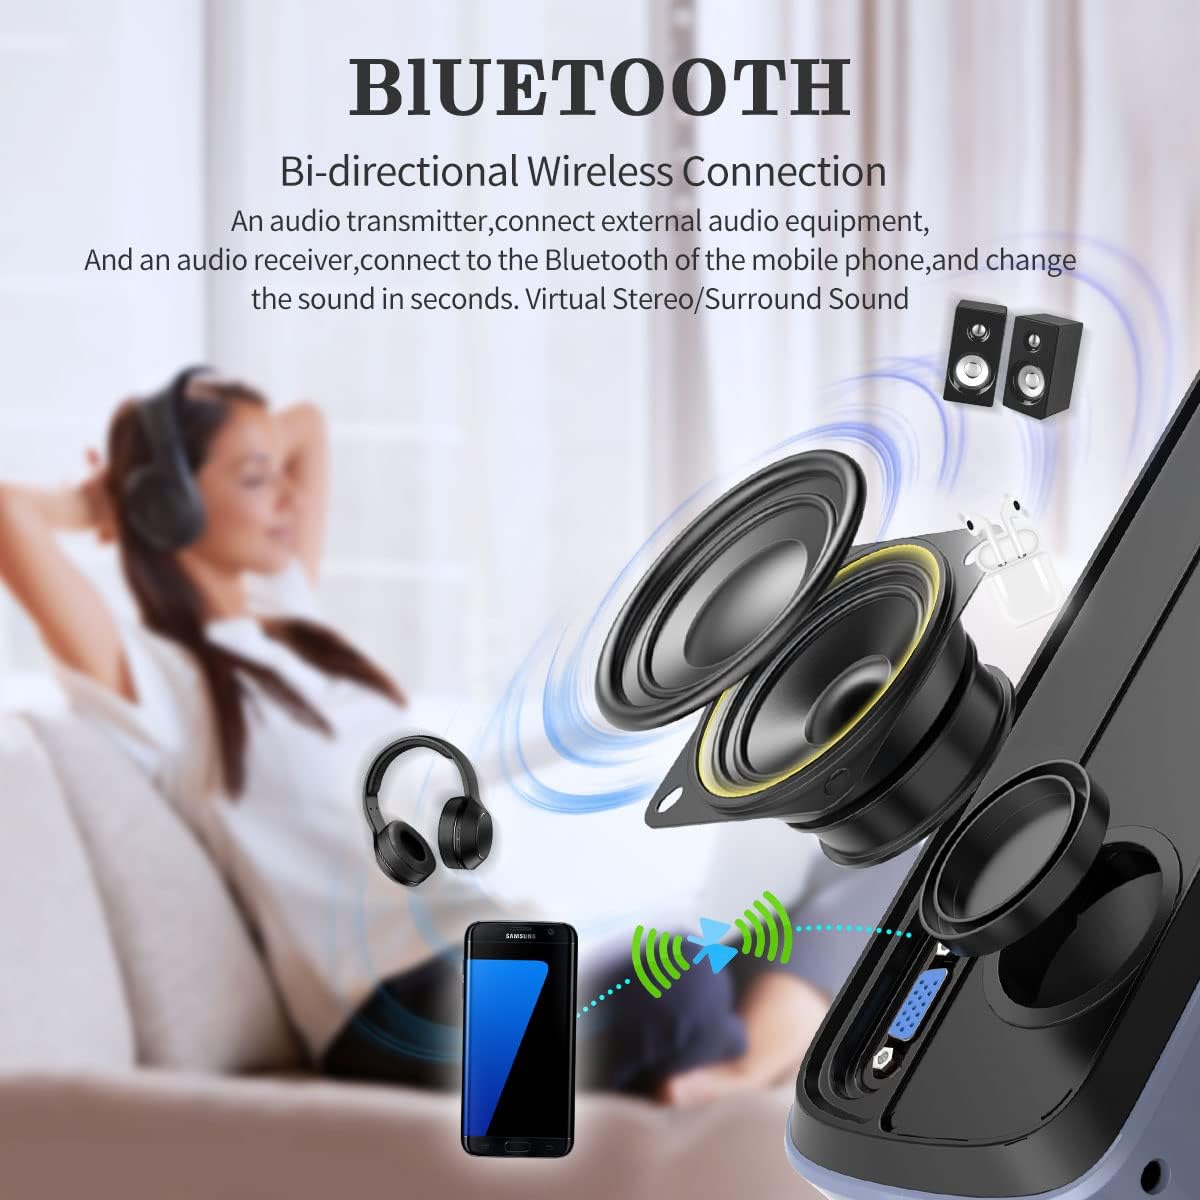
Image: Diagram illustrating the bi-directional Bluetooth connection, showing the projector connecting to headphones and external speakers, and also functioning as a Bluetooth speaker for a phone.
Operating Instructions
1. Navigation and Smart Features
The projector runs on Android 11 with integrated Google TV, providing access to officially licensed apps like Netflix, YouTube, and Prime Video. Use the remote control to navigate the interface. Google Voice Control is also available for hands-free operation.

Image: A visual representation of the Android TV OS interface, displaying various streaming and entertainment app icons, powered by a MediaTek chip.
2. Connecting External Devices
The projector is equipped with VGA, AV, USB, and HDMI ports for versatile connectivity. Use the appropriate cable to connect your device (e.g., laptop, game console, TV stick, phone) to the projector. Select the correct input source from the projector's menu.
Image: A diagram showing various devices that can be connected to the projector, including TV Box, Fire Stick, Game Console, Camera, DVD, Speaker/Headset, Phone/Tablet, and Laptop/PC.
3. Screen Mirroring
The projector supports Airplay and Miracast for mirroring content from your Android or iOS devices. Ensure both the projector and your device are connected to the same Wi-Fi network. Select the screen mirroring option on the projector and follow the instructions on your device.

Image: Illustration of multi-screen sharing capabilities, including Airplay, Miracast, and DLNA, demonstrating how a smartphone can be turned into a large screen display.
4. Adjusting Settings
- Zoom Function: Adjust the image size from 50% to 100% without moving the projector. Access this feature through the settings menu.
- Picture Settings: Adjust brightness, contrast, color, and sharpness to optimize your viewing experience.
- Sound Settings: Control volume, audio output, and sound modes. The projector has built-in 30W HiFi dual speakers with Dolby Audio & DTS-HD support.
Maintenance
1. Cleaning
- Lens: Use a soft, lint-free cloth specifically designed for optical lenses. Do not use abrasive cleaners.
- Exterior: Wipe the projector's exterior with a soft, dry cloth. For stubborn marks, slightly dampen the cloth with water.
- Ventilation: Periodically check and gently clean the ventilation openings to ensure proper airflow and heat dissipation.
2. Storage
When not in use for extended periods, store the projector in a cool, dry place, away from direct sunlight and excessive dust. Use the original packaging or a protective case if available.
Troubleshooting
| Problem | Solution |
|---|---|
| No image projected | Ensure the power cord is securely connected. Check if the correct input source is selected. Verify the lens cap is removed. |
| Image is blurry | Allow the auto-focus to complete. If still blurry, manually adjust focus if an option is available, or ensure the projector is within optimal projection distance. |
| Image is distorted (trapezoid) | Ensure the projector is placed perpendicular to the screen. The 6D keystone correction should automatically adjust; if not, check keystone settings in the menu. |
| No sound | Check the volume level on the projector and the connected source. Ensure external speakers are properly connected and powered on if used. Verify audio output settings. |
| Remote control not working | Check the batteries in the remote control. Ensure there are no obstructions between the remote and the projector's IR receiver. |
| Wi-Fi connection issues | Ensure the Wi-Fi password is correct. Restart the projector and your router. Try connecting to a different Wi-Fi band (2.4GHz or 5GHz). |
Specifications
| Feature | Detail |
|---|---|
| Brand | EUG |
| Model Number | FBA-US1-700D+AB-M |
| Display Resolution | 3840 x 2160 (4K Support) |
| Native Resolution | 1080p |
| Brightness | 950 ANSI Lumens |
| Contrast Ratio | 9000:1 |
| Operating System | Android 11 with Google TV |
| Internal Storage | 32GB |
| Connectivity | Wi-Fi 6 (2.4GHz/5GHz), Bluetooth 5.3, HDMI (x2), USB (x2), AV, 3.5mm Audio Jack |
| Special Features | Auto Focus, 6D Keystone Correction, Auto Obstacle Avoidance, Auto Screen Alignment, Google Voice Control, Game Mode (60Hz refresh rate, 20ms latency) |
| Speakers | 30W HiFi Dual Speakers (Dolby Audio & DTS-HD support) |
| Visible Screen Diagonal | Up to 200 inches / 508 cm |
| Item Weight | 4.4 pounds |
| Color | Blue |
Warranty and Support
For warranty information and technical support, please refer to the warranty card included with your product or visit the official EUG website. Keep your purchase receipt as proof of purchase for warranty claims.
For further assistance, you may contact EUG customer service through their official channels.


