
1. Introduction
The HOLYBRO PM07 Power Module is a versatile board designed to function as both a Power Module and a Power Distribution Board for various flight controllers, including Pixhawk 4, Pixhawk 4 Mini, Pix32v5, and Pix32. Its primary role is to provide regulated power to the flight controller (FC) and Electronic Speed Controllers (ESCs), while also supplying critical battery voltage and current data to the autopilot system.
This manual provides essential information for the proper installation, configuration, and operation of your PM07 Power Module.
2. Specifications
| Feature | Value |
|---|---|
| PCB Current Output | Total 120A (Maximum) |
| UBEC 5V Output Current | 3A |
| UBEC Input Voltage | 7-51V (2-12S LiPo) |
| Dimensions | 68 x 50 x 10 mm |
| Mounting Holes | 45 x 45 mm |
| Weight | 47.5 g |
3. Package Contents
Verify that all items listed below are included in your package:
- 1x PM07 board
- 1x 80mm XT60 connector wire (pre-installed)
- 1x Electrolytic capacitor: 220uF 63V (pre-installed)
- 2x JST GH 10P Cable
- 1x JST GH 8P Cable
- 2x JST GH 6P Cable
4. Setup and Configuration
4.1 Physical Connection
Connect the PM07 board to your flight controller and ESCs according to your flight controller's wiring diagram. Ensure the XT60 connector is securely attached to your LiPo battery. The PM07 provides power distribution and voltage/current sensing capabilities.

Figure 1: Top view of the PM07 Power Module, showing the XT60 battery input and various output connectors for flight controller and ESCs.
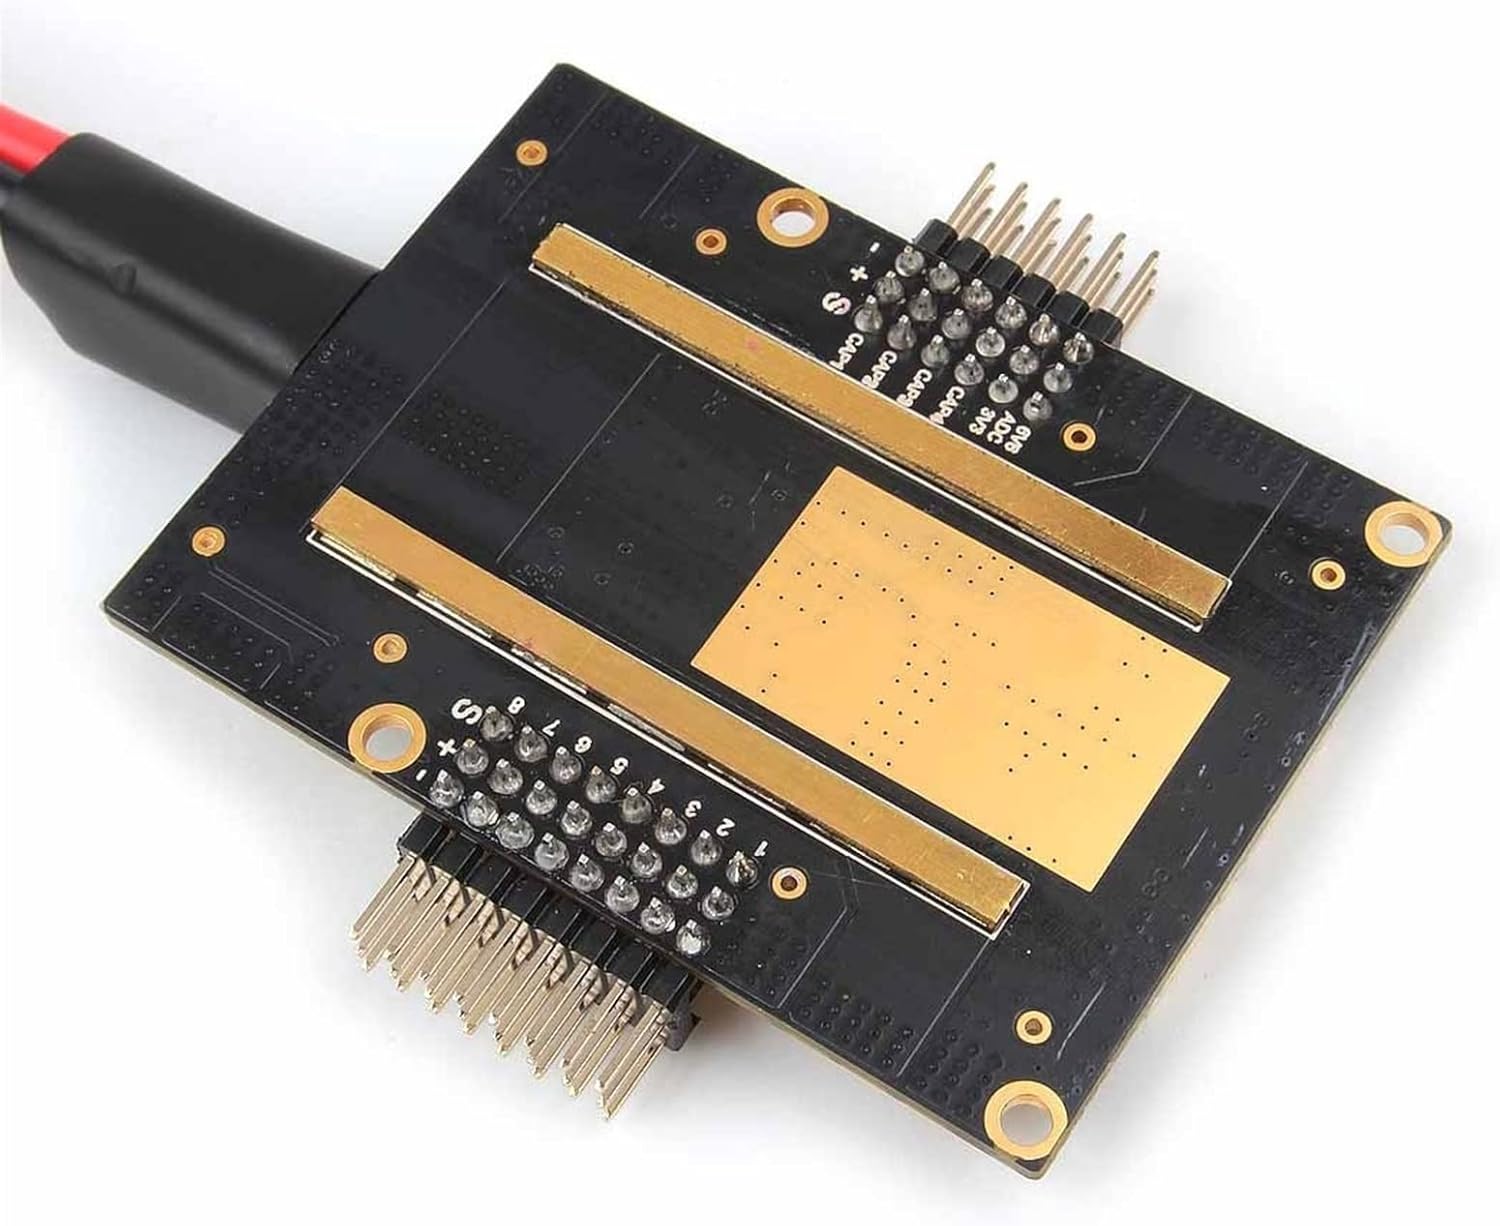
Figure 2: Angled view of the PM07, highlighting the component layout and connection points.
4.2 Mission Planner Setup for Battery Monitoring
To enable accurate battery voltage and current monitoring, configure your flight controller using Mission Planner. Follow these steps:
- Connect the PM07 to your battery and then connect your flight controller to Mission Planner via a USB cable.
- In Mission Planner, navigate to the "INITIAL SETUP" section.
- Select the "Battery Monitor" menu.
- Set "Monitor" to "Analog Voltage and Current".
- Set "Sensor" to "9: Holybro Pixhawk4 PM".
- For "HW Ver:", select "The Cube or Pixhawk" if using Pixhawk4, Pixhawk4 Mini, Pix32v5, or Pix32. Leave this blank for Durandal flight controllers.
- Input "18.182" into the "Voltage divider (Calced)" field.
- Input "36.364" into the "Amperes per volt" field.
- Disconnect and then reconnect your flight controller to finalize the settings. The "Measured battery voltage" display should now show the current battery charge.
Alternatively, for advanced users or Durandal flight controllers, you can designate the following parameters in the Full Parameter List:
- Command: BATT_CURR_PIN Value: 17
- Command: BATT_VOLT_PIN Value: 16

Figure 3: Bottom view of the PM07, illustrating the current sensing pads.
5. Operation
Once properly connected and configured, the PM07 Power Module will automatically perform its functions:
- Power Distribution: It distributes power from your LiPo battery to the flight controller and connected ESCs.
- Regulated 5V Output: The onboard UBEC provides a stable 5V output for the flight controller and other low-power components.
- Battery Monitoring: It continuously measures and transmits battery voltage and current data to the flight controller, enabling accurate battery level display and low-voltage warnings in your ground station software.
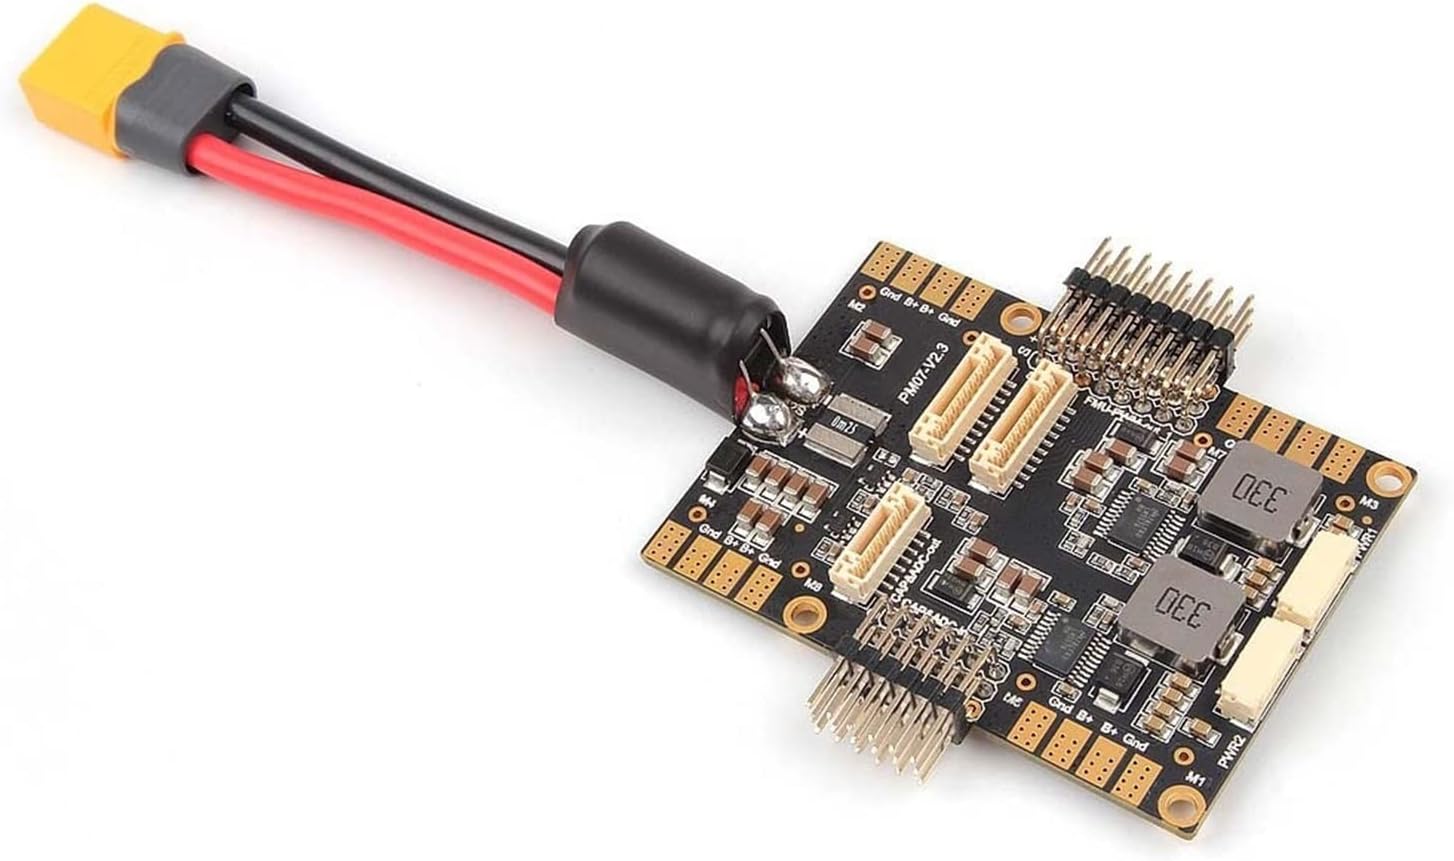
Figure 4: Angled view of the PM07, showing the XT60 connector and included cables for connection.
6. Maintenance
The PM07 Power Module is designed for reliability with minimal maintenance. However, regular inspection is recommended:
- Visual Inspection: Periodically check the board for any signs of physical damage, loose connections, or burnt components.
- Cable Integrity: Ensure all connecting cables (XT60, JST GH) are securely plugged in and free from cuts or fraying.
- Cleanliness: Keep the board free from dust, dirt, and moisture. Use a soft, dry brush or compressed air for cleaning if necessary. Avoid using liquids.
- Firmware Updates: While the PM07 itself does not have user-updatable firmware, ensure your flight controller's firmware is up-to-date to benefit from the latest battery monitoring features and bug fixes.
7. Troubleshooting
If you encounter issues with your PM07 Power Module, consider the following common troubleshooting steps:
- No Power to FC/ESCs:
- Check battery connection to the XT60.
- Verify the battery is charged.
- Inspect all cables between the PM07, FC, and ESCs for proper connection and damage.
- Incorrect Battery Voltage/Current Readings:
- Re-check the Mission Planner "Battery Monitor" settings, especially the "Voltage divider" and "Amperes per volt" values. Ensure they match the recommended values (18.182 and 36.364).
- Confirm the "Sensor" is set to "9: Holybro Pixhawk4 PM".
- Ensure the correct "HW Ver" is selected for your flight controller.
- Verify the JST GH cable connecting the PM07 to the FC is secure and undamaged.
- Intermittent Power/Data:
- Check for loose solder joints or connections on the PM07 board.
- Ensure there is no short circuit or debris on the board.
8. Support
For further assistance, technical inquiries, or if you encounter issues not covered in this manual, please contact the seller or manufacturer directly. Refer to your purchase documentation for contact information.
Always ensure you are using genuine components and follow all safety guidelines when working with LiPo batteries and electronic flight control systems.


