
Introduction
This manual provides essential information for the safe and efficient use of your Dell Alienware Aurora R13 Desktop. Please read these instructions carefully before setting up and operating your new computer. Keep this manual for future reference.
The Dell Alienware Aurora R13 is a high-performance gaming desktop featuring a 12th Gen Intel Core i9-12900KF processor, NVIDIA GeForce RTX 3090 graphics, 64GB of RAM, and a hybrid storage solution with 1TB SSD and 1TB HDD. It comes pre-installed with Windows 11 Home.
Setup
1. Unpacking the System
Carefully remove the desktop computer and all accessories from the packaging. Ensure all components listed in the packing slip are present. Retain the packaging for potential future transport or service.
2. Connecting Peripherals
- Monitor: Connect your monitor to the graphics card ports (HDMI or DisplayPort) located at the rear of the desktop.
- Keyboard and Mouse: Connect the included keyboard and mouse to the available USB ports.
- Network: For wired internet, connect an Ethernet cable to the RJ-45 port. For wireless, ensure Wi-Fi antennas are properly attached if external.
- Audio: Connect speakers or headphones to the appropriate audio jacks.
3. Power Connection
Connect the power cable to the power supply unit (PSU) at the rear of the desktop, then plug the other end into a grounded electrical outlet.
4. Initial Power-On
Press the power button located on the front of the desktop. Follow the on-screen instructions to complete the Windows 11 Home setup process.
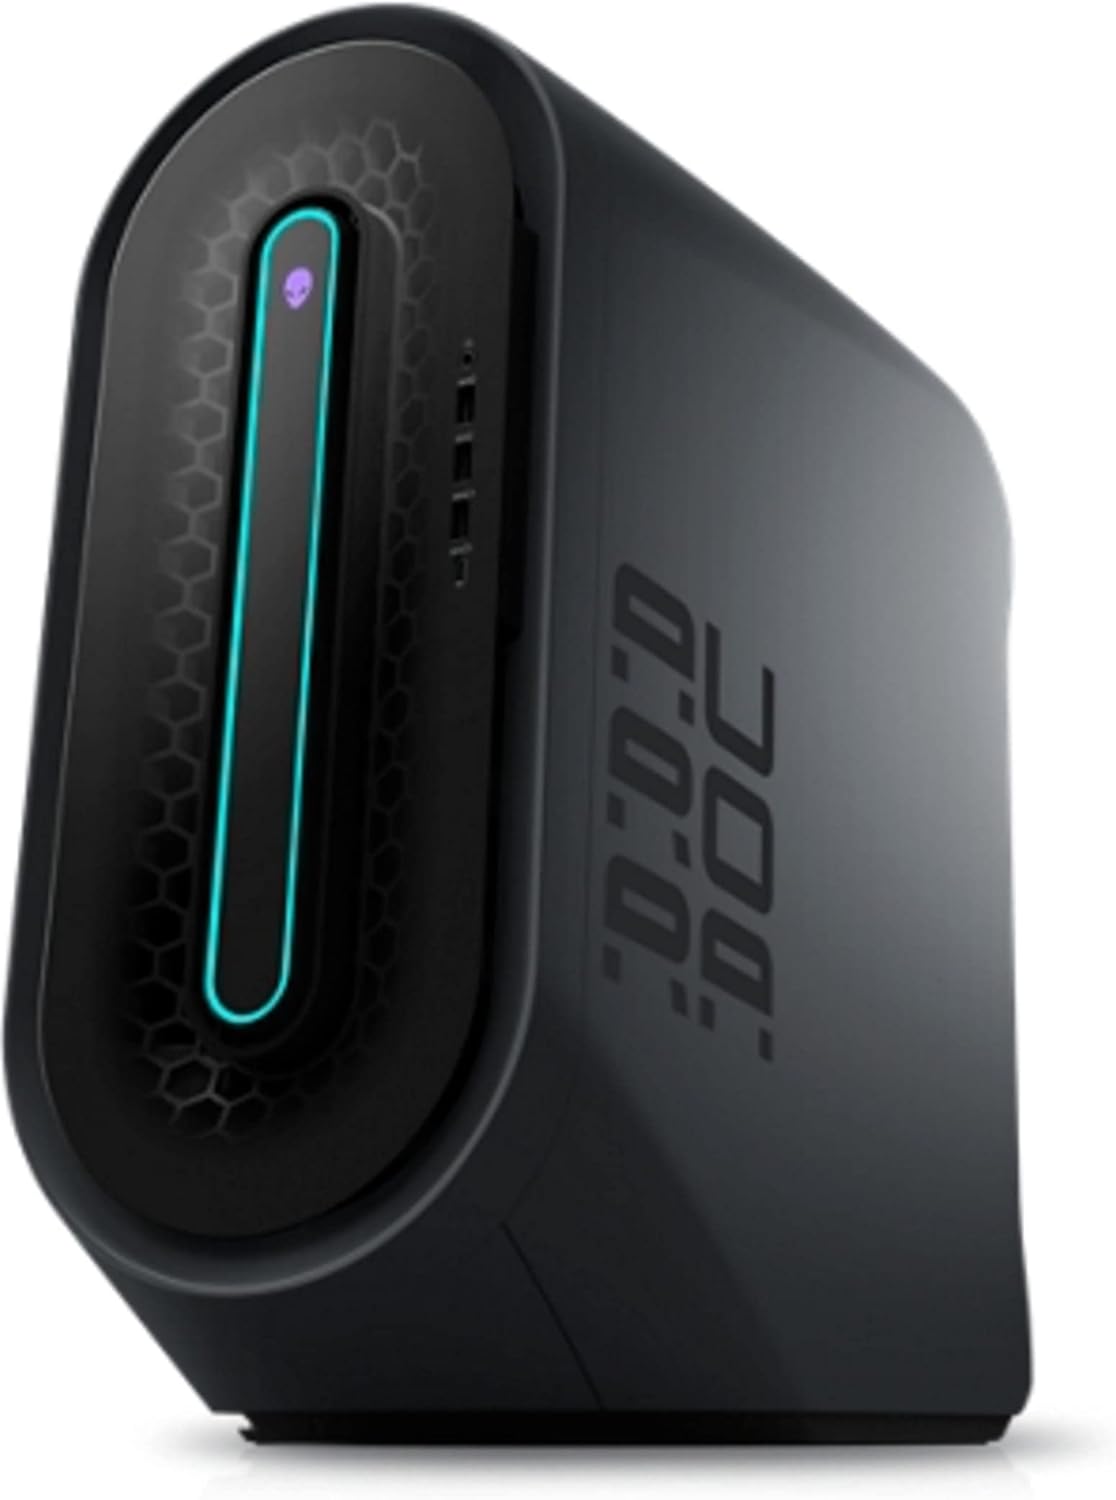
Figure 1: Angled front view of the Alienware Aurora R13 Desktop, showcasing its design and illuminated front panel.
Operating Instructions
1. Powering On and Off
- To Power On: Press the power button once.
- To Shut Down: Click the Start button in Windows, then select Power > Shut down. Avoid forced shutdowns by holding the power button unless necessary.
2. Understanding Ports
The Alienware Aurora R13 features various ports for connectivity. Refer to the diagrams below for common port locations.

Figure 2: Front panel of the Alienware Aurora R13, typically featuring USB ports, headphone jack, and microphone jack for easy access.
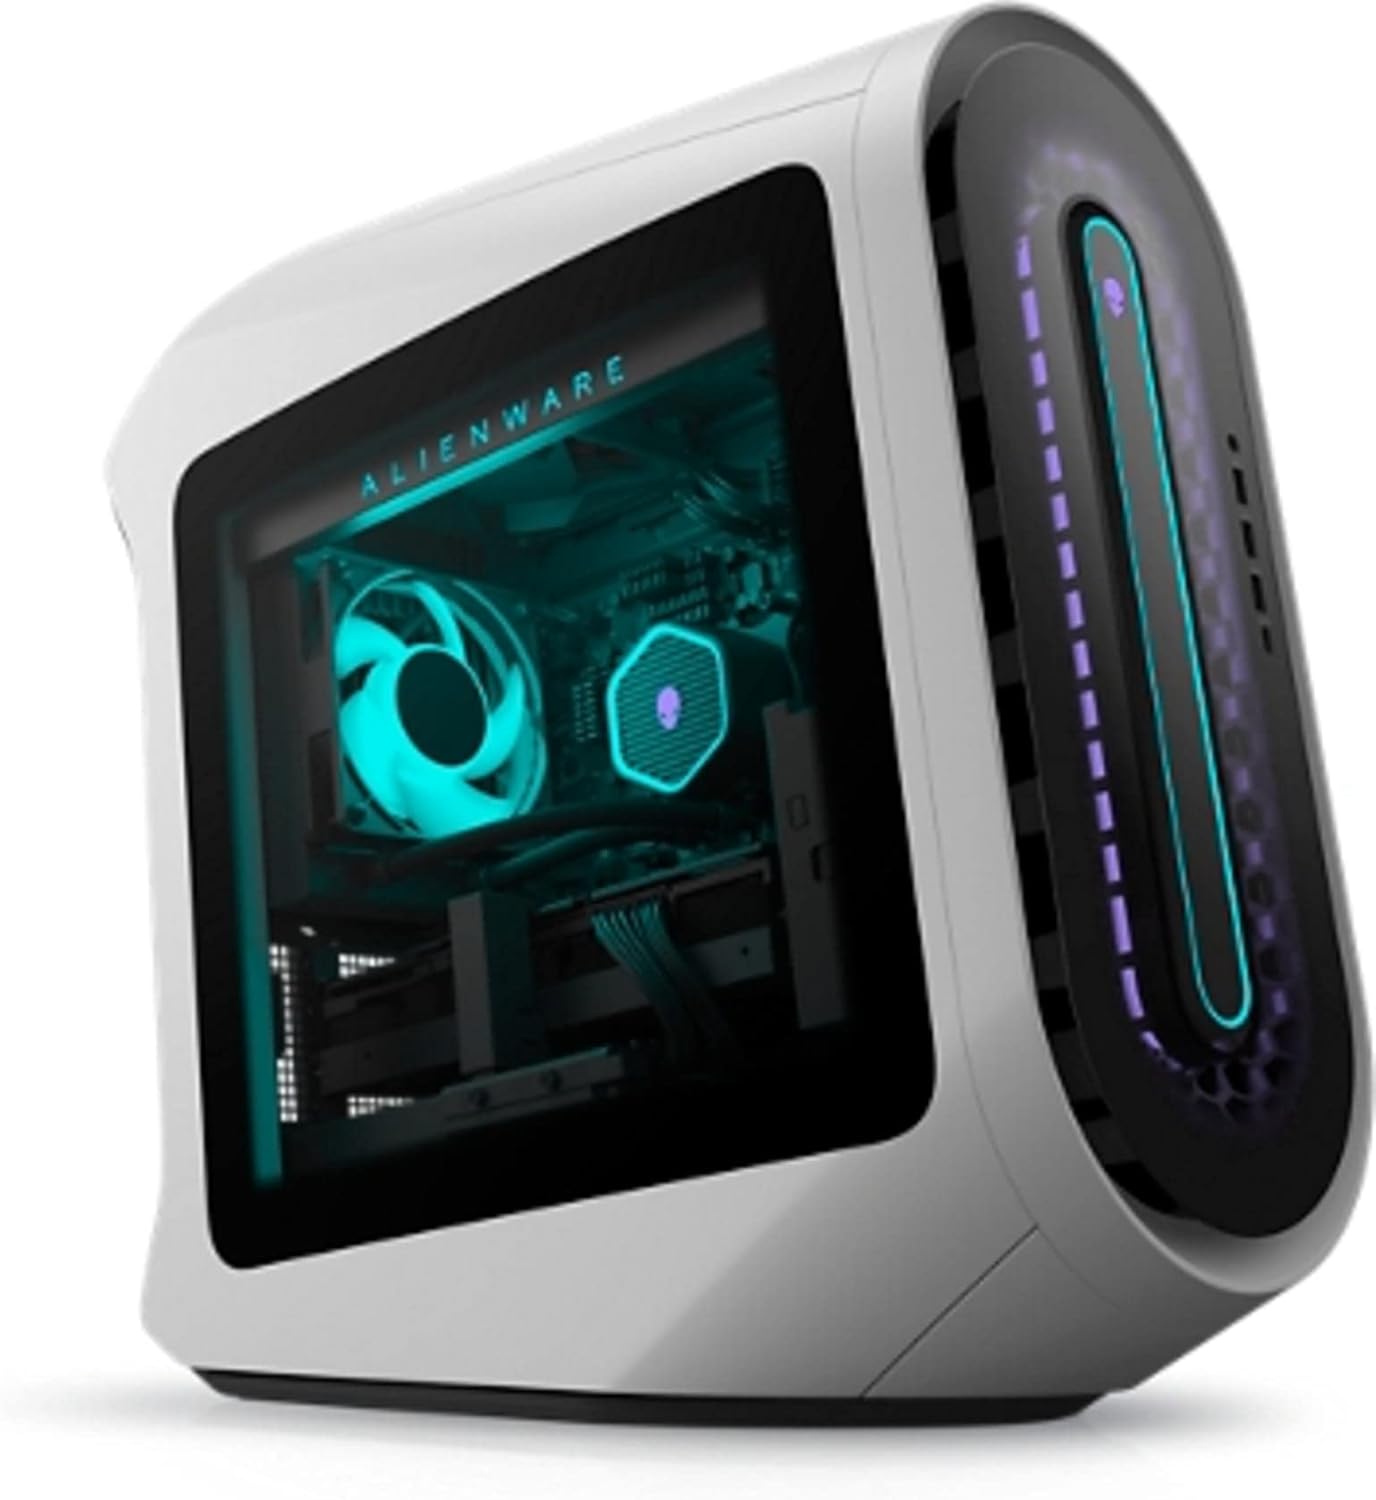
Figure 3: Rear panel of the Alienware Aurora R13, displaying a comprehensive array of ports including USB, Ethernet, audio, and video outputs from the graphics card.
3. Alienware Command Center
Your system includes the Alienware Command Center software, which allows you to customize lighting, manage power profiles, monitor system performance, and optimize game settings. Explore this application for a personalized experience.
Maintenance
1. Cleaning the Desktop
- Exterior: Use a soft, lint-free cloth slightly dampened with water to clean the exterior surfaces. Avoid harsh chemicals.
- Vents: Periodically clean dust from the ventilation grilles using compressed air to ensure optimal airflow and prevent overheating.
2. Software Updates
Regularly update your operating system (Windows Update), drivers (Dell SupportAssist, NVIDIA GeForce Experience), and security software to maintain system stability and performance.
3. Data Backup
It is recommended to regularly back up your important data to an external drive or cloud storage to prevent data loss.
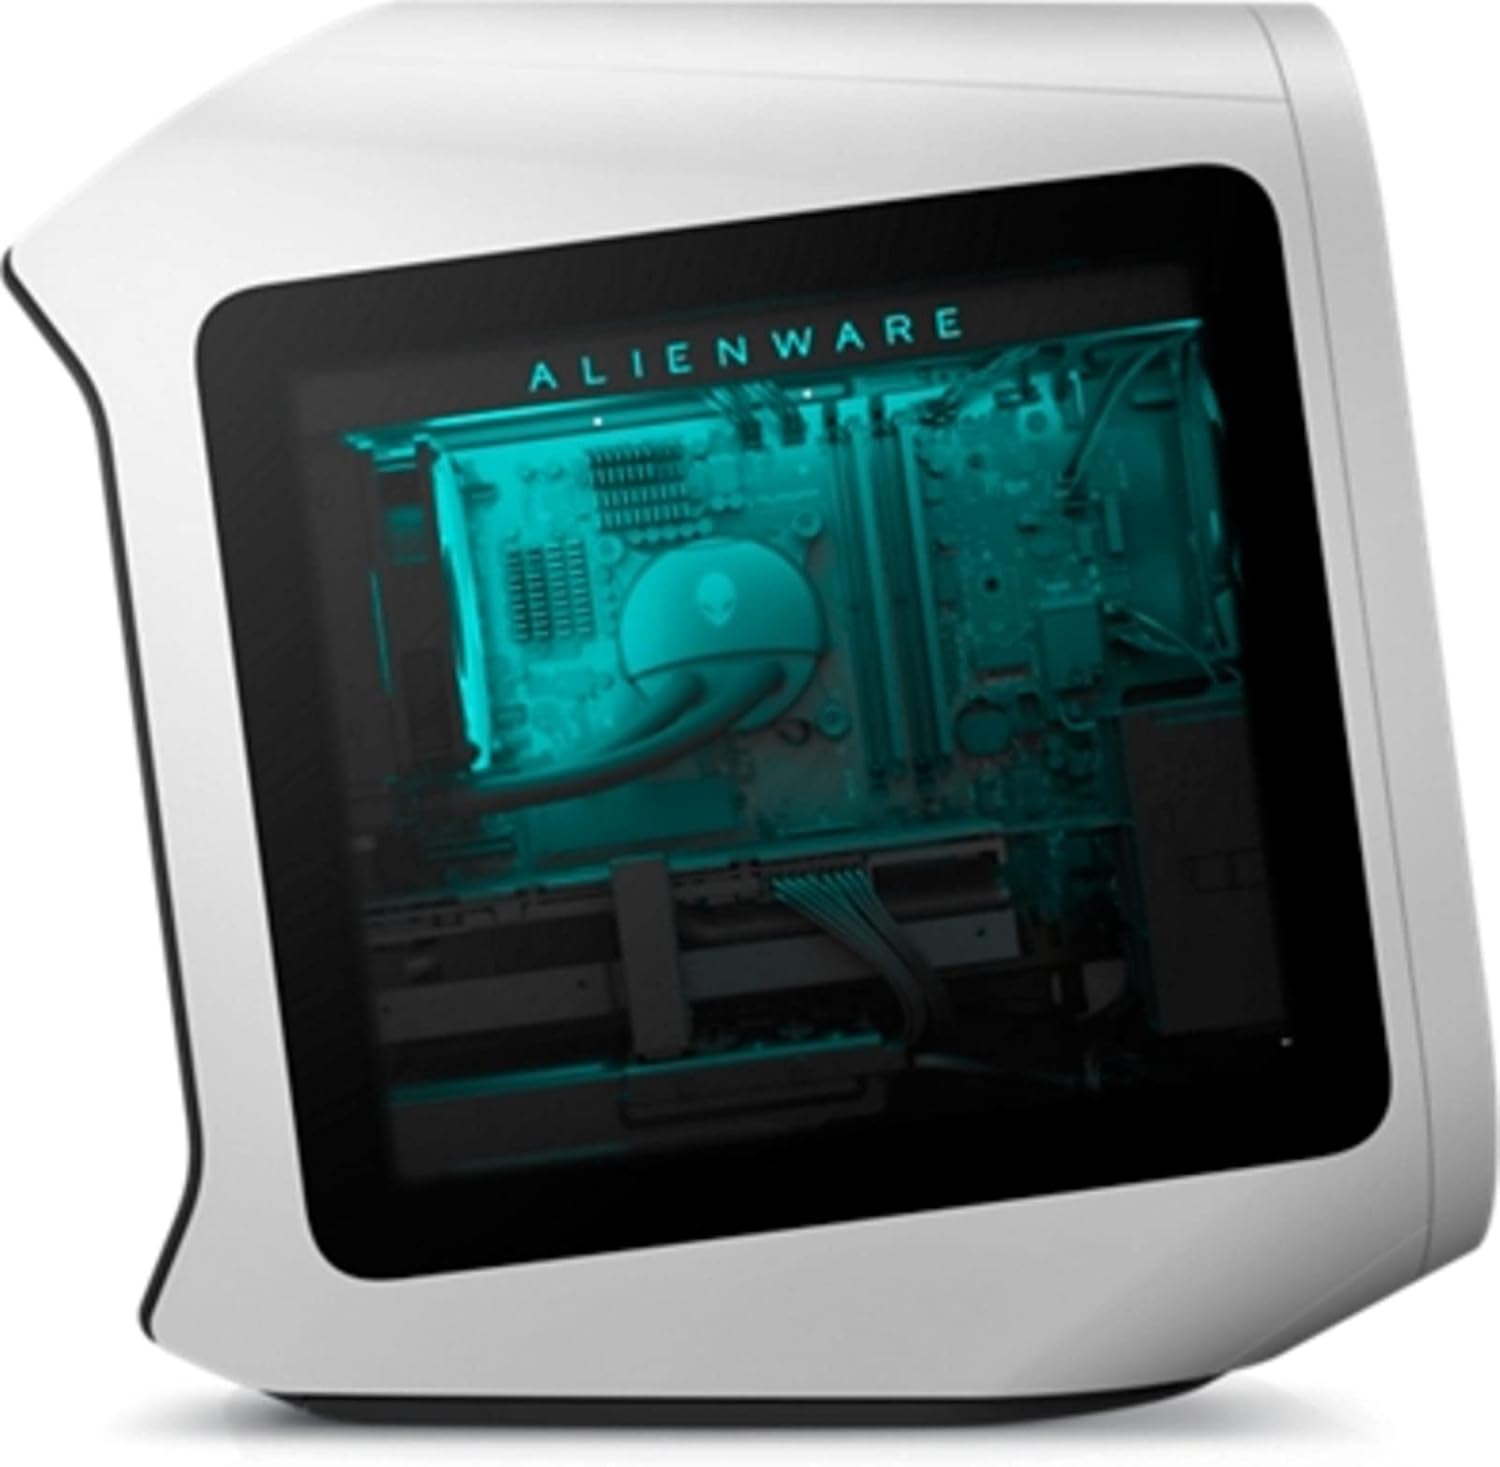
Figure 4: Interior view of the Alienware Aurora R13, highlighting the organized layout of components and cooling solutions.
Troubleshooting
Common Issues and Solutions
- No Power: Ensure the power cable is securely connected to both the desktop and the wall outlet. Verify the outlet is functional.
- No Display: Check that the monitor is powered on and correctly connected to the graphics card. Try a different video cable or monitor if available.
- System Slowdown: Close unnecessary applications. Check for background processes consuming high resources. Ensure drivers and Windows are up to date.
- Unusual Noises: If you hear grinding or clicking, back up your data immediately. Contact Dell Support if the noise persists or indicates a hardware issue.
For more detailed troubleshooting or persistent issues, refer to the Dell support website or contact technical support.
Specifications
| Feature | Specification |
|---|---|
| Brand | Dell |
| Operating System | Windows 11 Home |
| CPU Model | Intel Core i9-12900KF (12th Gen, Sixteen Core, 2.4 GHz base, 5.2 GHz Turbo) |
| CPU Manufacturer | Intel |
| Number of Processors | 16 |
| Graphics Processor | Nvidia GeForce RTX 3090 |
| Graphics Processor Manufacturer | NVIDIA |
| Graphics Memory Size | 24 GB GDDR6X |
| Memory Storage Capacity (RAM) | 64 GB |
| RAM Memory Technology | DDR4 |
| Maximum RAM Access Memory Size | 24 GB (This value seems inconsistent with 64GB RAM listed elsewhere, likely refers to GPU memory or a specific slot limit. Sticking to the provided spec.) |
| Hard Disk Description | SSD + HDD |
| Hard Disk Interface | Solid State |
| Storage Configuration | 1 TB SSD + 1 TB HDD |
| Hardware Interface | Bluetooth |
| Wireless Communication Technology | Wi-Fi |
| Wireless Communication Standard | 2.4 GHz Radio Frequency |
| Included Components | Keyboard, Mouse |
| Item Dimensions (L x W x H) | 42.5 x 22.5 x 51 cm |
| Year of Manufacture | 2022 |
| ASIN | B09ZK7K2K5 |
| GTIN / UPC | 196105193225 |
Warranty and Support
Your Dell Alienware Aurora R13 Desktop is covered by a manufacturer's warranty. For specific warranty terms and conditions, please refer to the documentation included with your product or visit the official Dell support website.
For technical assistance, driver downloads, or further support, please visit the Dell Support website: www.dell.com/support


