
1. Introduction
This manual provides instructions for the installation and maintenance of your Adviace Replacement Porcelain Steel Heat Plates. These heat plates are designed to replace worn or damaged components in compatible Expert Grill models, ensuring proper heat distribution and extending the lifespan of your grill.

Image 1.1: Adviace Replacement Porcelain Steel Heat Plates. This image displays three black porcelain steel heat plates, stacked neatly, highlighting their design and finish.
2. Compatibility
These replacement heat plates are specifically designed for the following grill models:
- Expert Grill 3 Burner Gas Grill Model XG10-101-002-02
- Expert Grill 3 Burner Gas Grill Model GBC2016WRS
Please verify your grill model number before proceeding with installation to ensure proper fit and function.

Image 2.1: Compatible Expert Grill Models. This image illustrates two Expert Grill models, a red GBC2016WRS and a black XG10-101-002-02, confirming the perfect fit for these 3-burner grills.
3. Product Specifications
| Dimensions (each plate) | 11-5/8 inches (length) x 2-3/4 inches (width) |
| Material | Porcelain Steel |
| Quantity | 3 heat plates per package |
| Weight (total) | Approximately 1.1 pounds |

Image 3.1: Heat Plate Dimensions. This diagram clearly shows the length of 11 5/8 inches and width of 2 3/4 inches for a single heat plate.
4. Installation Instructions
Safety First: Always ensure your grill is completely cool and disconnected from its gas supply before attempting any installation or maintenance.
- Prepare the Grill: Open the grill lid and remove the cooking grates. Set them aside in a safe location.
- Remove Old Heat Plates: Carefully lift out the old, worn, or damaged heat plates. Dispose of them responsibly.
- Clean the Grill Interior: This is an opportune time to clean any debris, grease, or rust from the grill's firebox and burner area.
- Install New Heat Plates: Place the new Adviace Porcelain Steel Heat Plates directly over the burners. Ensure they are seated correctly and cover the burners evenly.
- Replace Grates: Carefully place the cooking grates back into their original positions.
- Reconnect Gas Supply: Once all components are securely in place, reconnect the gas supply and perform a leak test if necessary.

Image 4.1: Heat Plate Underside. This image provides a view of the underside of the heat plates, showing the mounting holes and overall structure, which can be helpful during installation.
5. Maintenance
Regular maintenance will help prolong the life of your heat plates and ensure optimal grill performance.
- Cleaning: After each use, once the grill has cooled, remove the cooking grates and heat plates. Use a grill brush or scraper to remove any food debris or grease buildup. For stubborn residue, a mild soap and water solution can be used. Rinse thoroughly and dry completely before reassembling.
- Inspection: Periodically inspect the heat plates for any signs of wear, corrosion, or damage. Replace them if they show significant deterioration to maintain even heat distribution.
- Storage: If the grill will not be used for an extended period, consider storing the heat plates in a dry environment to prevent moisture-related damage.

Image 5.1: Durable Coating. This close-up image highlights the upgraded coating of the heat plates, designed to be anti-rust and resistant to peeling, contributing to their longevity.
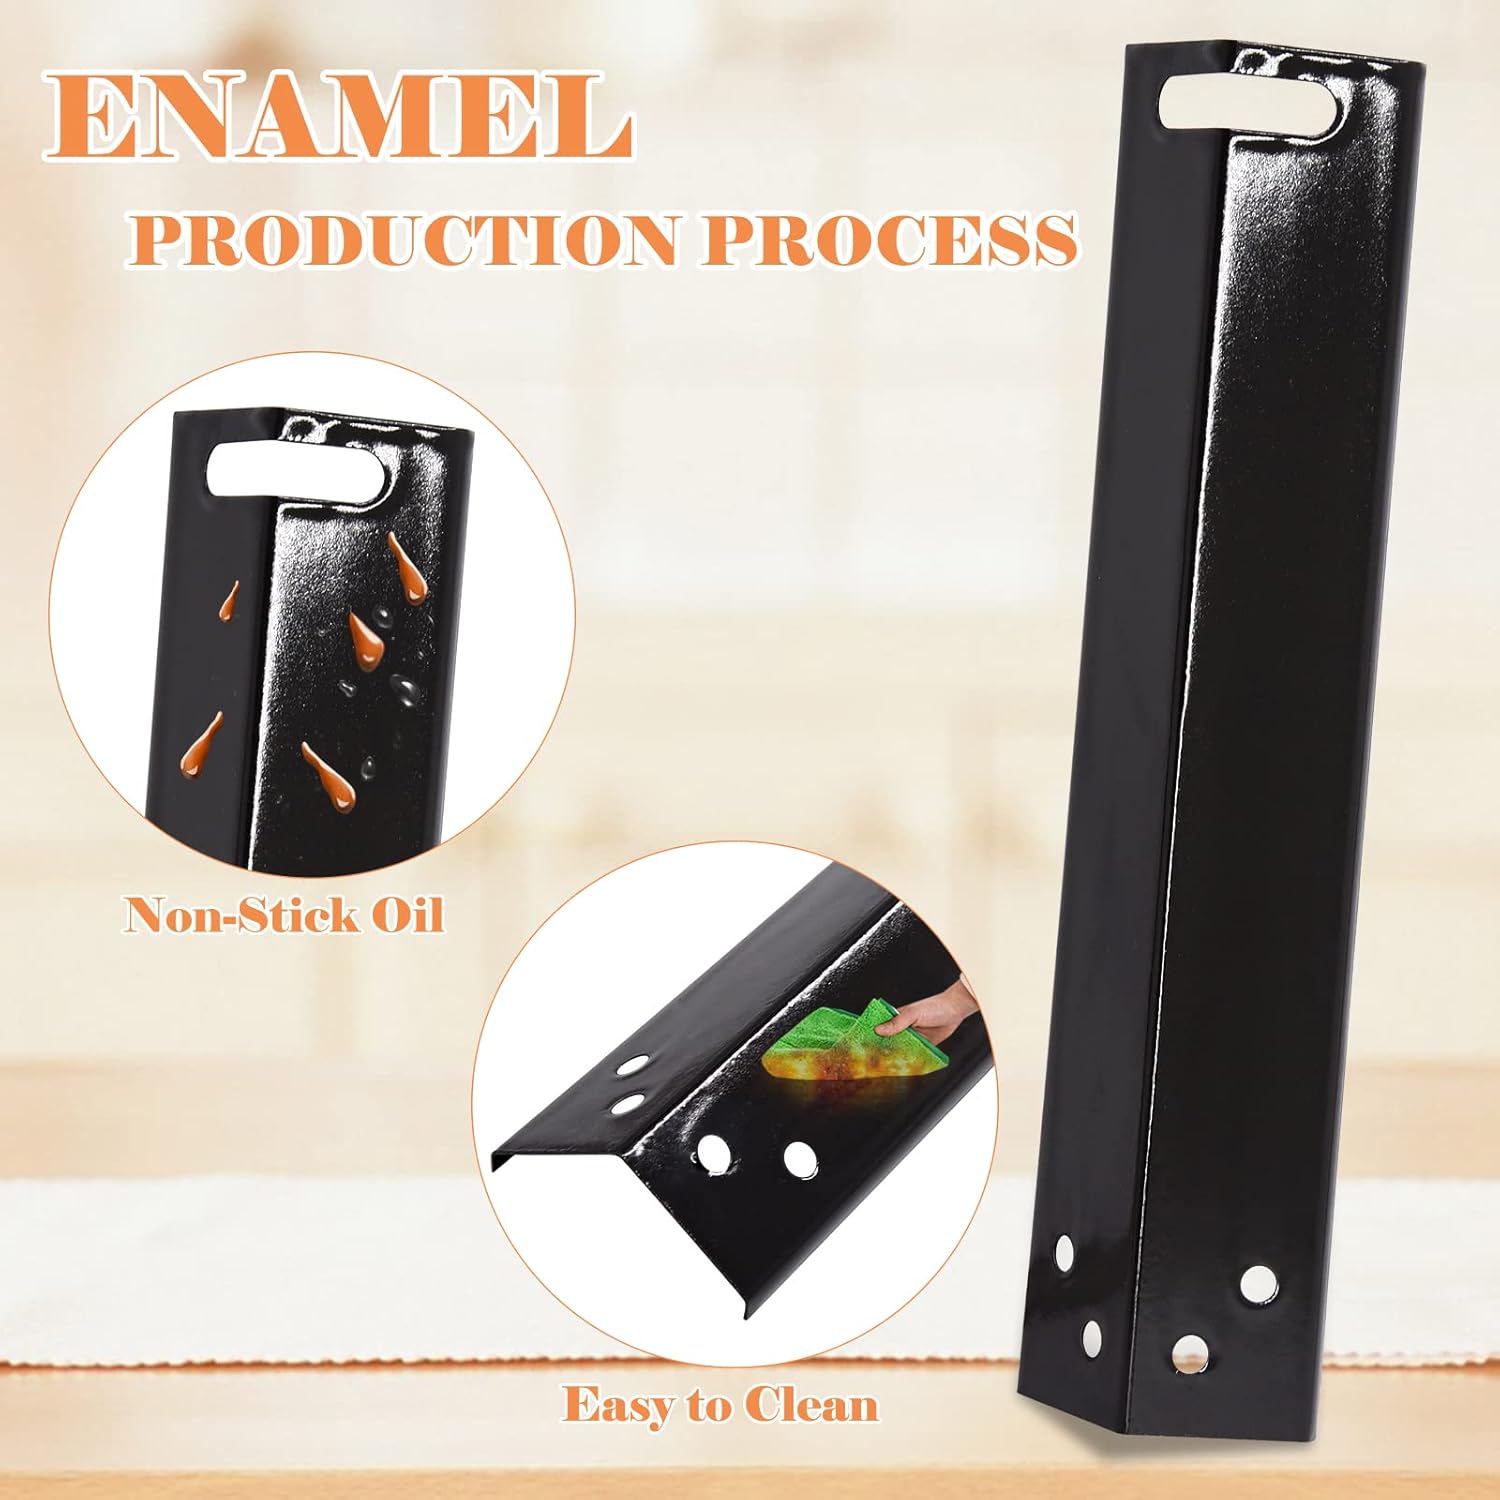
Image 5.2: Easy Cleaning Feature. This image illustrates the enamel production process, resulting in a non-stick surface that is easy to clean, simplifying maintenance.
6. Troubleshooting
| Issue | Possible Cause | Solution |
|---|---|---|
| Heat plates do not fit | Incorrect grill model or plate orientation. | Verify your grill model number against the compatibility list. Ensure plates are oriented correctly. |
| Uneven heat distribution | Heat plates are not seated properly or are damaged. | Re-seat the heat plates to ensure they cover the burners evenly. Inspect for damage and replace if necessary. |
| Excessive smoke or flare-ups | Grease buildup on heat plates or in the grill firebox. | Clean the heat plates and the grill interior thoroughly. Regular cleaning prevents buildup. |
7. Warranty Information
For specific warranty details regarding your Adviace Replacement Porcelain Steel Heat Plates, please refer to the product packaging or contact the seller directly. Warranty terms typically cover manufacturing defects for a specified period from the date of purchase.
8. Customer Support
If you encounter any issues or have questions not addressed in this manual, please contact Adviace customer support or the retailer from whom you purchased the product. Provide your product model and purchase details for efficient assistance.
You can often find contact information on the product packaging or the seller's website.