
VINNOVA 802560-LED-BG
VINNOVA Teruel 60-inch Rectangular Aluminum Framed LED Wall Mount Bathroom Vanity Mirror User Manual
Model: 802560-LED-BG | Brand: VINNOVA
1. Introduction
This manual provides comprehensive instructions for the installation, operation, and maintenance of your VINNOVA Teruel 60-inch Rectangular Aluminum Framed LED Wall Mount Bathroom Vanity Mirror. Please read this manual thoroughly before installation and use to ensure proper function and safety. Keep this manual for future reference.
2. Important Safety Information
To reduce the risk of electric shock, fire, injury to persons, or property damage, please observe the following safety precautions:
- Always disconnect power at the circuit breaker before installation or servicing.
- Installation must be performed by a qualified electrician in accordance with all local electrical codes.
- This product is designed for 110V AC power supply.
- The mirror is IP44 rated, suitable for bathroom environments, but avoid direct water spray.
- Handle the mirror with care to prevent breakage. Glass edges can be sharp.
- Ensure the mounting surface is structurally sound and can support the weight of the mirror (approximately 39.2 lbs).
- Do not attempt to modify or repair the mirror yourself. Refer all servicing to qualified personnel.
- Keep packaging materials out of reach of children.
- The mirror is constructed with 5mm-thick, copper-free glass and includes a safety film on the back for enhanced protection.
3. Package Contents
Verify that all components are present and undamaged before proceeding with installation. If any parts are missing or damaged, contact customer support.
- VINNOVA Teruel LED Mirror (1)
- Mounting Bracket (1)
- Installation Hardware (screws, anchors)
- Instruction Manual (this document)

Image: Rear view of the mirror, illustrating the electrical connections and mounting bracket attachment points. This helps identify components for installation.
4. Setup and Installation
This mirror is designed for wall-mount installation and requires hardwiring. Professional installation is recommended.
4.1 Tools Required (Not Included)
- Drill
- Drill bits (appropriate for wall material)
- Level
- Measuring tape
- Pencil
- Screwdriver
- Wire strippers
- Electrical tape
4.2 Installation Steps
- Prepare the Installation Area: Ensure the power to the installation area is turned off at the circuit breaker. Identify the desired mounting location, ensuring it is structurally sound and has access to a 110V electrical connection.
- Mark Mounting Points: Hold the mounting bracket against the wall at the desired height and use a level to ensure it is straight. Mark the drill holes with a pencil.
- Drill Holes: Drill pilot holes at the marked locations. Insert wall anchors if necessary, depending on your wall material.
- Secure Mounting Bracket: Attach the mounting bracket to the wall using the provided screws. Ensure it is firmly secured.
- Electrical Connection:
- Carefully connect the mirror's electrical wires to your household wiring. Typically, this involves connecting the live (black) wire from the mirror to the live wire from the wall, the neutral (white) wire from the mirror to the neutral wire from the wall, and the ground (green or bare copper) wire from the mirror to the ground wire from the wall.
- Use appropriate wire connectors and secure connections with electrical tape.
- Ensure all connections are tight and insulated.
- Mount the Mirror: Carefully lift the mirror and align the hanging points on the back of the mirror with the mounting bracket. Gently lower the mirror onto the bracket until it is securely seated.
- Test Functionality: Restore power at the circuit breaker. Test the mirror's LED lights and anti-fog function.
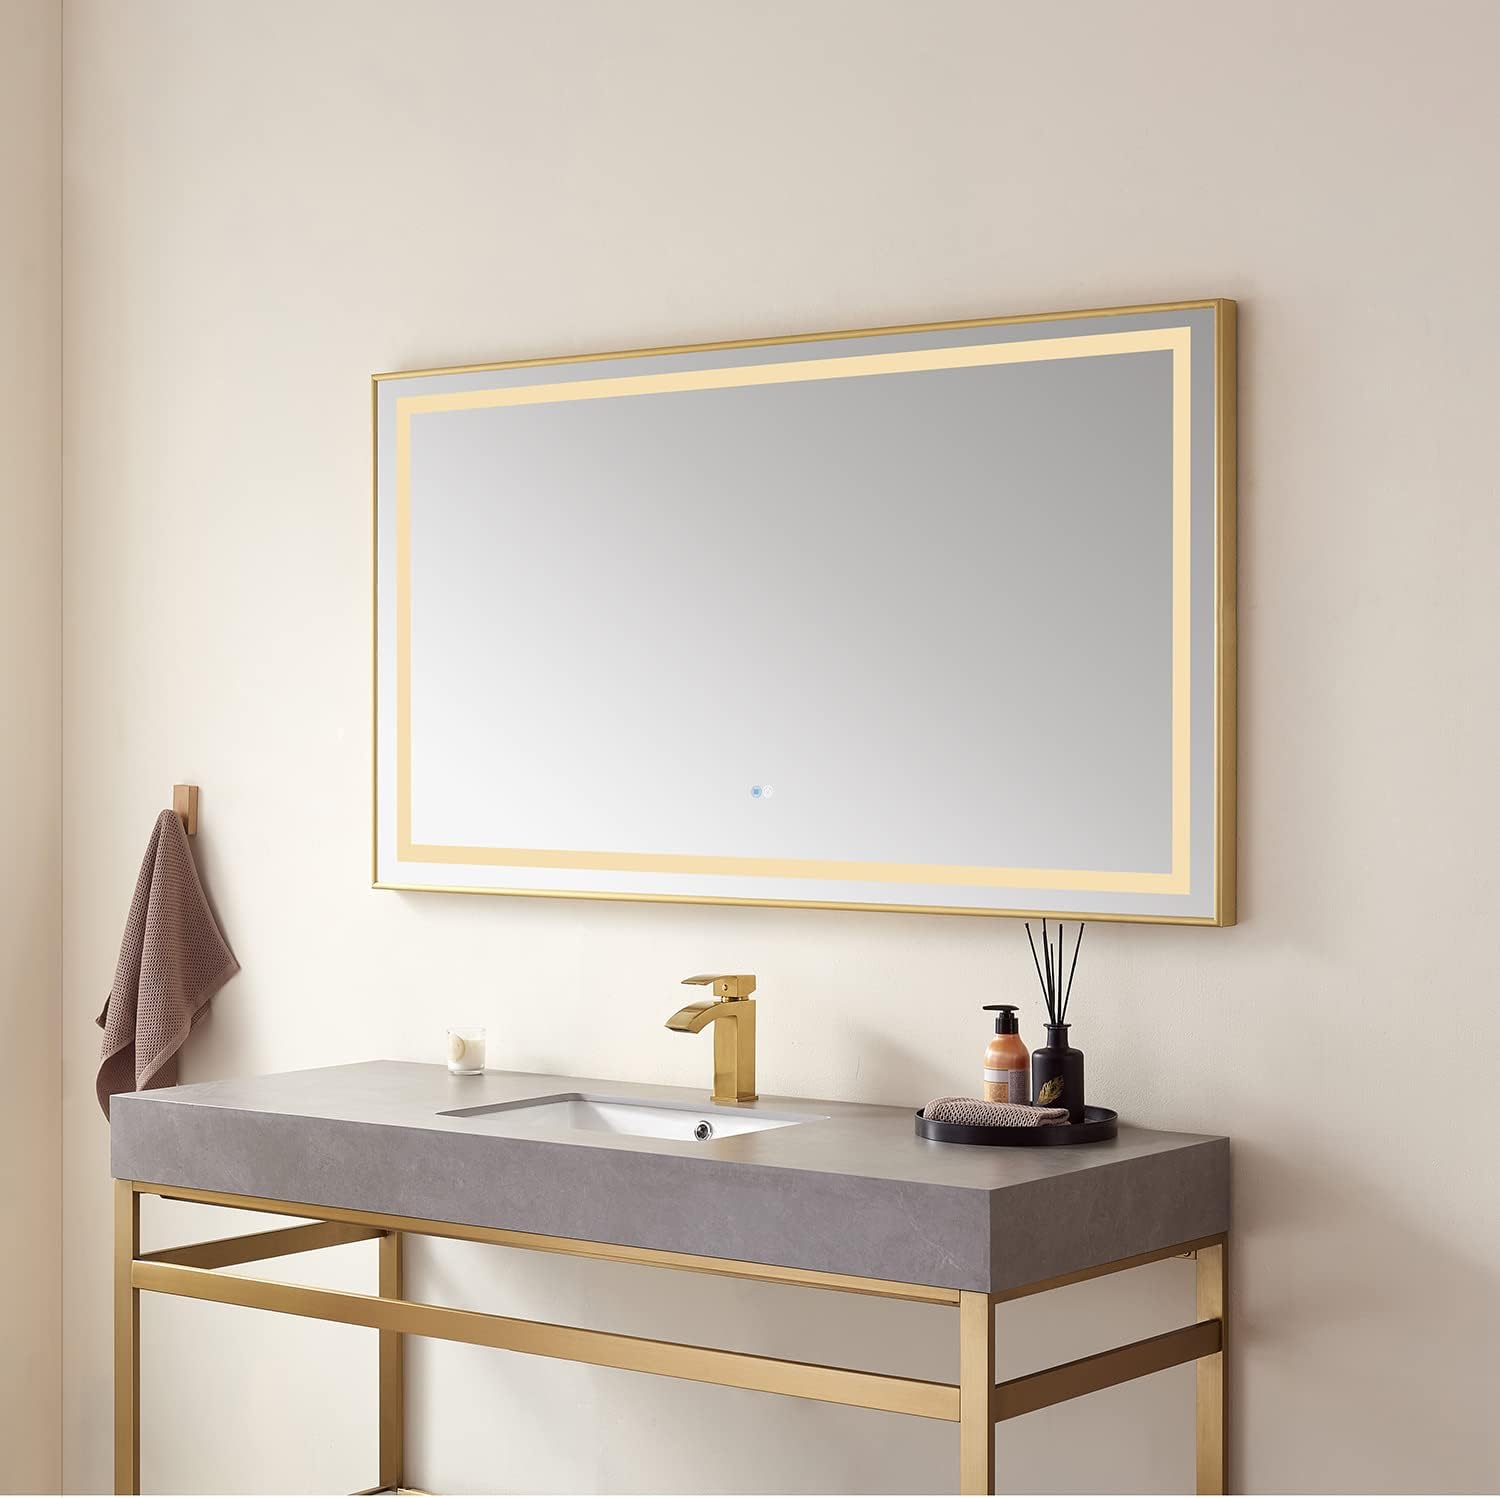
Image: The VINNOVA Teruel mirror mounted horizontally above a vanity, demonstrating a typical installation scenario.
5. Operating Instructions
The VINNOVA Teruel LED mirror features touch controls for its lighting and anti-fog functions.
5.1 LED Lighting Control
The mirror is equipped with energy-saving LED strip lighting around its perimeter, offering both front and back illumination.
- Power On/Off: Locate the touch sensor button on the mirror surface (often indicated by a small illuminated circle). A single tap will turn the LED lights on or off.
- Dimming Function: When the lights are on, press and hold the touch sensor button to adjust the brightness. The light will cycle through its dimming range. Release the button when the desired brightness is achieved.

Image: Detail of the mirror's LED lighting, showing the warm light setting. The touch sensor is typically located on the mirror face.

Image: Detail of the mirror's LED lighting, showing the neutral light setting.

Image: Detail of the mirror's LED lighting, showing the cool light setting.
5.2 Anti-Fog Function
The mirror includes an anti-fog feature to maintain a clear reflection in humid conditions.
- Activate/Deactivate: A separate touch sensor button (if present, or combined with light button) controls the anti-fog function. Tap this button to turn the anti-fog heater on or off.
- The anti-fog function typically takes a few minutes to warm up and clear the mirror surface.
6. Maintenance and Care
Proper care will ensure the longevity and appearance of your VINNOVA Teruel mirror.
- Cleaning the Mirror Surface: Use a soft, lint-free cloth and a non-abrasive glass cleaner. Spray the cleaner onto the cloth, not directly onto the mirror, to prevent liquid from seeping into the electrical components. Wipe gently.
- Cleaning the Frame: Wipe the aluminum frame with a soft, damp cloth. Avoid harsh chemicals or abrasive cleaners that could damage the finish.
- Electrical Components: Ensure the mirror is disconnected from power before cleaning any electrical components. Do not immerse any part of the mirror in water.
- Inspection: Periodically inspect the wiring and mounting hardware for any signs of wear or loosening.
7. Troubleshooting
If you encounter issues with your mirror, refer to the following common problems and solutions:
| Problem | Possible Cause | Solution |
|---|---|---|
| LED lights do not turn on. | No power supply; loose wiring; faulty LED driver. | Check circuit breaker. Verify electrical connections. If problem persists, contact a qualified electrician or customer support. |
| Lights are dim or flicker. | Dimming function engaged; unstable power supply; faulty LED component. | Press and hold the touch sensor to adjust brightness. Ensure stable power. If issue continues, contact customer support. |
| Anti-fog function not working. | Anti-fog function not activated; faulty heating element. | Ensure the anti-fog button is pressed. Allow a few minutes for heating. If no effect, contact customer support. |
| Mirror is loose on the wall. | Mounting hardware not securely fastened. | Carefully remove the mirror (with power off) and re-secure the mounting bracket and hardware. Ensure wall anchors are properly installed. |
8. Specifications
| Brand | VINNOVA |
| Model Number | 802560-LED-BG |
| Product Dimensions | 60"L x 60"W |
| Material | Aluminum, Glass |
| Mounting Type | Wall Mount |
| Power Source | AC |
| Voltage | 110 Volts |
| Wattage | 40 watts |
| Type of Bulb | LED |
| Luminous Flux | 5300 Lumen |
| Switch Style | Touch |
| Special Features | 110V, IP44 rated, Easy assembly, UL certified LED strip and driver. |
| Item Weight | 39.2 pounds |
| Room Type | Bathroom, Bedroom, Dining Room, Home Office, Living Room |
| Manufacturer | Vinnova Inc. |
| UPC | 749355501045 |
9. Warranty and Customer Support
Warranty: This VINNOVA product is covered by a 2-year manufacturer's warranty from the date of purchase. This warranty covers defects in materials and workmanship under normal use. It does not cover damage resulting from improper installation, accident, misuse, abuse, or unauthorized modifications.
Customer Support: For technical assistance, warranty claims, or to inquire about replacement parts, please contact VINNOVA customer support. You can find more information and contact details on the official VINNOVA store page: Visit the VINNOVA Store.
Related documents802560-LED-BG


Ask a question about this manual
Ask about setup, troubleshooting, compatibility, parts, safety, or missing instructions. Manuals+ will review the question and use this page’s manual context to help answer it.