
Kwikset 99910-069
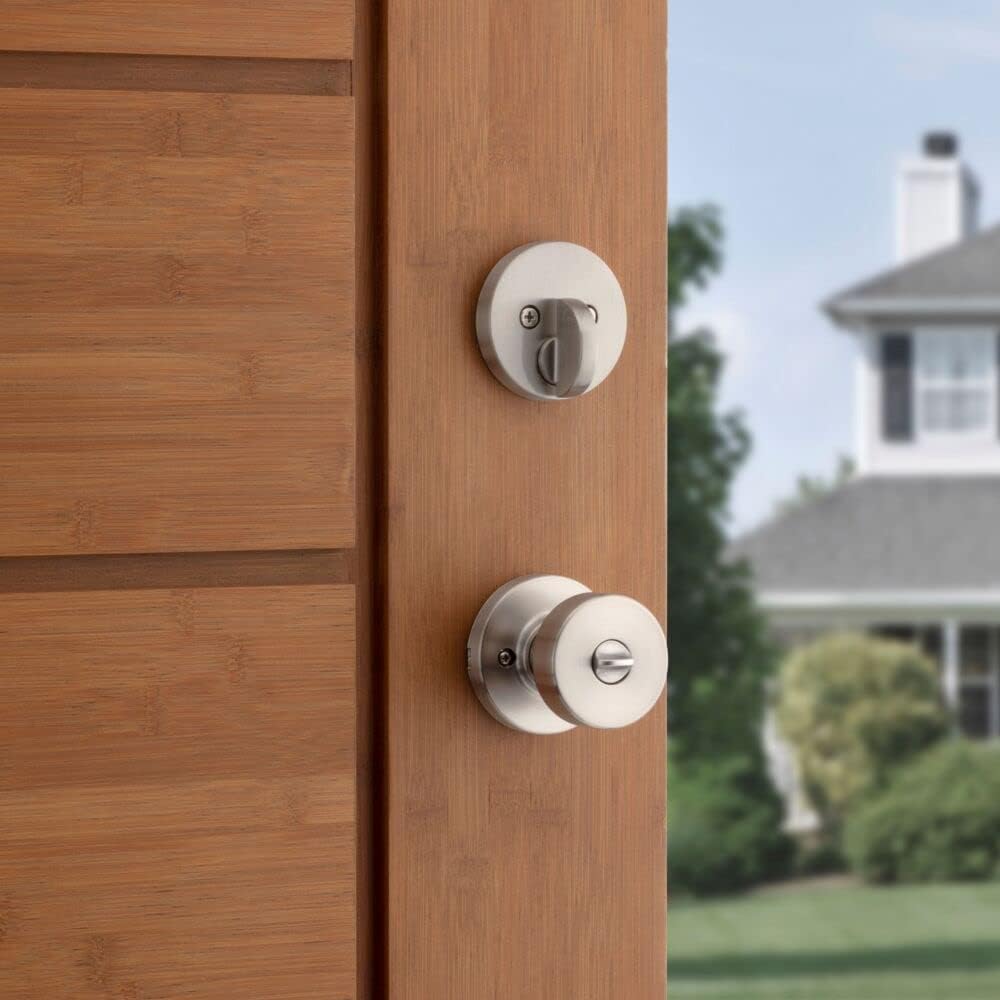
Kwikset Pismo Keyed Entry Knob and Single Cylinder Deadbolt Combo Pack Instruction Manual
Model: 99910-069 | Brand: Kwikset
Introduction
Welcome to your new Kwikset Pismo Keyed Entry Knob and Single Cylinder Deadbolt Combo Pack. This manual provides essential information for installation, operation, maintenance, and troubleshooting to ensure optimal performance and security. Please read this guide thoroughly before beginning installation or use.
Important Safety Information
To prevent personal injury or product damage, always follow these basic safety precautions:
- Read all instructions carefully before installing and using the lockset.
- Do not attempt to modify the product in any way. Unauthorized modifications can compromise security and void the warranty.
- Keep all keys in a secure location, preferably separate from the lock itself, to prevent unauthorized access.
- Ensure all components are installed correctly and securely tightened to maintain the intended security features of the lock.
- Use appropriate personal protective equipment (e.g., safety glasses) during installation.
Package Contents
Before beginning installation, please verify that all the following components are included in your package:
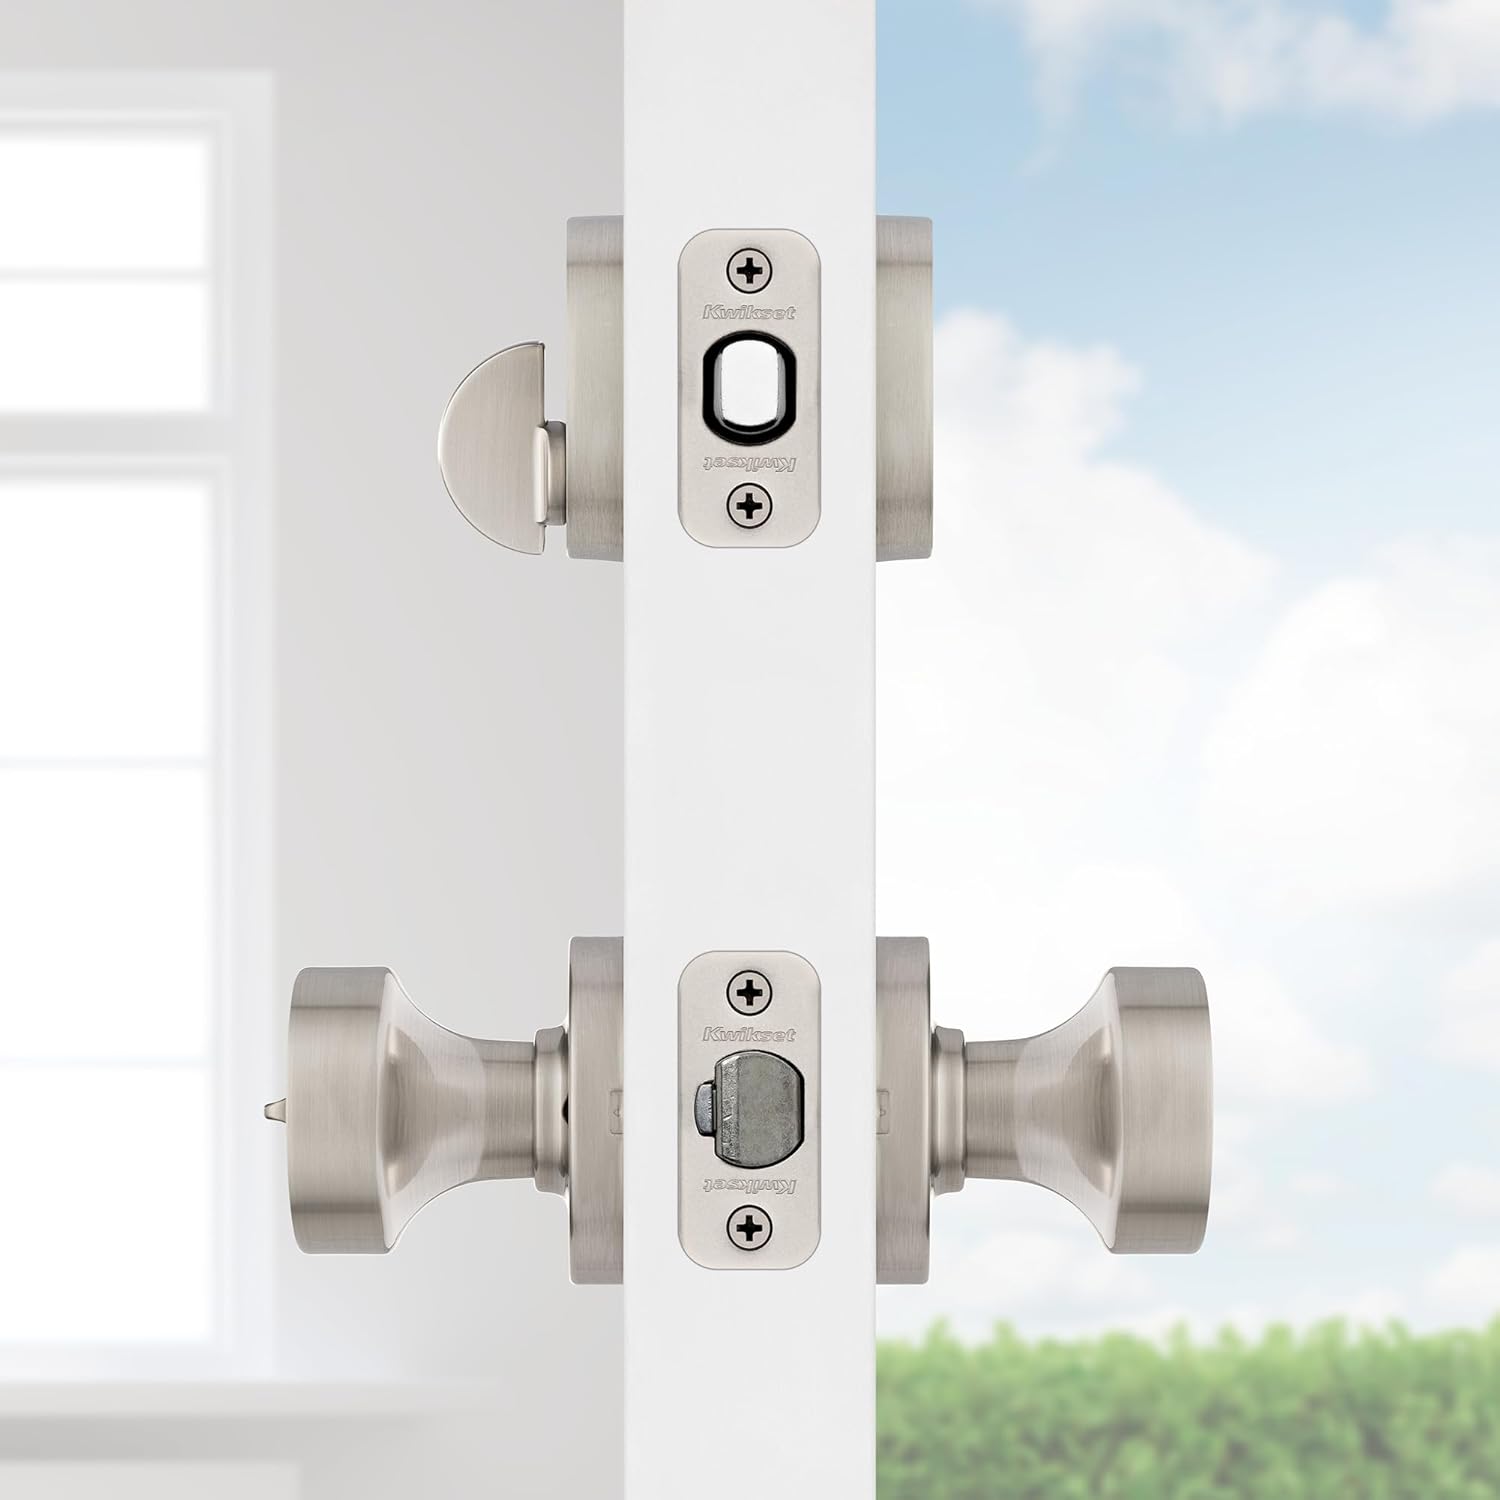
- Keyed Entry Knob Assembly (Exterior and Interior)
- Single Cylinder Deadbolt Assembly (Exterior and Interior)
- Standard Keys (typically 2)
- Adjustable Latch Mechanisms (for both knob and deadbolt)
- Strike Plates (for both knob and deadbolt)
- Mounting Screws
- SmartKey Reset Tool

Setup (Installation Guide)
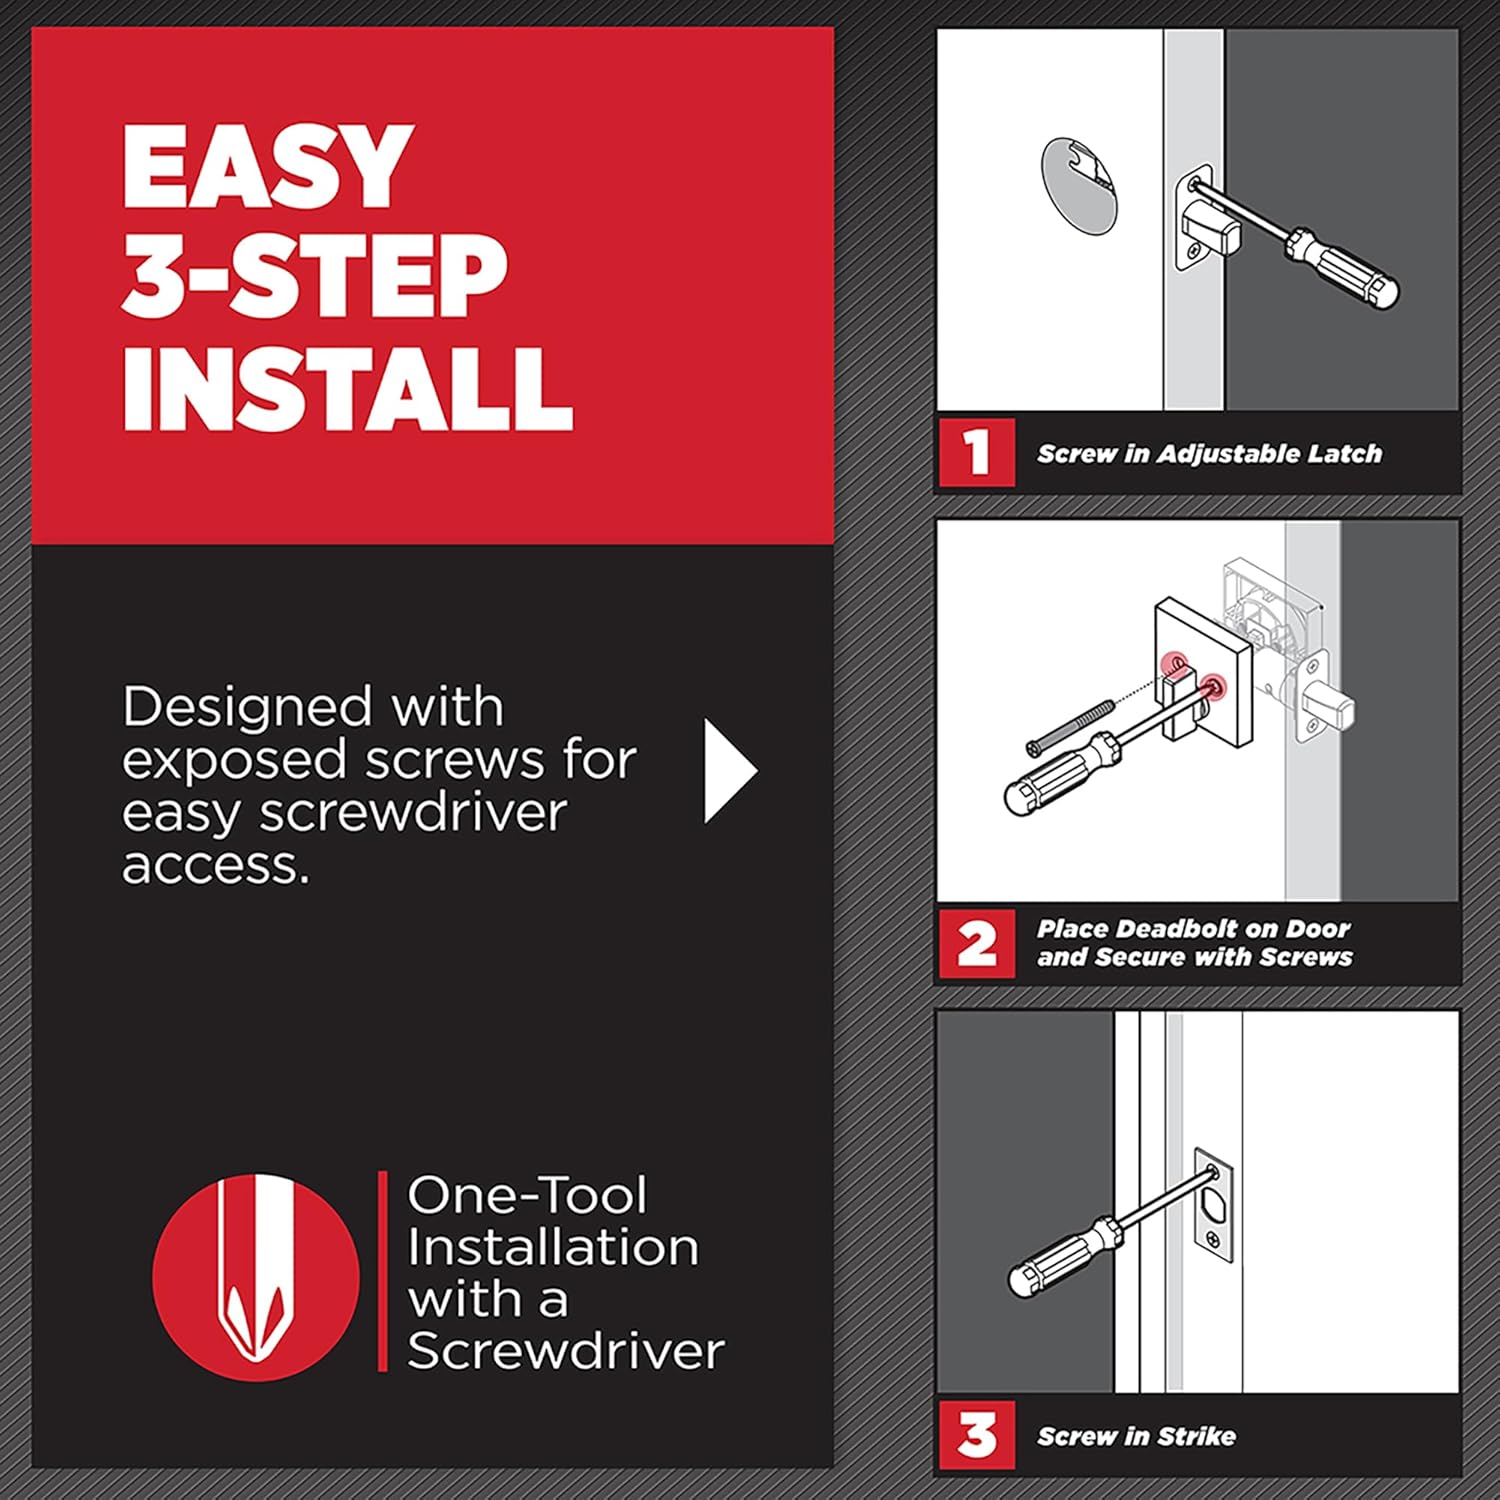
Follow these step-by-step instructions for proper installation. A standard Phillips head screwdriver is the only tool typically required.
Step 1: Prepare the Door
Ensure your door is prepped with standard bore holes (2-1/8" diameter) and the correct backset (2-3/8" or 2-3/4").
Step 2: Install the Latch Mechanisms
Insert the latch mechanisms (for both the knob and deadbolt) into the door edge. Ensure the latch bolts face the door frame. Secure each latch with the provided screws. Adjust the backset if necessary by sliding the adjustment pin on the latch.
Step 3: Install the Deadbolt Assembly
Place the exterior deadbolt assembly onto the door, aligning it with the deadbolt latch. Then, attach the interior deadbolt assembly and secure it with the mounting screws.
Step 4: Install the Strike Plates
Install the strike plates for both the knob and deadbolt on the door frame. Ensure they are perfectly aligned with the latch bolts to allow for smooth operation. Secure with screws.
Step 5: Install the Keyed Entry Knob Assembly
Assemble the exterior and interior knob components, ensuring the spindle engages correctly with the knob latch. Secure the knob assembly with the remaining mounting screws.
Reversible Design
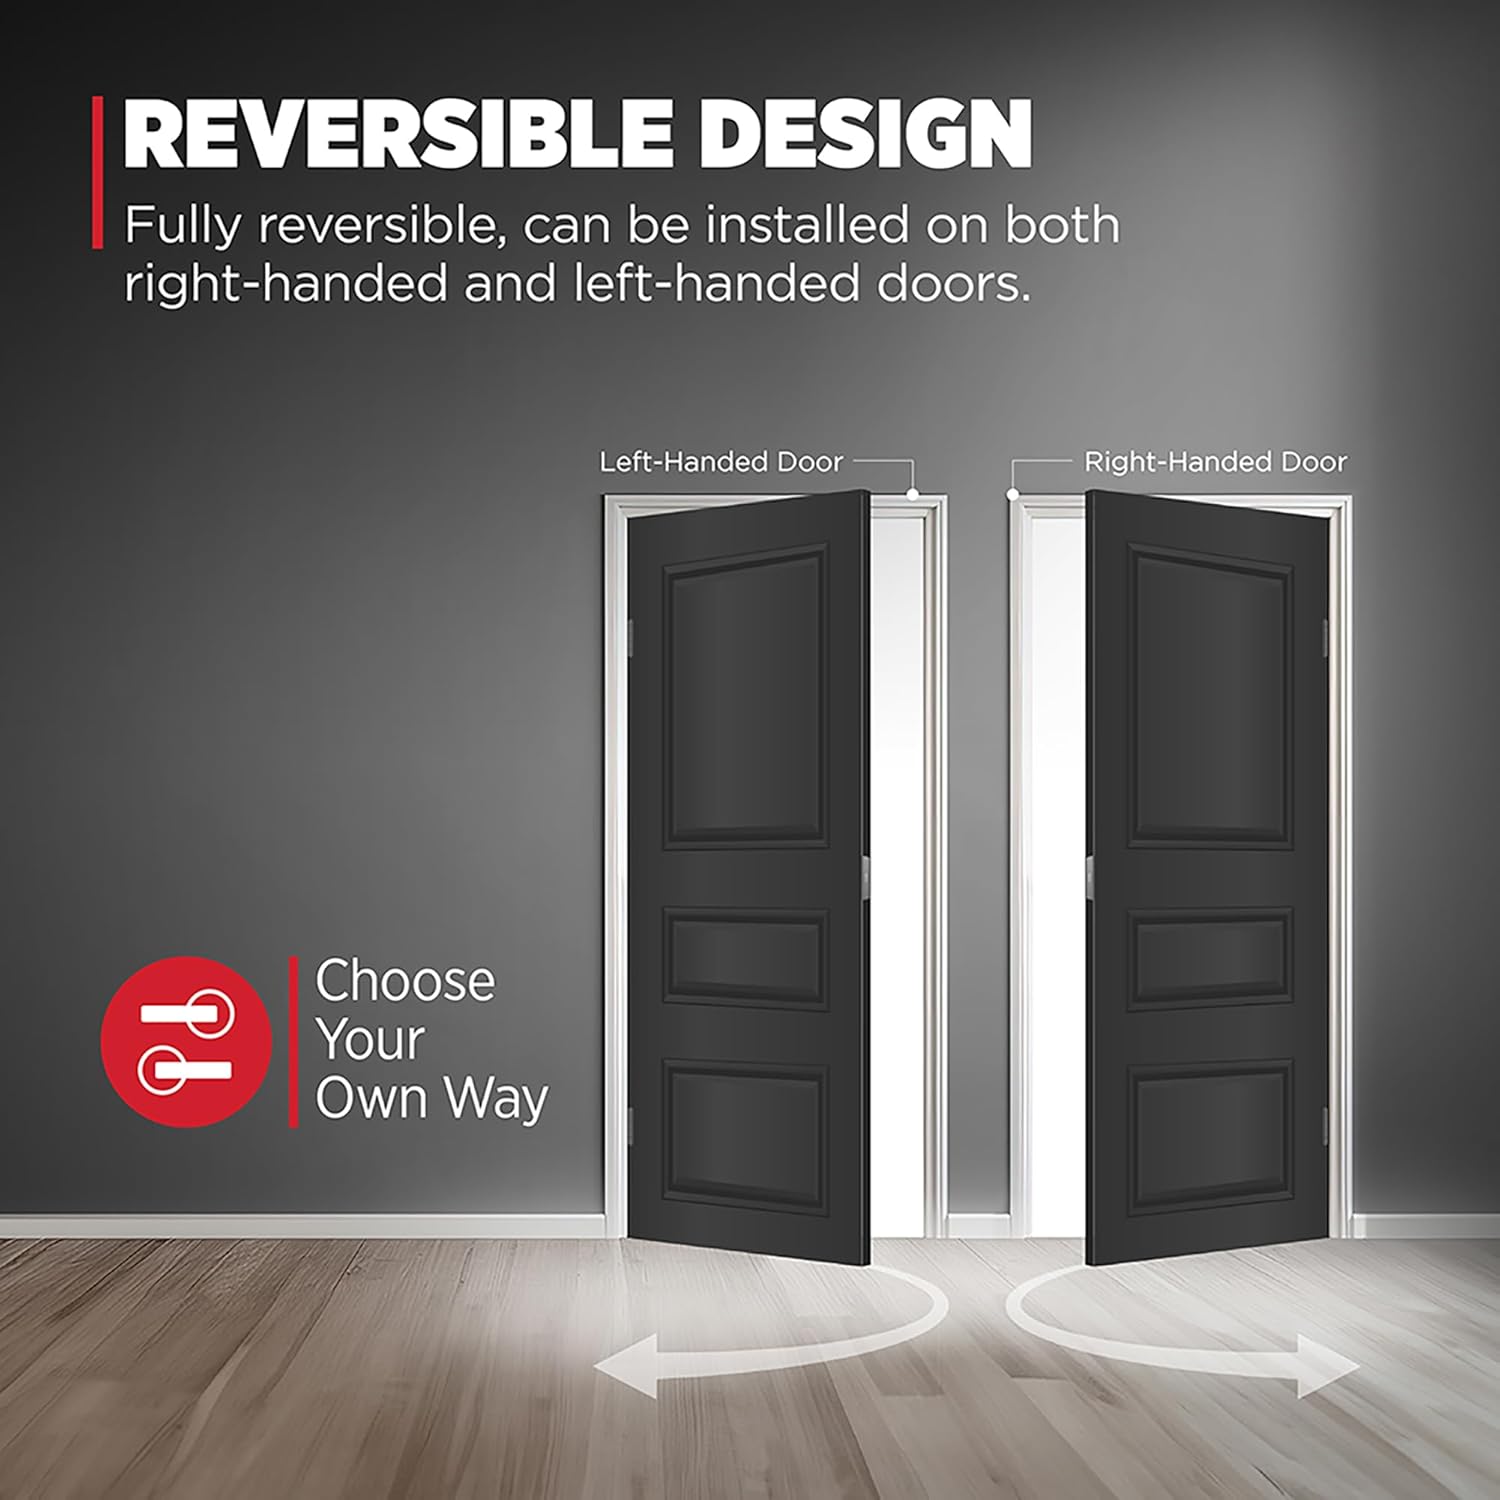
The Pismo lock features a fully reversible design, allowing for flexible installation on both right-handed and left-handed doors without needing to reconfigure the internal mechanism.
Operating Your Kwikset Lock
Keyed Entry Knob Operation
The exterior knob is locked and unlocked using a key. The interior knob features a convenient turn-piece for easy locking and unlocking from inside the room.
Deadbolt Operation
The deadbolt is operated by a key from the exterior for maximum security. From the interior, a simple thumb-turn mechanism allows for quick locking and unlocking.
SmartKey Security Re-keying
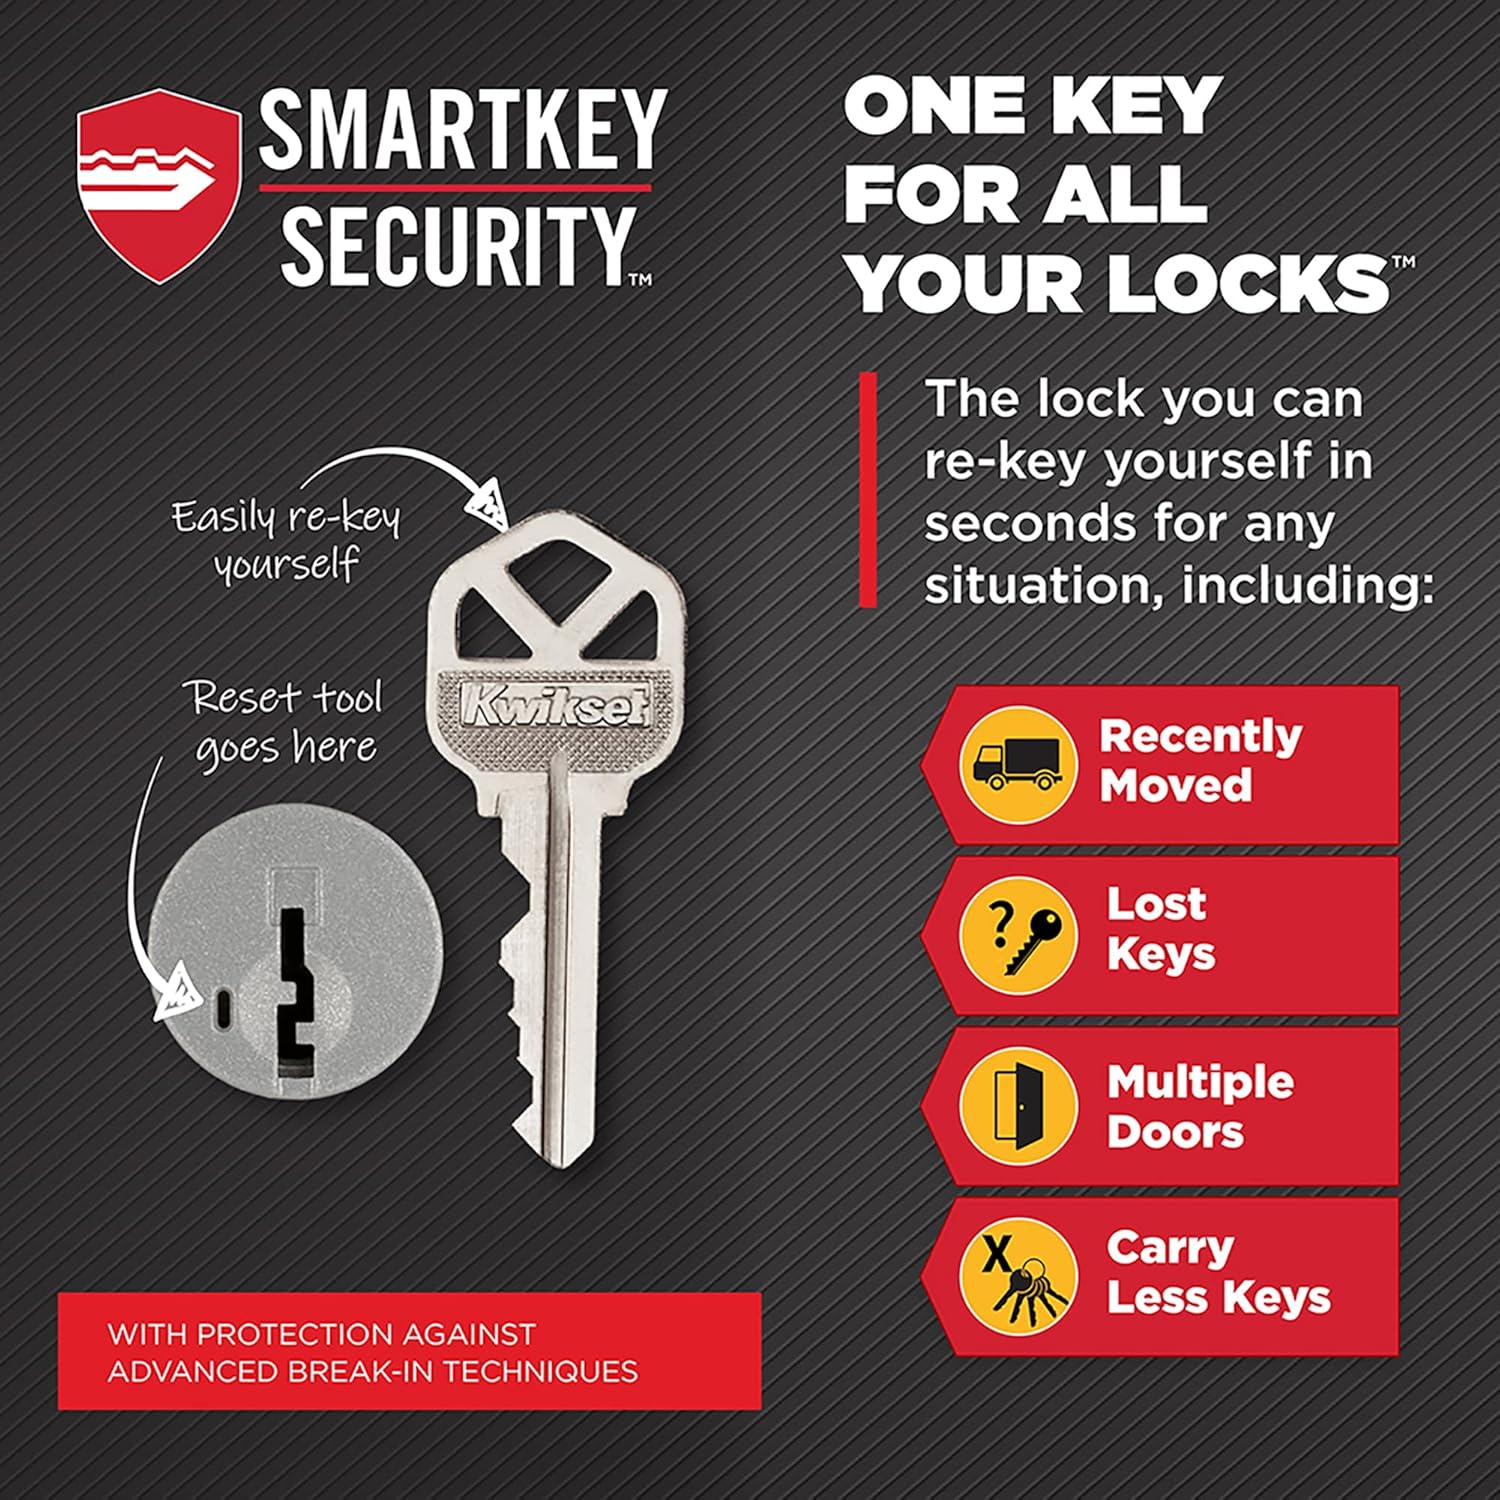
Kwikset's SmartKey Security technology allows you to re-key your lock yourself in seconds, providing unparalleled convenience and enhanced security. This feature is particularly useful if you've recently moved, lost a key, or wish to have one key operate multiple Kwikset SmartKey locks.

Maintenance and Care
Cleaning
To maintain the finish and functionality of your Kwikset lock, clean it regularly with a soft, damp cloth. Avoid using abrasive cleaners, harsh chemicals, or solvents, as these can damage the finish and internal components.
Microban Protection
Kwikset's door hardware is treated with Microban antimicrobial protection. This innovative technology inhibits the growth of damaging bacteria on the surface of the lock, providing a cleaner product than unprotected surfaces. This protection is built-in and does not wash off or wear away.

Troubleshooting
If you encounter any issues with your Kwikset Pismo lockset, refer to the table below for common problems and their solutions.
| Problem | Possible Cause | Solution |
|---|---|---|
| Key does not turn smoothly | Dirt or debris in cylinder; worn key | Spray a small amount of graphite lubricant into the keyway. Try using a different, unworn key. |
| Latch bolt does not extend or retract fully | Misalignment of lock components or strike plate; obstruction | Check the alignment of the latch and strike plate. Ensure there is no debris in the door frame or latch mechanism. Re-tighten mounting screws. |
| Lock feels loose on the door | Loose mounting screws | Carefully tighten all visible mounting screws on both the interior knob and deadbolt assemblies. Do not overtighten. |
For issues not listed above or if solutions do not resolve the problem, please contact Kwikset customer support for further assistance.
Product Specifications
Detailed specifications for the Kwikset Pismo Keyed Entry Knob and Single Cylinder Deadbolt Combo Pack:
| Feature | Detail |
|---|---|
| Brand | Kwikset |
| Model Name | Pismo |
| Model Number | 99910-069 |
| Lock Type | Key Lock |
| Material | Nickel |
| Finish | Satin Nickel |
| Special Features | Anti-Drill, Anti-Bump, SmartKey Security, Microban Protection |
| Door Thickness Compatibility | 1-3/8" to 1-3/4" |
| Latch Backset | Adjustable 2-3/8" or 2-3/4" |
| Item Weight | 3.09 pounds |
| Product Dimensions (L x W x H) | 2.63 x 2.86 x 2.86 inches |
| UPC | 883351871792 |
Warranty and Support
Warranty Information
This Kwikset product is backed by a Lifetime mechanical and finish warranty. This warranty covers defects in material and workmanship for the lifetime of the original residential purchaser. For specific terms and conditions, including limitations and exclusions, please refer to the official Kwikset warranty documentation provided with your product or visit their official website.
Customer Support
For technical assistance, replacement parts, or to initiate a warranty claim, please contact Kwikset Customer Service. You can find contact information and additional resources on the official Kwikset website:
Ask a question about this manual
Ask about setup, troubleshooting, compatibility, parts, safety, or missing instructions. Manuals+ will review the question and use this page’s manual context to help answer it.