
VIMGO Power10
VIMGO P10 Smart Projector User Manual
Model: Power10
Brand: VIMGO
Introduction
Welcome to the user manual for your VIMGO P10 Smart Projector. This guide provides essential information for setting up, operating, and maintaining your projector to ensure optimal performance and longevity.
Important Safety Instructions
- Read all instructions before use.
- Do not expose the projector to rain or moisture.
- Do not block ventilation openings.
- Use only attachments/accessories specified by the manufacturer.
- Refer all servicing to qualified service personnel.
What's in the Box
The VIMGO P10 Smart Projector package typically includes:
- VIMGO P10 Smart Projector Unit
- Remote Control
- Power Adapter
- HDMI Cable (Possible)
- USB Cable (Possible)
- User Manual (This document)
Product Overview
Familiarize yourself with the various parts of your VIMGO P10 Smart Projector.

Front Panel
- Projection Lens: Emits the image.
- Focus Sensor: Assists with automatic focus adjustment.
Rear Panel
- Power Input: Connects the power adapter.
- HDMI Port: Connects to external devices like laptops, gaming consoles.
- USB Port: Connects to USB storage devices.
- Audio Output: For connecting external speakers or headphones.
Top Panel
- Power Button: Turns the projector on/off.
- Indicator Lights: Show power status and other operational modes.
Side Panels
- Ventilation Grilles: Ensure proper airflow for cooling.
Initial Setup
1. Placement
Position the projector on a stable, flat surface. Ensure there are no obstructions to the projection path or ventilation.

The ideal projection size ranges from 40 to 120 inches. Refer to the table below for approximate projection distances:
| Projection Size | Approximate Distance |
|---|---|
| 40 inches | 4 feet |
| 80 inches | 8 feet |
| 120 inches | 11.5 feet |
2. Power Connection
Connect the power adapter to the projector's power input port, then plug the adapter into a wall outlet.
3. Remote Control
Insert two AAA batteries (not included) into the remote control, observing polarity.
4. Power On
Press the power button on the projector or the remote control to turn on the device.
5. Focus and Keystone Correction
The projector features remote focus and digital keystone correction to ensure a clear and rectangular image.
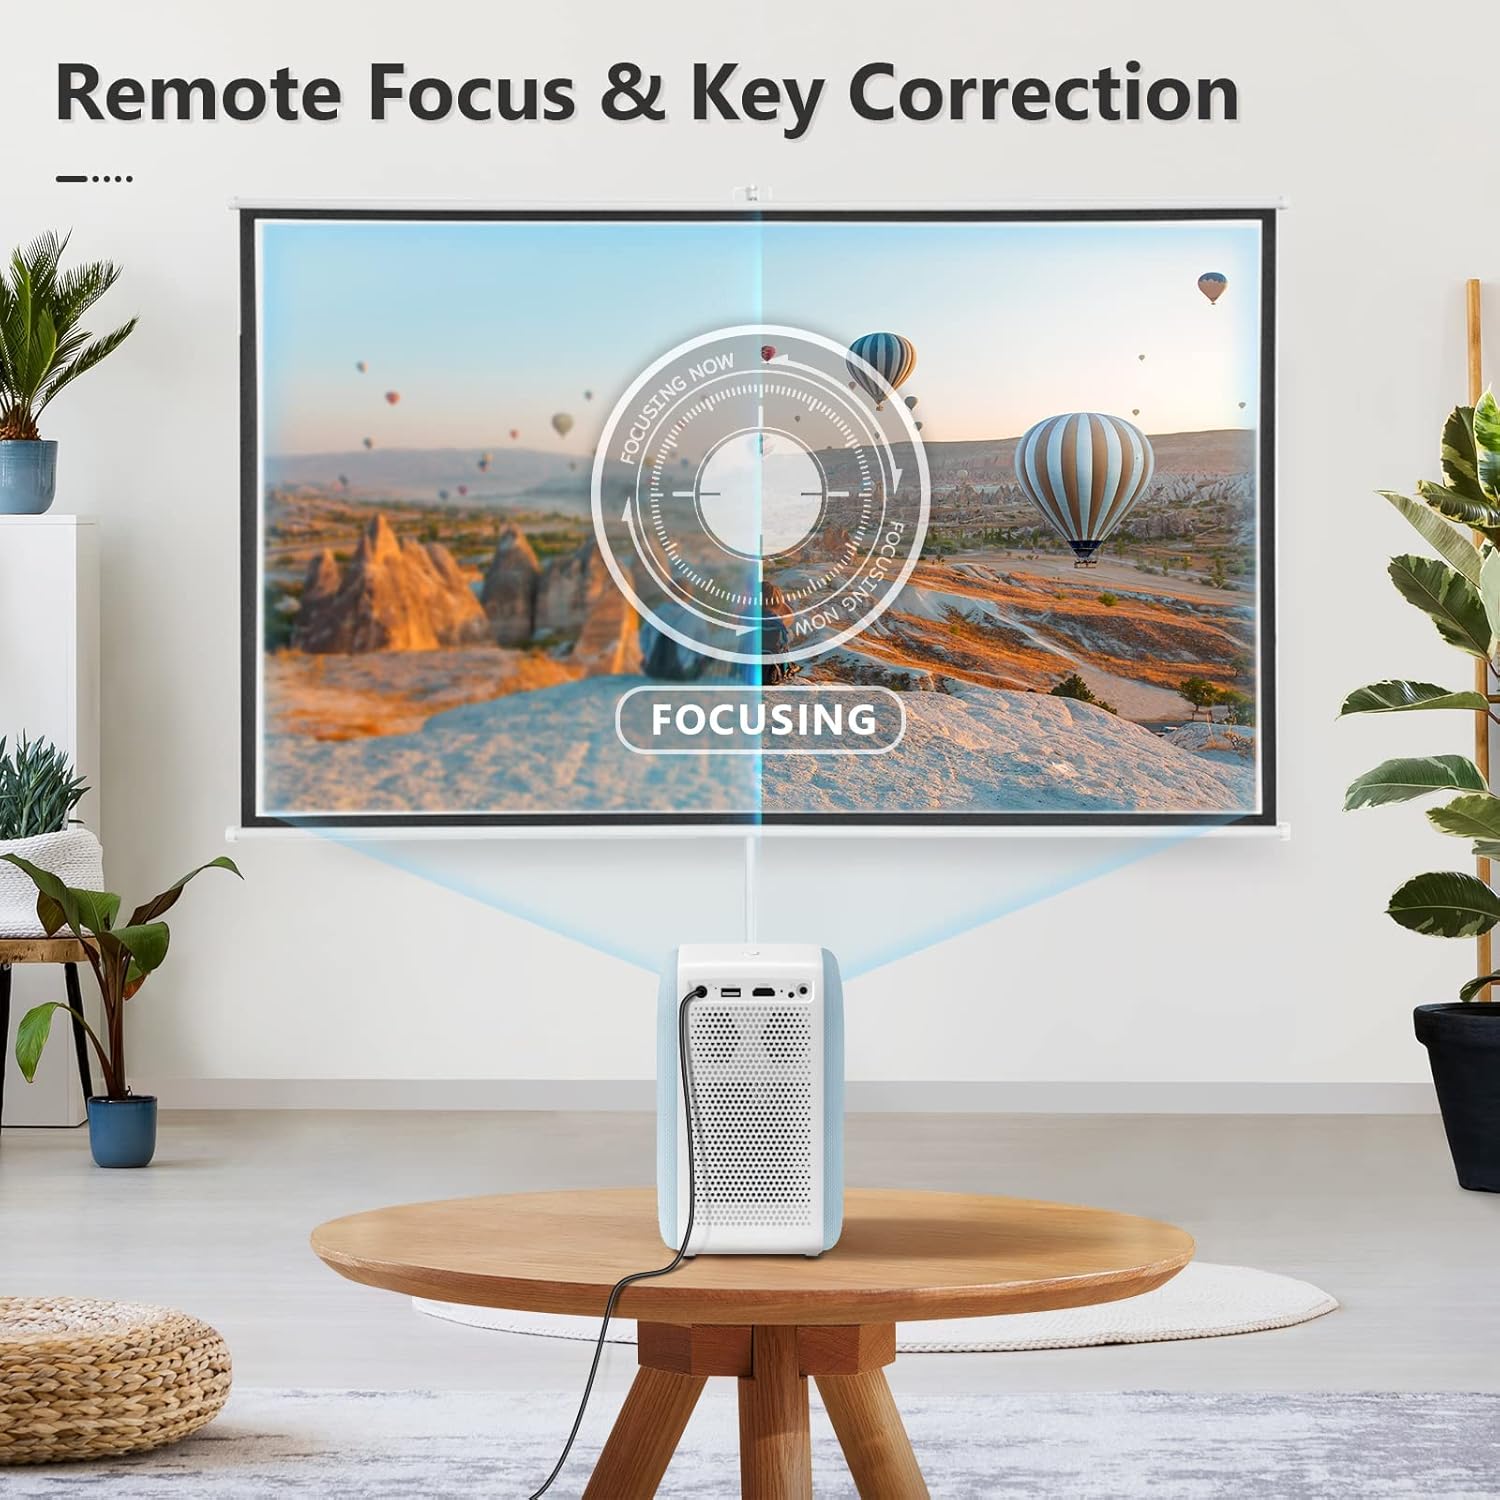
- Focus: Use the focus buttons on the remote control to sharpen the image.
- Keystone Correction: If the projected image appears trapezoidal, use the keystone correction settings in the menu to adjust it into a perfect rectangle. This projector supports digital keystone correction.
Operating Your Projector
1. Navigation
The VIMGO P10 runs on an Android OS, providing a smart interface. Use the remote control's directional buttons and 'OK' button to navigate through menus and select options.
2. Network Connectivity
Wi-Fi Connection
- From the home screen, navigate to Settings.
- Select Network & Internet.
- Turn on Wi-Fi and select your desired network from the list.
- Enter the password if prompted and connect.
Bluetooth Connection
Connect external Bluetooth speakers or headphones for enhanced audio.
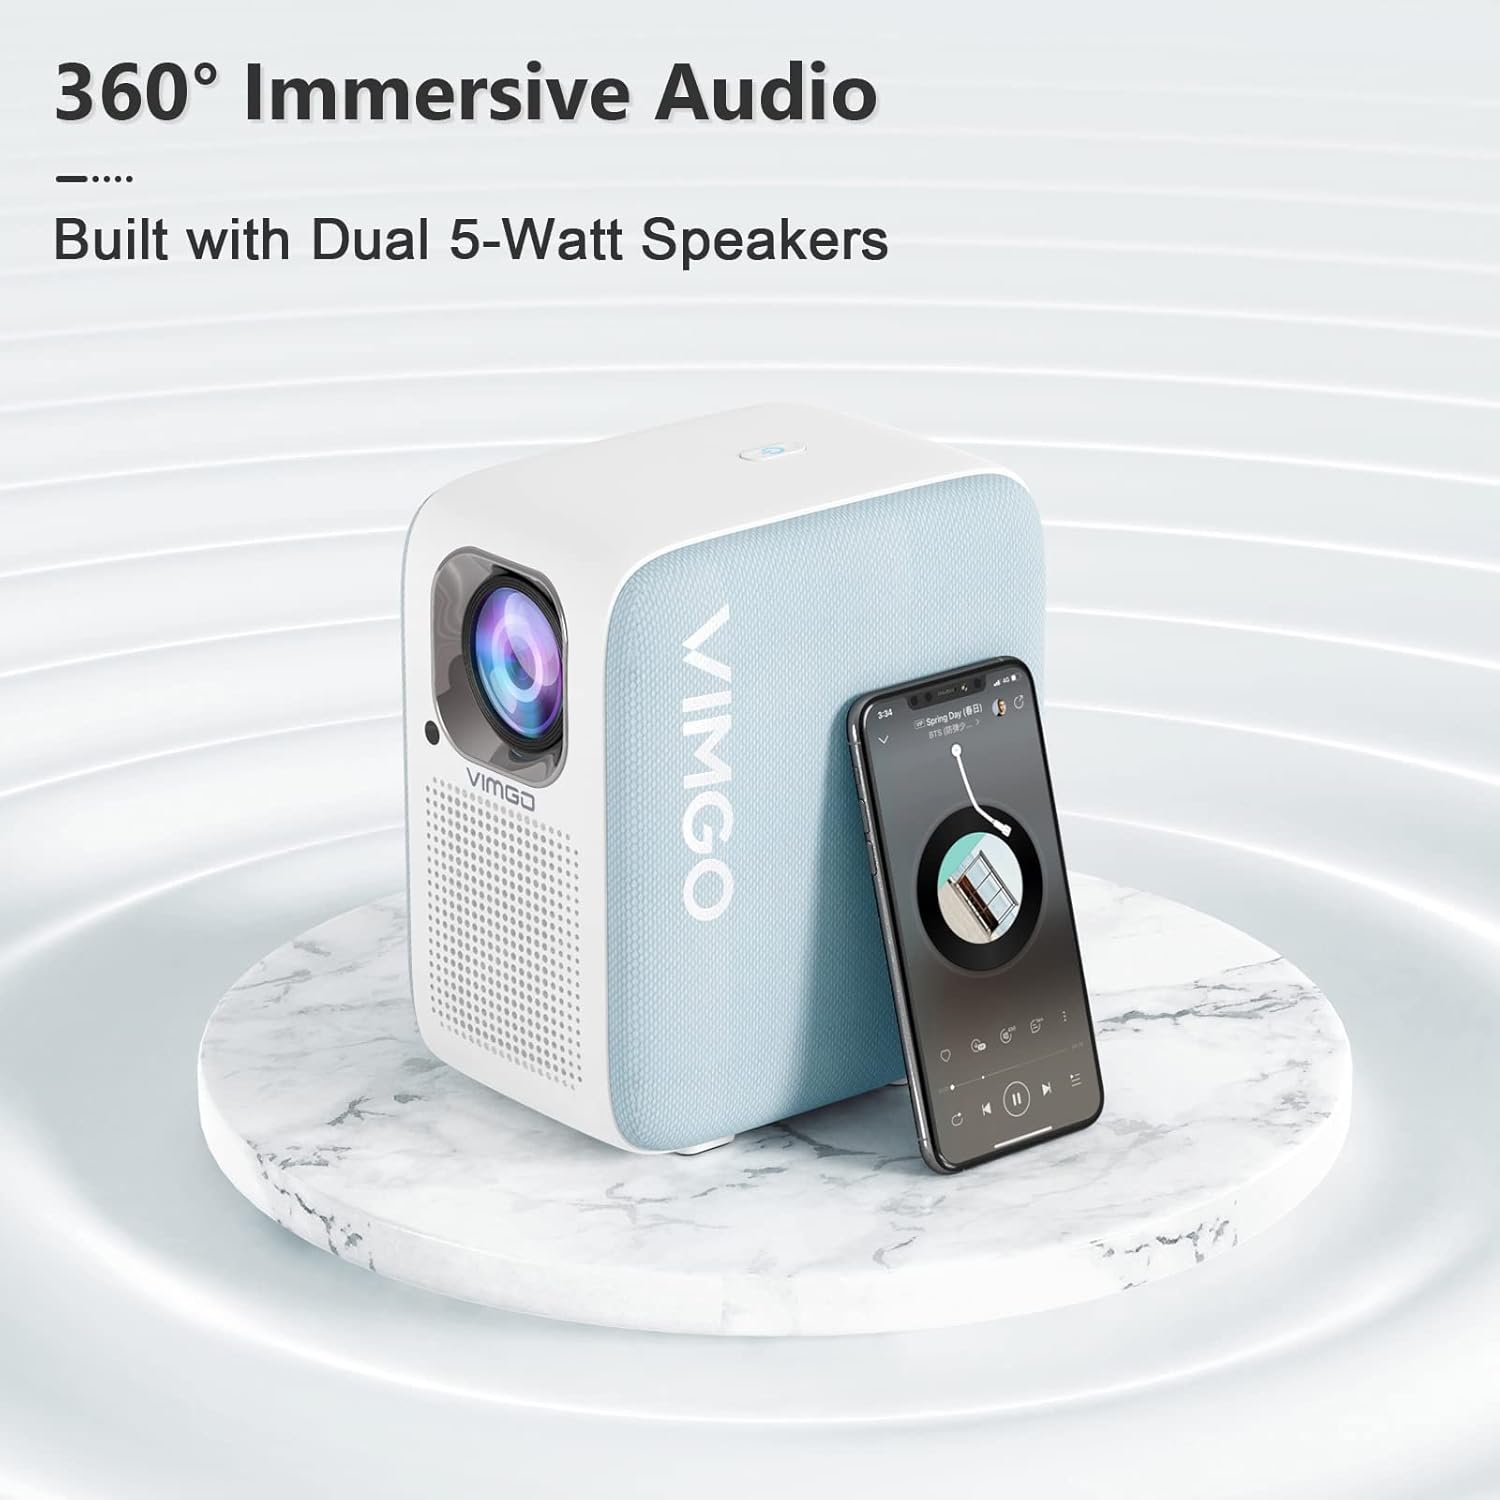
- Go to Settings and select Connected Devices or Bluetooth.
- Turn on Bluetooth and search for available devices.
- Select your Bluetooth device from the list to pair.
3. Input Sources
Select the desired input source from the home screen or input menu.
- HDMI: Connect external devices such as laptops, gaming consoles, or streaming sticks.
- USB: Plug in USB drives to play media files directly.
- Apps: Utilize pre-installed or downloaded applications (e.g., streaming services) via the Android OS.
4. Media Playback
The projector supports various media formats. For optimal experience, ensure your media files are compatible with Android OS playback.
5. Audio Settings
The projector is equipped with built-in speakers. You can adjust the volume using the remote control. For a more immersive experience, connect external audio devices via Bluetooth or the audio output port.
Maintenance and Care
1. Cleaning
Keep the projector clean to ensure optimal performance and longevity.

- Exterior: Wipe the exterior with a soft, dry cloth. Do not use abrasive cleaners or solvents.
- Lens: Gently clean the lens with a lens cleaning cloth. Avoid touching the lens directly with your fingers.
- Ventilation: Ensure the ventilation grilles are free from dust and debris. The projector has a fully sealed dustproof design to minimize internal dust accumulation.
2. Storage
When not in use for extended periods, store the projector in a cool, dry place, away from direct sunlight and extreme temperatures.
Troubleshooting
If you encounter issues with your VIMGO P10 Smart Projector, refer to the following common problems and solutions:
| Problem | Possible Cause | Solution |
|---|---|---|
| No Power | Power cable disconnected; Power outlet issue. | Ensure power cable is securely connected. Try a different power outlet. |
| No Image | Incorrect input source; Device not connected properly. | Select the correct input source (HDMI, USB). Check cable connections. |
| Blurry Image | Out of focus; Incorrect keystone correction. | Adjust focus using the remote. Apply keystone correction if the image is trapezoidal. |
| No Sound | Volume too low; Muted; External audio device not connected. | Increase volume. Check if muted. Ensure external audio devices are properly connected or paired via Bluetooth. |
| Remote Control Not Responding | Low batteries; Obstruction between remote and projector. | Replace batteries. Ensure clear line of sight to the projector's IR receiver. |
| Wi-Fi Connection Issues | Incorrect password; Router issues; Signal interference. | Verify Wi-Fi password. Restart your router. Move projector closer to the router or reduce interference. Reset network settings on the projector if necessary. |
Technical Specifications
| Feature | Detail |
|---|---|
| Brand | VIMGO |
| Model Number | Power10 |
| Display Resolution | 1920 x 1080 (Native 1080P) |
| Brightness | 300 ANSI Lumens |
| Operating System | Android OS |
| Connectivity Technology | HDMI, USB, Wi-Fi (5G), Bluetooth |
| Special Features | Built-In Speaker, Dust-Proof, Digital Keystone Correction, Lightweight |
| Item Weight | 5.83 pounds |
| Product Dimensions | 7.17 x 5.04 x 8.19 inches |
| Recommended Use | Home Cinema |
| Visible Screen Diagonal | 120 inches / 305 cm |
Warranty and Customer Support
VIMGO offers a 2-year warranty for the P10 Smart Projector, as mentioned in customer reviews. For warranty claims, technical assistance, or any product-related inquiries, please contact VIMGO customer support through their official website or the contact information provided with your purchase.
For further assistance, you may visit the official VIMGO store on Amazon: VIMGO Store.
Ask a question about this manual
Ask about setup, troubleshooting, compatibility, parts, safety, or missing instructions. Manuals+ will review the question and use this page’s manual context to help answer it.