1. Introduction
Thank you for choosing the Dripex Baby Playpen. This manual provides essential information for the safe and proper assembly, operation, and maintenance of your playpen. Please read all instructions carefully before use and retain this manual for future reference.
The Dripex Baby Playpen is designed to provide a safe and spacious environment for babies and toddlers to play and explore. Its sturdy construction and breathable mesh ensure both safety and visibility, offering peace of mind for parents.
2. Important Safety Guidelines
- Always supervise your child when they are in the playpen.
- Do not leave children unattended.
- Ensure all parts are correctly assembled and securely fastened before placing a child in the playpen.
- Do not use the playpen if any parts are broken, torn, or missing.
- Keep the playpen away from open flames, heaters, and other heat sources.
- Do not place toys with long strings or cords in the playpen to avoid strangulation hazards.
- This playpen is not foldable for storage. If a foldable version is required, please refer to other Dripex models.
- The zippered door can only be opened from the outside to prevent children from exiting unsupervised.
- Maximum weight recommendation: 20 Kilograms.
3. Package Contents
Before assembly, please verify that all components listed below are present and undamaged.

Image: Visual representation of the playpen components and assembly steps.
| Component | Quantity |
|---|---|
| Fabric Cover (with mesh walls and zippered door) | 1 |
| 28.8 Inch Tubes | 24 |
| Straight Tee Connectors | 8 |
| L Bottom Tee Connectors | 4 |
| Top Corner Tee Connectors | 4 |
| Pull Rings (Handles) | 2 |
4. Setup and Assembly
Assembly is straightforward and requires no tools. Follow these steps for proper setup:
- Step 1: Lay out the Fabric Cover. Lay the fabric cover flat on the ground.
Image: Laying the fabric cover flat and inserting the first set of tubes.
- Step 2: Insert Bottom Horizontal Tubes. Insert the bottom horizontal tubes into the cloth cover and connect them using the straight tee and L bottom tee connectors.
- Step 3: Insert Vertical Tubes. Starting from one corner, insert all 8 vertical tubes into the cloth cover. Rotational insertion may make this step easier.
- Step 4: Insert Top Horizontal Tubes. Insert the top horizontal tubes into the cloth cover and connect them using the straight tee and top corner tee connectors.
- Step 5: Secure Protective Cloth. Flip all protective cloth in the middle and corners, and secure them with Velcro.

Image: The fully assembled playpen, ready for use.
5. Operating Instructions
5.1 Using the Zippered Door
The playpen features an external zippered door for easy access. This door can only be opened from the outside, ensuring your child remains safely inside when unsupervised.
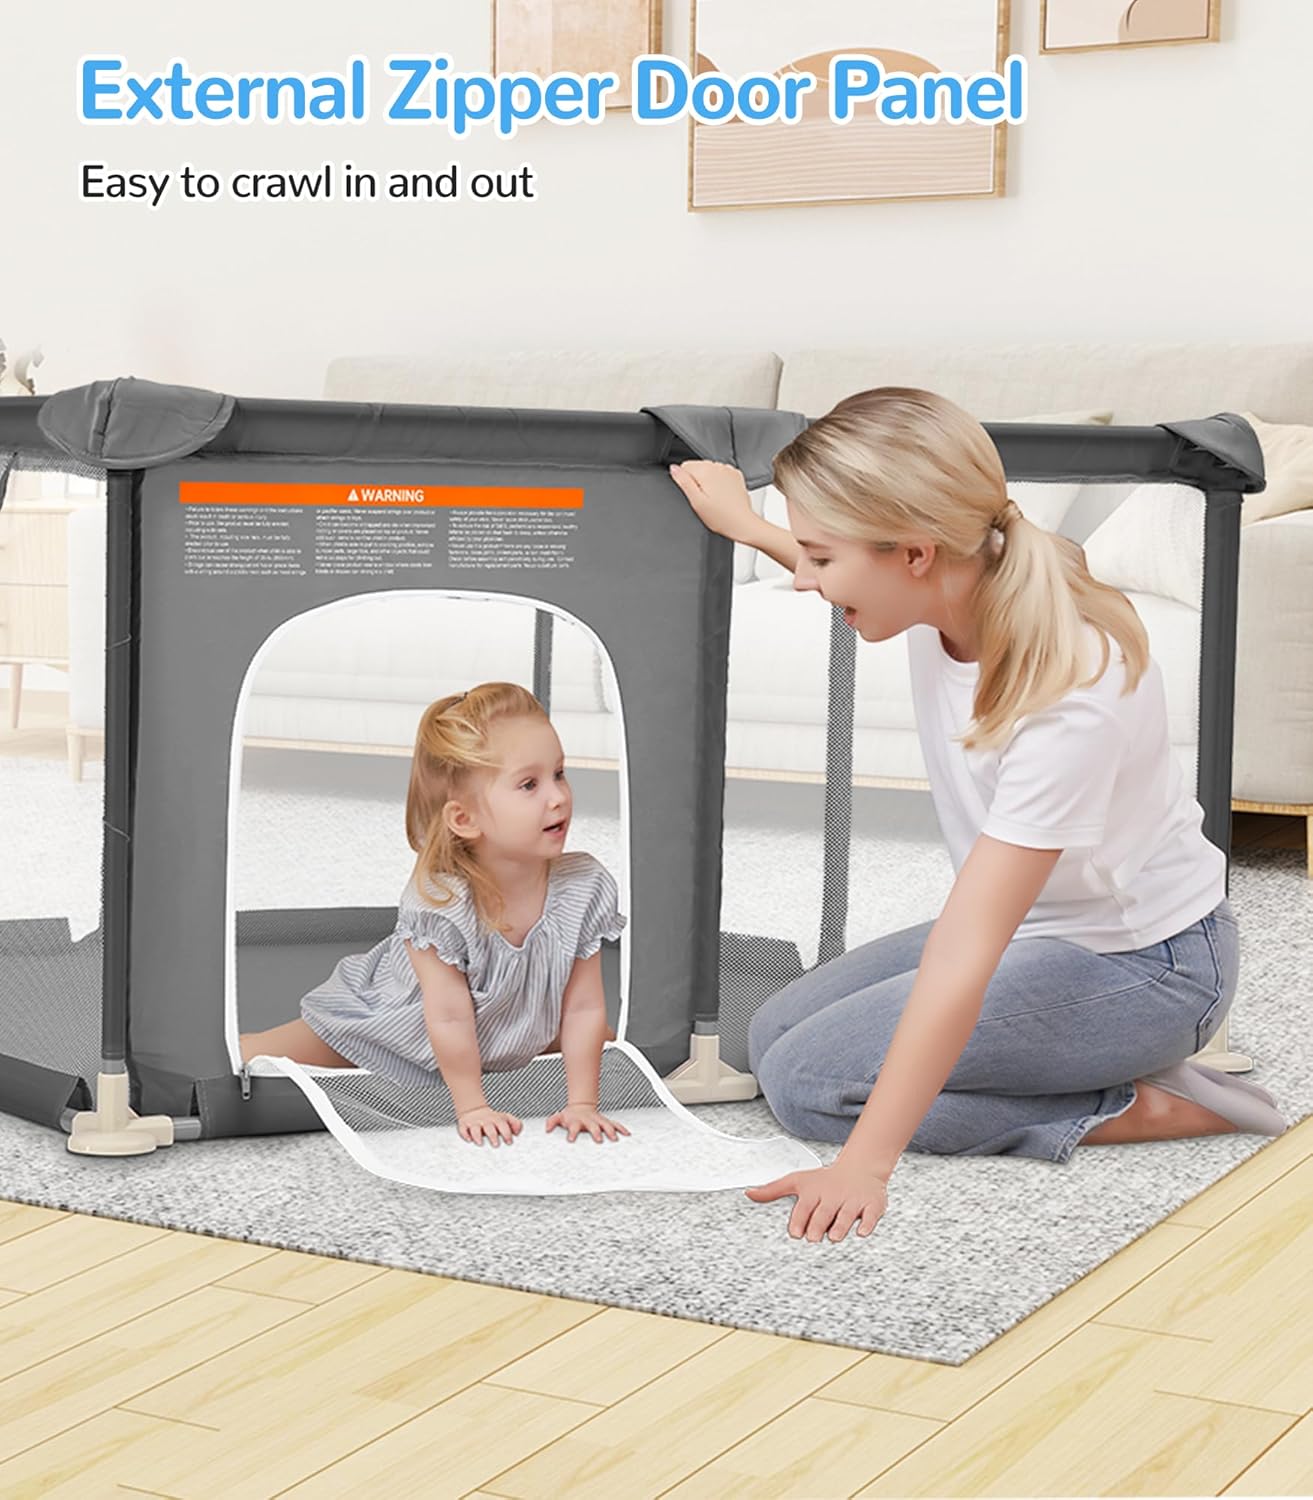
Image: A child using the pull rings to assist with standing.
5.2 Utilizing Pull Rings
The two colorful pull rings included with the playpen are designed to help your baby build arm strength and assist them in learning to stand. Attach them securely to the top frame of the playpen at desired locations.
5.3 Visibility and Interaction
The breathable mesh sides provide 360-degree full-view visibility, allowing you to keep an eye on your baby at all times. This also allows your child to see their surroundings and interact with you.

Image: A parent observing their child through the mesh walls of the playpen.
6. Maintenance and Care
The Dripex Baby Playpen is made of washable Oxford fabric, making it easy to clean.
- To clean, simply wipe down milk or urine stains with a damp cloth and mild soap.
- Do not use harsh chemicals or abrasive cleaners, as these may damage the fabric or frame.
- Ensure the playpen is completely dry before storing or continued use to prevent mold or mildew.

Image: The playpen fabric being placed into a washing machine for cleaning.
7. Troubleshooting
| Problem | Possible Cause | Solution |
|---|---|---|
| Playpen is unstable or wobbly. | Tubes not fully inserted into connectors or connectors not properly aligned. | Check all tube connections and ensure they are pushed in completely until they click into place. Verify that all connectors are correctly oriented. |
| Fabric cover does not fit correctly. | Incorrect tube assembly or fabric not stretched properly. | Review assembly steps, especially the order of tube insertion. Ensure the fabric is evenly stretched over the frame. |
| Zippered door is stuck or difficult to open/close. | Fabric caught in zipper or zipper misalignment. | Gently pull the fabric away from the zipper teeth. Ensure the zipper is aligned before attempting to close it. Do not force the zipper. |
| Suction cups on bottom are not gripping. | Surface is not clean or smooth, or suction cups are dirty. | Clean the floor surface and the suction cups. Ensure the playpen is placed on a smooth, non-porous surface for optimal grip. |
8. Specifications
| Feature | Detail |
|---|---|
| Model Number | P1001 |
| Product Dimensions (L x W x H) | 48.82 x 48.82 x 24.8 inches |
| Floor Area | 16.55 Square Feet |
| Item Weight | 8.93 pounds |
| Maximum Weight Recommendation | 20 Kilograms |
| Material Type | Oxford Cloth |
| Color | Anchor Grey |
| Care Instructions | Can Be Wiped With Soap, Washable Oxford Cloth |
| Additional Features | Non-slip suction cups, tear-resistant, dirt-resistant |
| UPC | 840325601830 |

Image: Detailed dimensions of the playpen.
9. Warranty and Support
For warranty information or product support, please refer to the official Dripex website or contact their customer service directly. Keep your purchase receipt for any warranty claims.
Return Policy: The product is eligible for a refund/replacement within 90 days of purchase.
Manufacturer: Dripex Baby-SZJ
For further assistance, you may visit the Dripex Store on Amazon.


