
1. Introduction
Thank you for choosing the Ecoey FJ138 Photoelectric Smoke Detector. This device is designed to provide early warning of smoke and fire, helping to protect your home and family. It features advanced photoelectric sensing technology, a 10-year long-lasting chip, and a compact design for easy installation and reliable performance.
Please read this manual thoroughly before installation and use, and retain it for future reference.

Image: The Ecoey FJ138 Smoke Detector is compact, designed for easy handling and features a 10-year operational lifespan.
2. Important Safety Information
This smoke detector is intended for residential use. It is not designed for marine or aircraft applications. Please observe the following safety guidelines:
- Do not paint the smoke detector. Paint can clog the sensing chambers and prevent the unit from operating correctly.
- Do not block the air vents of the smoke detector.
- Test the smoke detector weekly to ensure proper function.
- Replace batteries promptly when the low battery warning is activated.
- Never ignore a smoke alarm. Investigate the cause immediately and take appropriate action.
- Keep the smoke detector clean from dust and debris.
3. Package Contents
Verify that all items are present in the package:
- Ecoey FJ138 Smoke Detector
- Mounting Accessories (screws and anchors)
- Magnet Sheets for adhesive mounting
- 9V Battery (pre-installed or included separately)
- User Manual

Image: The package includes the Ecoey FJ138 smoke detector, user manual, mounting hardware, and adhesive magnet for installation.
4. Product Overview
Familiarize yourself with the components of your Ecoey FJ138 Smoke Detector:
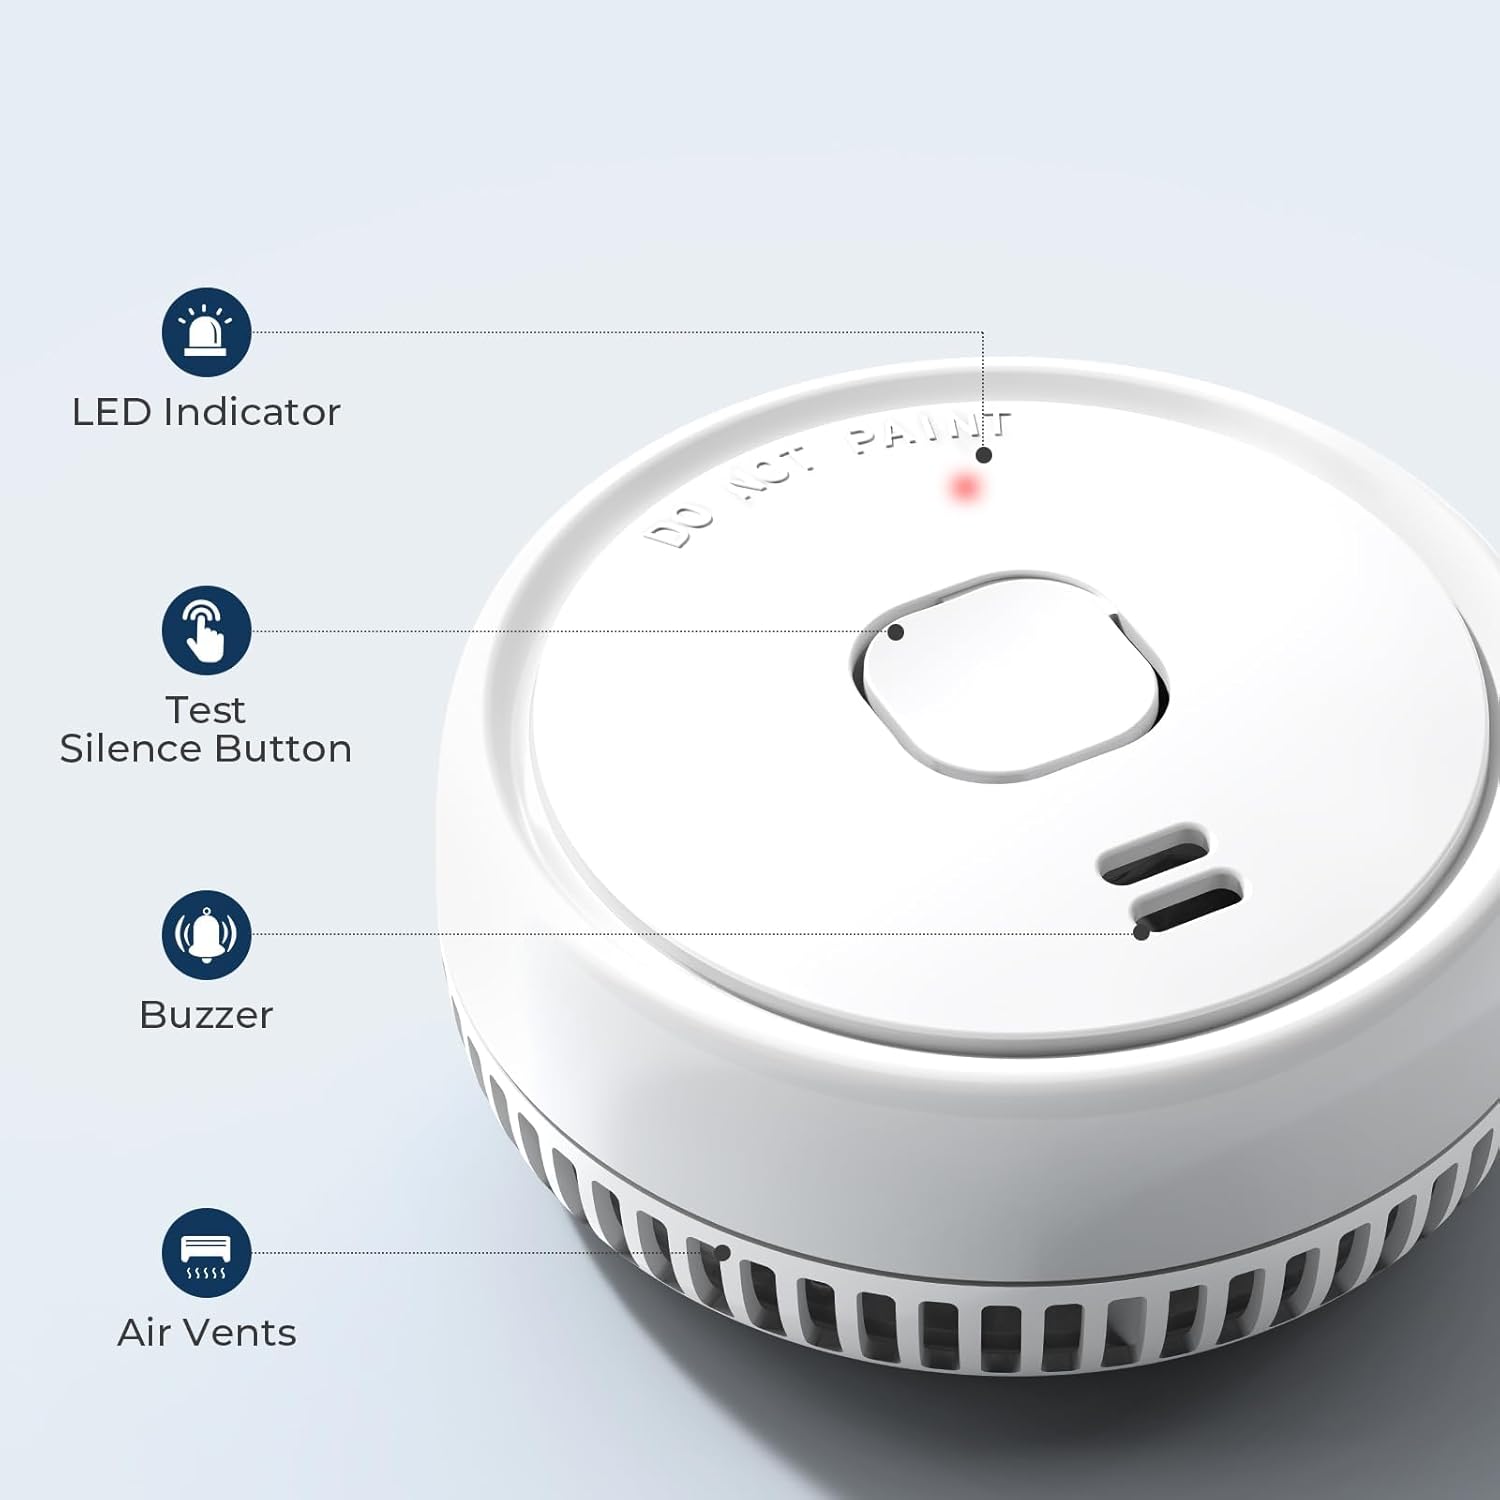
Image: Labeled diagram showing the LED indicator, Test/Silence button, buzzer, and air vents on the Ecoey FJ138 Smoke Detector.
- LED Indicator: Flashes to indicate normal operation, alarm, or low battery.
- Test/Silence Button: Press to test the alarm or silence a false alarm.
- Buzzer: Emits a loud alarm sound when smoke is detected or during a test.
- Air Vents: Allows smoke to enter the sensing chamber.
5. Setup and Installation
5.1 Battery Installation
The Ecoey FJ138 Smoke Detector operates on a 9V battery, which is included. If the battery is not pre-installed, follow these steps:
- Twist the mounting bracket counter-clockwise to detach it from the detector body.
- Locate the battery compartment.
- Connect the 9V battery to the battery clip, ensuring correct polarity.
- Place the battery into the compartment.
- Reattach the mounting bracket by aligning and twisting clockwise until secure.

Image: The Ecoey FJ138 Smoke Detector's battery compartment is accessible by removing the back cover, allowing for easy 9V battery installation.
5.2 Choosing a Mounting Location
For optimal protection, install smoke detectors in the following locations:
- Inside every bedroom.
- Outside each sleeping area.
- On every level of your home, including the basement.
- Mount on the ceiling or high on a wall (at least 4 inches from the ceiling).
Avoid installing detectors in these areas:
- Near windows, doors, or vents where drafts could interfere with smoke detection.
- In kitchens, bathrooms, or garages where cooking fumes, steam, or exhaust can cause false alarms.
- In extremely dusty, dirty, or insect-infested areas.
5.3 Mounting the Detector
The Ecoey FJ138 offers two installation methods: screw mounting or adhesive magnet mounting.
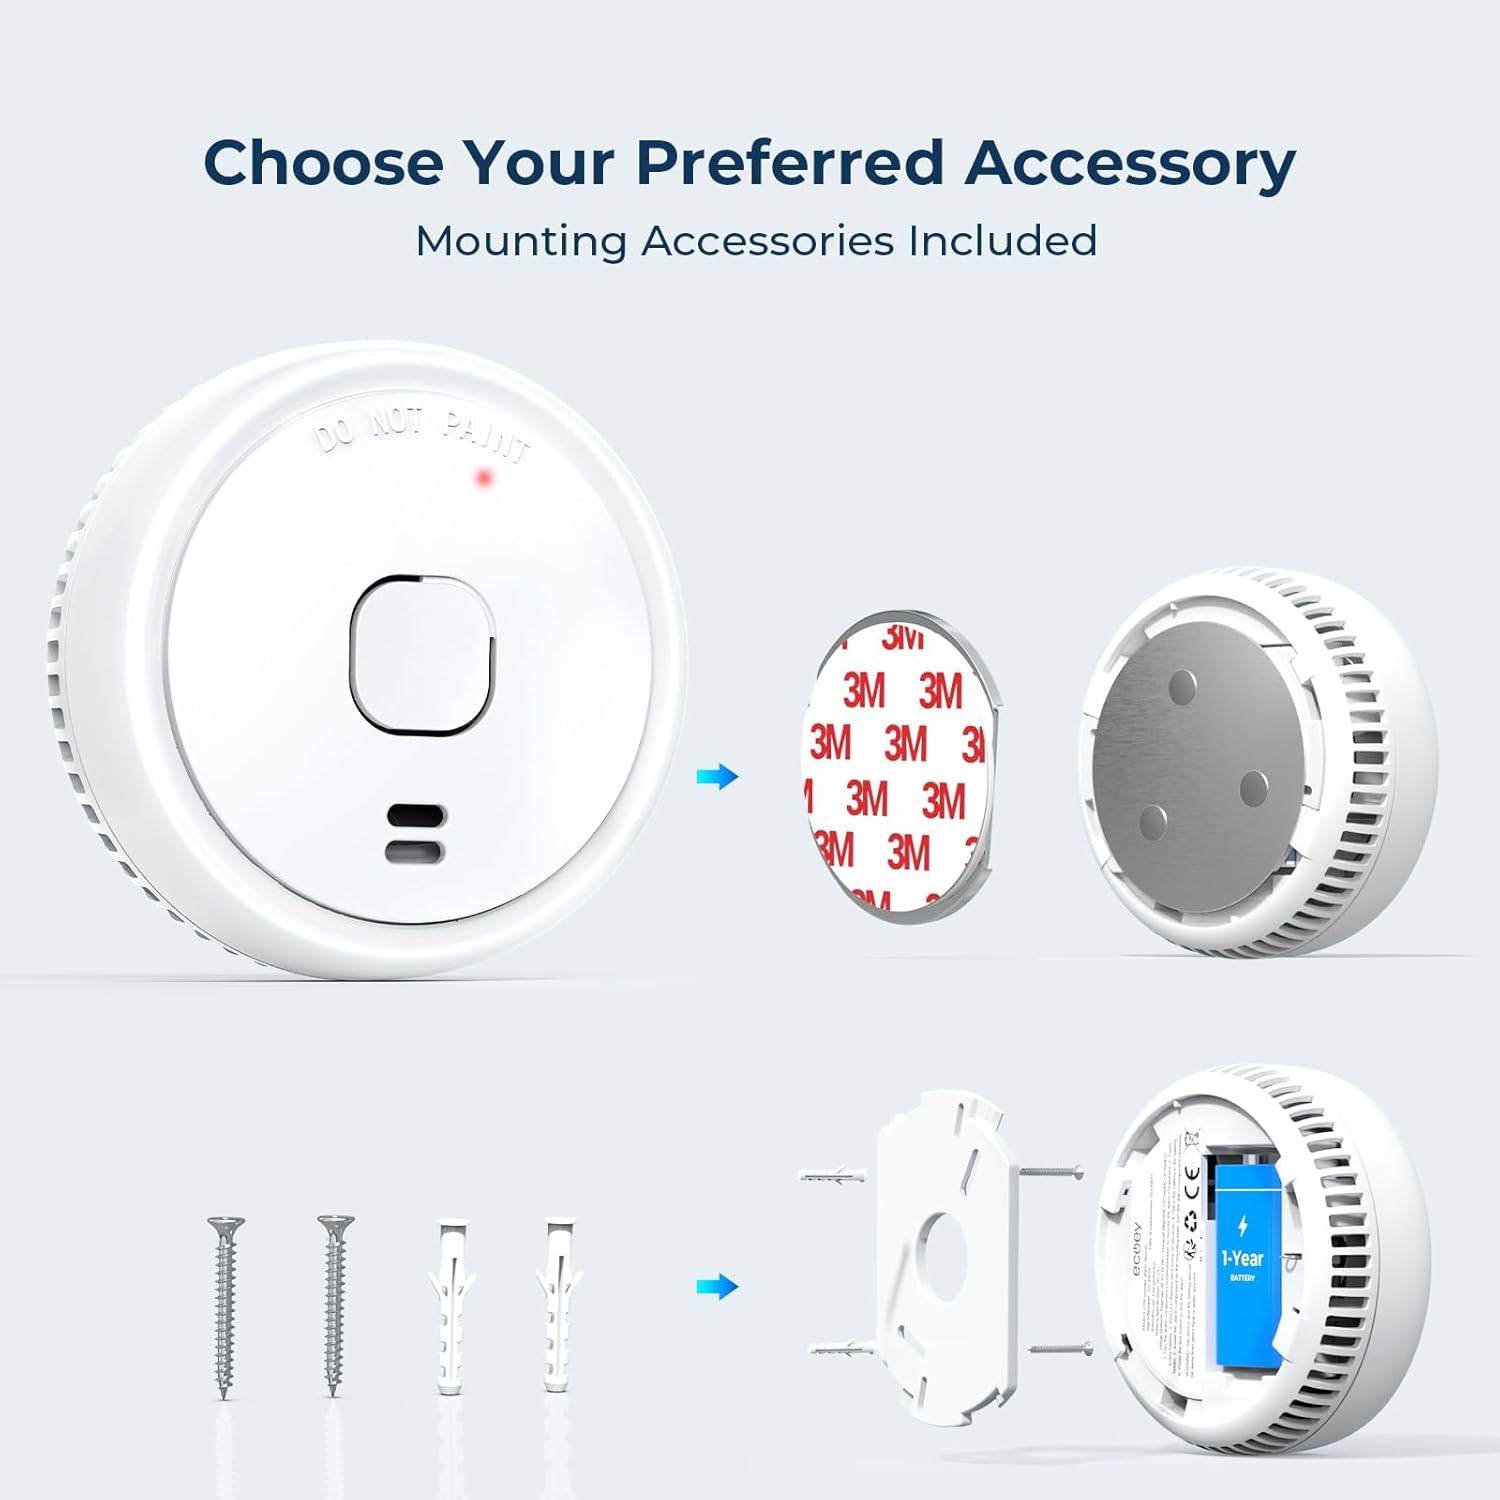
Image: The Ecoey FJ138 Smoke Detector can be installed using either traditional screws and anchors or a convenient adhesive magnet sheet.
Screw Mounting:
- Mark the desired mounting location on the ceiling or wall.
- Drill two holes at the marked spots.
- Insert the plastic anchors into the drilled holes.
- Align the mounting bracket with the anchors and secure it with the provided screws.
- Attach the smoke detector to the mounting bracket by aligning and twisting clockwise until it clicks into place.
Adhesive Magnet Mounting:
- Ensure the mounting surface is clean, dry, and smooth.
- Peel the protective film from one side of the magnet sheet and firmly press it onto the back of the smoke detector.
- Peel the protective film from the other side of the magnet sheet.
- Press the smoke detector firmly against the desired mounting location on the ceiling or wall for at least 30 seconds.
6. Operating Instructions
6.1 Testing the Alarm
It is crucial to test your smoke detector weekly to ensure it is functioning correctly.
- Press and hold the Test/Silence button on the front of the detector.
- The alarm will sound a loud, pulsating siren.
- Release the button. The alarm should stop.
- If the alarm does not sound, refer to the Troubleshooting section.
6.2 Silence Function
The silence function allows you to temporarily quiet the alarm for approximately 8 minutes in case of a non-emergency alarm (e.g., cooking fumes).
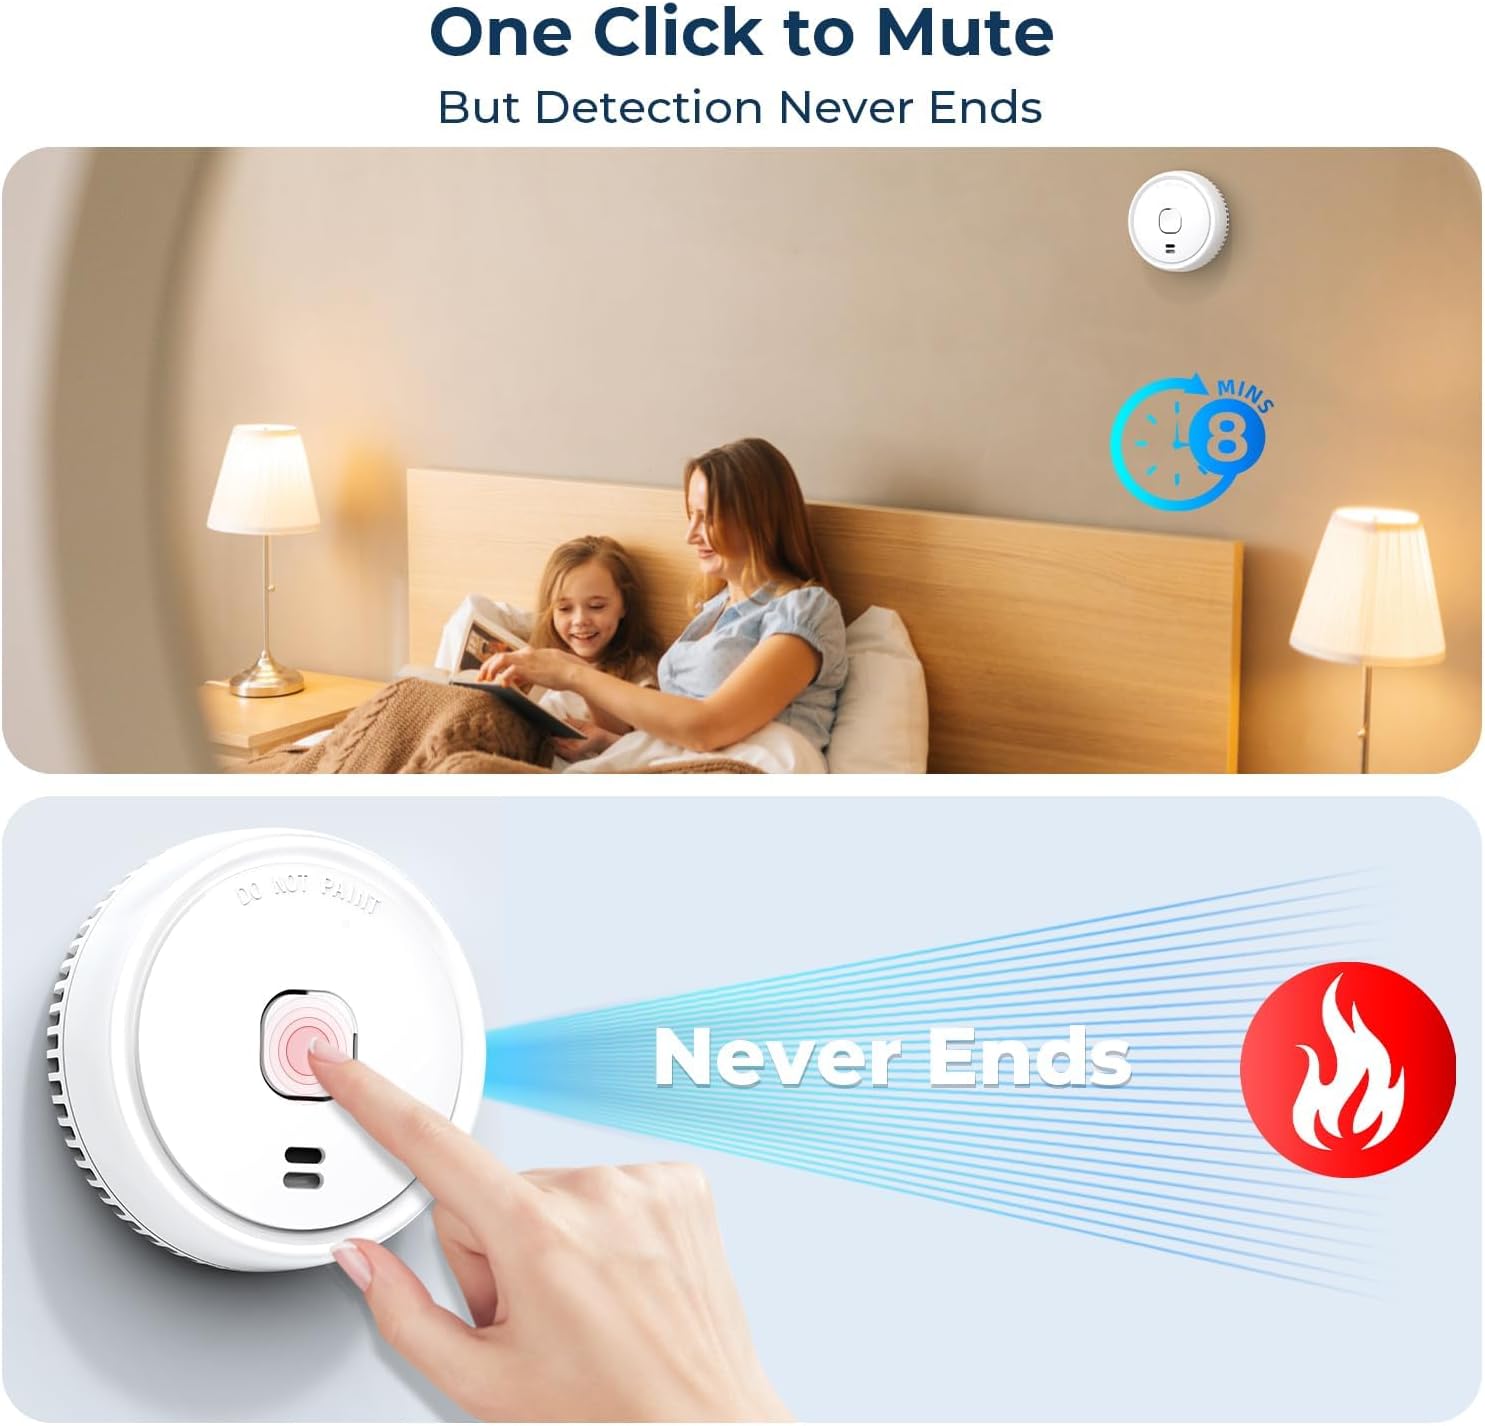
Image: Pressing the Test/Silence button on the Ecoey FJ138 Smoke Detector activates the mute function for temporary silencing of non-emergency alarms.
- When the alarm sounds due to a non-emergency event, press the Test/Silence button for 5 seconds.
- The alarm will temporarily silence. The LED indicator will continue to flash every few seconds to indicate it is in silence mode.
- After approximately 8 minutes, the detector will automatically reset and resume normal monitoring. If smoke is still present, the alarm will sound again.
6.3 Low Battery Warning
When the battery is depleted, the detector will emit a short chirp and the red LED light will flash approximately every 32 seconds. This indicates that the battery needs to be replaced immediately.
7. Maintenance
7.1 Battery Replacement
When the low battery warning sounds, replace the 9V battery as soon as possible.
- Twist the detector counter-clockwise to remove it from its mounting bracket.
- Disconnect the old 9V battery from the clip.
- Connect a new 9V battery to the battery clip, ensuring correct polarity.
- Place the new battery into the compartment.
- Reattach the detector to the mounting bracket by aligning and twisting clockwise until secure.
- Test the alarm immediately after replacing the battery.
7.2 Cleaning Your Smoke Detector
Dust and debris can accumulate in the sensing chamber, potentially causing false alarms or preventing the detector from functioning correctly. Clean your smoke detector at least once a month.
- Remove the detector from its mounting bracket.
- Use a soft brush attachment on your vacuum cleaner to remove dust from the exterior of the detector, especially around the air vents.
- Wipe the exterior with a slightly damp cloth. Do not use cleaning solvents or spray directly onto the detector.
- Reattach the detector to its mounting bracket.
- Test the alarm after cleaning.
8. Troubleshooting
| Problem | Possible Cause | Solution |
|---|---|---|
| Alarm sounds without visible smoke. | Dust accumulation, steam from shower, cooking fumes, high humidity. | Press the Test/Silence button to temporarily silence. Clean the detector. Relocate if false alarms are frequent due to environmental factors. |
| Alarm does not sound during test. | Dead or improperly installed battery. Detector malfunction. | Replace the 9V battery. Ensure battery is correctly connected. If problem persists, the detector may need replacement. |
| Low battery warning (chirp and LED flash) persists after battery replacement. | New battery is dead or improperly installed. Detector malfunction. | Ensure the new 9V battery is fresh and correctly connected. Test the new battery if possible. If problem persists, contact support. |
9. Specifications
| Feature | Specification |
|---|---|
| Model Number | FJ138 (GS522C) |
| Sensor Type | Photoelectric |
| Power Source | 9V Battery (Alkaline) |
| Alarm Loudness | >85 dB at 3 meters |
| Operating Humidity | ≤93% RH |
| Upper Temperature Rating | 50°C (122°F) |
| Product Dimensions | 3.5"D x 3.5"W x 1.5"H (approx. φ 3.5 in x 1.5 in) |
| Material | Plastic |
| Installation Method | Screw-mount or Self-Adhesive |
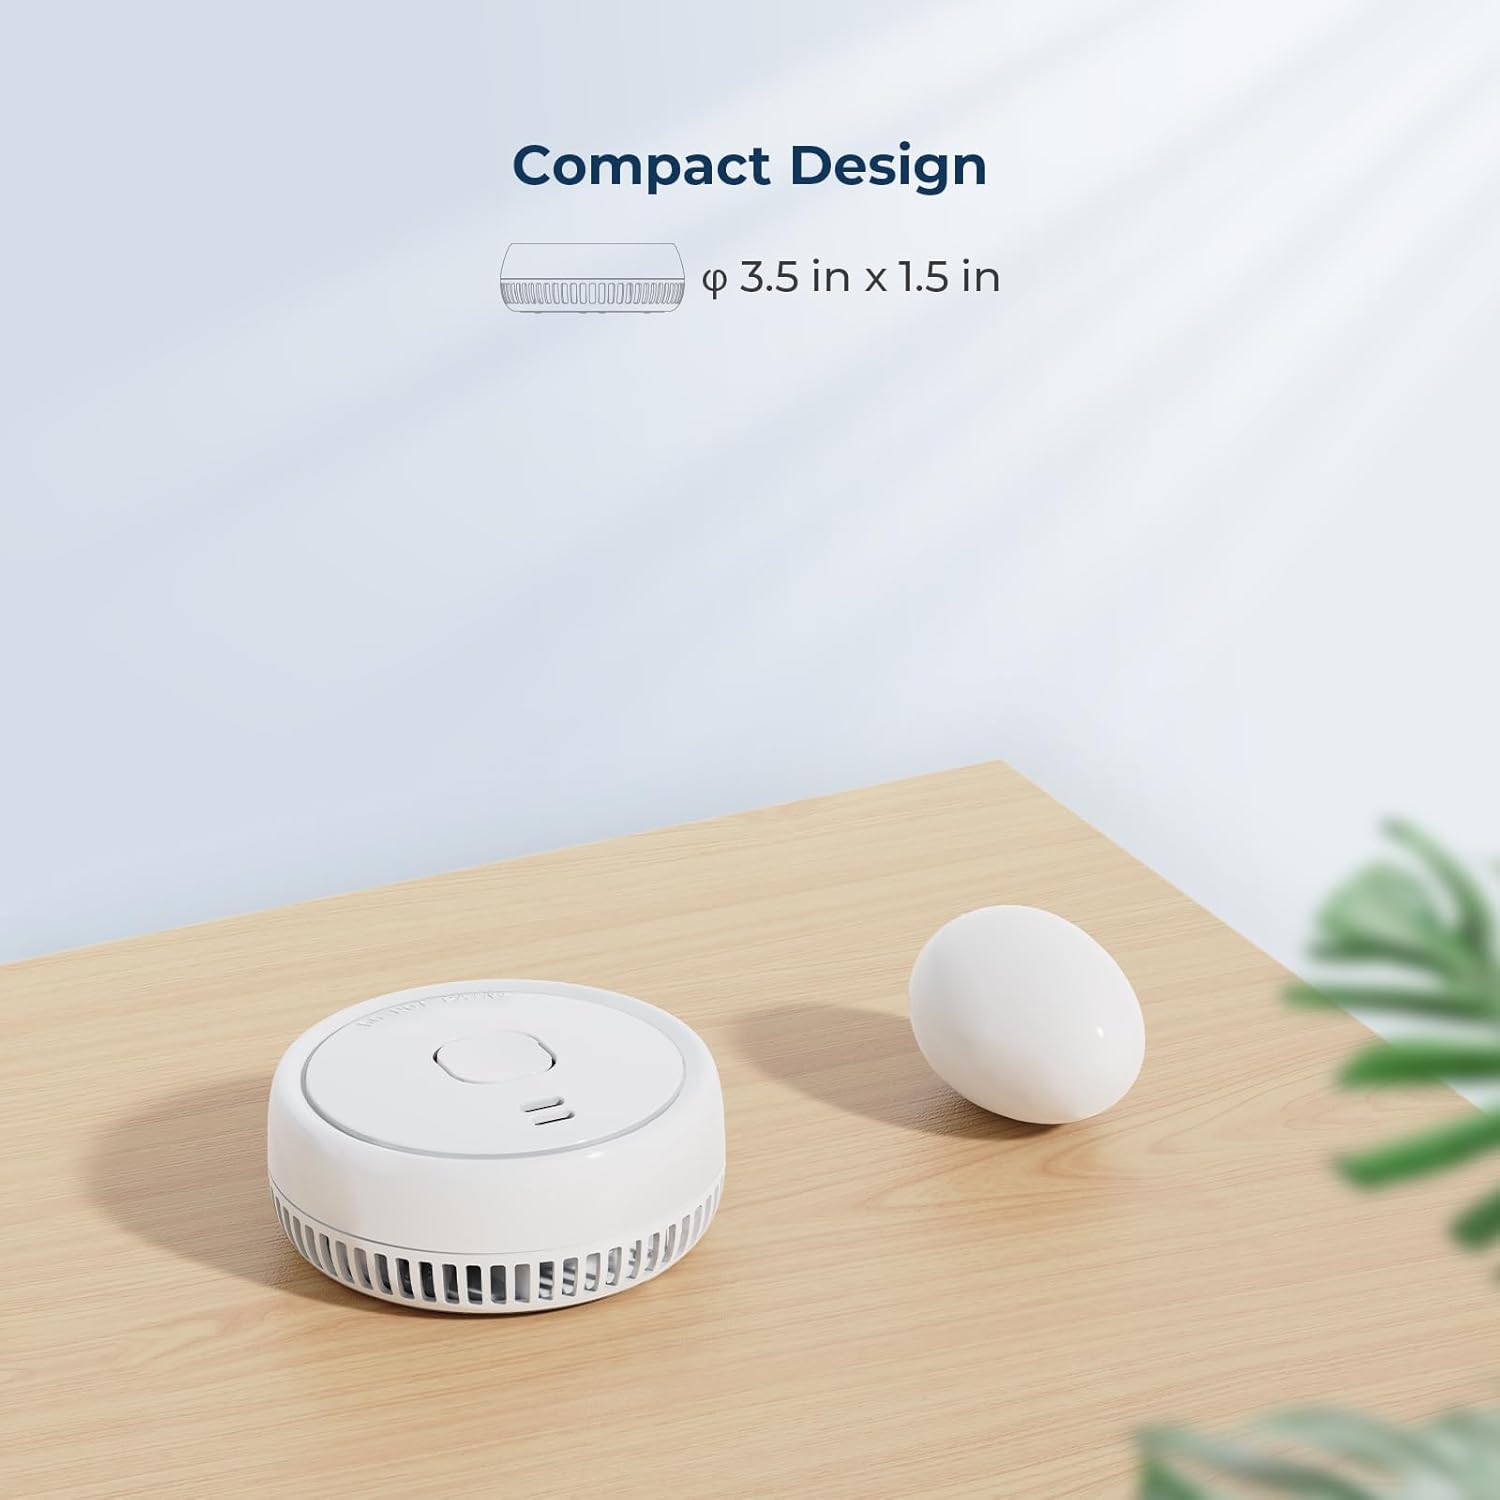
Image: The compact design of the Ecoey FJ138 Smoke Detector, measuring approximately 3.5 inches in diameter and 1.5 inches in height.
10. Warranty and Support
Ecoey products are manufactured to high-quality standards. For warranty information, technical support, or any questions regarding your Ecoey FJ138 Smoke Detector, please contact Ecoey customer service through the retailer's platform or visit the official Ecoey website. Please have your model number (FJ138 or GS522C) and purchase date available when contacting support.