
Introduction
The HEXBUG VEX Robotics Ball Challenge - Bank Shot kit provides an engaging construction experience, allowing users to build a complex course designed to launch and maneuver a ball through various obstacles. This manual provides detailed instructions for assembly, operation, and care of your VEX Robotics Bank Shot kit.
This kit is designed to promote basic engineering skills and understanding of different mechanisms through hands-on, skills-based play.
Safety Information
WARNING: CHOKING HAZARD - Small parts. Not for children under 3 years.
- Always supervise children during assembly and play.
- Keep all small parts away from young children and pets to prevent choking.
- Do not aim the launcher at people or animals.
- Ensure all connections are secure before operating the challenge.
- Recommended for ages 8 and up.
Package Contents
The HEXBUG VEX Robotics Ball Challenge - Bank Shot kit includes over 220 easy-connect snap pieces and 2 balls. A STEM guide is also included to enhance the educational experience.
Refer to the back of the product packaging for a visual representation of included components and their functions.

Back of the product box, illustrating key components and their operational principles.
Setup and Assembly
Follow the included STEM guide for detailed, step-by-step assembly instructions. The kit utilizes snap-in-place connectors for easy construction.
1. Unpacking
Carefully remove all pieces from the packaging. Organize components by type to facilitate assembly.
2. Identifying Components
Familiarize yourself with the various pieces, such as base plates, gears, axles, beams, and specialized modules like the Conveyor Belt, Bank Shot Launcher, and Rail Slide.
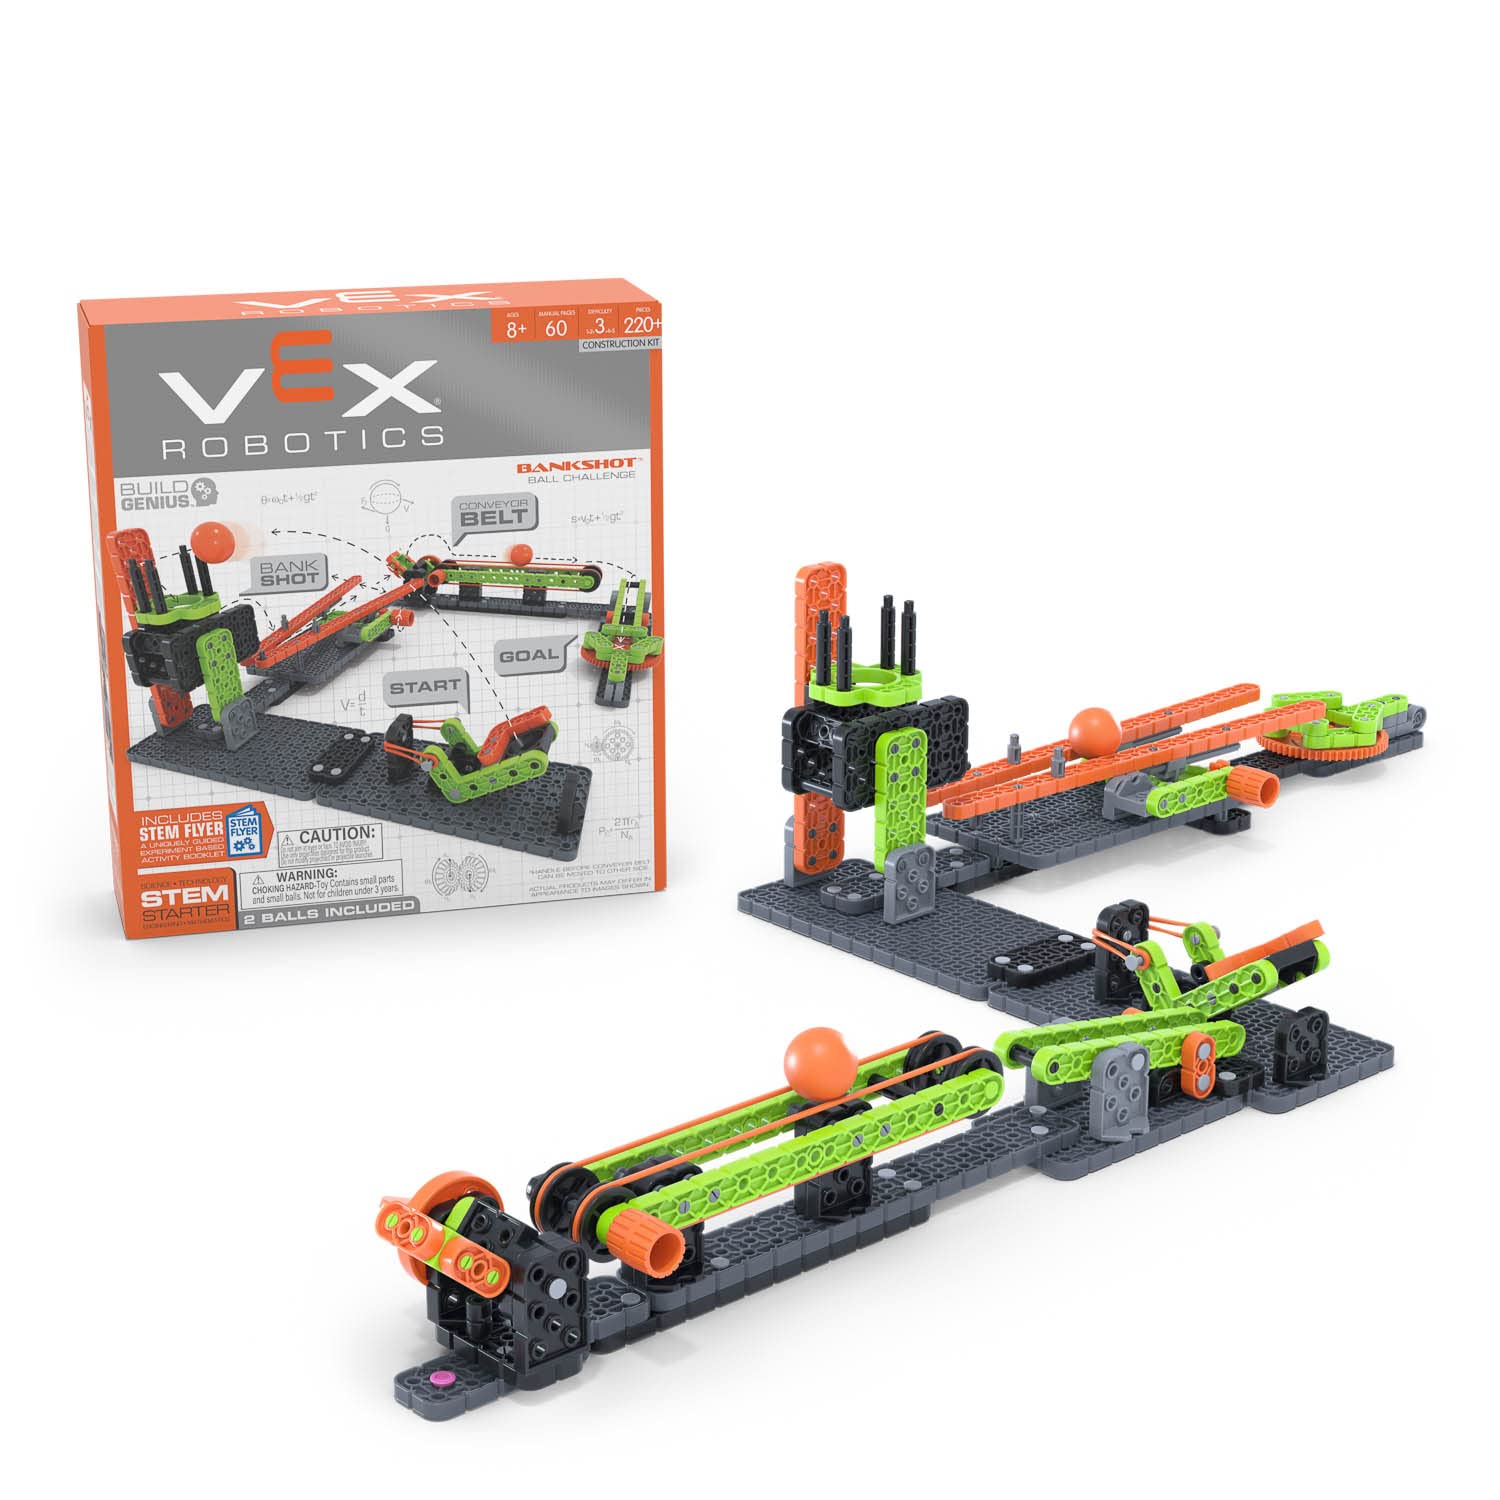
Product box illustrating the assembled challenge and its main features.
3. Connecting Base Plates
Begin by connecting the base plates to form the foundation of your challenge course. Ensure they are securely interlocked.
4. Assembling Modules
Assemble the individual challenge modules according to the STEM guide. This includes:
- Conveyor Belt: Construct the conveyor belt mechanism, ensuring the belt moves freely.
- Bank Shot Launcher: Assemble the launcher, paying attention to the elastic components for proper ball propulsion.
- Rail Slide: Build the rail slide section, ensuring a smooth path for the ball.
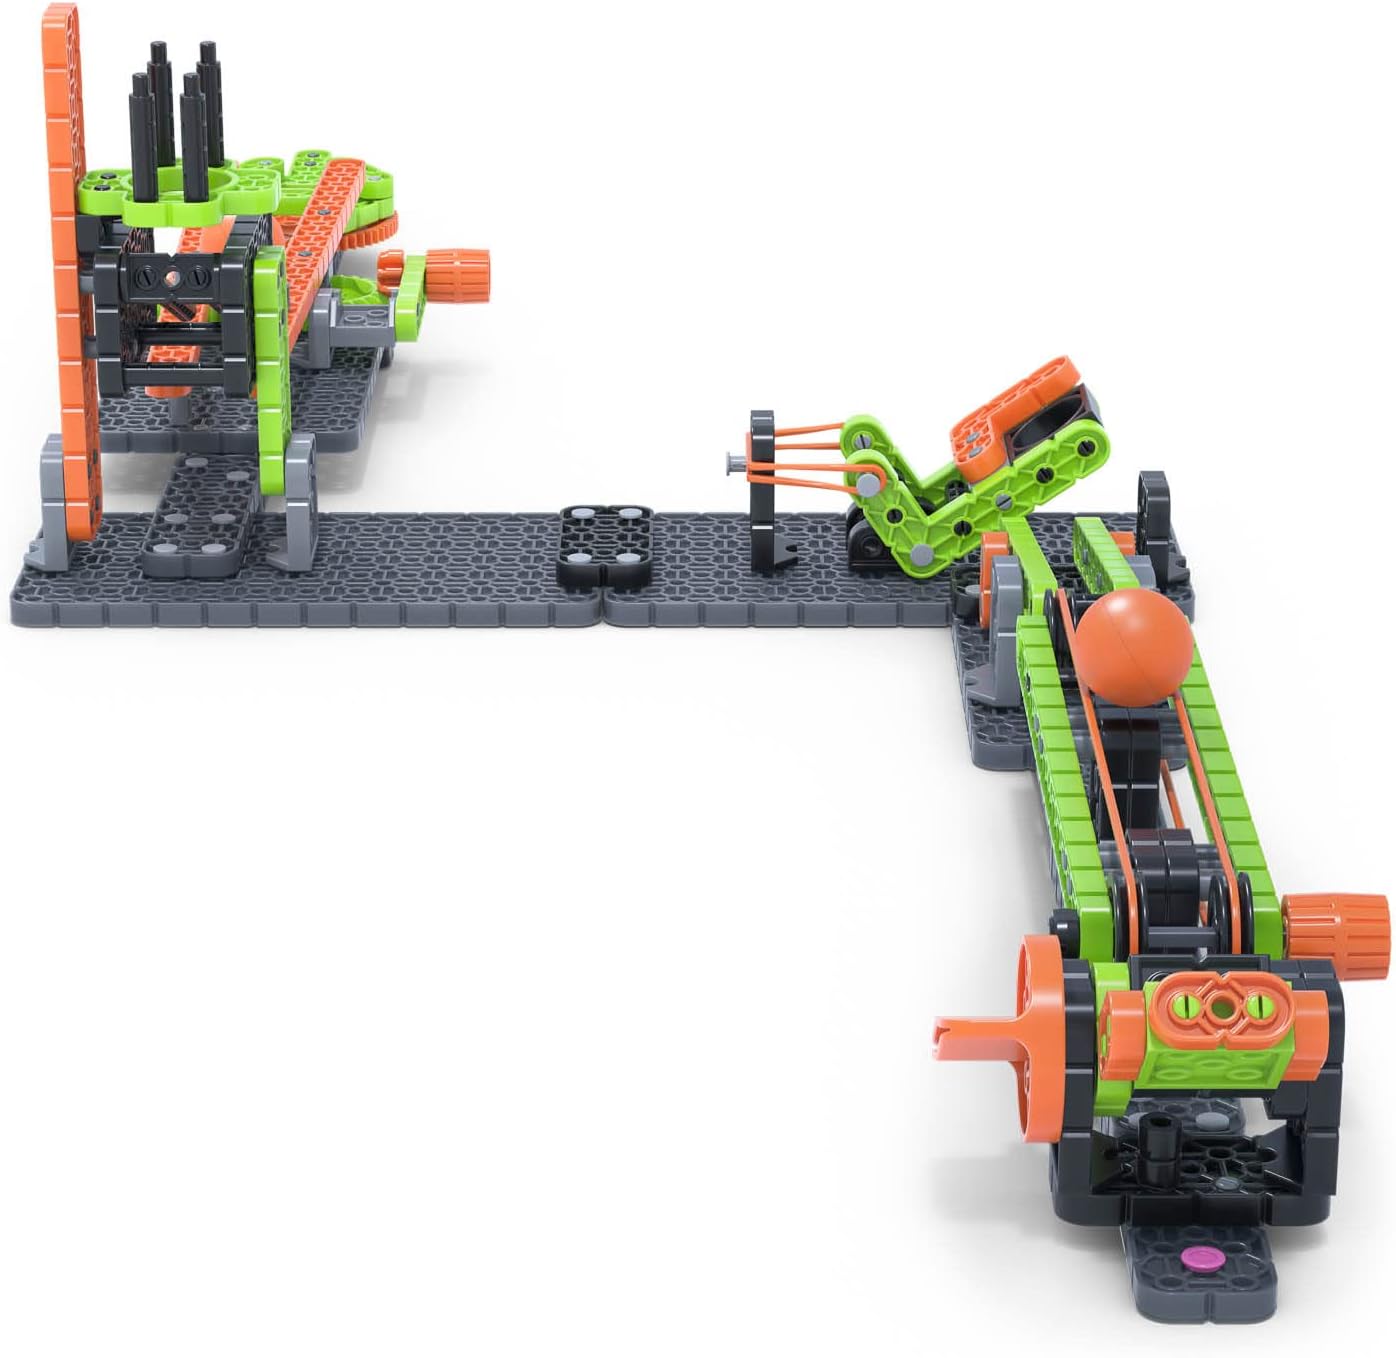
Detailed view of the launcher and conveyor belt sections of the assembled course.
5. Finalizing the Course
Connect all assembled modules to the base plates to complete the challenge course. Verify that all moving parts operate smoothly and that the ball can travel through the entire course without obstruction.

Overhead view of the complete assembled VEX Robotics Bank Shot course.
Operating Instructions
Once the course is fully assembled, you can begin the Ball Challenge.
1. Loading the Ball
Place one of the included balls at the designated starting point of the course, typically near the launcher mechanism.
2. Launching the Ball
Operate the Bank Shot Launcher by pulling back and releasing the mechanism to propel the ball onto the course. Adjust the force as needed to navigate the obstacles.
3. Utilizing Course Elements
- Conveyor Belt: Turn the gear to activate the conveyor belt, moving the ball forward or backward along that section of the course.
- Rail Slide: The ball will roll down the rail slide, potentially triggering gears or other mechanisms.
- Bank Shot: Aim the ball to hit the bank shot target, redirecting its path towards the goal.

The bank shot target and goal area in the assembled course.
Maintenance
To ensure the longevity and optimal performance of your HEXBUG VEX Robotics Ball Challenge - Bank Shot kit, follow these maintenance guidelines:
- Cleaning: Wipe down components with a dry or slightly damp cloth. Do not use harsh chemicals or abrasive cleaners.
- Storage: Store the kit in a cool, dry place away from direct sunlight. Disassemble the course into its main modules for compact storage if desired.
- Inspection: Periodically check all connections and moving parts for wear or damage. Replace any broken pieces if possible.
Troubleshooting
If you encounter issues with your VEX Robotics Ball Challenge kit, consider the following:
- Ball not launching effectively: Ensure the launcher mechanism is fully engaged and released. Check for any obstructions in the ball's path. Verify elastic bands are properly attached and not stretched out.
- Ball getting stuck: Inspect the course for misaligned pieces or loose connections. Ensure all gears and moving parts are free from debris.
- Modules not connecting: Apply firm, even pressure when connecting snap pieces. Ensure the correct pieces are being used as per the STEM guide.
- Missing pieces: Double-check the packaging and assembly area. If pieces are genuinely missing, contact customer support.
Specifications
| Model Number | 406-8308 |
| Brand | HEXBUG |
| Manufacturer | Innovation First Trading SARL |
| Material Type | Plastic |
| Recommended Age | 8+ years (96 months minimum) |
| Number of Pieces | Over 220 |
| Item Dimensions (L x W x H) | 10 x 3 x 11 inches (assembled, approximate) |
| Educational Objective | STEM (Science, Technology, Engineering, Mathematics) |
| Operation Mode | Manual |
| Number of Players | 1 |
Customer Support
For further assistance, missing parts, or warranty inquiries, please visit the official HEXBUG website or contact their customer service department. Refer to the product packaging for specific contact details or visit www.hexbug.com.