1. Introduction and Overview
The Aquacomputer LEAKSHIELD Standalone is a dedicated leakage protection system designed for PC water cooling loops. Its primary function is to actively monitor the water cooling system for leaks and provide immediate alerts. The device creates a vacuum within the cooling loop, ensuring that in the event of a leak, ambient air enters the system instead of coolant escaping. This mechanism helps prevent damage to computer components.
Beyond leak protection, the LEAKSHIELD also facilitates system commissioning by allowing a tightness check before filling and assists with the filling process by monitoring the expansion tank level. A high-precision pressure sensor continuously measures negative pressure, calculates, and displays the leak rate in milliliters per hour (ml/h). Operating states and alarms are visualized through integrated digital RGB LEDs and an OLED display, complemented by an audible alarm buzzer.
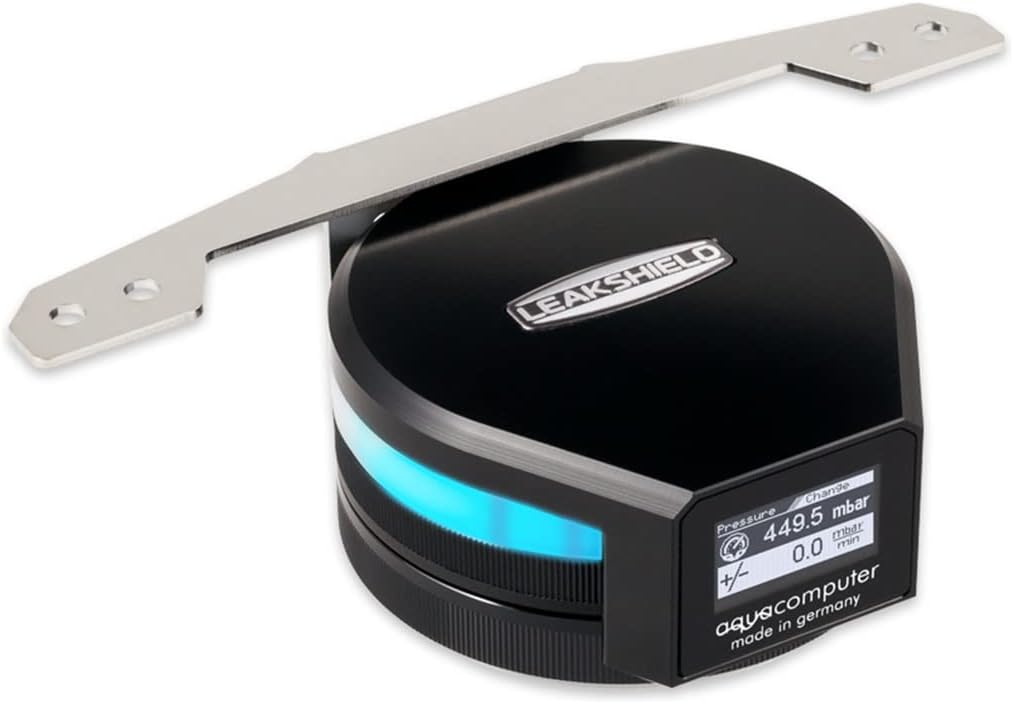
Image 1.1: The Aquacomputer LEAKSHIELD Standalone unit, showing its display and integrated RGB lighting.
2. Package Contents
Please verify that all components listed below are present in your package:
- LEAKSHIELD Standalone Unit
- Stainless Steel Mounting Bracket
- Mounting Material (screws, nuts)
- Internal USB Connection Cable

Image 2.1: Contents of the LEAKSHIELD package, including the device, bracket, and fasteners.
3. Specifications
| Feature | Specification |
|---|---|
| Model Number | 34138 |
| Dimensions (with bracket) | Approx. 140 x 82 x 46 mm (5.51"L x 1.81"W x 3.23"H) |
| Generated Vacuum | Max. -450 mbar |
| Power Connector Type | USB |
| Voltage | 5 Volts |
| Material | Stainless Steel (bracket) |
| Item Weight | 14.9 ounces |
| Compatible Devices | Desktop, Gaming Console, Server |
4. Setup and Installation
The LEAKSHIELD system is designed for integration into your existing water cooling loop. Proper installation is crucial for its effective operation.
4.1 Mounting the LEAKSHIELD Unit
- Attach the stainless steel bracket to the LEAKSHIELD unit using the provided mounting screws.
- Secure the assembled unit within your PC case or to a radiator using the remaining mounting material. Ensure it is in a stable position and allows for easy connection to your cooling loop.

Image 4.1: Bottom view of the LEAKSHIELD with the mounting bracket.
4.2 Connecting to the Water Cooling Loop
- Integrate the LEAKSHIELD into your water cooling loop. The device should be placed in a location that allows it to create and monitor the vacuum effectively.
- Connect the internal USB cable from the LEAKSHIELD to an available USB header on your motherboard. This connection provides power and enables data communication for monitoring and configuration.

Image 4.2: LEAKSHIELD installed and connected to a water cooling radiator.
4.3 Initial System Tightness Check (Before Filling)
Before introducing coolant, the LEAKSHIELD can perform a tightness check. This involves creating a vacuum in the empty loop and monitoring for pressure drops, indicating potential leaks. Refer to the Aquacomputer software for detailed instructions on initiating this test.
4.4 System Filling Assistance
The LEAKSHIELD provides assistance during the filling process. It can be used with a suction line to facilitate easy filling and continuously monitors the level of the expansion tank to prevent overfilling or running dry.
5. Operating Instructions
Once installed and connected, the LEAKSHIELD operates to protect and monitor your water cooling system.
5.1 Continuous Leakage Monitoring
The system continuously measures the negative pressure within the cooling loop. In the event of a leak, the vacuum will draw ambient air into the system, preventing coolant from escaping. The high-precision pressure sensor detects any pressure loss, which is then used to calculate and display the leak rate in ml/h on the OLED screen.
5.2 Display and Visualization
The integrated OLED display provides real-time information, including pressure readings and calculated leak rates. The display is designed to rotate 360 degrees, allowing for flexible orientation and readability regardless of the mounting position.
Digital RGB LEDs are integrated into the unit to visualize operating states. These LEDs can be freely configured via Aquacomputer software to match your computer's aesthetic or to provide visual cues for specific conditions.
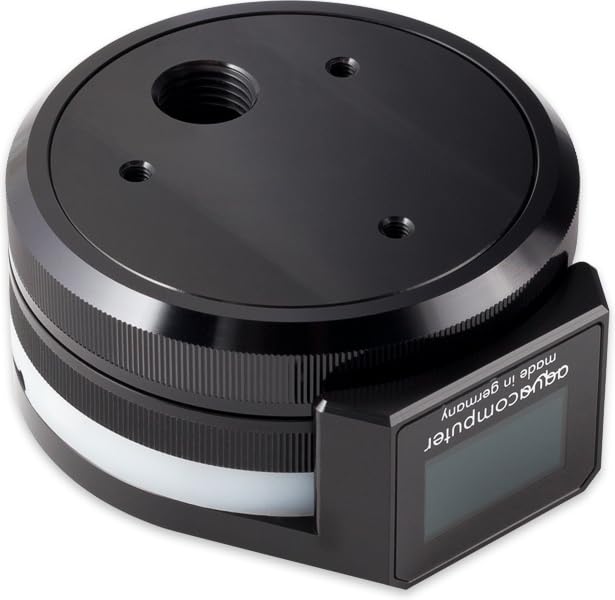
Image 5.1: Top view of the LEAKSHIELD, highlighting the display and circular form factor.
5.3 Alarm Functions
The LEAKSHIELD features configurable alarm thresholds. If these thresholds are exceeded due to a detected pressure loss, an integrated alarm buzzer will activate, providing an audible warning. Concurrently, alarms are displayed on the OLED screen and indicated by the RGB LEDs, ensuring multiple forms of notification.
6. Maintenance
The Aquacomputer LEAKSHIELD Standalone is designed for minimal maintenance. Regular checks should focus on ensuring proper physical connection to the cooling loop and the USB port. Keep the device free from dust and obstructions to ensure optimal sensor performance and display visibility.
No user-serviceable parts are inside the LEAKSHIELD unit. Do not attempt to disassemble the device, as this may void your warranty and cause damage.
7. Troubleshooting
This section provides guidance for common issues you might encounter with your LEAKSHIELD system.
7.1 Alarm Activation
- Issue: The alarm buzzer sounds, and the display/LEDs indicate an alarm.
- Solution: This indicates a detected pressure loss in your cooling loop. Immediately inspect all fittings, tubes, and components for signs of a leak. If no visible leak is found, the system may have a micro-leak. Consult the Aquacomputer software for detailed leak rate analysis and further diagnostic steps.
7.2 Incorrect Pressure Readings or No Display
- Issue: The display shows unusual pressure values, or the display is blank.
- Solution: Ensure the USB connection cable is securely connected to both the LEAKSHIELD and the motherboard. Check your motherboard's USB headers for proper function. If the issue persists, restart your computer. If the problem continues, contact Aquacomputer support.
7.3 Software Not Detecting LEAKSHIELD
- Issue: The Aquacomputer control software does not recognize the LEAKSHIELD device.
- Solution: Verify the USB connection. Try a different USB header on your motherboard. Ensure you have the latest version of the Aquacomputer software installed. Check your operating system's device manager to see if the device is recognized.
8. Warranty and Support
8.1 Warranty Information
The Aquacomputer LEAKSHIELD Standalone (Model 34138) comes with a one-year manufacturer's warranty from the date of purchase. This warranty covers defects in materials and workmanship under normal use. Please retain your proof of purchase for warranty claims.
8.2 Technical Support
For technical assistance, troubleshooting beyond this manual, or warranty inquiries, please visit the official Aquacomputer website or contact their customer support directly. You may find additional resources, FAQs, and software updates on their support pages.
Aquacomputer Official Website: www.aquacomputer.de


