
Dynavin D8-MOPC14
Dynavin Fibre Optic Decoder D8-MOPC14 User Manual
Model: D8-MOPC14
1. Product Overview
The Dynavin D8-MOPC14 Fibre Optic Decoder is an essential adapter designed for Mercedes-Benz vehicles equipped with a factory sound system, specifically those utilizing the MOST (Media Oriented Systems Transport) bus, such as Harman Kardon audio systems. This decoder facilitates the integration of compatible Dynavin head units (e.g., D8-SLK, D8-W211, D8-DF432, D8-MBC, D8-CLK) with the vehicle's existing fibre optic amplifier, allowing for seamless audio control and functionality.

Figure 1: The Dynavin D8-MOPC14 Fibre Optic Decoder. This compact black box is designed to interface with vehicle's fibre optic audio system.
2. Vehicle Compatibility
This MOST adapter is specifically required for Mercedes-Benz vehicles that feature a factory-installed sound system, such as Harman Kardon. It ensures proper audio integration when upgrading to a compatible Dynavin head unit.
Compatible Mercedes-Benz Models:
- A-Class (W169)
- B-Class (T245)
- C-Class (W203, W204)
- CLK (W209, Facelift Model Only)
- CLS Class (Facelift Model)
- E-Class (Facelift Model)
- G-Class
- GL (X164)
- ML (W164)
- R-Class (W251)
- S-Class (W220)
- SL Class (R230)
- SLK (R171 Facelift)
The decoder is compatible with factory sound systems, including Harman Kardon, allowing control over volume, treble, bass, subwoofer, and balance via the Dynavin radio.

Figure 2: Visual representation of compatible OEM radios (e.g., APS NTG2.5, Comand NTG2.5) and the Harman Kardon sound system, indicating the types of factory setups this decoder is designed to integrate with.
3. Installation Guide
The D8-MOPC14 decoder is an accessory for specific Dynavin head units and is installed when the vehicle is equipped with a special factory car radio and a fibre optic amplifier (e.g., Harman Kardon). Professional installation is highly recommended due to the complexity of vehicle electrical and fibre optic systems.
General Installation Steps (Consult a professional installer):
- Preparation: Ensure the vehicle's battery is disconnected before beginning any electrical work.
- Access Vehicle Wiring: Carefully remove the existing factory radio and access the vehicle's wiring harness, including the MOST fibre optic loop.
- Connect Decoder: Integrate the D8-MOPC14 decoder into the vehicle's MOST fibre optic loop and connect it to the Dynavin head unit according to the specific wiring diagram provided with your Dynavin radio. This typically involves connecting the fibre optic cables and power/ground wires.
- Secure Connections: Ensure all connections are secure and properly insulated.
- Test Functionality: Before reassembling the dashboard, reconnect the vehicle battery and test the functionality of the Dynavin head unit and the integrated factory sound system. Verify audio output, volume control, and other settings.
- Reassemble: Once confirmed operational, carefully reassemble the vehicle's dashboard and trim panels.
Refer to the installation manual of your specific Dynavin head unit for detailed wiring diagrams and instructions on integrating the D8-MOPC14 decoder.
4. Operation
Once the D8-MOPC14 decoder is correctly installed, it enables your Dynavin head unit to communicate with and control the factory Harman Kardon (or similar MOST-based) amplifier system. This allows you to manage various audio settings directly from your Dynavin radio's interface.
Key Operational Features:
- Volume Control: Adjust the overall audio volume through the Dynavin head unit.
- Tone Control: Modify treble and bass levels to customize your sound preference.
- Subwoofer Control: If applicable, control the subwoofer output.
- Balance and Fader: Adjust the audio balance between left/right speakers and front/rear speakers.

Figure 3: Example of audio settings (e.g., EQ:Stand.) displayed on the vehicle's instrument cluster, indicating successful integration and control via the Dynavin head unit.
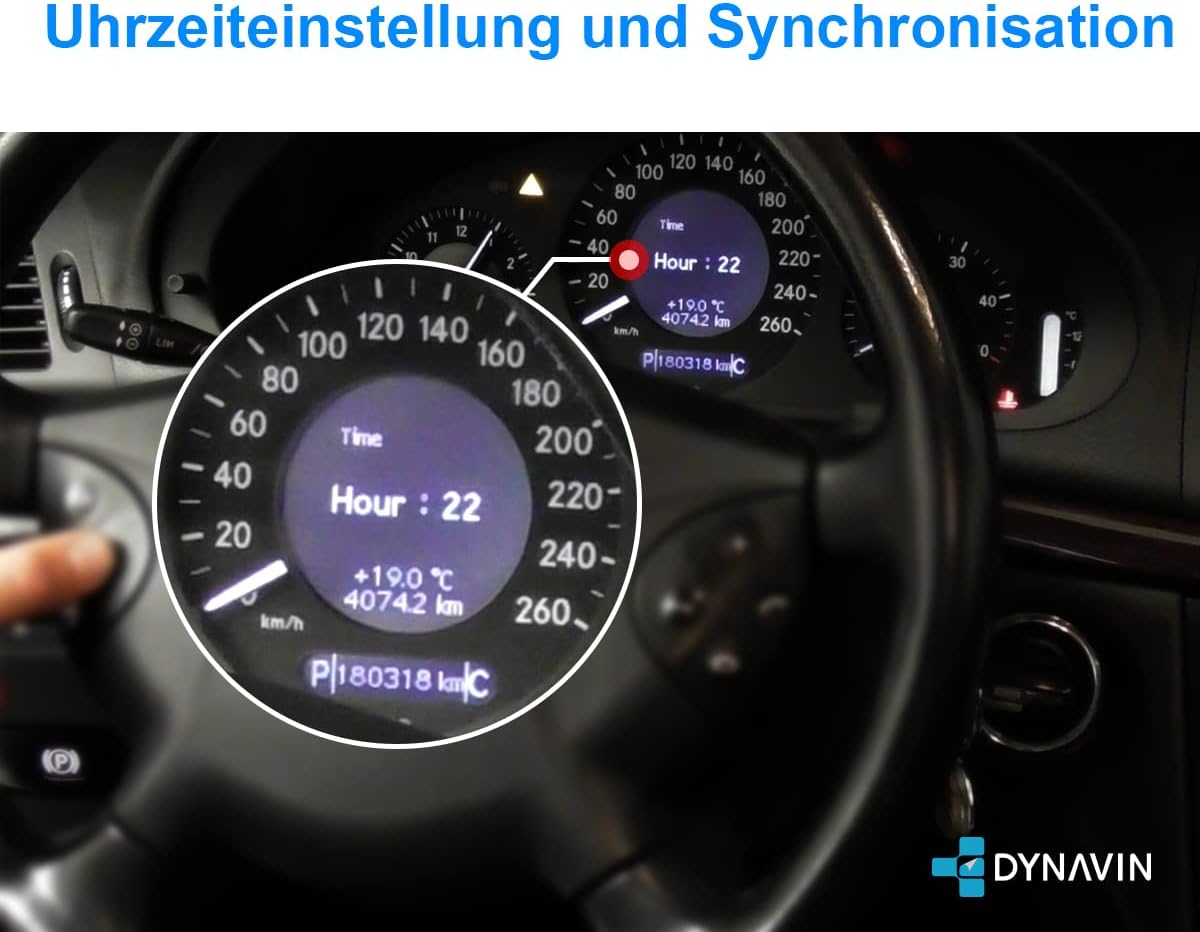
Figure 4: Example of time settings (e.g., Hour: 22) displayed on the vehicle's instrument cluster, which may also be influenced or synchronized by the Dynavin head unit after successful installation.
5. Maintenance
The Dynavin D8-MOPC14 Fibre Optic Decoder is a sealed electronic component and requires no routine user maintenance. To ensure its longevity and proper function:
- Avoid exposing the device to extreme temperatures, moisture, or direct sunlight.
- Ensure all connections remain secure and free from corrosion.
- Do not attempt to open or repair the device yourself, as this will void any warranty and may cause damage.
6. Troubleshooting
If you experience issues after installing the D8-MOPC14 decoder, consider the following common troubleshooting steps:
- No Audio Output:
- Verify all fibre optic connections are correctly seated and not damaged.
- Check power and ground connections to the decoder and the Dynavin head unit.
- Ensure the factory amplifier is receiving power and is functional.
- Confirm the Dynavin head unit's settings are configured to output audio through the MOST adapter.
- Distorted Audio:
- Check for loose or damaged wiring.
- Ensure the audio settings (EQ, balance, fader) on the Dynavin unit are not set to extreme values.
- Intermittent Functionality:
- Inspect all connections for intermittent contact.
- Ensure the vehicle's electrical system is stable.
If problems persist, it is recommended to consult a professional car audio installer or contact Dynavin customer support.
7. Specifications
| Feature | Detail |
|---|---|
| Model Number | D8-MOPC14 |
| Brand | Dynavin |
| Compatibility | Mercedes-Benz vehicles with factory MOST bus amplifier (e.g., Harman Kardon) |
| Mounting Type | Through-Hole Mount (internal component) |
| Package Dimensions | 17.2 x 12.5 x 4.9 cm |
| Item Weight | 80 g |
| Number of Channels | 1 (for signal processing) |
8. Warranty and Support
For warranty information, technical support, or service inquiries regarding your Dynavin D8-MOPC14 Fibre Optic Decoder, please refer to the documentation provided with your Dynavin head unit or visit the official Dynavin website. It is recommended to contact an authorized Dynavin dealer or support channel for assistance with complex issues or repairs.
Always ensure you are using genuine Dynavin products and accessories to maintain compatibility and warranty validity.
Ask a question about this manual
Ask about setup, troubleshooting, compatibility, parts, safety, or missing instructions. Manuals+ will review the question and use this page’s manual context to help answer it.