1. Introduction
Thank you for purchasing the SHARP R670S 2-in-1 Microwave with Grill. This appliance combines the convenience of a microwave oven with the versatility of a grill, offering efficient cooking solutions. To ensure safe and optimal performance, please read this instruction manual thoroughly before operating the appliance and retain it for future reference.
Important Safety Information
Always follow basic safety precautions when using electrical appliances to reduce the risk of fire, electric shock, injury to persons, or exposure to excessive microwave energy. This includes:
- Read all instructions before using the appliance.
- Do not operate the oven if it is damaged or malfunctioning.
- Ensure proper ventilation around the appliance.
- Do not heat liquids or other foods in sealed containers as they are liable to explode.
- Only allow children to use the oven without supervision when adequate instructions have been given so that the child is able to use the oven in a safe way and understands the hazards of improper use.
2. Package Contents
Verify that all components are present and undamaged upon unpacking:
- SHARP R670S Microwave Oven Unit
- Glass Turntable
- Turntable Support Ring with Rollers
- Instruction Manual

Figure 2.1: Glass Turntable. This circular glass tray rotates during operation to ensure even cooking.

Figure 2.2: Turntable Support Ring. This ring with rollers supports the glass turntable and allows it to rotate smoothly.
3. Product Overview
Familiarize yourself with the main components and control panel of your SHARP R670S microwave oven.

Figure 3.1: Front view of the SHARP R670S Microwave with Grill. This image displays the appliance's front, including the door, control panel, and LED display.

Figure 3.2: Angled front view of the SHARP R670S Microwave with Grill. This perspective shows the side profile and front controls, highlighting the compact design.
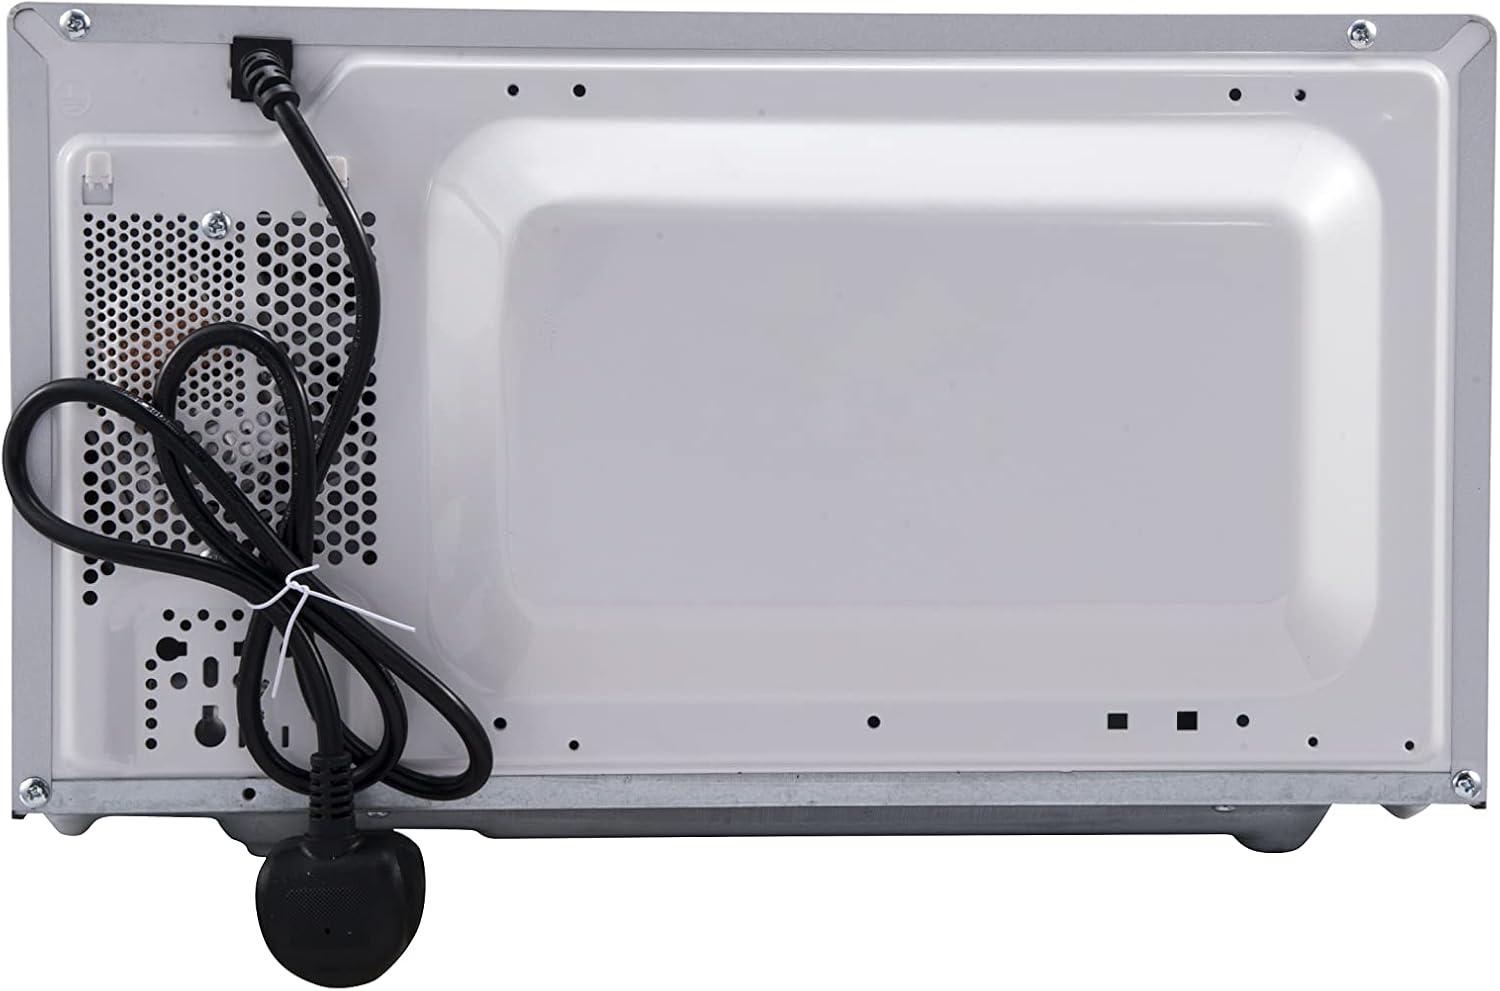
Figure 3.3: Rear view of the SHARP R670S Microwave with Grill. This image shows the back of the appliance, including the power cord and ventilation openings.
Control Panel Overview
The digital control panel features an LED display and various buttons for operation:
- LED Display: Shows time, power level, and program indicators.
- Time Adjustment Buttons (10 min, 1 min, 10 sec): Used to set cooking time.
- Auto Cook: Accesses pre-programmed cooking settings.
- Defrost: Initiates defrosting by time or weight.
- Power Level: Selects microwave power output.
- Grill / Combi: Activates grill or combination cooking modes.
- Start / Auto Minute: Starts cooking or adds 1 minute of cooking time.
- Stop / Clear: Stops cooking or clears settings.
- Kitchen Timer: Functions as a separate kitchen timer.
4. Setup and First Use
4.1 Placement
- Place the oven on a flat, stable surface capable of supporting its weight.
- Ensure adequate ventilation: leave at least 10 cm of space at the back, 20 cm at the top, and 5 cm on each side. Do not block any ventilation openings.
- Keep the oven away from heat sources and strong magnetic fields.
4.2 Turntable Assembly
- Place the turntable support ring in the center of the oven cavity.
- Position the glass turntable securely on top of the support ring, ensuring it sits correctly in the center drive.
4.3 Electrical Connection
Plug the power cord into a grounded 230V, 50Hz electrical outlet. The LED display will illuminate, indicating the oven is ready for use.
5. Operating Instructions
5.1 Basic Microwave Cooking
- Place food in a microwave-safe container on the glass turntable. Close the oven door.
- Press the 'Power Level' button repeatedly to select the desired power level (e.g., P100 for 800W, P80 for 80% power). There are 10 power levels available.
- Use the '10 min', '1 min', and '10 sec' buttons to set the cooking time.
- Press 'Start / Auto Minute' to begin cooking.
5.2 Grill Cooking
- Place food on a heat-resistant rack (if provided, or suitable for grilling) on the turntable. Close the oven door.
- Press the 'Grill / Combi' button once to select the grill function.
- Use the '10 min', '1 min', and '10 sec' buttons to set the grilling time.
- Press 'Start / Auto Minute' to begin grilling.
5.3 Combination Cooking
This mode combines microwave and grill functions for faster cooking and browning.
- Place food in a suitable container. Close the oven door.
- Press the 'Grill / Combi' button repeatedly to select the desired combination mode (e.g., C-1 for Microwave + Grill).
- Set the cooking time using the time adjustment buttons.
- Press 'Start / Auto Minute' to begin combination cooking.
5.4 Auto Cook Programs
The oven features 13 pre-set Auto Cook programs for various food types. These programs automatically adjust cooking time and power levels.
- Press the 'Auto Cook' button. The display will show a program number (e.g., A-1).
- Rotate the dial or press 'Auto Cook' repeatedly to select the desired program (e.g., Popcorn, Pizza, Potato).
- For some programs, you may need to select the food weight or quantity.
- Press 'Start / Auto Minute' to begin the Auto Cook program.
5.5 Defrost Function
The defrost function allows you to defrost food by time or by weight.
- Place the frozen food in the oven. Close the oven door.
- Press the 'Defrost' button.
- Select either time defrost or weight defrost. For weight defrost, enter the weight using the time buttons.
- Press 'Start / Auto Minute' to begin defrosting.
5.6 Child Lock
To prevent unintended operation, activate the child lock:
- To activate: Press and hold the 'Stop / Clear' button for approximately 3 seconds until a lock indicator appears on the display.
- To deactivate: Press and hold the 'Stop / Clear' button again for approximately 3 seconds until the lock indicator disappears.
5.7 Kitchen Timer
The Kitchen Timer operates independently of the cooking functions.
- Press the 'Kitchen Timer' button.
- Set the desired time using the '10 min', '1 min', and '10 sec' buttons.
- Press 'Start / Auto Minute' to start the timer. An audible alert will sound when the time expires.
6. Maintenance and Cleaning
Regular cleaning and maintenance will ensure the longevity and efficient operation of your microwave oven.
6.1 Cleaning the Exterior
Wipe the exterior surfaces with a soft, damp cloth. Do not use abrasive cleaners or harsh chemicals.
6.2 Cleaning the Interior
- After each use, wipe the interior cavity with a damp cloth to remove food splatters.
- For stubborn stains, place a bowl of water with lemon juice inside and microwave on high for 2-3 minutes. The steam will loosen the residue, making it easier to wipe clean.
- Ensure the oven is unplugged before cleaning the interior.
6.3 Cleaning the Turntable and Support Ring
The glass turntable and support ring can be washed in warm, soapy water or in a dishwasher. Ensure they are completely dry before placing them back in the oven.
7. Troubleshooting
If you encounter issues with your microwave oven, refer to the following common problems and solutions:
| Problem | Possible Cause | Solution |
|---|---|---|
| Oven does not start | Power cord unplugged; Door not closed properly; Child lock activated; Fuse blown. | Check power connection; Close door firmly; Deactivate child lock; Check household fuse/circuit breaker. |
| Food not heating | Incorrect power level or cooking time set; Door not closed properly. | Adjust power level and time; Ensure door is securely latched. |
| Turntable not rotating | Turntable or support ring not correctly placed; Obstruction under turntable. | Re-position turntable and ring; Remove any obstructions. |
| Unusual noise during operation | Food container touching oven walls; Turntable not seated correctly. | Ensure container clears walls; Re-seat turntable. |
If the problem persists after attempting these solutions, please contact customer support.
8. Technical Specifications
| Feature | Specification |
|---|---|
| Model Number | R670S |
| Type | 2-in-1 Microwave with Grill |
| Capacity | 20 Liters |
| Microwave Power Output | 800 W |
| Grill Power Output | 1000 W |
| Power Levels | 10 |
| Auto Cook Programs | 13 |
| Max Timer Setting | 99 minutes 99 seconds |
| Turntable Diameter | 24.5 cm |
| External Dimensions (W x D x H) | 45.2 x 36.2 x 26.2 cm |
| Internal Dimensions (W x D x H) | 32.9 x 31.5 x 21.0 cm |
| Net Weight | 12.3 kg |
| Voltage | 230 V |
| Special Features | Digital Control, Defrost, Grill Function, Timer, Turntable, LED Display, Child Lock |
9. Warranty and Customer Support
9.1 Warranty Information
This SHARP R670S microwave oven comes with a manufacturer's warranty. Please refer to the warranty card included with your purchase or contact your retailer for specific terms and conditions regarding warranty coverage and duration.
9.2 Customer Support
For technical assistance, troubleshooting beyond this manual, or spare parts inquiries, please contact your retailer or the official Sharp customer service in your region. Have your model number (R670S) and purchase details ready when contacting support.


