Introduction
This manual provides essential information for the safe and efficient operation, maintenance, and troubleshooting of your WATOOR Countertop 2-in-1 Ice Maker with Water Dispenser. Please read all instructions carefully before use and retain this manual for future reference.

Image: The WATOOR 2-in-1 Ice Maker and Water Dispenser in use, showing both ice production and water dispensing functions.
Important Safety Precautions
- Ensure the appliance is placed on a stable, level surface away from direct sunlight and heat sources.
- Do not immerse the appliance, power cord, or plug in water or other liquids.
- Supervise children when the appliance is in use.
- Use only potable water in the unit.
- Unplug the appliance before cleaning or when not in use for extended periods.
- Do not operate the appliance with a damaged cord or plug.
- Keep ventilation openings clear of obstructions.
What's in the Box
Upon unpacking, please ensure all items listed below are present:
- 1x WATOOR 2-in-1 Ice Maker and Water Dispenser
- 1x Ice Scoop
- 1x User Manual (this document)

Image: The included ice scoop for convenient ice retrieval.
Setup Guide
1. Unpacking and Placement
- Carefully remove the ice maker from its packaging.
- Place the unit upright on a flat, stable, and heat-resistant surface. Ensure there is adequate ventilation around the unit (at least 5 inches of space on all sides).
- Allow the unit to stand upright for at least 2 hours before plugging it in, especially if it was transported horizontally. This allows the refrigerant to settle.
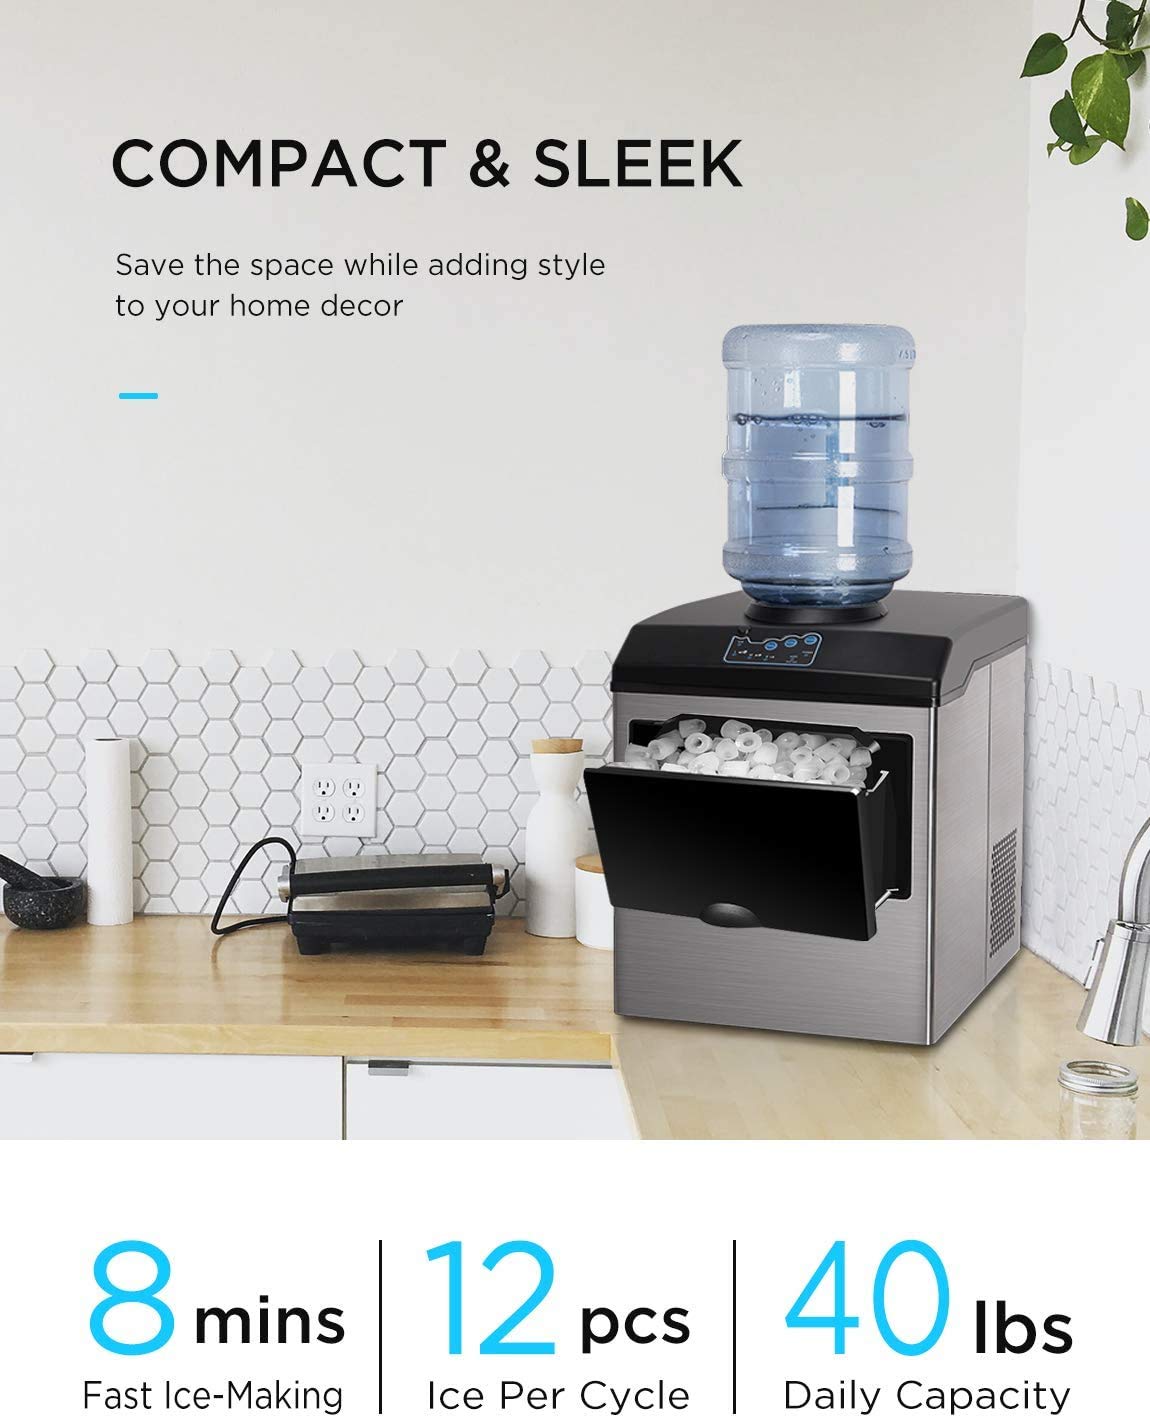
Image: The WATOOR ice maker positioned on a kitchen countertop, demonstrating its compact and sleek design.
2. Water Supply Options
Your WATOOR ice maker offers two methods for water supply:
Option A: Top-Loading Water Bottle (3-5 Gallon)
- Remove the cap from a standard 3 or 5-gallon water bottle (not included).
- Carefully invert the water bottle and place it onto the top-loading receptacle of the ice maker. Ensure it seats tightly to prevent leaks and contamination.
- The unit will automatically draw water as needed.
Option B: Manual Water Addition
- Lift the lid of the ice maker.
- Pour potable water directly into the water reservoir until it reaches the MAX fill line. Do not overfill.

Image: Illustration of the two water input methods: a 5-gallon bottle on top and manual pouring into the reservoir.
3. Initial Cleaning
- Before first use, clean the interior of the unit.
- Wipe the water reservoir and ice basket with a soft cloth dampened with warm water and a mild detergent.
- Rinse thoroughly with clean water.
- Drain any remaining water through the drain plug located at the bottom of the unit.
- Dry all parts thoroughly before use.

Image: The drain plug, used for emptying the water reservoir during cleaning or storage.
Operating Instructions
1. Control Panel Overview

Image: The LED control panel, showing buttons for Power, Water, Select (ice size), and indicator lights for Power, Add Water, Ice Full, and ice cube sizes (S, M, L).
- ON/OFF Button: Powers the unit on or off.
- Water Button: Activates the water dispenser.
- Select Button: Cycles through ice cube sizes (Small, Medium, Large).
- POWER Indicator: Illuminates when the unit is powered on.
- ADD WATER Indicator: Illuminates when the water reservoir needs refilling.
- ICE FULL Indicator: Illuminates when the ice basket is full.
- S/M/L Indicators: Show the currently selected ice cube size.
2. Making Ice
- Ensure the unit is plugged into a grounded electrical outlet.
- Add water using either the top-loading bottle or manual fill method. The "ADD WATER" indicator will turn off once sufficient water is detected.
- Press the ON/OFF button to start the ice-making cycle. The POWER indicator will illuminate.
- Press the Select button repeatedly to choose your desired ice cube size (S, M, or L). The corresponding indicator light will illuminate.
- The unit will begin producing ice. Each cycle takes approximately 8-10 minutes, yielding 12 bullet-shaped ice cubes.
- When the ice basket is full, the "ICE FULL" indicator will light up, and the unit will pause ice production. It will resume automatically once ice is removed.
- If the water level is low, the "ADD WATER" indicator will light up, and the unit will pause. Refill the water reservoir to resume.

Image: Visual representation of the ice maker's dimensions and the three selectable ice cube sizes: Small (20mm/0.8"), Medium (25mm/1"), and Large (28mm/1.1").

Image: A detailed view of the internal components during the ice production cycle, illustrating the formation of bullet ice cubes.
3. Dispensing Water
- Ensure the unit is powered on and has sufficient water.
- Press the black button located near the water spout to push it out.
- Place a glass or container under the water spout.
- Press the Water button on the control panel to dispense cold water.
- Release the button to stop water flow.

Image: A user dispensing cold water from the concealed faucet of the WATOOR 2-in-1 unit.
Maintenance and Cleaning
Regular cleaning and maintenance will ensure the longevity and optimal performance of your ice maker.
1. Daily Cleaning
- Unplug the unit before cleaning.
- Remove the ice basket and wash it with warm, soapy water. Rinse and dry thoroughly.
- Wipe the exterior of the unit with a soft, damp cloth.
2. Deep Cleaning (Weekly/Bi-weekly)
- Unplug the unit and drain all water from the reservoir using the drain plug at the bottom.
- Prepare a cleaning solution of water and a small amount of white vinegar or a food-grade ice maker cleaner.
- Pour the solution into the water reservoir.
- Plug in the unit and run a few ice-making cycles (without consuming the ice) to circulate the cleaning solution.
- Drain the cleaning solution completely.
- Rinse the reservoir thoroughly with clean water, running several cycles with fresh water and draining each time, until no cleaning solution residue remains.
- Wipe down all internal surfaces with a clean, damp cloth.
3. Storage
- If storing the unit for an extended period, perform a deep clean.
- Ensure all water is drained and the interior is completely dry to prevent mold or mildew growth.
- Store the unit in a cool, dry place, away from direct sunlight.
Troubleshooting Guide
Before contacting customer support, please refer to the following common issues and solutions:
| Problem | Possible Cause | Solution |
|---|---|---|
| Unit does not turn on. | No power supply. | Check if the power cord is securely plugged into a working outlet. Ensure the ON/OFF button is pressed. |
| "ADD WATER" indicator is on. | Water reservoir is empty or low. | Refill the water reservoir or replace the top-loading water bottle. |
| "ICE FULL" indicator is on. | Ice basket is full. | Remove ice from the basket. The unit will resume automatically. |
| No ice production or very slow. |
|
|
| Water not dispensing. |
|
|
| Unit is noisy. | Normal operation sounds (compressor, water pump, fan). | Some operational noise is normal. If noise is excessive or unusual, ensure unit is on a level surface and vents are clear. (Refer to "Super Quiet Design" image for fan location). |
| Water leaks from the unit. |
|
|

Image: Rear view of the unit highlighting the ventilation area, crucial for efficient operation and heat dissipation.
Product Specifications
| Feature | Detail |
|---|---|
| Brand | WATOOR |
| Model Name | Watoor Countertop |
| Product Dimensions (D x W x H) | 16.6"D x 14"W x 17.8"H |
| Capacity (Ice Production) | Up to 45 lbs per 24 hours |
| Ice Cube Sizes | Small (S), Medium (M), Large (L) bullet-shaped ice |
| Ice Making Cycle Time | Approximately 8-10 minutes per cycle (12 cubes) |
| Water Dispenser | Yes, with concealed faucet |
| Water Supply Options | Top-loading 3-5 gallon water bottle or manual fill |
| Wattage | 150 watts |
| ASIN | B09N8QRZJ8 |
Warranty and Customer Support
WATOOR products are manufactured to high-quality standards. For specific warranty details, please refer to the warranty card included with your purchase or contact WATOOR customer support directly.
If you encounter any issues not covered in the troubleshooting section, or require further assistance, please contact WATOOR customer support through the retailer's platform or the official WATOOR website.
Manufacturer: WATOOR
For online support, you may visit the product page on Amazon.com.


