1. Introduction
This manual provides detailed instructions for the operation and maintenance of your Coby CVR42BK Portable Cassette Player and Recorder. Please read this manual thoroughly before using the device to ensure proper function and longevity.
2. Package Contents
Verify that all items listed below are present in your package:
- Coby CVR42BK Portable Cassette Player and Recorder
- External Boom Microphone
- 120V AC Adapter
- User Manual (this document)

Figure 2.1: Included items in the Coby CVR42BK package.
3. Product Overview
The Coby CVR42BK is a portable cassette player and recorder designed for both playback and one-touch recording. It features a built-in handle for portability and includes an external boom microphone for enhanced recording quality.

Figure 3.1: Coby CVR42BK Portable Cassette Player and Recorder.
3.1 Controls and Indicators
Familiarize yourself with the controls and ports on your device:
- Play Button: Initiates cassette playback.
- Record Button: Activates recording function (requires a blank cassette).
- Fast Forward Button: Advances the tape quickly.
- Rewind Button: Rewinds the tape quickly.
- Stop/Eject Button: Stops playback/recording and opens the cassette compartment.
- Volume Control: Adjusts playback volume.
- Headphone Jack (3.5mm): For private listening.
- External Microphone Input: Connects the included boom microphone.
- AC Adapter Port: For connecting the 120V AC adapter.
- Battery Compartment: Holds 4 C batteries for portable power.
4. Setup
4.1 Powering the Device
The CVR42BK can be powered by either the included AC adapter or 4 C batteries (not included).
- AC Power: Connect the 120V AC adapter to the AC adapter port on the device and then plug it into a standard wall outlet.
- Battery Power: Open the battery compartment on the underside of the unit. Insert 4 C batteries, ensuring correct polarity (+/-). Close the compartment securely.

Figure 4.1: Power options for the CVR42BK.
4.2 Loading a Cassette Tape
- Press the Stop/Eject button to open the cassette compartment door.
- Insert a cassette tape with the open edge facing upwards and the tape side facing you.
- Gently close the cassette compartment door until it clicks shut.

Figure 4.2: Loading a cassette tape.
5. Operating Instructions
5.1 Playing a Cassette Tape
- Ensure a cassette tape is loaded (refer to Section 4.2).
- Press the Play button. The tape will begin to play.
- Adjust the Volume Control to your desired listening level.
- To fast forward, press the Fast Forward button. To rewind, press the Rewind button.
- To stop playback, press the Stop/Eject button.
- For private listening, connect headphones to the 3.5mm headphone jack.
5.2 Recording Audio (One-Touch Recording)
The CVR42BK features one-touch recording and Automatic Level Control (ALC) to optimize recording levels.
- Load a blank or recordable cassette tape into the device. Note: Re-using older cassettes may affect sound quality. New cassettes are recommended for optimal results.
- Press the Record button. The Play button will also engage simultaneously. The device will begin recording audio from its built-in microphone or the connected external microphone.
- To stop recording, press the Stop/Eject button.
- The device includes an auto-stop feature that will automatically stop recording when the tape reaches its end.
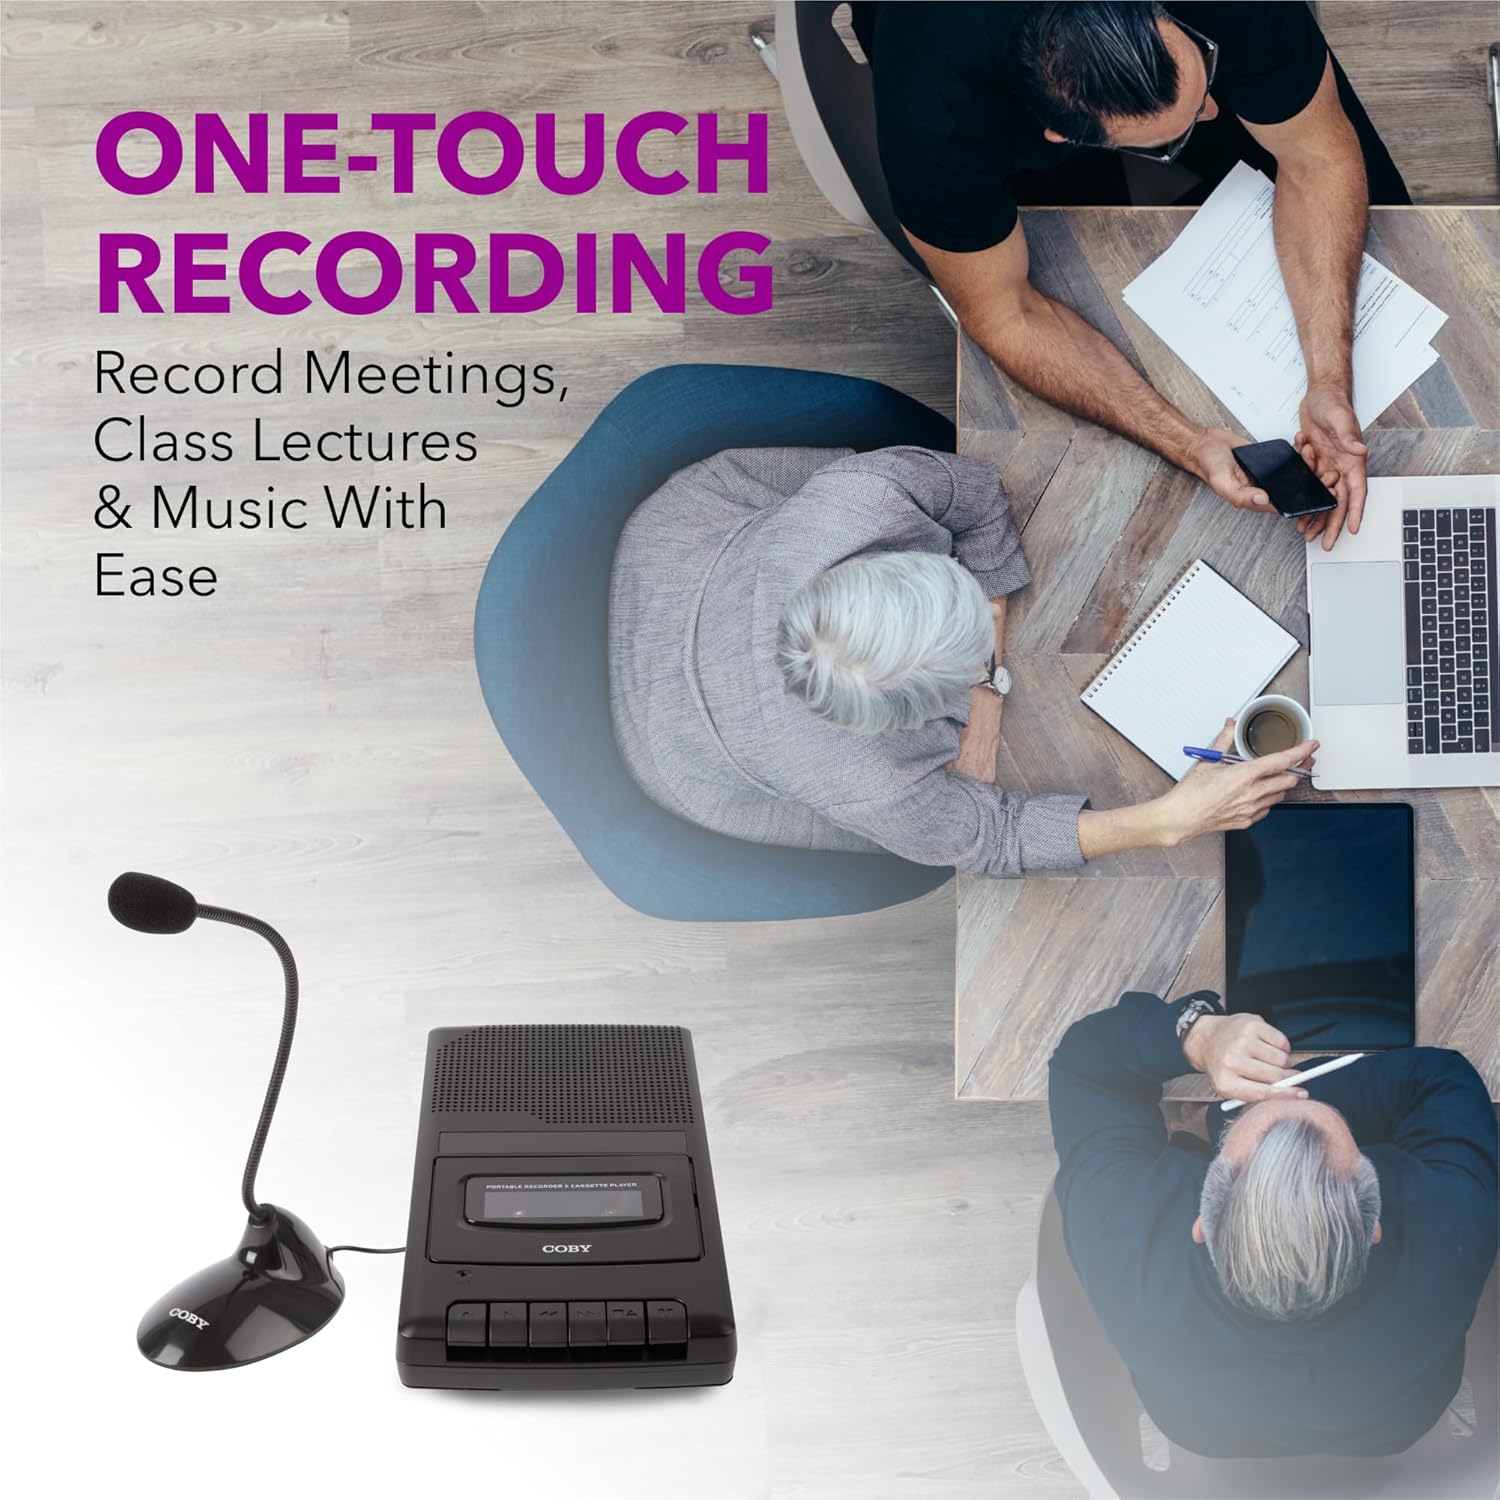
Figure 5.1: Using the CVR42BK for recording.
5.3 Using the External Boom Microphone
For higher quality recordings, especially for lectures or meetings, connect the included external boom microphone.
- Locate the external microphone input port on the CVR42BK.
- Plug the external boom microphone into this port.
- Position the microphone appropriately for the sound source you wish to record.
- Proceed with recording as described in Section 5.2. The device will automatically prioritize the external microphone when connected.

Figure 5.2: External boom microphone in use.
6. Maintenance
- Cleaning: Use a soft, dry cloth to clean the exterior of the unit. Do not use liquid cleaners or solvents.
- Tape Head Cleaning: Periodically clean the tape heads with a specialized cassette head cleaning kit to ensure optimal sound quality and prevent tape damage.
- Storage: When not in use for extended periods, remove batteries to prevent leakage. Store the device in a cool, dry place away from direct sunlight and extreme temperatures.
- Cassette Care: Store cassette tapes in their cases to protect them from dust and physical damage. Avoid exposing tapes to strong magnetic fields.
7. Troubleshooting
| Problem | Possible Cause | Solution |
|---|---|---|
| No power | AC adapter not connected or faulty; batteries depleted or incorrectly inserted. | Check AC adapter connection and power outlet. Replace batteries or ensure correct polarity. |
| No sound during playback | Volume too low; headphones connected; tape head dirty; tape damaged. | Increase volume. Disconnect headphones. Clean tape heads. Try a different tape. |
| Recording not working | Tape is write-protected; tape is full; microphone not connected or faulty. | Ensure the write-protect tab on the cassette is intact. Use a blank tape. Check microphone connection. |
| Poor sound quality | Dirty tape heads; old or damaged cassette tape; external interference. | Clean tape heads. Use a new or known-good cassette tape. Move away from electronic devices. |
| Tape not moving | Tape jammed; mechanism fault. | Gently open compartment and check for tape jams. If problem persists, contact support. |
8. Specifications
| Model Number | CVR42BK |
| Power Source | 120V AC Adapter (included) or 4 x 'C' Batteries (not included) |
| Features | Automatic Level Control (ALC), One-Touch Recording, Fast Forward, Rewind, Volume Control, Auto-Stop |
| Microphone | Built-in microphone, External Boom Microphone (included) |
| Headphone Jack | 3.5mm stereo |
| Product Dimensions (L x W x H) | 10.2 x 5.83 x 1.97 inches (25.9 x 14.8 x 5 cm) |
| Item Weight | 1.75 pounds (0.79 kg) |
| UPC | 810071491450 |
9. Warranty and Support
For warranty information or technical support, please refer to the warranty card included with your product or visit the official Coby website. Keep your purchase receipt as proof of purchase for any warranty claims.
Manufacturer: Summit Electronics LLC


