1. Introduction
This manual provides essential information for the proper installation, operation, and maintenance of your Lewmar Gen 2 Single Boat Thruster Control Pad, Model 589223. Please read these instructions thoroughly before proceeding with installation or use to ensure safe and efficient operation of your marine equipment.
Product Features:
- Ergonomic Control Pad: Designed for comfortable and intuitive tactile feedback during operation.
- Membrane Switch Panel: Sealed to protect against dust and moisture ingress, ensuring durability in marine environments.
- Multi-function LED Indicators: Provides clear visual feedback on system status and thruster activity.
- Dual Voltage Supply: Compatible with both 12V and 24V electrical systems.
- Easy Installation: Features plug-together switch connections and a snap-on bezel to conceal mounting screws, simplifying setup.
2. Installation
Proper installation is crucial for the reliable performance of your thruster control pad. Ensure all connections are secure and sealed against the marine environment.
2.1 Mounting the Control Pad
The Lewmar Gen 2 Control Pad is designed for straightforward installation without requiring rear access. Select a flat, secure surface on your vessel's dashboard or console that is easily accessible to the operator and clear of obstructions.
- Carefully mark the desired mounting location.
- Drill the necessary holes for mounting screws and cable routing as per the provided template (if included with product packaging).
- Secure the control pad using appropriate marine-grade fasteners.
- Attach the snap-on bezel to neatly hide the mounting screws, providing a sleek finish.

Image 2.1: Lewmar Gen 2 Single Boat Thruster Control Pad installed on a boat's dashboard, demonstrating its sleek design and flush mounting.
2.2 Electrical Connections
The control pad operates on a 12-24V DC power supply. Ensure the vessel's electrical system matches this requirement. Use marine-grade wiring and connectors for all electrical connections to prevent corrosion and ensure reliability.
- Connect the power supply wires to the designated terminals on the control pad, observing correct polarity.
- Utilize the easy, plug-together switch connections for interfacing with the thruster motor and other system components.
- Ensure all connections are waterproofed and secured to prevent accidental disconnection or short circuits.

Image 2.2: Diagram highlighting key features of the Lewmar Gen 2 Single Boat Thruster Control Pad, including its 12-24V dual voltage supply and membrane switch panel.
3. Operation
The Lewmar Gen 2 Single Boat Thruster Control Pad provides intuitive control over your vessel's thruster for enhanced maneuverability.
3.1 Basic Thruster Control
- Activation: Press the designated power button or activate the thruster system via your vessel's main control panel. The multi-function LED indicators on the control pad will illuminate to confirm power.
- Directional Control: Use the ergonomic control pad to direct the thruster. Pushing the pad in the desired direction (e.g., left or right) will activate the thruster accordingly. The tactile feedback ensures precise control.
- LED Indicators: Observe the LED indicators for real-time feedback on thruster status, such as activation, direction, and any system warnings.
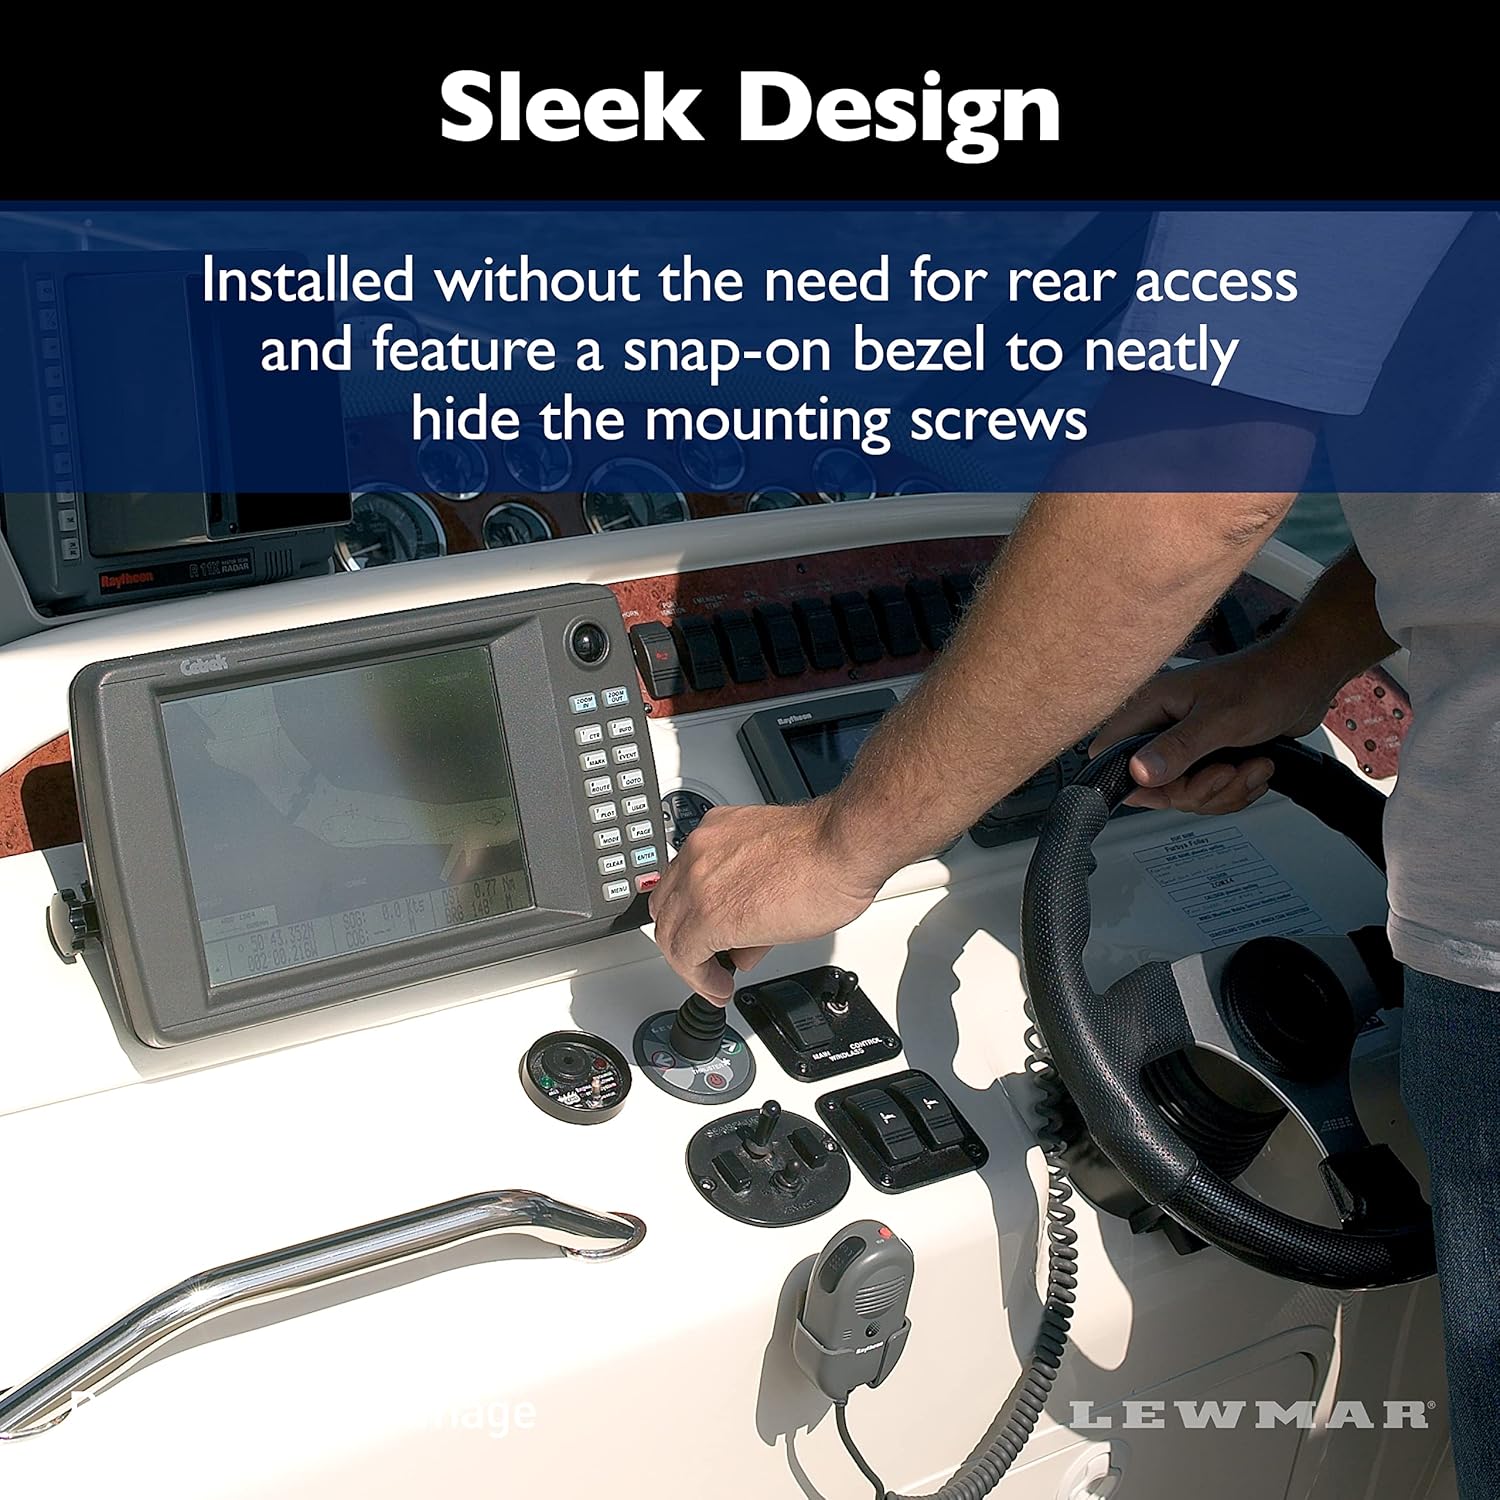
Image 3.1: A boat demonstrating the use of a thruster for precise maneuvering, highlighting the versatility provided by the control system.
3.2 Safety Precautions
- Always ensure the area around the thruster is clear before activation.
- Avoid prolonged continuous use of the thruster to prevent overheating. Refer to your thruster motor's specific duty cycle recommendations.
- In case of unexpected behavior, immediately deactivate the thruster system.
4. Maintenance
Regular maintenance ensures the longevity and reliable performance of your Lewmar Gen 2 Single Boat Thruster Control Pad.
4.1 Cleaning
- Clean the control pad surface periodically with a soft, damp cloth.
- Avoid using abrasive cleaners, solvents, or harsh chemicals, as these can damage the membrane switch panel and surface finish.
4.2 Inspection
- Regularly inspect the control pad for any signs of physical damage, such as cracks or loose components.
- Check all visible wiring and connections for corrosion or wear. Ensure they remain secure and properly sealed.
- Verify that the LED indicators illuminate correctly during operation.
5. Troubleshooting
This section provides solutions to common issues you might encounter with your thruster control pad. For problems not listed here, please contact Lewmar customer support.
| Problem | Possible Cause | Solution |
|---|---|---|
| Control pad has no power / LEDs do not illuminate. | No power supply; Blown fuse; Loose wiring connection. | Check vessel's main power supply; Inspect and replace fuse if necessary; Verify all electrical connections are secure. |
| Thruster does not respond to control pad input. | Faulty connection to thruster motor; Thruster motor fault; Control pad malfunction. | Check wiring between control pad and thruster motor; Consult thruster motor manual for diagnostics; Contact Lewmar support if control pad is suspected faulty. |
| LED indicators show an error. | System fault; Overheating; Low voltage. | Refer to your thruster system manual for specific error codes; Allow thruster to cool down; Check battery voltage. |
6. Specifications
| Attribute | Detail |
|---|---|
| Brand | Lewmar |
| Model Number | 589223 |
| Item Weight | 6 ounces |
| Package Dimensions | 9.49 x 6.93 x 2.87 inches |
| Voltage Compatibility | 12-24V DC |
| Control Type | Ergonomic Tactile Pad, Membrane Switch |
| Indicators | Multi-function LED |
7. Warranty and Support
For detailed warranty information, please refer to the documentation provided with your purchase or visit the official Lewmar website. If you require technical assistance, spare parts, or have questions regarding your Lewmar Gen 2 Single Boat Thruster Control Pad, please contact Lewmar customer support directly.
Lewmar Contact Information:
- Visit the Lewmar Store on Amazon for product information.
- Refer to the official Lewmar website for comprehensive support resources.


