Introduction
The Milly Mally Optimus is a versatile 3-in-1 ride-on designed to grow with your child, offering three distinct modes: a pedal-free tricycle, a balance bike, and a tricycle with pedals. This product is suitable for children aged 12 months and up, supporting their development of motor skills, leg strength, and overall coordination. Its stable construction and high-quality materials ensure a safe and comfortable experience, preparing your child for riding a traditional bicycle.
Safety Information
- Adult Supervision Required: Always ensure an adult supervises the child during use.
- Weight Limit: Do not exceed the maximum load capacity of 25 kg (approximately 55 lbs).
- Protective Gear: Always ensure the child wears appropriate safety gear, including a helmet, knee pads, and elbow pads.
- Steering Limiter: The integrated steering angle limiter helps prevent sharp turns and reduces the risk of falling.
- Surface Use: Use on flat, even surfaces away from traffic, stairs, and steep inclines.
- Regular Checks: Before each use, check that all parts are securely fastened and that there are no damaged components.
Setup and Assembly
The Milly Mally Optimus requires assembly. Please follow these general guidelines. For detailed visual instructions, refer to the diagrams provided in your product packaging.
- Unpack Components: Carefully remove all parts from the packaging and verify against the parts list (not provided in this manual, refer to product box).
- Handlebar Assembly: Attach the handlebar to the front fork. Ensure it is securely tightened. The handlebar features an adjustable height and steering angle limiter.
- Seat Adjustment: Adjust the seat height to ensure the child can comfortably reach the ground with their feet in balance bike mode. The seat height is adjustable from 27.5 cm to 32.5 cm.
- Wheel Configuration: Depending on the desired mode (tricycle or balance bike), configure the rear wheels as described in the 'Operating Instructions' section.
- Pedal Attachment: If using the tricycle with pedals mode, attach the pedals to the front wheel.

Image: Product dimensions and adjustable features. The seat height can be adjusted from 27.5 cm to 32.5 cm. The overall length is 58 cm, width 45 cm, and height 47.5 cm.

Image: Illustration of the adjustable seat height mechanism. The seat can be moved up or down to suit the child's leg length.
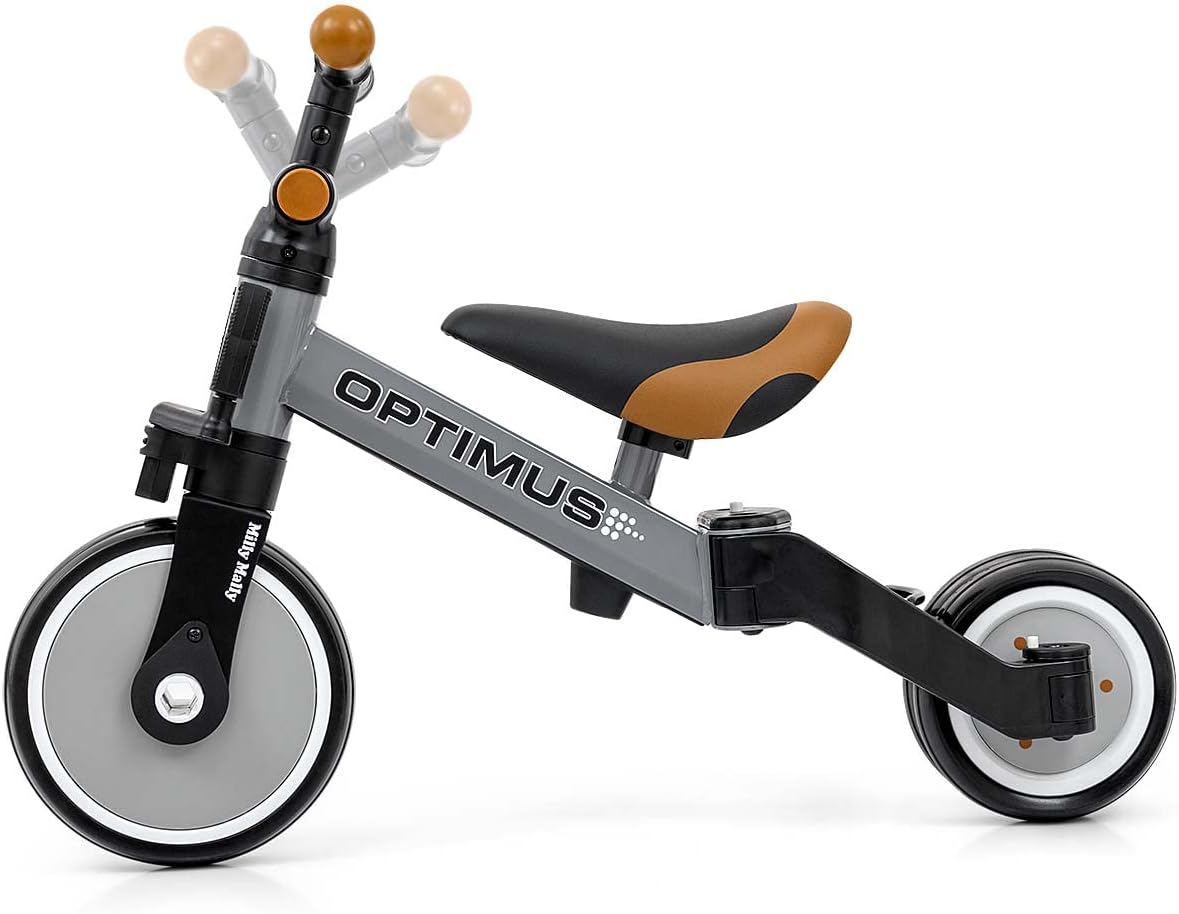
Image: Illustration of the adjustable handlebar steering. The handlebar can be adjusted for optimal comfort and control.
Operating Instructions: 3 Stages of Optimus
The Milly Mally Optimus transforms to adapt to your child's growing skills and confidence.
Stage 1: Pedal-Free Tricycle
This is the ideal starting point for young children to begin their adventure with a ride-on. The stable three-wheel design provides maximum support, allowing children to push off with their feet and learn basic steering.
- Ensure the rear wheels are in the wide tricycle configuration.
- Remove the pedals from the front wheel (if attached).
- Allow the child to sit comfortably and push off the ground with their feet.

Image: The Milly Mally Optimus configured as a pedal-free tricycle, providing stability for beginners.
Stage 2: Balance Bike
Once your child has developed better balance and coordination, convert the tricycle into a balance bike. This mode helps children master balancing skills before transitioning to pedals.
- Convert Rear Wheels: Adjust the rear wheel mechanism to bring the two rear wheels together, forming a single wheel. (Specific conversion steps are typically detailed in the product's assembly guide).
- Ensure the pedals are removed from the front wheel.
- Adjust the seat height so the child can comfortably place their feet flat on the ground.
- Encourage the child to glide by pushing off with their feet, lifting them, and balancing.

Image: The Milly Mally Optimus in balance bike mode, with the rear wheels converted to a single unit.
Stage 3: Tricycle with Pedals
When your child is ready to pedal, transform the balance bike back into a tricycle and attach the pedals. This stage introduces pedaling mechanics while maintaining the stability of three wheels.
- Convert Rear Wheels: Adjust the rear wheel mechanism to separate the two rear wheels into the wide tricycle configuration.
- Attach Pedals: Securely attach the pedals to the front wheel.
- Ensure the child can comfortably reach the pedals and steer.

Image: The Milly Mally Optimus configured as a tricycle with pedals, ready for pedaling practice.
Maintenance
- Cleaning: Wipe down the frame and wheels with a damp cloth and mild soap. Avoid harsh chemicals.
- Wheel Care: The foam wheels are designed for durability and comfort. Check them periodically for wear or damage.
- Fasteners: Regularly check all screws, bolts, and other fasteners to ensure they are tight and secure. Tighten if necessary.
- Storage: Store the product in a dry place, away from direct sunlight and extreme temperatures, to prolong its lifespan. Its compact design facilitates easy storage.
Troubleshooting
- Difficulty Steering: Check if the handlebar is securely attached and if the steering limiter is functioning correctly. Ensure no debris is obstructing the steering mechanism.
- Unstable Ride: Verify that all wheels are properly installed and secured. For tricycle mode, ensure the rear wheels are correctly spaced.
- Pedals Not Turning: If in tricycle with pedals mode, ensure the pedals are correctly attached to the front wheel and that there are no obstructions.
- Loose Parts: If any parts feel loose, refer to the assembly instructions and tighten all fasteners. Do not use the product if any part is broken or missing.
Specifications
| Feature | Detail |
|---|---|
| Brand | Milly Mally |
| Model Number | 3968 |
| Product Dimensions (L x W x H) | 58 x 45 x 47.5 cm (22.8 x 17.7 x 18.7 inches) |
| Item Weight | 3.1 Kilograms (6.8 lbs) |
| Maximum Supported Weight | 25 Kilograms (55 lbs) |
| Manufacturer Recommended Age | 12 months to 3 years |
| Main Material | Plastic |
| Color | Grey |
| Assembly Required | Yes |
| Battery(ies) / Cell(s) Required | No |
| Educational Value(s) | Develops motor skills, leg muscles, and general coordination |
Warranty and Support
For warranty information or product support, please refer to the documentation included with your purchase or contact the retailer where the product was acquired. Information regarding the availability of spare parts is currently unavailable through standard product specifications. For any issues or inquiries, please reach out to Milly Mally customer service or your point of purchase.


