
DOESLAG SL08
DOESLAG Solar Fence Lights Outdoor SL08 Instruction Manual
Model: SL08
Introduction
This manual provides detailed instructions for the installation, operation, and maintenance of your DOESLAG Solar Fence Lights Outdoor. Please read this manual thoroughly before use to ensure proper function and longevity of your product.
Package Contents
- 8x Solar Fence Lights
- Screw Set
- User Manual
- Batteries (included)
- Bulbs (included)
Specifications
| Feature | Detail |
|---|---|
| Brand | DOESLAG |
| Model Name | Solar Fence Lights Outdoor |
| Item Model Number | SL08 |
| Color | Black |
| Material | Acrylonitrile Butadiene Styrene, Plastic |
| Product Dimensions | 3.6"L x 2.4"W x 5.1"H |
| Power Source | Solar Powered |
| Light Source Type | LED |
| Light Color | Warm White (3000 Kelvin) |
| Water Resistance Level | Waterproof (IP65) |
| Special Features | Dusk to Dawn, Cordless, Easy Installation |
| Voltage | 3.7 Volts |
| Wattage | 5 watts |
Features
- Warm Lighting: Provides warm ambient lighting suitable for fences, decks, steps, and backyard areas. Features a U.S. Patent Certified design.
- Automatic Operation: Equipped with a light sensor for automatic dusk-to-dawn functionality, eliminating manual operation. Operates on energy gathered from sunlight, providing illumination after full charging.
- Energy Efficient: Utilizes advanced solar panel technology to convert sunlight into energy, which is stored in internal batteries. This provides an energy-efficient lighting solution.
- Easy Installation: Designed for simple, wireless installation using screws or adhesive tapes on various outdoor surfaces. Dimensions: 5.1x3.6x2.4 inches. Each light operates independently, simplifying setup. Distance between mounting holes: 2.8 inches.
- All-Weather Resistant: Constructed from durable ABS material with an IP65 waterproof rating, ensuring reliable performance in diverse weather conditions including snow, rain, and extreme temperatures.
Setup and Installation
Follow these steps for optimal placement and installation of your solar fence lights.
1. Unboxing and Initial Charge
Upon receiving your solar lights, ensure all components listed in the "Package Contents" section are present. Before the first use, place the lights in direct sunlight for at least 6-8 hours to allow the internal batteries to fully charge. This initial charge is crucial for optimal performance.

Image: The DOESLAG Solar Fence Lights in an 8-pack, with an example of them illuminating a wooden fence at night.
2. Choosing a Location
Select an outdoor location where the solar panel on top of the light can receive direct sunlight for the majority of the day (at least 6 hours). Avoid shaded areas, as this will reduce charging efficiency and shorten illumination time.
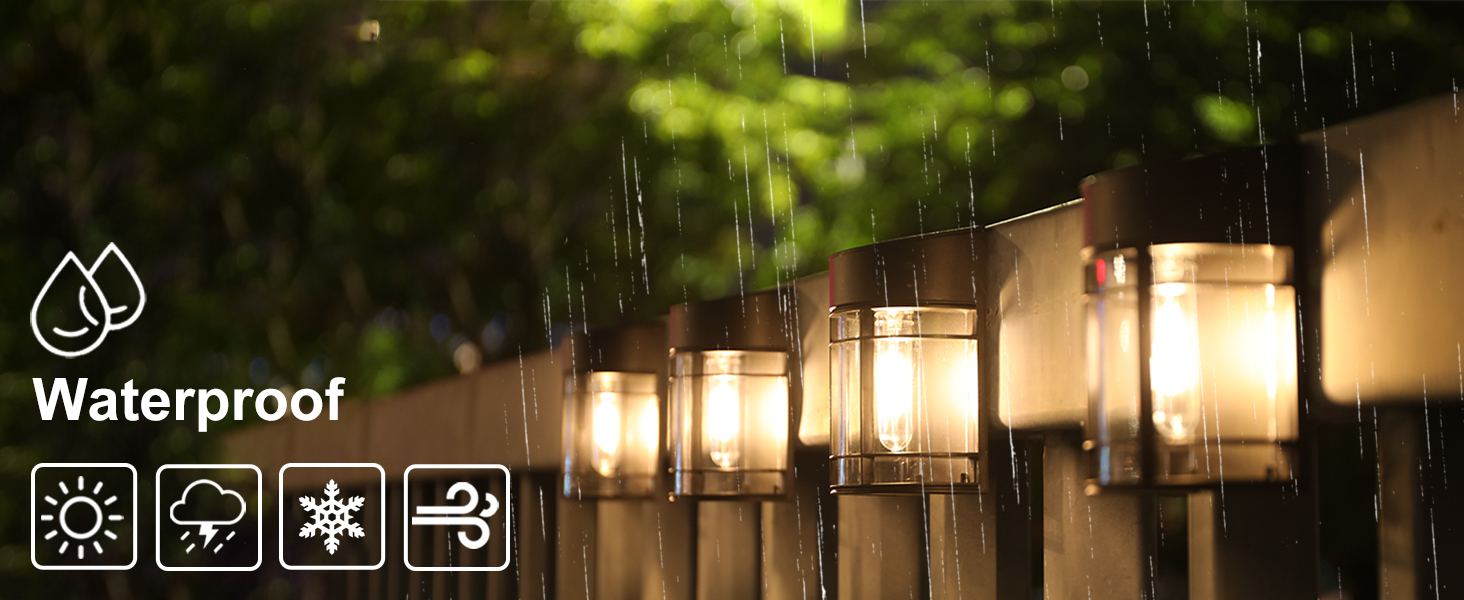
Image: Illustration showing solar lights charging during the day and automatically turning on at night, highlighting the "AUTO ON" feature.
3. Installation Methods
The lights can be installed using screws or double-sided adhesive tape (not included for tape method). A screw hole positioning ruler is provided for accurate placement.
- Method 1: With Screws
- Open the light cover to access the internal components.
- Locate the ON/OFF switch and ensure it is in the "ON" position.
- Close the cover securely.
- Use the provided screw hole positioning ruler to mark the desired screw locations on your fence, deck post, or wall.
- Drill pilot holes at the marked positions.
- Insert the screws, leaving a small gap for the light to hang.
- Hang the solar light onto the screws, ensuring it is stable.
- Method 2: With Double-Sided Tape (Not Included)
- Ensure the light is switched "ON" and the cover is closed.
- Clean the surface where the light will be mounted to ensure good adhesion.
- Apply strong outdoor-grade double-sided adhesive tape to the back of the solar light.
- Press the light firmly onto the desired surface for several seconds.

Image: Visual guide for installation, detailing opening the cover, turning on the light, closing the cover, and hanging it. Also shows using a screw hole positioning ruler for screw installation and applying double-sided tape.
Video: A demonstration of installing the solar fence lights on a wooden fence using the provided screw hole positioning ruler. The video shows marking the holes, drilling, and attaching the light.
Operating Instructions
The DOESLAG Solar Fence Lights are designed for simple, automatic operation.
- Power On: Before installation, ensure the ON/OFF switch located inside the light casing is set to the "ON" position.
- Automatic Charging: During daylight hours, the integrated solar panel will absorb sunlight and convert it into electrical energy, which is stored in the internal battery.
- Automatic Illumination: As dusk approaches and ambient light levels decrease, the light sensor will automatically activate the LED bulb, providing illumination.
- Automatic Shut-off: At dawn, as ambient light levels increase, the light sensor will automatically turn off the LED bulb and resume charging.
Video: A demonstration of the solar lights automatically turning on at dusk, illuminating a porch railing. The video transitions from daytime to nighttime view.
Maintenance
Regular maintenance ensures optimal performance and extends the lifespan of your solar lights.
- Clean Solar Panel: Periodically wipe the solar panel with a soft, damp cloth to remove dust, dirt, or debris. A clean panel ensures maximum sunlight absorption.
- Clear Obstructions: Ensure no trees, bushes, or other objects are shading the solar panel, especially during peak sunlight hours.
- Battery Replacement: The included batteries are rechargeable. If the light duration significantly decreases over time, the batteries may need replacement. Refer to the specifications for battery type (3.7V).
- Winter Care: In areas with heavy snow, clear snow from the solar panels to allow for charging. If storing the lights during winter, ensure they are fully charged and the switch is set to "OFF".

Image: Solar lights on a stone wall with rain, illustrating the product's waterproof feature.
Troubleshooting
| Problem | Possible Cause | Solution |
|---|---|---|
| Light does not turn on at night. |
|
|
| Light duration is short. |
|
|
| Light flickers or is dim. |
|
|
Warranty and Support
For warranty information or technical support, please refer to the contact details provided with your purchase documentation or visit the official DOESLAG website.
Manufacturer: DOESLAG
Ask a question about this manual
Ask about setup, troubleshooting, compatibility, parts, safety, or missing instructions. Manuals+ will review the question and use this page’s manual context to help answer it.