
1. Introduction
The NEXPOW G17 2000A Peak Battery Jump Starter is a versatile and powerful device designed to jump-start 12V vehicles with up to 7.0L gas or 6.5L diesel engines. It also functions as a portable power bank and an LED flashlight. This manual provides essential information for safe and effective use of your jump starter.

Image: The NEXPOW G17 Jump Starter, showcasing its compact design and included jumper cables, ready for use with various vehicles.
2. Package Contents
Please check the package for the following items:
- Portable Lithium Car Battery Jump Starter (x1)
- Smart Jump Cable (x1)
- USB Type-C Charging Cable (x1)
- 15W Adaptor (x1)
- User Manual (x1)
- Delicate Carrying Case (x1)

Image: All components included in the NEXPOW G17 Jump Starter package, neatly arranged.
3. Product Components
Familiarize yourself with the different parts of your NEXPOW G17 Jump Starter:

Image: Detailed view of the NEXPOW G17 Jump Starter highlighting its various ports and controls.
- Power Button: Activates the device and cycles through LED light modes.
- Power Indicator Lights: Show the remaining battery charge.
- Jump Start Output: Port for connecting the smart jump cables.
- USB Outputs (5V/3A, 5V/2.1A): For charging electronic devices.
- DC Output: For powering 12V accessories.
- Type-C Input/Output (5V/3A, 9V/2A, 12V/1.5A): For charging the jump starter or other devices.
- LED Light: Functions as a flashlight, strobe, and SOS signal.
4. Setup
4.1 Charging the Jump Starter
Before initial use, fully charge the NEXPOW G17 Jump Starter. It is recommended to recharge the unit every 3-6 months to maintain optimal battery health.
- Connect the USB Type-C Charging Cable to the Type-C Input/Output port on the jump starter.
- Connect the other end of the USB Type-C cable to the provided 15W Adaptor.
- Plug the adaptor into a standard wall outlet.
- The power indicator lights will illuminate and flash during charging. All lights will be solid when fully charged.
5. Operating Instructions
5.1 Jump Starting a Vehicle
Ensure the jump starter has at least 50% charge before attempting to jump start a vehicle.
- Insert the smart jump cable into the Jump Start Output port on the jump starter. Ensure a secure connection.
- Connect the red (+) clamp to the positive (+) terminal of the vehicle's battery.
- Connect the black (-) clamp to the negative (-) terminal of the vehicle's battery.
- Check the indicator on the smart jump cable. If it shows a solid green light, it's safe to proceed. If it shows a red light or buzzes, check the connections for correct polarity.
- Start your vehicle's engine.
- Once the engine starts, immediately remove the smart jump cable from the vehicle battery terminals, then disconnect it from the jump starter.

Image: Step-by-step guide for jump starting a vehicle.
Video: A demonstration of how to properly jump start a vehicle using the NEXPOW G17 Jump Starter.
5.2 Charging USB Devices
The NEXPOW G17 can charge various electronic devices via its USB output ports.
- Connect your device's USB charging cable to one of the USB Output ports (5V/3A or 5V/2.1A) or the Type-C Input/Output port on the jump starter.
- The jump starter will automatically begin charging your device.
- Disconnect your device once charging is complete.

Image: The NEXPOW G17 Jump Starter functioning as a power bank, charging multiple USB devices simultaneously.
5.3 Using the LED Flashlight
The integrated LED flashlight offers three modes for different situations.
- Press and hold the Power Button for 3 seconds to turn on the flashlight (steady light mode).
- Press the Power Button once more to switch to Strobe mode.
- Press the Power Button again to switch to SOS mode.
- Press the Power Button one more time to turn off the LED light.

Image: The multi-functional LED flashlight of the NEXPOW G17, illustrating its various lighting modes and applications.
6. Safety Features and Precautions
The NEXPOW G17 Jump Starter is equipped with multiple safety protections. Always follow these precautions for safe operation:
- Spark Proof: Designed to prevent sparks during connection.
- Reverse Polarity Protection: Alerts you with an audible buzz and flashing lights if connected incorrectly.
- Over Current Protection: Safeguards against excessive current flow.
- High Temperature Protection: Monitors and manages internal temperature.
- Over Load Protection: Prevents damage from drawing too much power.
- Do not attempt to jump start a frozen battery.
- Do not connect the red and black clamps together.
- Keep out of reach of children.
- Operate within the specified temperature range (-4°F to 140°F / -20°C to 60°C).
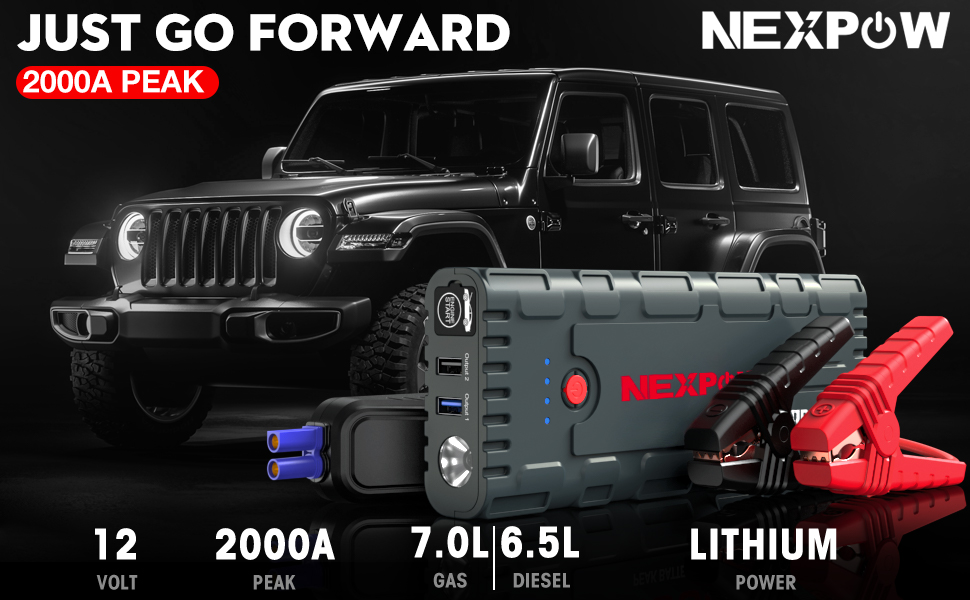
Image: Visual representation of the smart jumper cable protection features.
7. Maintenance
- Store the jump starter in a cool, dry place when not in use.
- Recharge the unit at least once every 3-6 months to prolong battery life.
- Clean the exterior with a soft, dry cloth. Do not use harsh chemicals or abrasives.
- Ensure the ports are free from dust and debris.
8. Troubleshooting
8.1 Jump Starter Not Turning On
- Ensure the power button is pressed and held for a few seconds.
- Check if the battery is completely drained. Charge the unit fully.
8.2 Vehicle Not Starting
- Verify that the smart jump cable indicator shows a solid green light before attempting to start.
- Ensure clamps are securely connected to the correct battery terminals (red to positive, black to negative).
- Check if the vehicle battery is severely damaged or completely dead. The jump starter may not be able to revive such batteries.
- Allow the jump starter to cool down if it has been used multiple times in quick succession.
8.3 USB Devices Not Charging
- Ensure the jump starter has sufficient charge.
- Verify that the USB cable is properly connected to both the jump starter and the device.
- Try a different USB port or cable.
9. Specifications
| Feature | Specification |
|---|---|
| Brand | NEXPOW |
| Model Number | G17 |
| Peak Output Current | 2000 A |
| Battery Capacity | 66.6 amp-hours (Lithium Ion) |
| Voltage | 12 volts |
| Vehicle Service Type | Passenger Car, Motorcycle, Watercraft, ATVs, UTVs, SUVs, Lawnmowers, Yachts, Boats, Pickup, Snowmobiles |
| Engine Compatibility | Up to 7.0L Gas or 6.5L Diesel Engine |
| Operating Temperature | -4°F to 140°F (-20°C to 60°C) |
| Item Weight | 2.2 pounds |
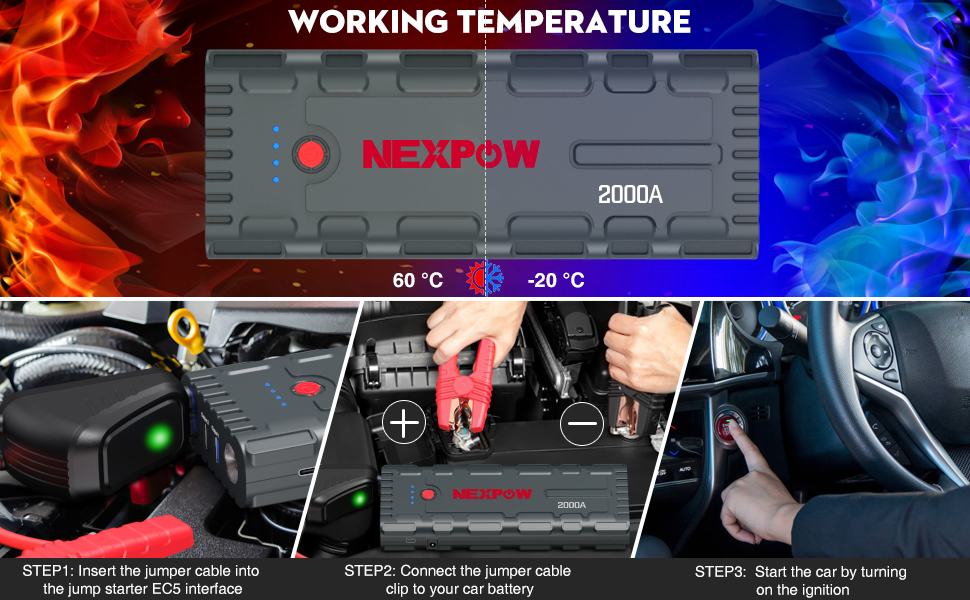
Image: The operational temperature range of the NEXPOW G17 Jump Starter.
10. Warranty and Support
The NEXPOW G17 Jump Starter comes with 2-Years Technical Support. If you encounter any issues or have questions regarding your product, please do not hesitate to contact NEXPOW customer service for assistance.
For further information or support, please visit the official NEXPOW website or contact their customer service department.
Video: An overview of the NEXPOW G17 2000A Jump Starter's features and benefits.


