
Introduction
Thank you for choosing the Hibbent All Metal cUPC Certified High Pressure Rainfall 10'' Shower Head. This manual provides essential information for the safe and efficient installation, operation, and maintenance of your new shower system. Please read these instructions thoroughly before beginning installation and retain them for future reference.
Setup and Installation
This shower head combo is designed for easy, tool-free installation. Follow these steps to set up your new shower system.
Included Components:
- 10-inch Square Rainfall Shower Head
- Handheld Shower Head with 10 Spray Settings
- 71-inch Metal Stainless Steel Shower Hose
- 12-inch Adjustable Shower Head Extension Arm with Integrated 3-Way Diverter
- Adhesive Shower Head Holder
- Washers
- Teflon Tape
- Installation Manual

Figure 1: All included components for the Hibbent shower system.
Installation Steps:
- Prepare the Shower Arm: Unscrew and remove your existing shower head from the shower arm. Clean any residue from the shower arm threads.
- Apply Teflon Tape: Wrap the threads of your existing shower arm with Teflon tape (provided). Wrap at least 12 rounds for a secure, leak-free seal.
- Install the Extension Arm: Screw the integrated 12-inch shower head extension arm onto your existing shower arm. Hand-tighten first, then use a wrench if necessary, being careful not to overtighten. The integrated design of the 3-way diverter and extension arm ensures a stable connection without wobbling or leaks.
- Attach Rainfall Shower Head: Screw the 10-inch rainfall shower head onto the top connection of the extension arm. Ensure a washer is in place before tightening.
- Connect Handheld Hose: Attach one end of the 71-inch stainless steel shower hose to the side outlet of the 3-way diverter on the extension arm. Ensure washers are in place.
- Attach Handheld Shower Head: Connect the other end of the shower hose to the handheld shower head.
- Install Adhesive Holder: Clean and dry the desired wall surface for the adhesive shower head holder. Remove the protective film from the adhesive tape and press the holder firmly into position for 3-5 seconds. Allow 24 hours for the adhesive to cure before hanging the handheld shower head. For non-smooth surfaces, use the alternative screw-in installation method with the provided expansion screws.
- Test for Leaks: Turn on the water supply and check all connections for leaks. Tighten any leaking connections as needed.

Figure 2: Comparison of shower arm extension designs, illustrating the benefits of the Hibbent integrated and curved design for stability and vertical water flow.
Operation
Your Hibbent shower system offers versatile showering options and adjustable features for a personalized experience.
Using the 3-Way Diverter:
The integrated 3-way diverter valve allows you to easily switch between the rainfall shower head, the handheld shower head, or use both simultaneously. Rotate the diverter knob to select your desired water output.
Adjusting the Extension Arm:
The 12-inch curved extension arm is adjustable in height and angle. This allows you to position the rainfall shower head to your preferred height while maintaining a horizontal orientation, preventing collisions and ensuring optimal water flow. The brass swivel ball connector on the rainfall shower head also allows for angle adjustment.
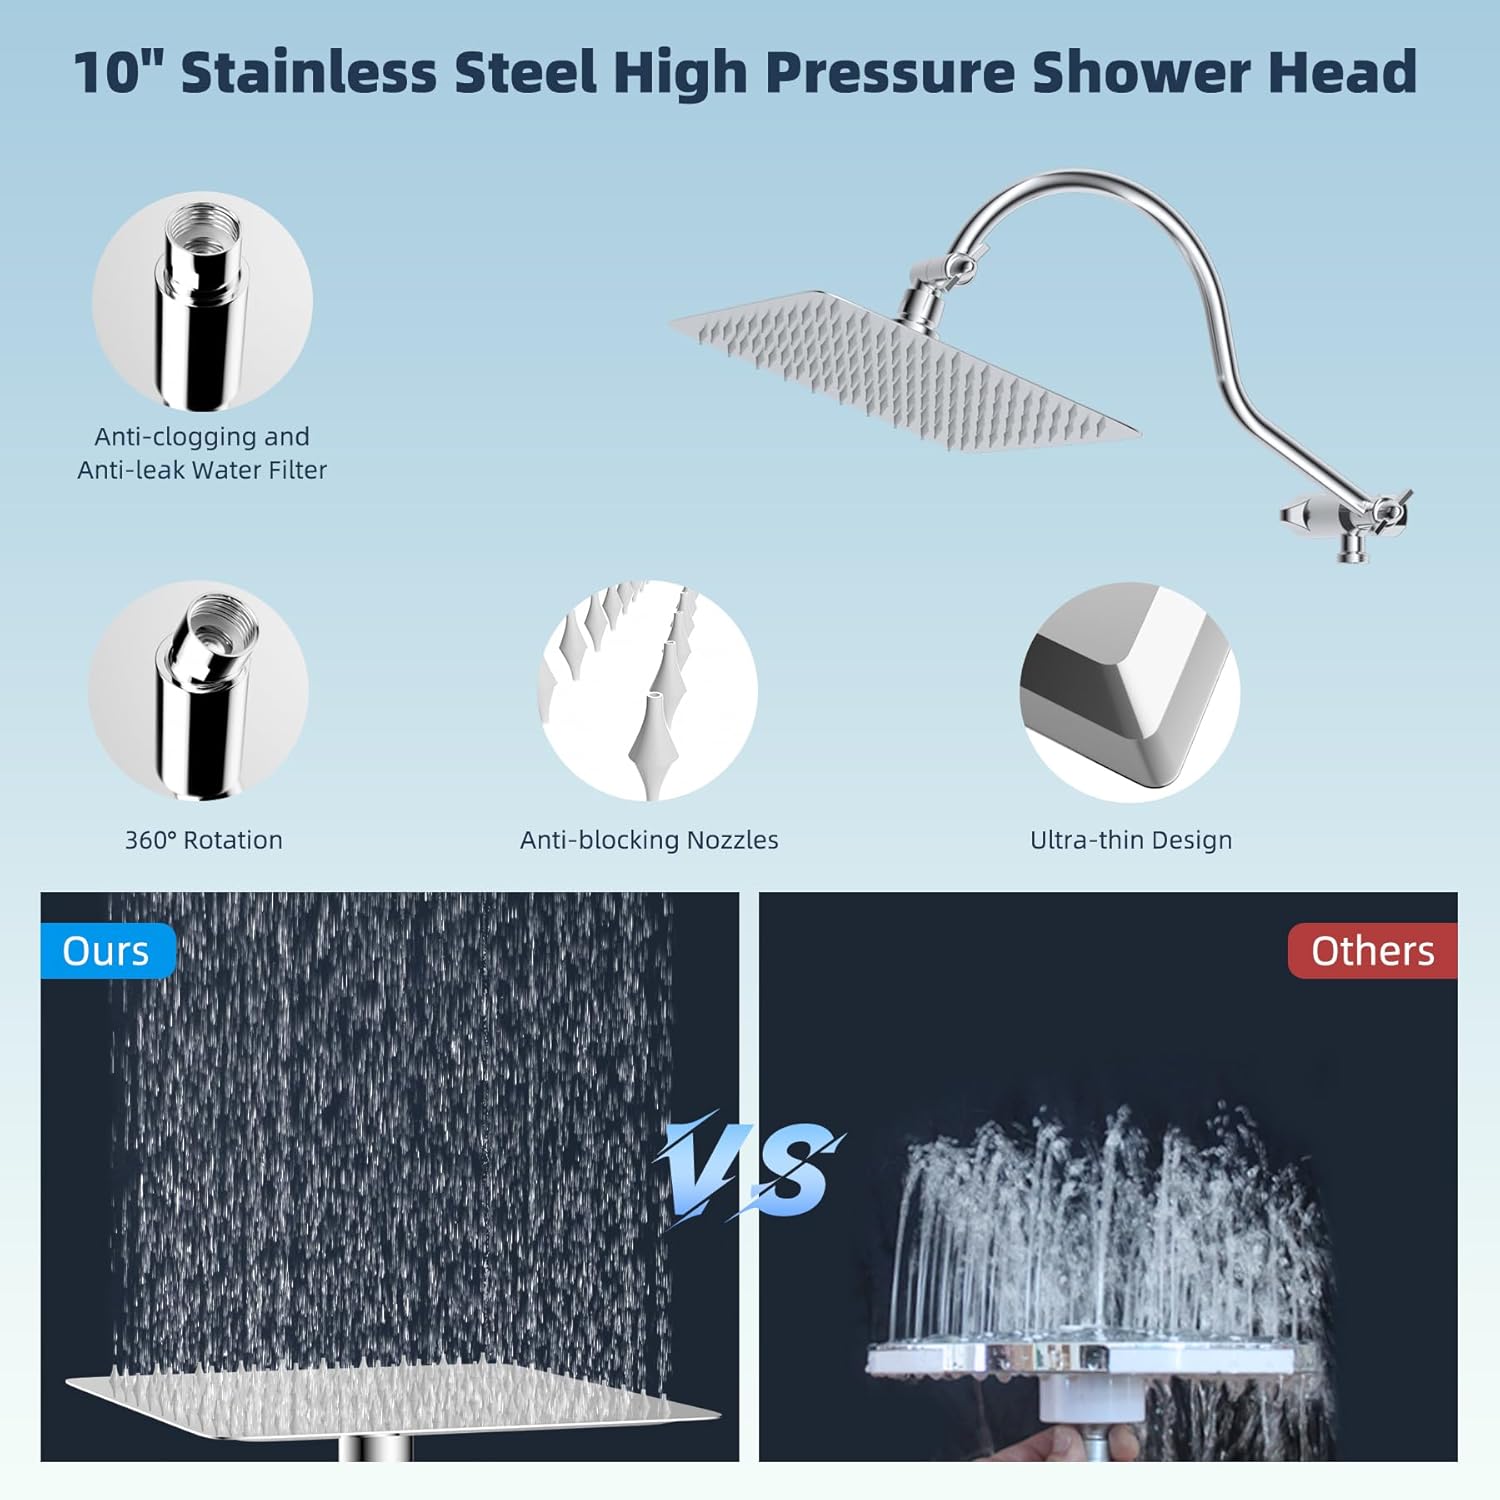
Figure 3: Adjustable height and angle features of the extension arm.
Handheld Shower Head Spray Settings:
The handheld shower head features 10 powerful high-pressure spray settings. Turn the dial on the shower head face to cycle through settings such as Rain, Massage, Wide Fan, Mist, Soft, Spray, and Fast. The Wide Fan mode is particularly useful for cleaning tasks.

Figure 4: The 10 distinct spray modes of the handheld shower head.
Maintenance
Regular cleaning will ensure the longevity and optimal performance of your shower system.
Cleaning the Nozzles:
Both the rainfall and handheld shower heads feature rub-clean silicone nozzles. To remove mineral buildup and maintain consistent spray patterns, simply rub your finger or a soft cloth across the silicone nozzles. This anti-clogging design makes cleaning hassle-free.
General Cleaning:
Clean the chrome finish with a soft, damp cloth and mild soap. Avoid abrasive cleaners, scouring pads, or harsh chemicals, as these can damage the finish. Rinse thoroughly and dry with a soft cloth to prevent water spots.

Figure 5: The handheld shower head's Wide Fan mode is effective for cleaning various bathroom surfaces.
Troubleshooting
If you encounter any issues with your shower system, refer to the following common problems and solutions:
Low Water Pressure:
- Check for Clogs: Ensure the shower head nozzles are clear of mineral buildup by rubbing them.
- Inspect Water Flow Regulator: The handheld shower head includes a water flow regulator. Ensure it is not overly restricting flow if you desire higher pressure.
- Verify Water Supply: Confirm that the main water supply valve to your shower is fully open.
Leaks at Connections:
- Re-apply Teflon Tape: Disassemble the leaking connection, remove old Teflon tape, and re-wrap the threads with fresh Teflon tape (at least 12 rounds).
- Check Washers: Ensure all connections have properly seated rubber washers. Replace if damaged.
- Tighten Connections: Hand-tighten connections firmly, then use a wrench for a final snug turn, being careful not to overtighten, which can strip threads or crack components.
Diverter Not Switching Properly:
- Check for Obstructions: Ensure no debris is preventing the diverter knob from rotating fully.
- Mineral Buildup: If the diverter feels stiff, mineral buildup might be present. Try rotating it back and forth several times to dislodge any deposits. If persistent, professional cleaning or replacement may be needed.
Specifications
| Brand | Hibbent |
| Model Number | SHHS10in-Square-A13572-12curved-2.5-C |
| Style | Square 10'' |
| Shape | Square |
| Material | Brass, Metal, Stainless Steel |
| Finish Type | Chrome |
| Hose Length | 71 inches |
| Installation Type | Wall Mounted |
| Flow Rate | 1.75 gpm @ 20 ft. of Head |
| Number of Handheld Settings | 10 |
| Special Features | Adjustable Height, Self-Cleaning Nozzles |
| Certifications | cUPC Certified |
Warranty Information
Hibbent products are manufactured to high-quality standards and are backed by a manufacturer's warranty. Please refer to the product packaging or contact customer support for specific warranty terms and conditions. Keep your purchase receipt as proof of purchase for any warranty claims.
Customer Support
For further assistance, technical support, or inquiries regarding your Hibbent shower system, please contact our customer service team. Contact details can typically be found on the product packaging or on the official Hibbent website.
When contacting support, please have your product model number (SHHS10in-Square-A13572-12curved-2.5-C) and purchase information readily available.

