
1. Introduction
This manual provides comprehensive instructions for the installation, operation, and maintenance of your AKKON LED DRL Projector Headlight assembly. These headlights are designed as a direct replacement for specific Chevrolet Trailblazer models, enhancing both aesthetics and visibility.
1.1. Product Overview
- Compatibility: Specifically designed for 2002-2009 Chevrolet Trailblazer and 2002-2006 Chevrolet Trailblazer EXT models.
- Design: Features a black housing with clear lenses, incorporating LED Daytime Running Lights (DRL) and projector low beams.
- Contents: Includes one left (driver side) and one right (passenger side) headlight assembly.
- Certifications: DOT (Department of Transportation) and SAE (Society of Automotive Engineers) approved, ensuring compliance with safety standards.
2. Safety Information
Adherence to these safety guidelines is crucial for preventing injury and ensuring proper product function.
- Always disconnect the vehicle's battery before performing any electrical work or installation.
- Wear appropriate personal protective equipment, including safety glasses and gloves, during installation.
- Ensure all wiring connections are secure and properly insulated to prevent short circuits.
- Professional installation is strongly recommended due to the complexity of automotive electrical systems and the importance of correct headlight alignment.
- Do not modify the headlight assembly or its components, as this may compromise safety and void the warranty.
3. Package Contents
Verify that all components are present and undamaged upon opening the package:
- 1x AKKON LED DRL Projector Headlight Assembly (Driver Side)
- 1x AKKON LED DRL Projector Headlight Assembly (Passenger Side)
- H7 Halogen Bulbs (for Low Beam, pre-installed or included)
- H1 Halogen Bulbs (for High Beam, pre-installed or included)
Note: Installation guides or detailed wiring diagrams are not included with the product. Refer to your vehicle's service manual or consult a professional for specific installation procedures.
4. Setup and Installation
The AKKON LED DRL Projector Headlights are designed for direct fitment, matching the OE form, fit, and function for a straightforward replacement. However, professional installation is highly recommended.
4.1. Pre-Installation Steps
- Park the vehicle on a level surface and engage the parking brake.
- Open the hood and disconnect the negative terminal of the vehicle's battery.
- Allow the existing headlight bulbs to cool down if they have been recently used.
4.2. Removal of Existing Headlights
- Locate and remove any retaining clips, screws, or bolts securing the grille and existing headlight assemblies.
- Carefully pull the old headlight assembly forward to access the wiring harness.
- Disconnect all electrical connectors from the old headlight assembly.
- Remove the old headlight assembly from the vehicle.
4.3. Installation of New Headlights
- Connect the electrical harnesses of the new AKKON headlight assembly to the vehicle's wiring. Ensure all connections are secure.
- Carefully position the new headlight assembly into the vehicle's headlight opening.
- Secure the new headlight assembly using the original retaining clips, screws, or bolts.
- Reinstall the grille and any other components removed during the process.
- Reconnect the negative terminal of the vehicle's battery.

Figure 1: Rear view of the headlight assembly showing wiring connections.

Figure 2: Overview of the projector headlight components, including the lens and bulb types.
4.4. Headlight Alignment
After installation, proper headlight alignment is critical for safe driving and to avoid blinding oncoming traffic. This procedure should ideally be performed by a qualified technician using specialized equipment. If performing yourself, refer to your vehicle's service manual for specific alignment instructions.
5. Operating Instructions
Your AKKON LED DRL Projector Headlights feature multiple lighting functions for various driving conditions.
5.1. Daytime Running Lights (DRL)
The integrated LED DRLs are designed to illuminate during daylight hours, increasing your vehicle's visibility to other drivers and reducing the risk of collisions. These typically activate automatically when the vehicle is running.

Figure 3: Daytime Running Lights (DRL) in operation.
5.2. Low Beam Headlights
The projector low beam headlights provide a focused and wide light pattern for general night driving. They offer maximum light output and increased visibility without causing excessive glare to other road users when properly aligned.
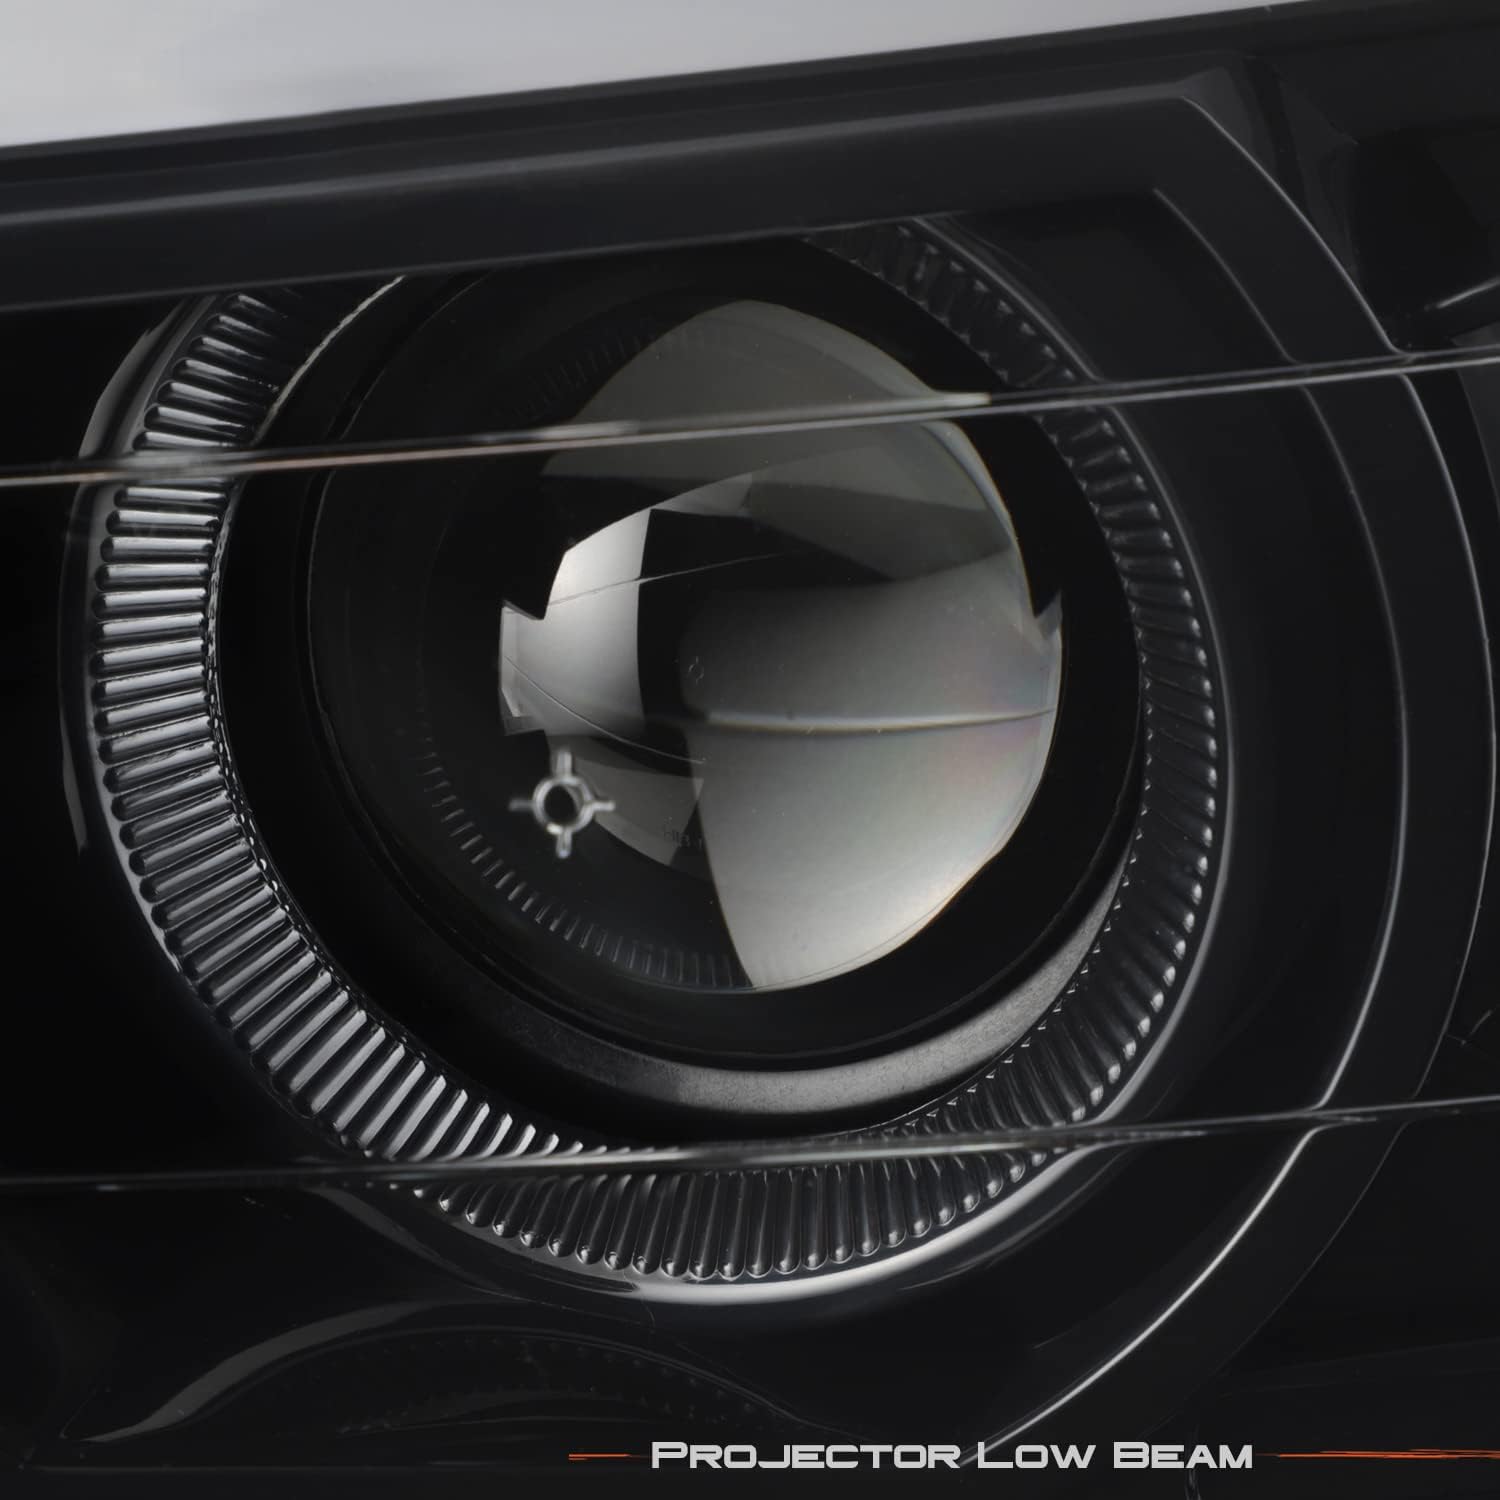
Figure 4: Close-up of the projector low beam lens.
5.3. High Beam Headlights
The high beam headlights provide additional, intense illumination for extended visibility on unlit roads or in situations where maximum light is required. Use high beams responsibly and dim them when approaching or following other vehicles.

Figure 5: Close-up of the high beam reflector.

Figure 6: Comparison of low beam and high beam illumination patterns.
6. Maintenance
Regular maintenance helps ensure the longevity and optimal performance of your headlights.
6.1. Cleaning
- Clean the headlight lenses regularly with a mild soap and water solution and a soft, non-abrasive cloth.
- Avoid using harsh chemicals, abrasive cleaners, or stiff brushes, as these can damage the lens surface.
- Rinse thoroughly with clean water and dry with a soft cloth to prevent water spots.
6.2. Bulb Replacement
The low beam (H7) and high beam (H1) bulbs are replaceable. If a bulb burns out:
- Refer to your vehicle's service manual for specific instructions on accessing and replacing headlight bulbs.
- Always use the correct bulb type (H7 for low beam, H1 for high beam) to ensure proper light output and fitment.
- Avoid touching the glass portion of new bulbs with bare hands, as oils can reduce bulb life.
- Consider professional assistance for bulb replacement if you are unfamiliar with the process.
6.3. Inspection
- Periodically inspect the headlight assemblies for any signs of damage, cracks, or moisture intrusion.
- Check wiring connections for corrosion or looseness.
- Ensure the headlights remain securely mounted to the vehicle.
7. Troubleshooting
If you encounter issues with your headlights, consider the following basic troubleshooting steps:
7.1. Headlights Not Working
- Check Fuses: Inspect the vehicle's fuse box for blown headlight fuses. Replace if necessary with a fuse of the correct amperage.
- Check Connections: Ensure all electrical connectors to the headlight assembly are securely plugged in.
- Check Bulbs: Verify that the bulbs are properly seated and not burnt out. Replace any faulty bulbs.
7.2. Dim or Flickering Lights
- Voltage Check: A multimeter can be used to check for proper voltage at the headlight connector. Low voltage may indicate a wiring issue or a problem with the vehicle's electrical system.
- Ground Connection: Ensure the headlight's ground connection is clean and secure.
- Bulb Condition: Even if not burnt out, old or faulty bulbs can appear dim or flicker. Try replacing them.
7.3. Moisture Inside Headlight
- Small amounts of condensation can occur due to temperature changes and typically dissipate.
- If significant moisture or water accumulation is present, inspect the housing for cracks or improper sealing. Ensure all bulb caps are securely in place.
- Contact professional assistance if the issue persists, as it may indicate a defect or improper installation.
For complex electrical issues or problems not resolved by these steps, it is recommended to consult a certified automotive technician.
8. Specifications
| Feature | Specification |
|---|---|
| Brand | AKKON |
| Model Compatibility | 2002-2009 Chevrolet Trailblazer, 2002-2006 Chevrolet Trailblazer EXT |
| Light Type | LED DRL Projector Headlight |
| Housing Color | Black |
| Lens Color | Clear |
| Low Beam Bulb Type | H7 (included) |
| High Beam Bulb Type | H1 (included) |
| Voltage | 12 Volts |
| Wattage | 110 W |
| Certifications | DOT, SAE |
| Lens Material | Polycarbonate |
| Features | Waterproof |
| Placement | Front, Left, Right |
| UPC | 192744091533 |
9. Warranty and Support
For specific warranty information, return policies, or technical support regarding your AKKON LED DRL Projector Headlights, please refer to the documentation provided at the time of purchase or contact your retailer directly. You may also visit the official AKKON website for further assistance.