
1. Introduction and Product Overview
The Lectron V-Box 48 Amp Electric Vehicle Charging Station is a powerful Level 2 EV charger designed for efficient and convenient home charging. It offers flexible installation options, robust safety features, and a user-friendly interface to ensure a seamless charging experience for your electric vehicle.

Figure 1: Lectron V-Box 48 Amp Electric Vehicle Charging Station.
This charging station is compatible with all J1772 EVs, making it a versatile solution for most electric and plug-in hybrid vehicles.
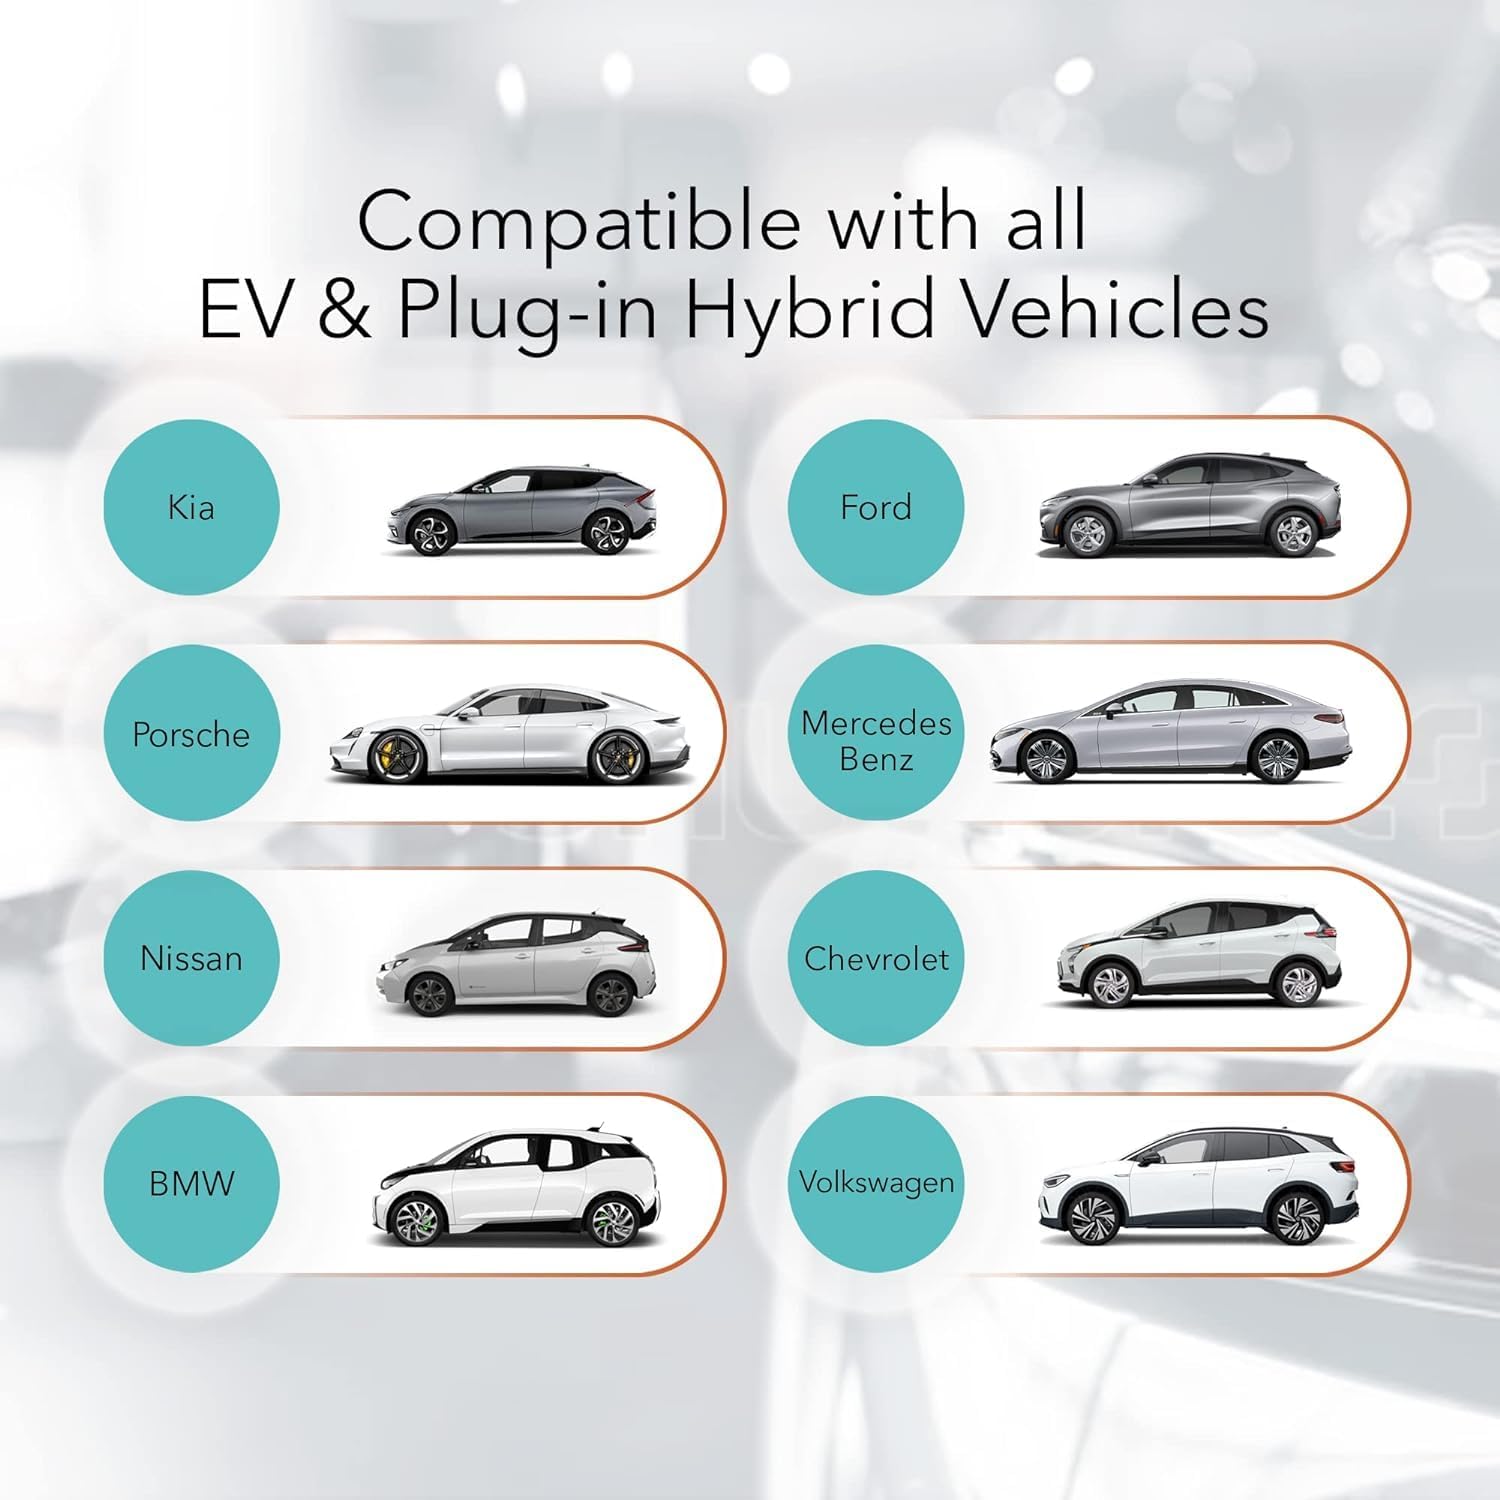
Figure 2: Compatibility with various EV and Plug-in Hybrid Vehicles.
2. Safety Information
Please read all safety information carefully before installation and operation. This product is FCC and ETL certified (UL2594 standard) for safety and Energy Star certified for efficiency. It also boasts an IP55 weatherproof rating for durability.

Figure 3: Maximum Protection Features.
- Installation should only be performed by a licensed and qualified electrician in accordance with all national and local electrical codes.
- Always shut off your circuit breaker before any hardwire installation.
- Do not attempt to repair the charging station or handle yourself. Contact customer support for assistance.
- Never use the charging station with an extension cord.
- Never use the charging station with any AC adapter.
- Ensure the plug is fully inserted into the wall outlet.
- Children should be supervised in the vicinity of the charging station.
- To reduce the risk of fire, connect only to a circuit provided with 50 ampere maximum branch circuit overcurrent protection.
3. What's in the Box
The Lectron V-Box charging station comes with all necessary components for installation and immediate use.
- 1 x V-BOX charging station
- 1 x Mounting plate
- 1 x J-Hook
- 1 x Set screws + anchors (plate)
- 1 x Set screws + anchors (J-Hook)

Figure 4: Lectron V-Box with included J-Hook for cable management.
For a detailed unboxing and overview of the included components, please refer to the official product video below:
Video 1: Lectron V-Box Level 2 EV Charger - 48 Amp EV Charging Station. This video provides a comprehensive look at the product, its features, and the unboxing experience.
4. Setup and Installation
The Lectron V-Box is designed for straightforward installation. Follow these steps for proper setup:
4.1 Mounting the Unit
- Remove the mounting plate: Loosen the four screws on each side of the V-Box to detach the metal mounting plate from the back of the unit.
- Mark drilling points: Use the detached mounting plate as a template to mark the drilling locations on your desired wall surface. Ensure the location is suitable for electrical connections.
- Drill holes and insert anchors: Drill holes at the marked locations and insert the provided wall anchors.
- Attach mounting plate: Secure the mounting plate to the wall using the provided screws.
- Mount the V-Box: Align the V-Box with the mounted plate and slide it down until it locks into place. Tighten the side screws to secure the unit.

Figure 5: Step-by-step guide for mounting the V-Box.
4.2 Electrical Connection
The V-Box can be plugged into a NEMA 14-50 outlet (40A max) or hardwired (48A max). Ensure your electrical setup meets the requirements for the desired amperage.

Figure 6: NEMA 14-50 Plug connection for 48 Amp Level 2 charging.
Adjusting Amperage (Hardwired Installation Only)
By default, the V-Box is set to 48A. To adjust the amperage for hardwired installations, remove the plastic cover from the back of the V-Box and turn the dial to your preferred setting. This should only be done by a qualified electrician.
| Dial Setting | Current (Amps) |
|---|---|
| 0 | 16A |
| 1 | 24A |
| 2 | 32A |
| 3 | 40A |
| 4 | 48A |
5. Operating Instructions
Using your Lectron V-Box is simple and intuitive.
5.1 Connecting to Your EV
- Ensure the V-Box is powered on using the button on the side. The display will illuminate.
- Open your EV's charging port.
- Insert the J1772 connector firmly into your EV's charging port. The V-Box display will show charging status, and the V-lights will pulsate.

Figure 7: Connecting the J1772 connector to an EV.
5.2 Understanding the Display
The V-Box features a clear display that provides real-time charging information:
- Real-time current: Displays the current amperage being drawn.
- Charging time: Shows the duration of the current charging session.
- Charging capacity: Indicates the battery charge level.
- Rated current: Shows the maximum current setting.
- Real-time voltage: Displays the current voltage from the power source.
- Grounding indicator: Confirms proper grounding.
- State of charge: Visual representation of battery fill level.
- Temperature: Displays the operating temperature of the unit.

Figure 8: V-Box display showing real-time charging data.
6. Maintenance
The Lectron V-Box is designed for durability and minimal maintenance. Keep the unit clean and free from debris. Regularly inspect the charging cable and connector for any signs of wear or damage. The IP55 weatherproof rating ensures protection against dust and water splashes, making it suitable for outdoor installation.
7. Troubleshooting
If you encounter any issues with your Lectron V-Box, refer to the following common troubleshooting steps:
| Problem | Possible Cause | Solution |
|---|---|---|
| Charger not powering on | No power from outlet; Unit is off | Check circuit breaker; Press power button on the side of the V-Box. |
| Charging not initiating | Connector not fully inserted; EV charging port issue; Amperage setting too high for circuit | Ensure firm connection; Check EV manual; Adjust amperage setting on V-Box (consult electrician). |
| Slow charging speed | Amperage setting is low; Electrical circuit limitation | Increase amperage setting (if circuit allows); Consult electrician for circuit upgrade. |
| Error message on display | Internal fault; Grounding issue; Overcurrent/Overvoltage | Refer to the user manual for specific error codes; Consult a qualified electrician. |
8. Specifications
Detailed technical specifications for the Lectron V-Box 48 Amp Electric Vehicle Charging Station:
| Feature | Detail |
|---|---|
| Brand | Lectron |
| Model Number | EV-Charger48A-J1772 |
| Input/Output Voltage | 200V - 240V |
| Maximum Current | 48A (Hardwired), 40A (NEMA 14-50) |
| Cable Length | 20 feet |
| EV Connector | SAE J1772 |
| Plug Type | NEMA 14-50 |
| Item Weight | 19.36 pounds |
| Product Dimensions | 18.5 x 10.24 x 12.2 inches |
| Operating Temperature | -22°F to +122°F (-30°C to +50°C) |
| Material | ABS + PC alloy |
| Certifications | FCC, ETL (UL2594), Energy Star, IP55 |
9. Warranty and Support
Lectron provides a 1-year warranty with every product purchase. For any questions, technical support, or warranty claims, please contact Lectron customer service. Refer to the official Lectron website for contact information.
For additional resources and product information, visit the official Lectron Store: Lectron Store on Amazon.


