
Introduction
This manual provides instructions for the setup, operation, and maintenance of your BoxWave SlimKeys Bluetooth Keyboard with Trackpad. This device is designed to enhance your typing and navigation experience with compatible devices, including the Alcatel Joy Tab 2.

Image: The SlimKeys Bluetooth Keyboard with Trackpad positioned alongside a compatible tablet, illustrating its intended use.
What's in the Box
- BoxWave SlimKeys Bluetooth Keyboard with Trackpad
- USB Charging Cable
- User Manual
Setup
1. Charging the Keyboard
Before initial use, fully charge the keyboard. Connect the provided USB charging cable to the keyboard's charging port and to a USB power source (e.g., computer USB port, USB wall adapter). The charging indicator light will illuminate during charging and turn off when fully charged.

Image: The SlimKeys Bluetooth Keyboard connected to its charging cable, illustrating the charging process and highlighting its long-lasting battery feature.
2. Pairing with Your Device
- Ensure the keyboard is turned on and fully charged.
- Locate the power switch on the keyboard and slide it to the "ON" position. The Bluetooth indicator light will flash.
- Press the "Connect" button on the keyboard. The Bluetooth indicator light will begin to flash rapidly, indicating it is in pairing mode.
- On your device (e.g., Alcatel Joy Tab 2), go to the Bluetooth settings.
- Turn on Bluetooth and search for available devices.
- Select "BoxWave SlimKeys Keyboard" (or similar name) from the list of found devices.
- Follow any on-screen prompts to complete the pairing process. A successful connection will be indicated by the Bluetooth light on the keyboard turning off or glowing solid for a few seconds before turning off.
- The keyboard is now paired and ready for use.

Image: A detailed view of the keyboard layout, highlighting the 'Connect' button used for Bluetooth pairing.
Operating the Keyboard
Basic Keyboard Functions
The SlimKeys Bluetooth Keyboard features a standard QWERTY layout with responsive chiclet-style keys for comfortable typing.
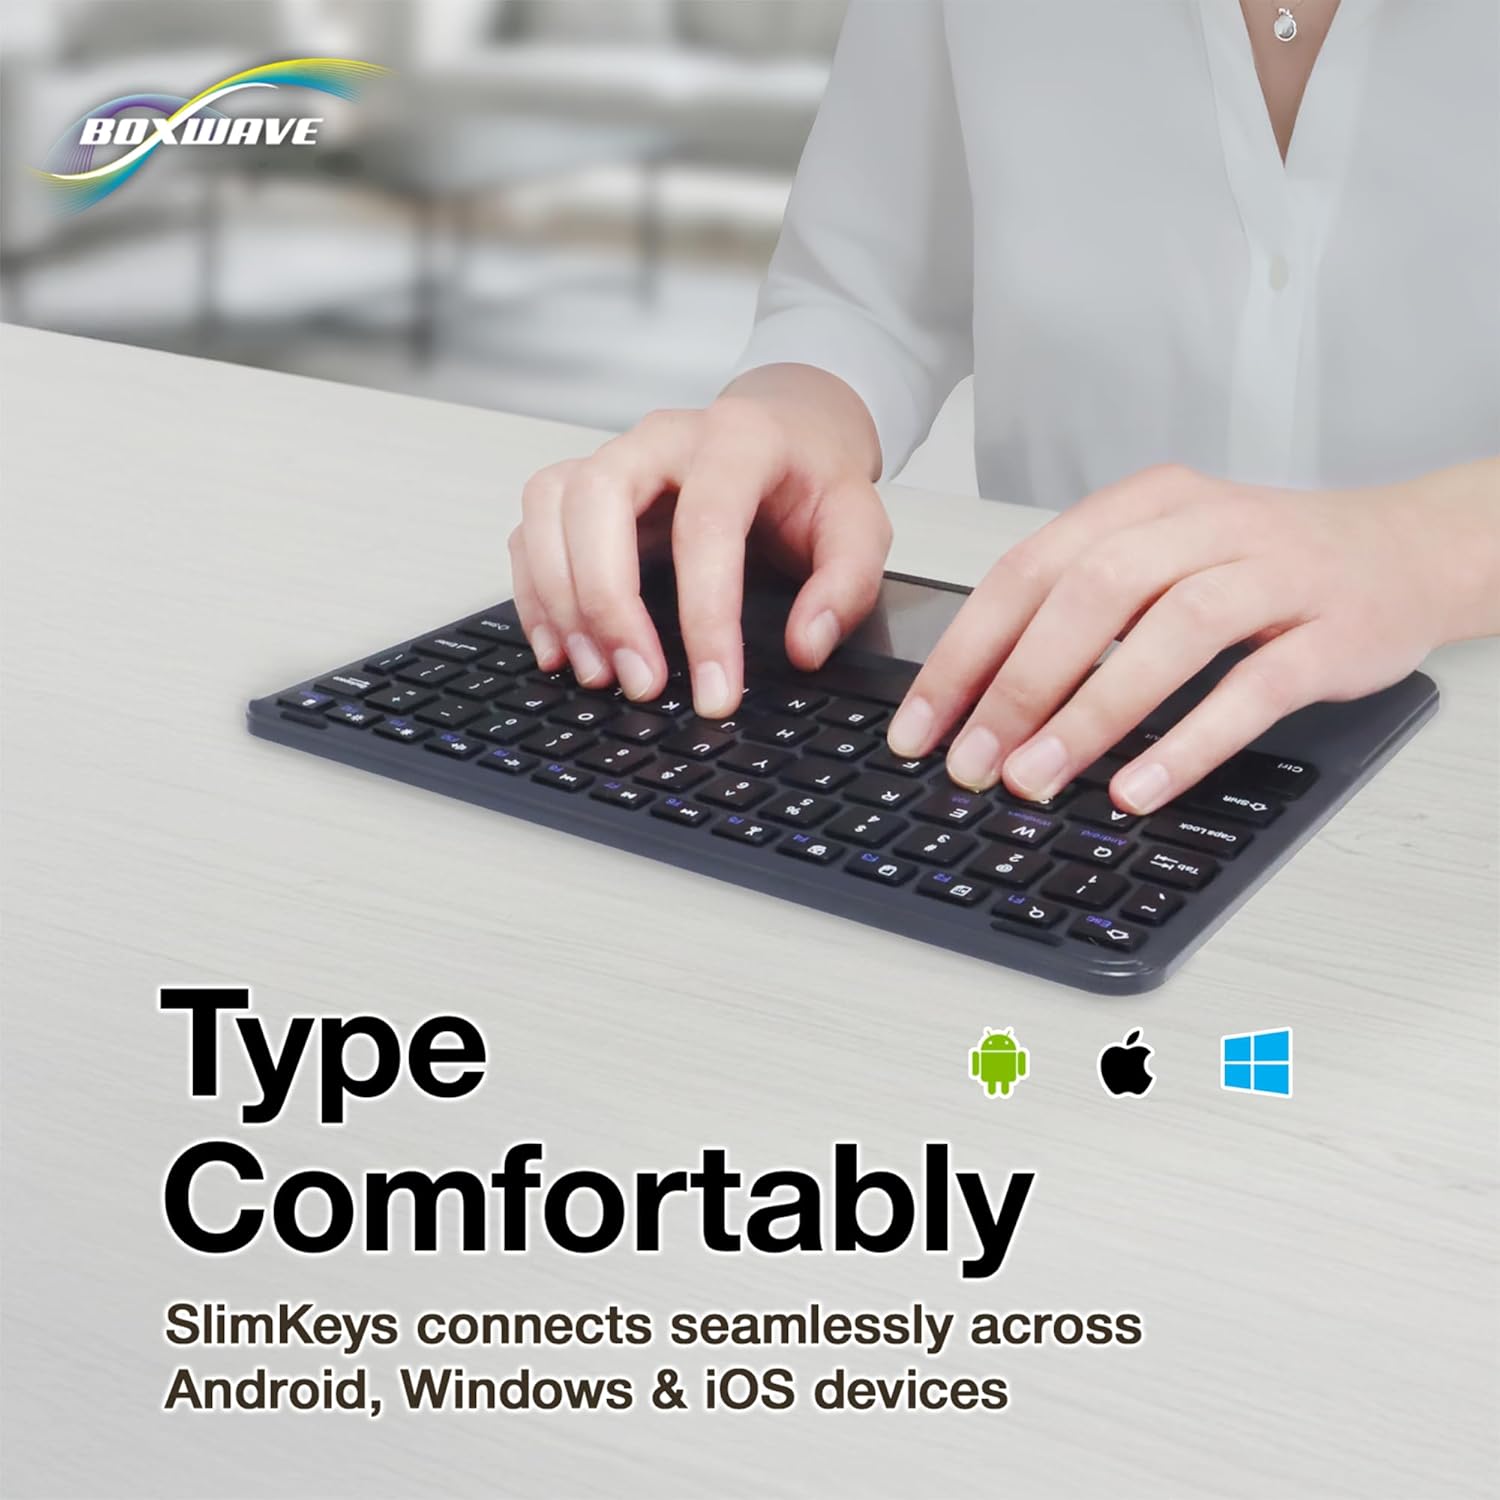
Image: Hands typing on the SlimKeys keyboard, illustrating the comfortable typing experience.
Trackpad Usage
The integrated trackpad allows for precise navigation without the need for an external mouse. Use standard touch gestures for cursor control, clicking, and scrolling.
- Single Finger Tap: Left-click.
- Two Finger Tap: Right-click (context menu).
- Two Finger Scroll: Scroll up or down.
- Pinch to Zoom: (If supported by your device and application) Zoom in or out.

Image: A hand interacting with the keyboard's trackpad, emphasizing precise control.
Special Function Keys
The keyboard includes dedicated function keys (F1-F12) that provide quick access to various device functions. These keys are typically activated by pressing the Fn key simultaneously with the desired function key.
| Key | Function |
|---|---|
| Esc / Home | Return to Home screen |
| F1 / Search | Open search function |
| F2 / Select All | Select all text or items |
| F3 / Copy | Copy selected content |
| F4 / Paste | Paste copied content |
| F5 / Cut | Cut selected content |
| F6 / Skip Back | Skip to previous track/media |
| F7 / Play/Pause | Play or pause media |
| F8 / Skip Forward | Skip to next track/media |
| F9 / Volume Down | Decrease volume |
| F10 / Volume Up | Increase volume |
| F11 / Brightness Down | Decrease screen brightness |
| F12 / Brightness Up | Increase screen brightness |
| Delete / Lock | Delete character / Lock device screen |
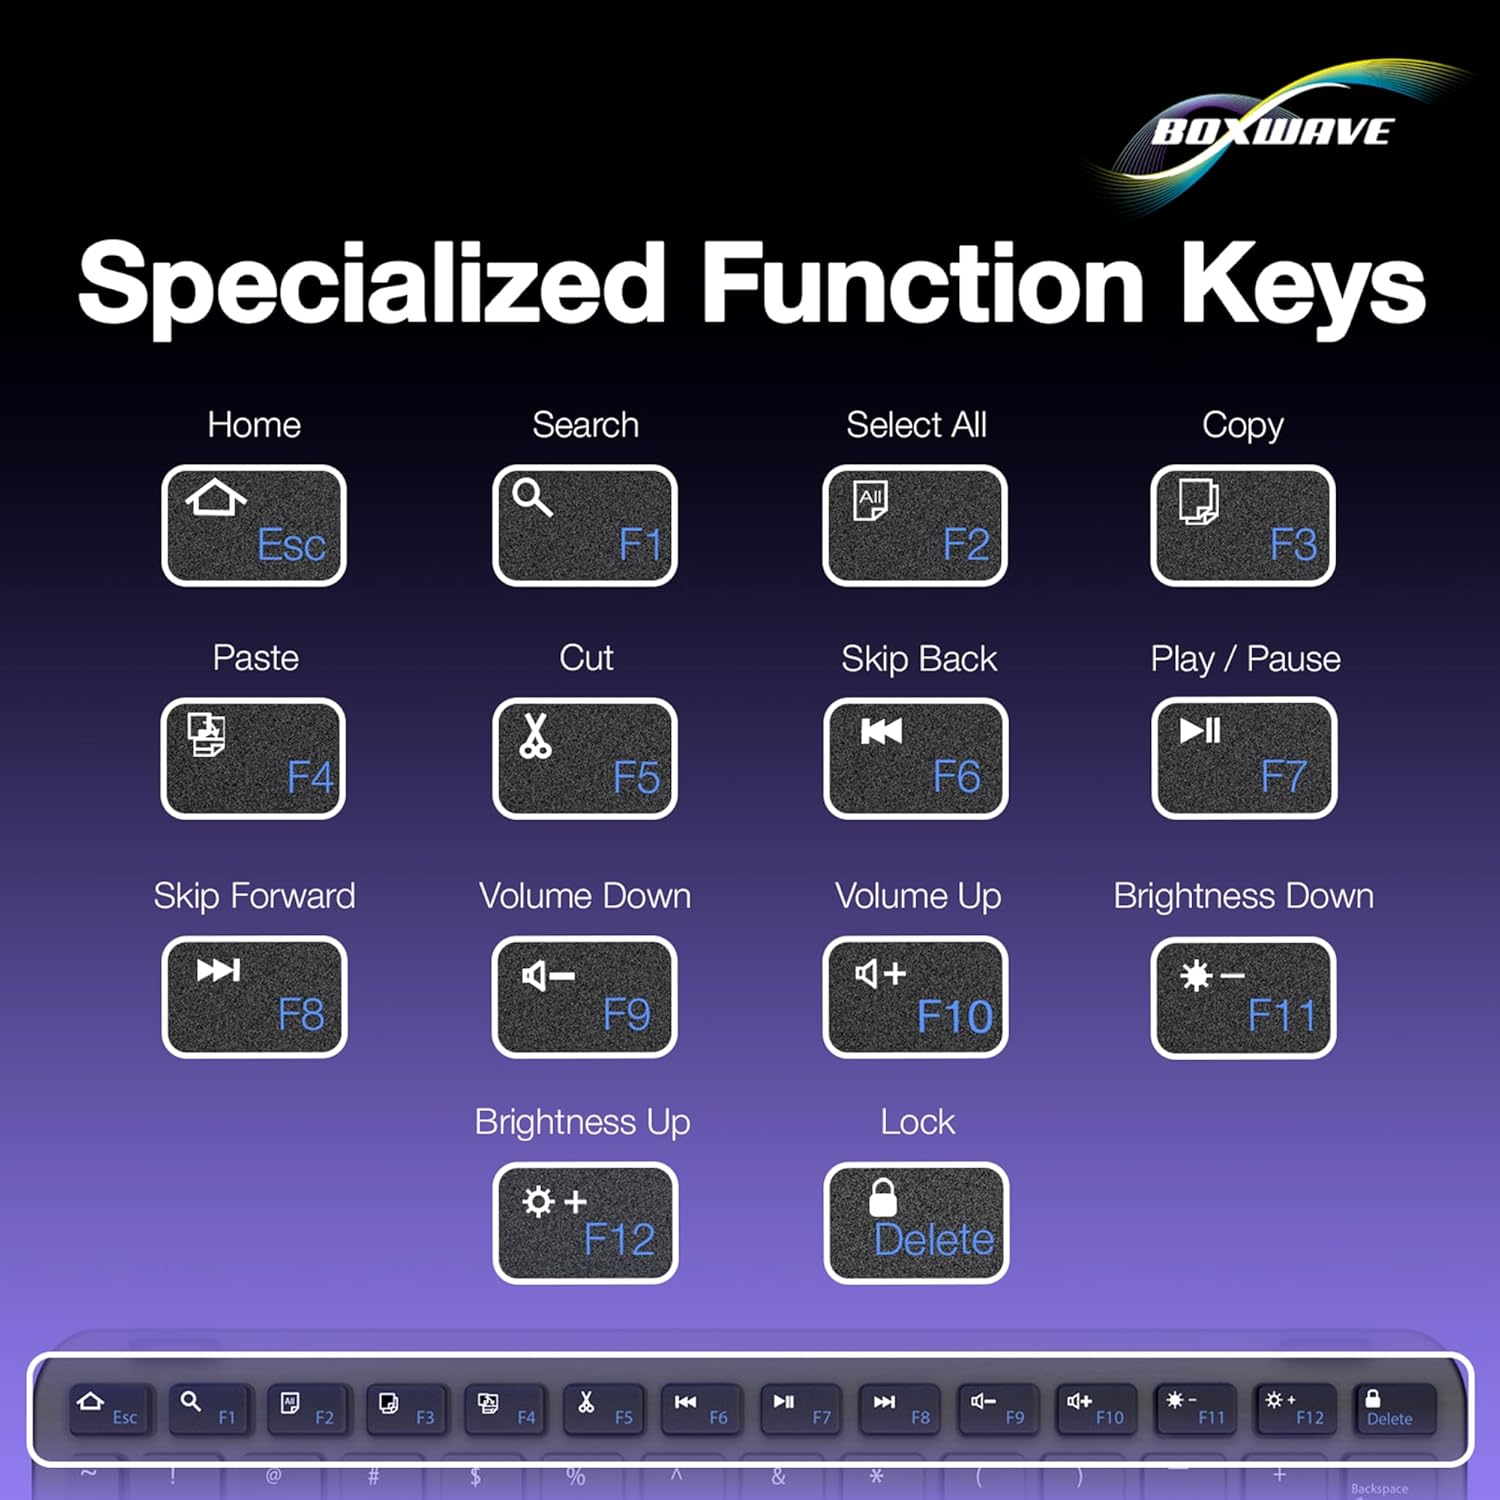
Image: A visual guide to the specialized function keys and their corresponding actions.
Switching Operating Systems
The keyboard supports multiple operating systems. To optimize key functions for your specific device, use the following key combinations:
- Fn + Q: For Android devices.
- Fn + W: For Windows devices.
- Fn + E: For iOS devices.

Image: The keyboard in use, demonstrating its compatibility with Android, Windows, and iOS devices.
Maintenance
Cleaning
To clean your keyboard, gently wipe the surface with a soft, lint-free cloth. For stubborn dirt, slightly dampen the cloth with water or a mild, non-abrasive cleaning solution. Avoid excessive moisture and do not spray cleaners directly onto the keyboard.
Storage
When not in use, store the keyboard in a dry, cool place away from direct sunlight and extreme temperatures. For extended storage, ensure the keyboard is turned off to conserve battery life.
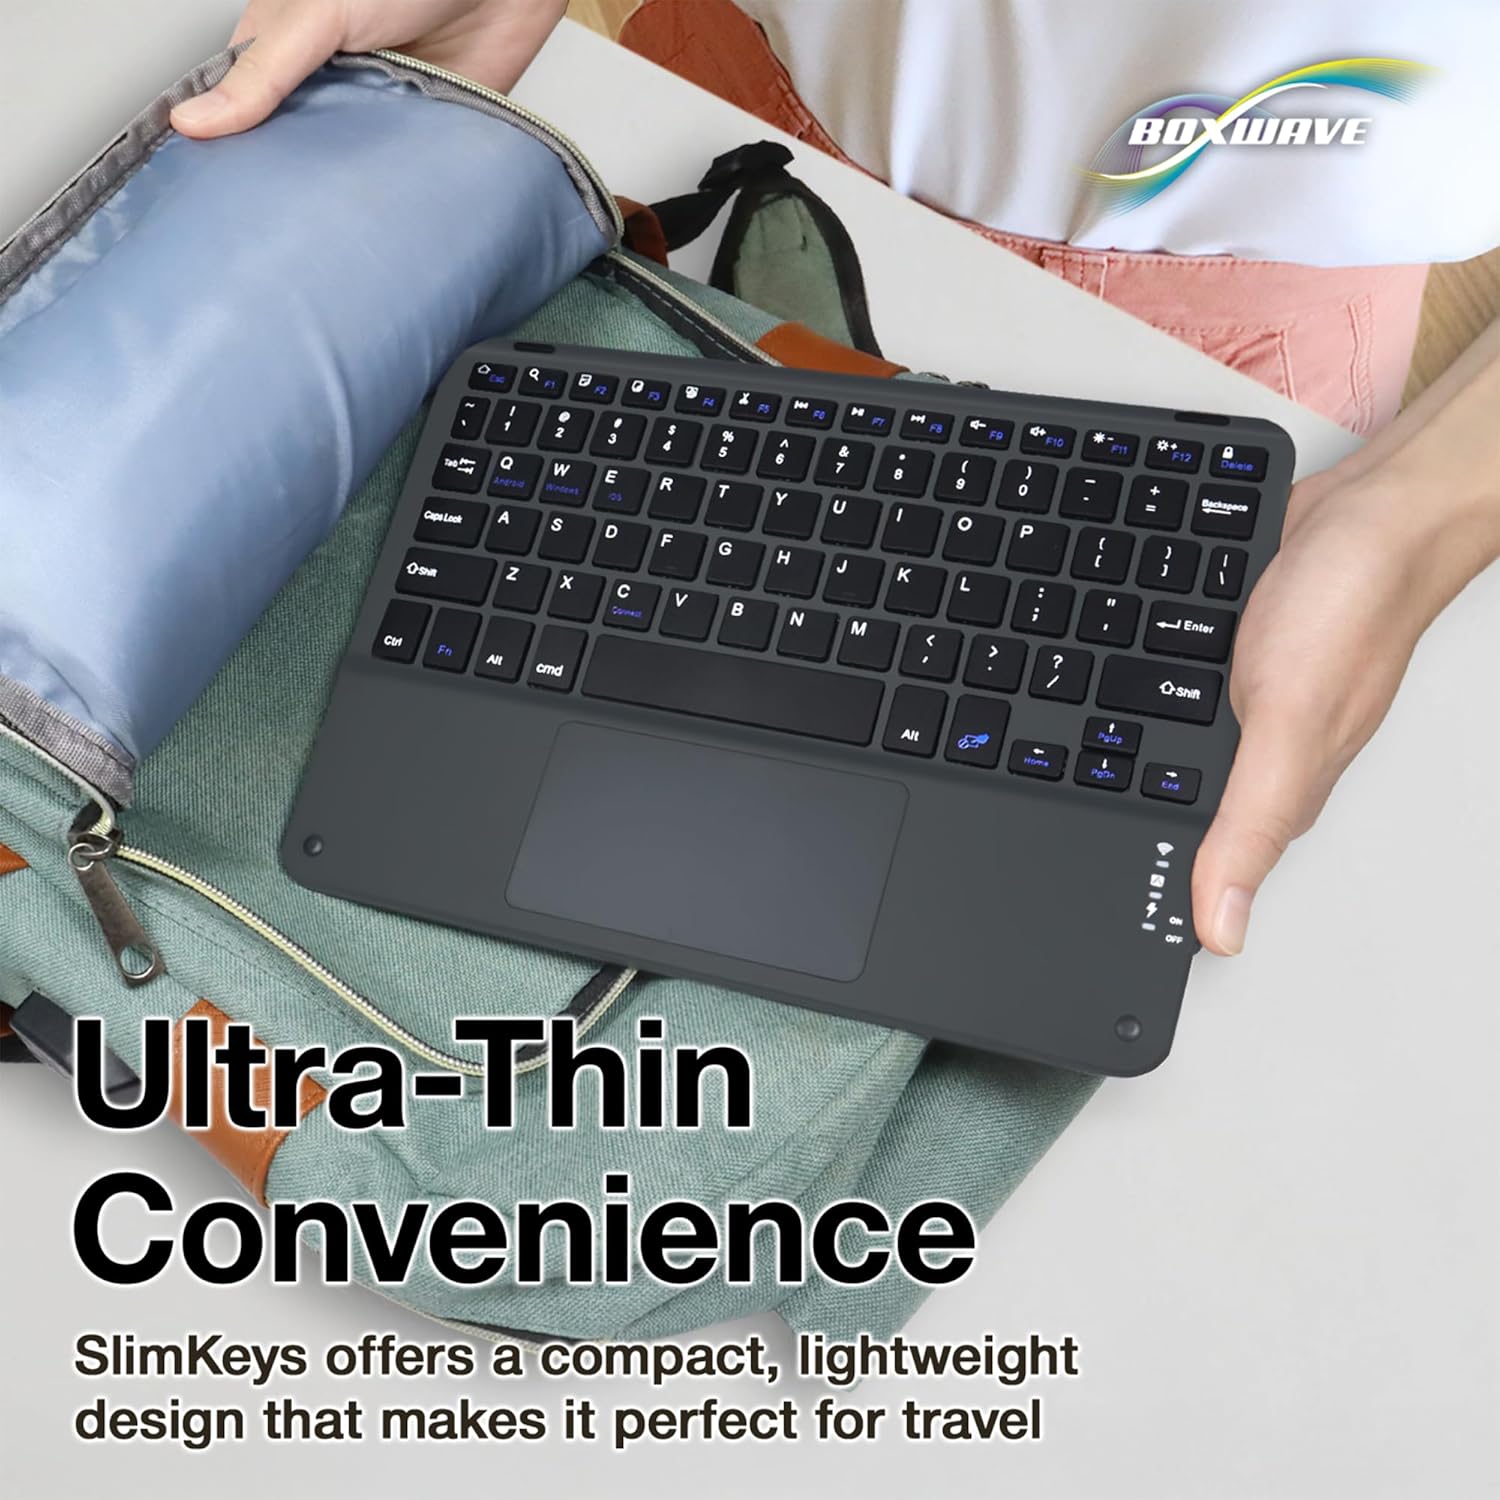
Image: The SlimKeys keyboard being stored in a bag, highlighting its portability and ease of storage.
Troubleshooting
Keyboard Not Connecting
- Ensure the keyboard is turned on and fully charged.
- Verify that Bluetooth is enabled on your device.
- Make sure the keyboard is within the effective range (typically 10 meters or 33 feet) of your device.
- Try re-pairing the keyboard: Delete the existing "BoxWave SlimKeys Keyboard" entry from your device's Bluetooth settings, then repeat the pairing steps.
- Restart both your device and the keyboard.
Keys Not Responding
- Check the battery level and recharge if necessary.
- Ensure the keyboard is properly connected via Bluetooth.
- If only certain keys are not responding, gently clean around the keys to remove any debris.
Trackpad Not Working
- Ensure the keyboard is connected.
- Check if the trackpad has been accidentally disabled (some keyboards have a function key to toggle the trackpad). Refer to the keyboard layout for any such key.
- Restart the keyboard and your device.
Specifications
| Feature | Detail |
|---|---|
| Brand | BoxWave |
| Connectivity Technology | Bluetooth |
| Keyboard Description | Wireless |
| Special Feature | Travel |
| Color | Jet Black |
| Style | Modern |
| Material | Polycarbonate |
| Item Weight | 10.9 ounces (approx. 309 grams) |
| Dimensions (approx.) | 9.5 in (Width) x 7.0 in (Depth) x 0.2 in (Height) |
| Battery Life | Up to 30 days (usage), 6 months (standby) |

Image: Dimensions of the SlimKeys keyboard, illustrating its compact and travel-friendly size.
Warranty and Support
For warranty information and technical support, please refer to the BoxWave official website or contact their customer service directly. Keep your purchase receipt as proof of purchase.
BoxWave Customer Service: Visit BoxWave Support Page