
1. Introduction
This manual provides comprehensive instructions for the EVERSECU 4 Channel 1080P DVR Security Camera System, Model AHD-K4100MP. This system is designed for continuous surveillance, featuring a 4-channel Digital Video Recorder (DVR) with a pre-installed 500GB Hard Disk Drive (HDD) and four high-definition weatherproof cameras. Key functionalities include night vision, motion detection alerts, and convenient remote access via smartphone or PC.
2. Package Contents
Verify that all items listed below are included in your package. If any components are missing or damaged, please contact EVERSECU customer support.
- 1 x 4-Channel 1080P DVR (with 500GB HDD pre-installed)
- 4 x 1080P HD Weatherproof Security Cameras
- 1 x DVR Power Adapter
- 1 x Camera Power Adapter with 4-way splitter
- 4 x Premade Video/Power Cables
- 1 x USB Mouse
- 1 x User Manual (this document)
- Mounting Screws and Hardware
3. Setup
3.1 DVR and Camera Connections
- Connect Cameras to DVR: Connect each camera's BNC connector to one of the "VIDEO IN" ports on the back of the DVR using the provided video/power cables.
- Connect Cameras to Power: Connect each camera's power connector to the 4-way power splitter, then connect the splitter to the camera power adapter. Plug the camera power adapter into a power outlet.
- Connect DVR to Monitor: Use an HDMI or VGA cable to connect the DVR's "HDMI OUT" or "VGA OUT" port to your monitor or TV.
- Connect DVR to Power: Plug the DVR power adapter into the DVR's "DC12V" port and then into a power outlet.
- Connect USB Mouse: Plug the USB mouse into one of the DVR's USB ports.
- Connect to Network (Optional for Remote Access): Connect an Ethernet cable from the DVR's "LAN" port to your router for internet access.

Figure 3.1: DVR Back Panel Connections

Figure 3.2: Camera Features and Components
3.2 Initial Power-On and Configuration
After connecting all components, power on the DVR. The system will boot up, and you will see the live view from the cameras on your connected monitor. Follow the on-screen prompts to set up the date, time, and administrator password. It is highly recommended to set a strong password for security.
3.3 Camera Placement and Mounting
The cameras are designed for both indoor and outdoor use, featuring IP66 weatherproof housing. Choose strategic locations that provide optimal coverage and are within range of the provided cables. Ensure the cameras are securely mounted using the included screws and hardware.
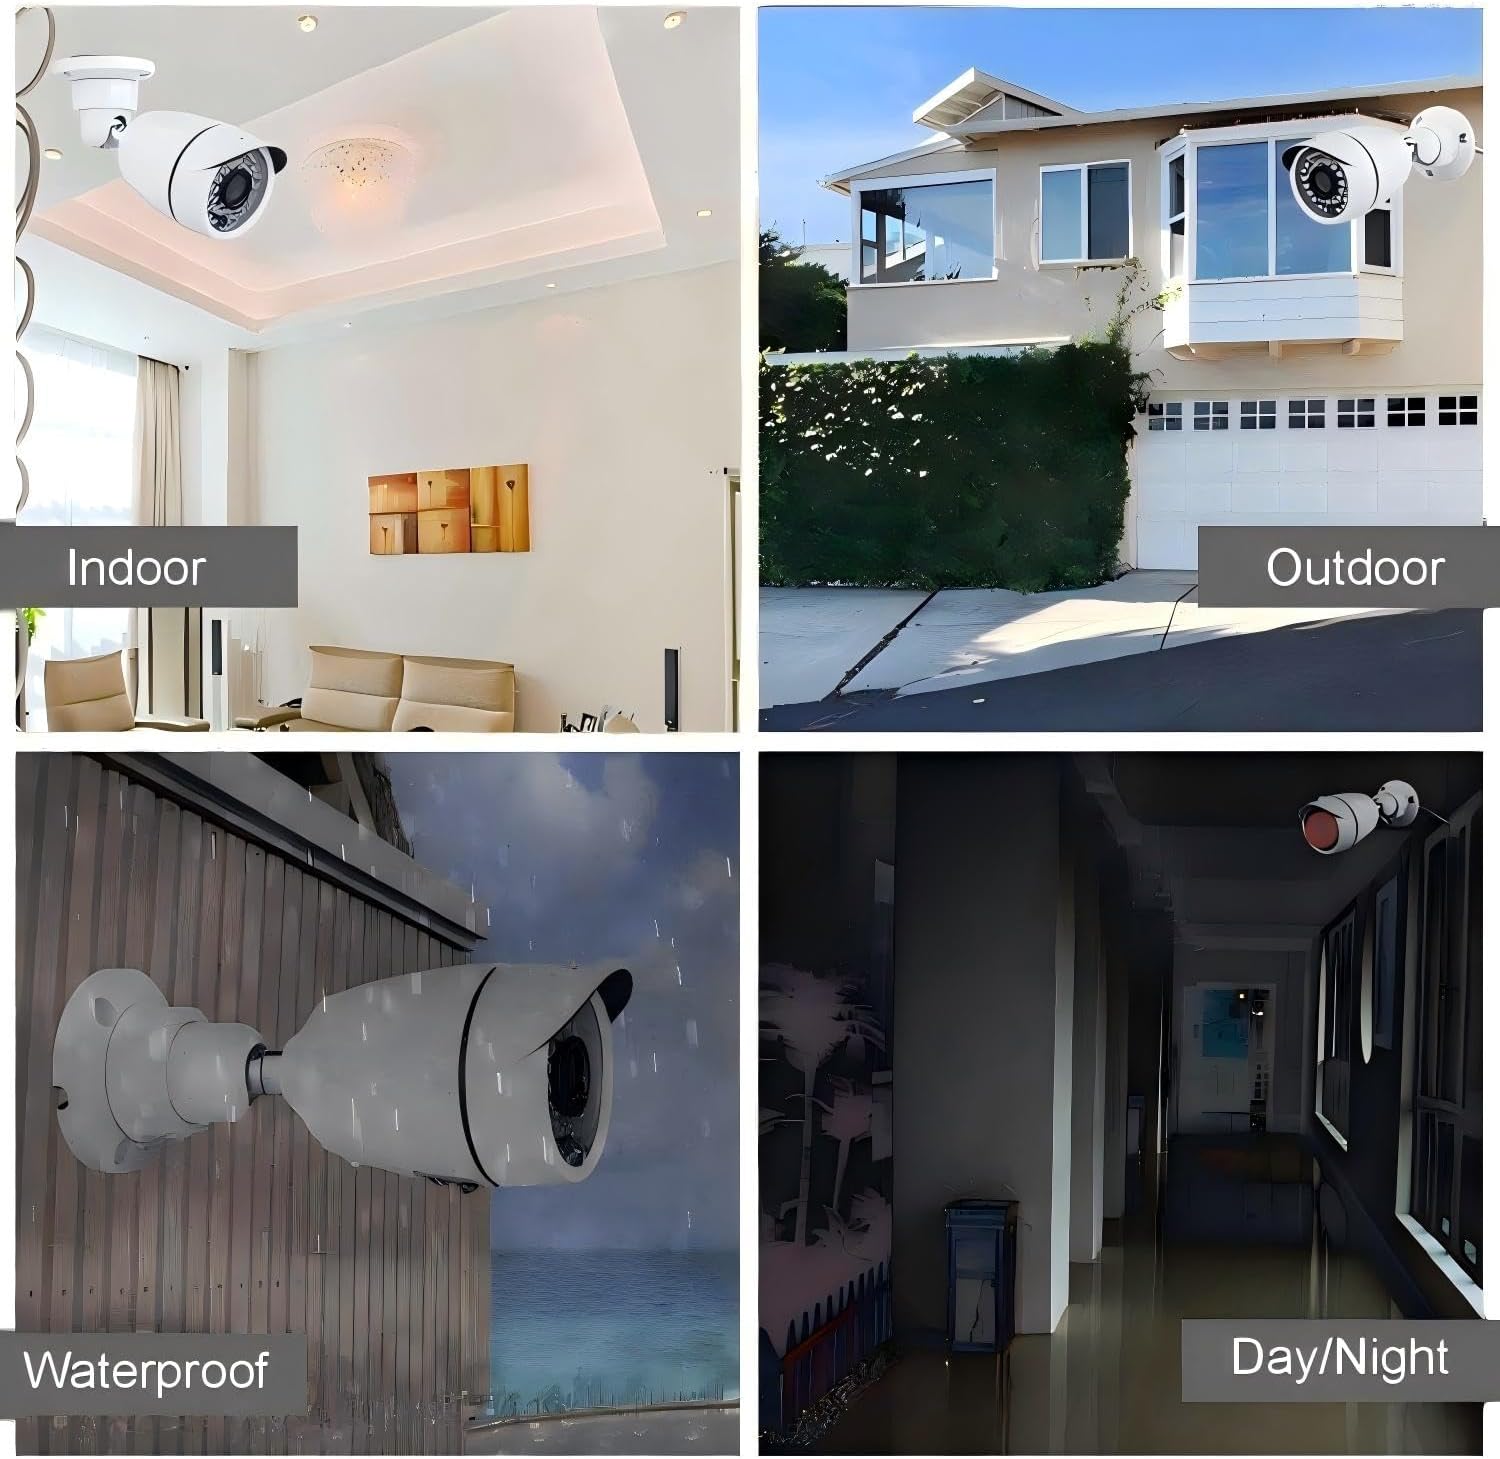
Figure 3.3: Example Camera Installation Scenarios
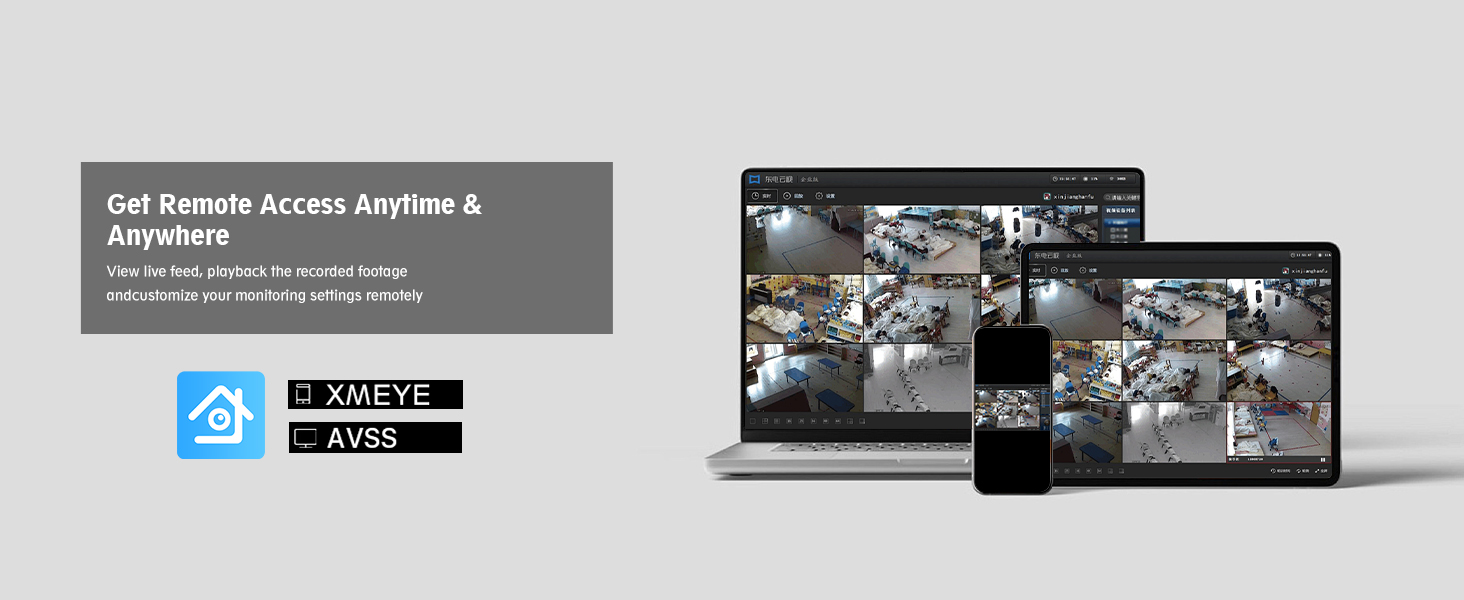
Figure 3.4: Wired Indoor/Outdoor Camera with Weatherproof Materials
4. Operating the System
4.1 Continuous Recording (24/7)
The DVR comes with a pre-installed 500GB HDD, enabling 24/7 continuous recording. The system utilizes H.265+ compression technology to optimize storage space, effectively doubling the recording capacity. When the HDD is full, the system will automatically overwrite the oldest footage.
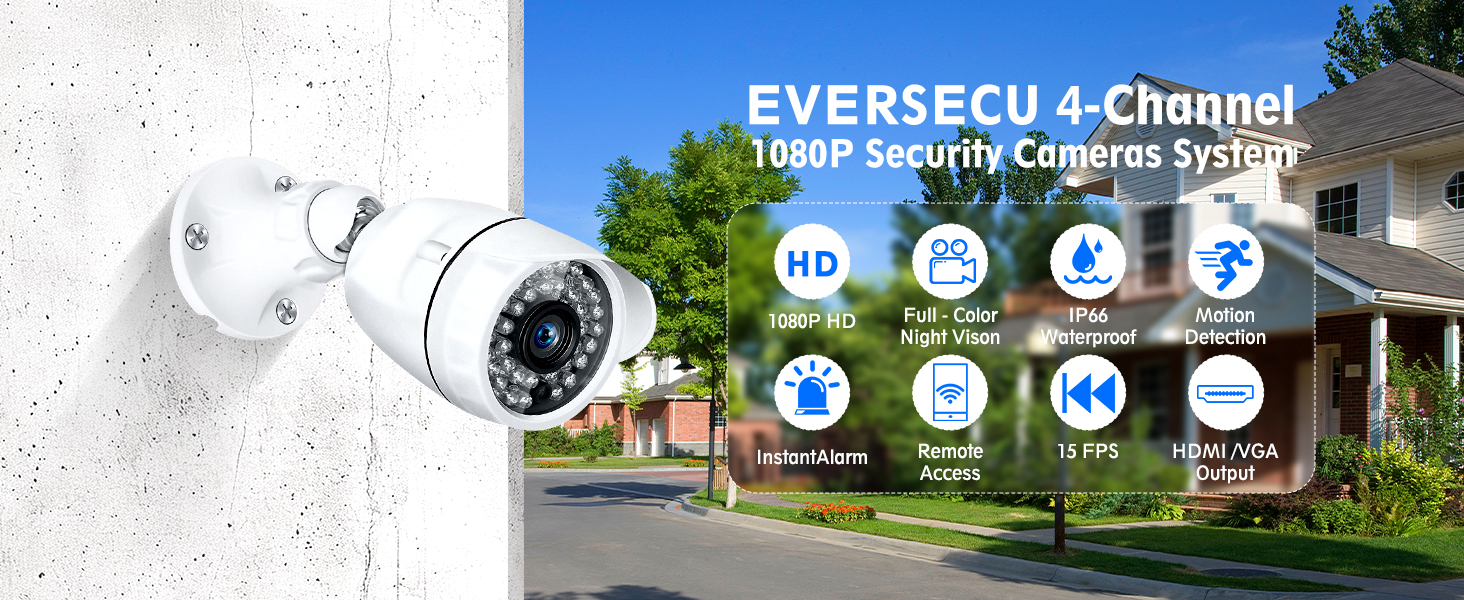
Figure 4.1: 24/7 Recording with 500GB HDD
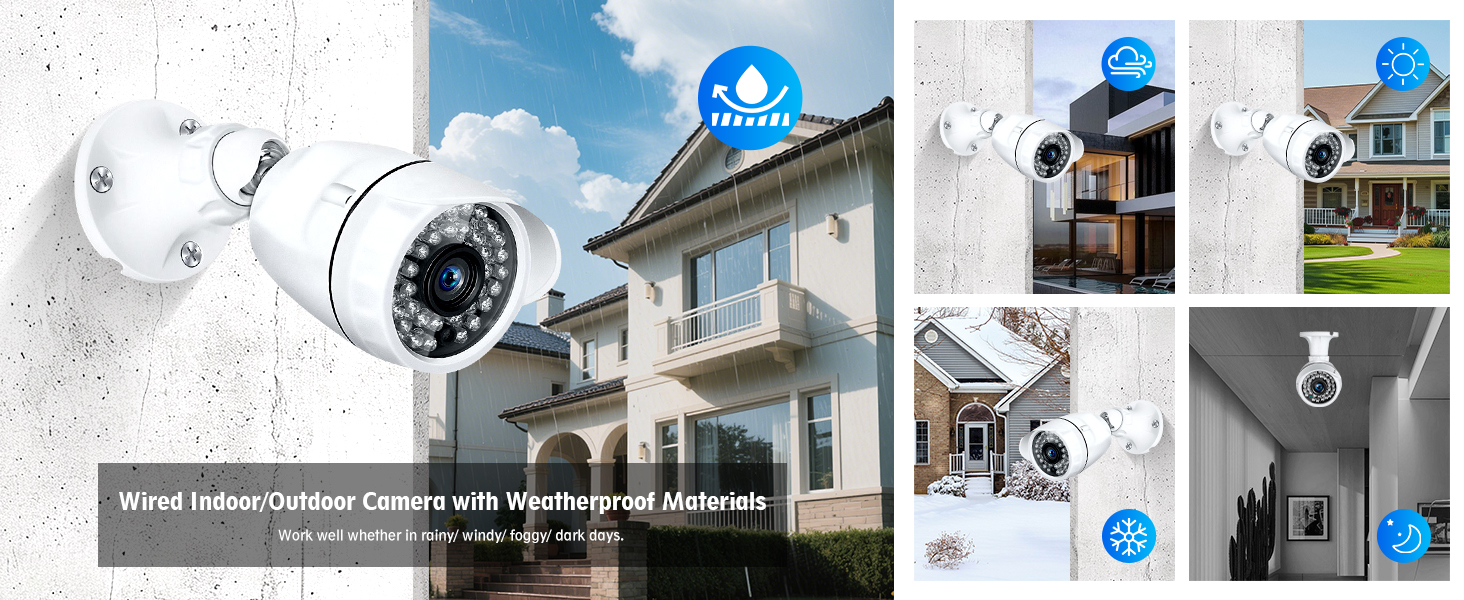
Figure 4.2: Recording Capabilities and Storage Options
4.2 Motion Detection and Alerts
Configure motion detection settings through the DVR's menu. When motion is detected, the system can trigger an alert, sending email notifications or push alerts to your smartphone via the Xmeye app. This feature helps you stay informed of any suspicious activity.
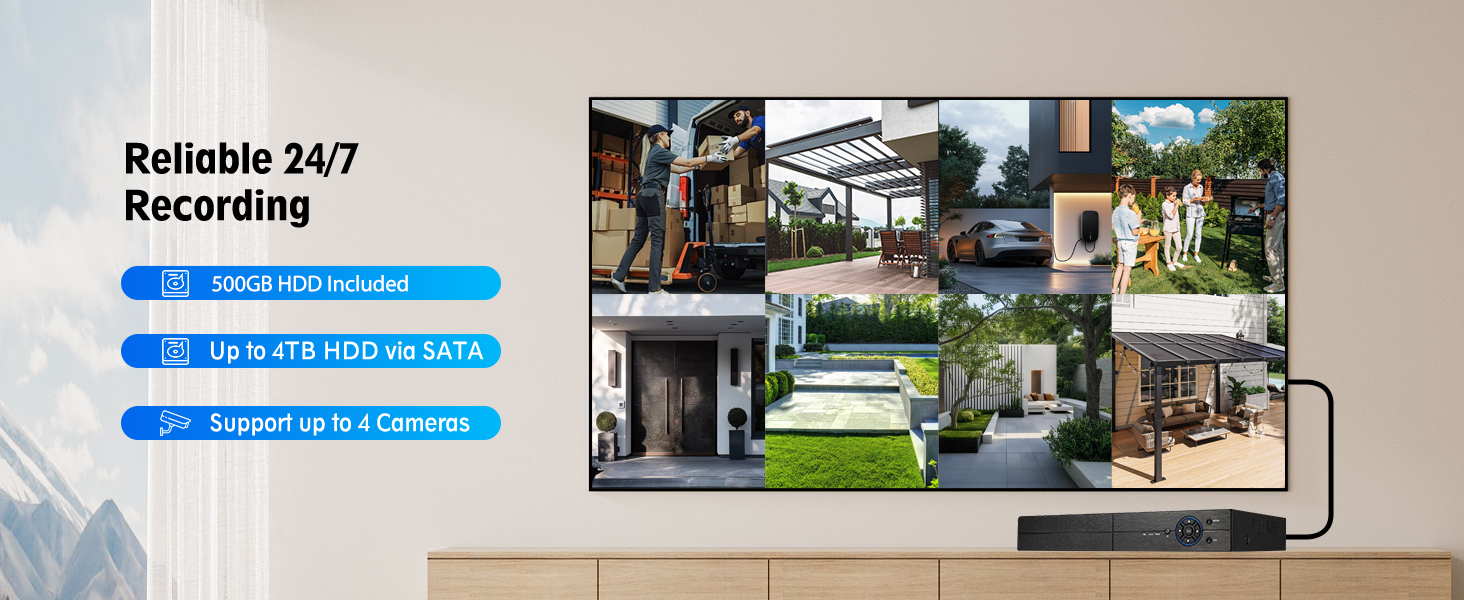
Figure 4.3: Real-Time Motion Detection and Alerts
4.3 Night Vision
The cameras are equipped with 36 infrared LEDs, providing clear night vision up to 100 feet (30 meters). The system automatically switches between day (color) and night (black and white) modes based on ambient light conditions.

Figure 4.4: Day and Night Vision Comparison
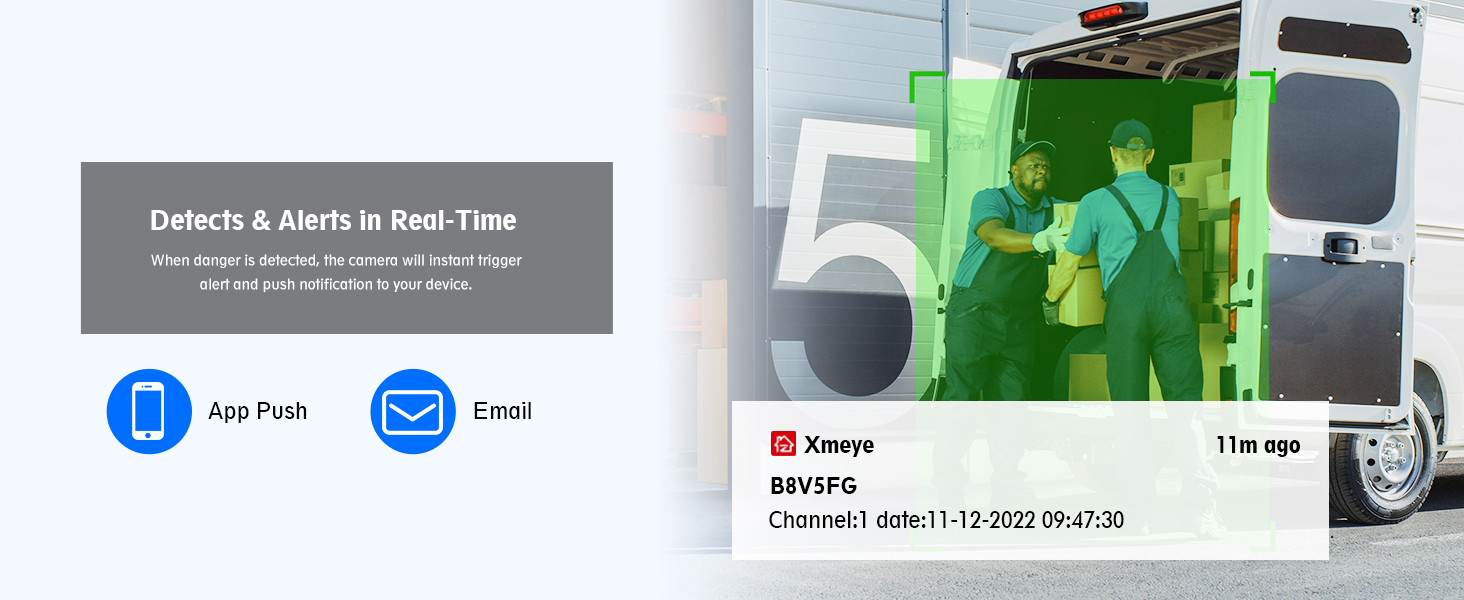
Figure 4.5: Full HD Day and Night Vision
4.4 Remote Access and Playback
To access your security system remotely, download the free Xmeye app for iOS or Android devices, or use the PC client software. This allows you to view live feeds, playback recorded footage, and manage settings from anywhere with an internet connection.
- Smartphone App: Search for "Xmeye" in your device's app store. Register an account and add your DVR using its unique ID.
- PC Client: Install the provided PC client software (or download from the EVERSECU website) to manage your system from a computer.
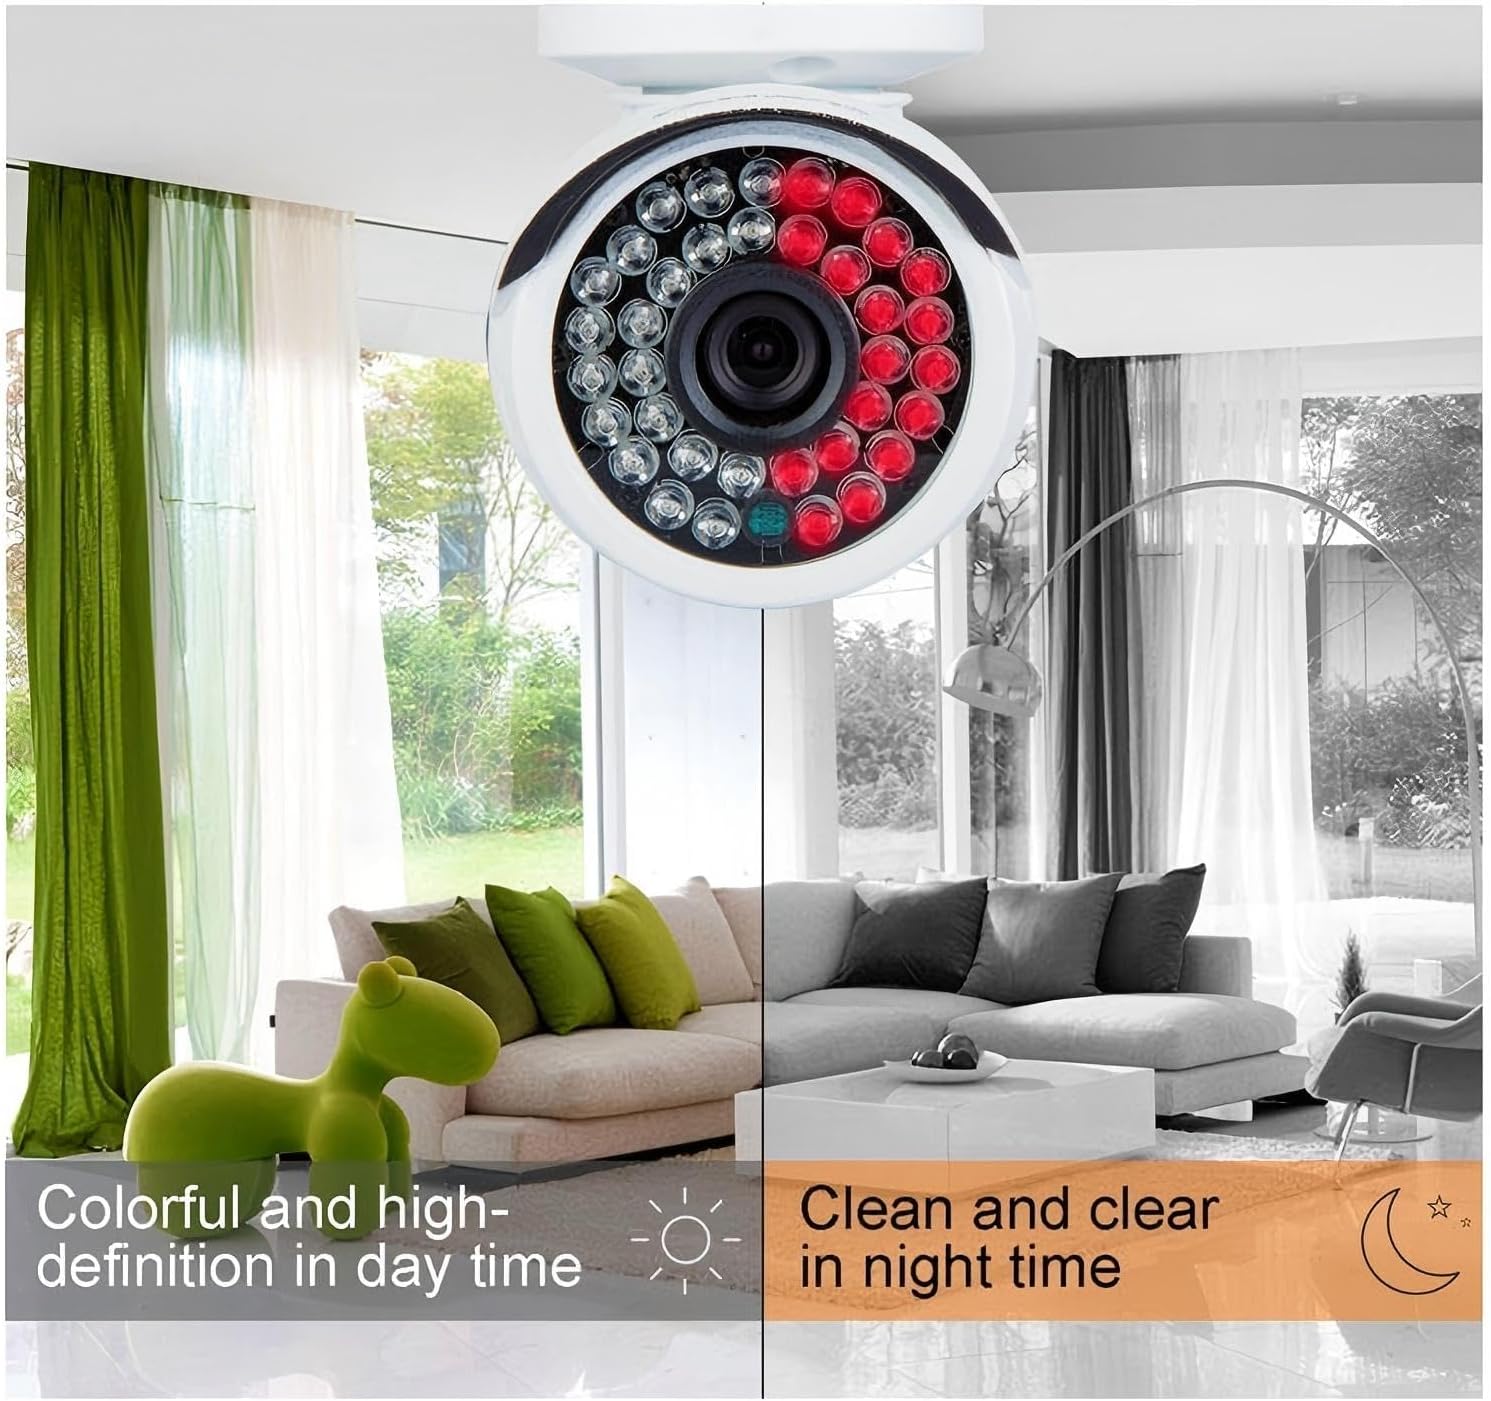
Figure 4.6: Mobile Remote Viewing via Xmeye App

Figure 4.7: Remote Watch and Playback Across Devices
Figure 4.8: Remote Access via Xmeye and AVSS
5. Maintenance
Regular maintenance ensures optimal performance and longevity of your security system.
- Camera Cleaning: Periodically clean the camera lenses with a soft, damp cloth to remove dust, dirt, or water spots that may obstruct the view. Do not use harsh chemicals.
- Cable Inspection: Regularly check all power and video cables for any signs of wear, damage, or loose connections. Secure or replace damaged cables promptly.
- DVR Ventilation: Ensure the DVR unit has adequate ventilation to prevent overheating. Keep vents clear of obstructions.
- HDD Management: The 500GB HDD will automatically overwrite old footage. If you require longer retention, consider backing up important footage or upgrading the HDD (supports up to 4TB via SATA).
- Firmware Updates: Check the EVERSECU website periodically for any available firmware updates for your DVR. Updates can improve performance and add new features.
6. Troubleshooting
This section addresses common issues you might encounter with your EVERSECU security system.
- No Video Display:
- Ensure the DVR and monitor are powered on.
- Check all video cables (BNC, HDMI, VGA) for secure connections.
- Verify the monitor's input source is correctly selected (HDMI/VGA).
- Check camera power connections.
- No Recording:
- Confirm the 500GB HDD is properly installed and recognized by the DVR.
- Check recording schedules in the DVR settings to ensure continuous or motion-triggered recording is enabled.
- Verify that the HDD is not full (though it should overwrite automatically, check status).
- Remote Access Not Working:
- Ensure the DVR is connected to your router via an Ethernet cable and has internet access.
- Verify your smartphone or PC has a stable internet connection.
- Check the Xmeye app or PC client settings; ensure the DVR ID is correctly entered and the device is online.
- Confirm your router's firewall settings are not blocking the DVR's connection.
- Motion Detection Not Triggering:
- Adjust the motion detection sensitivity in the DVR settings.
- Ensure the detection area is correctly configured and covers the desired surveillance zones.
- Check if recording schedules conflict with motion detection settings.
7. Specifications
Detailed technical specifications for the EVERSECU 4 Channel 1080P DVR Security Camera System.
| Feature | Specification |
|---|---|
| Brand | EVERSECU |
| Model Number | AHD-K4100MP |
| Connectivity Technology | Wired |
| Video Capture Resolution | 1080p |
| Number of Channels | 4 |
| Memory Storage Capacity | 500 GB (Pre-installed HDD) |
| Max HDD Support | Up to 4TB via SATA |
| Power Source | Corded Electric |
| Operating System (for App) | Android, iOS |
| Night Vision Range | 100 Feet |
| Frame Rate | 30 fps |
| Recording Modes | Motion Detection, Continuous, Schedule |
| Hardware Interface | HDMI, VGA, USB, LAN |
| Video Input | BNC |
| Viewing Angle | 75 Degrees |
| Signal Format | Analog |
| Optical Sensor Technology | CMOS |
| DVR Item Dimensions | 14 x 12 x 7 inches |
| UPC | 778299333276 |

Figure 7.1: Camera Dimensions
8. Warranty and Support
EVERSECU is committed to providing reliable products and excellent customer service.
- Warranty: This product is covered by a 2-year warranty from the date of purchase.
- Money-Back Guarantee: A 30-day money-back guarantee is offered for your peace of mind.
- Technical Support: Enjoy lifetime 24/7 technical support from EVERSECU. For assistance, please refer to the contact information provided on the EVERSECU official website or your purchase documentation.