
1. Introduction and Overview
The LUMINA 4K Webcam is designed to enhance your video calls with studio-quality video and AI-powered features. This manual provides essential information for setting up, operating, and maintaining your webcam.
- Look better on every video call: Lumina's proprietary AI makes you look amazing on calls.
- DSLR quality video: Ultrawide 4K camera with a wide-angle 95-degree field of view.
- Dual mics, crystal clear sound: Capture natural sound and eliminate noise from your surroundings.
- Control your appearance with the Lumina Studio App: 30+ different settings including exposure, white balance, saturation, background blur, field of view, and AI auto-framing.
- Aerospace-grade aluminum body: Premium matte design that fits perfectly with modern workspaces.

Image 1.1: The LUMINA 4K Webcam in Silver, showcasing its compact design.

Image 1.2: Close-up view of the webcam highlighting its ultrawide 4K camera and dual noise-cancelling microphones.
2. Setup
2.1 Unboxing and Initial Inspection
Upon opening the package, ensure all components are present:
- LUMINA 4K Webcam
- Webcam Mount/Clip
- USB-C to USB-C Cable
- USB-C to USB-A Cable
- Magnetic Privacy Cover
- Color Calibration Card
- Setup Guide
Video 2.1: An unboxing video demonstrating the contents of the LUMINA 4K Webcam package.
2.2 Mounting the Webcam
The webcam comes with an adjustable clip for easy attachment to your laptop or monitor. It also features a standard tripod thread for alternative mounting options.
- Attach the webcam to the provided mount by screwing it into the tripod thread on the bottom of the webcam.
- Place the mount securely on top of your laptop screen or monitor. Adjust the angle as needed.
2.3 Connecting to Your Computer
Use one of the provided USB cables to connect the webcam to your computer.
- For computers with a USB-C port, use the USB-C to USB-C cable.
- For computers with a standard USB-A port, use the USB-C to USB-A cable.
Note: For optimal performance and to ensure AI features activate automatically, it is recommended to connect the webcam directly to your laptop rather than through a monitor or USB hub.
2.4 Software Installation
To unlock the full AI features and control settings, download and install the Lumina Studio App.
- Visit setup.getlumina.com to download the latest version of the Lumina Studio App.
- Follow the on-screen instructions to complete the installation. You may need to create an account and obtain a free license.
- If using Windows, you might need to add the download files as an exception to your antivirus software if it interferes with installation.
3. Operating the Webcam
3.1 Lumina Studio App Controls
The Lumina Studio App provides extensive control over your webcam's image and AI features. It is compatible with both Mac and Windows operating systems.

Image 3.1: The Lumina Studio App interface, showing various settings for image adjustment.
- Exposure Level: Adjust the brightness of your video.
- White Balance: Fine-tune color temperature for accurate skin tones.
- Saturation: Control the intensity of colors.
- Background Blur: Apply a realistic depth effect to blur your background.
- Field of View: Adjust the camera's viewing angle.
3.2 AI Auto-Framing (Cameraman)
The AI Cameraman feature automatically keeps you centered in the frame, even if you move during a call.
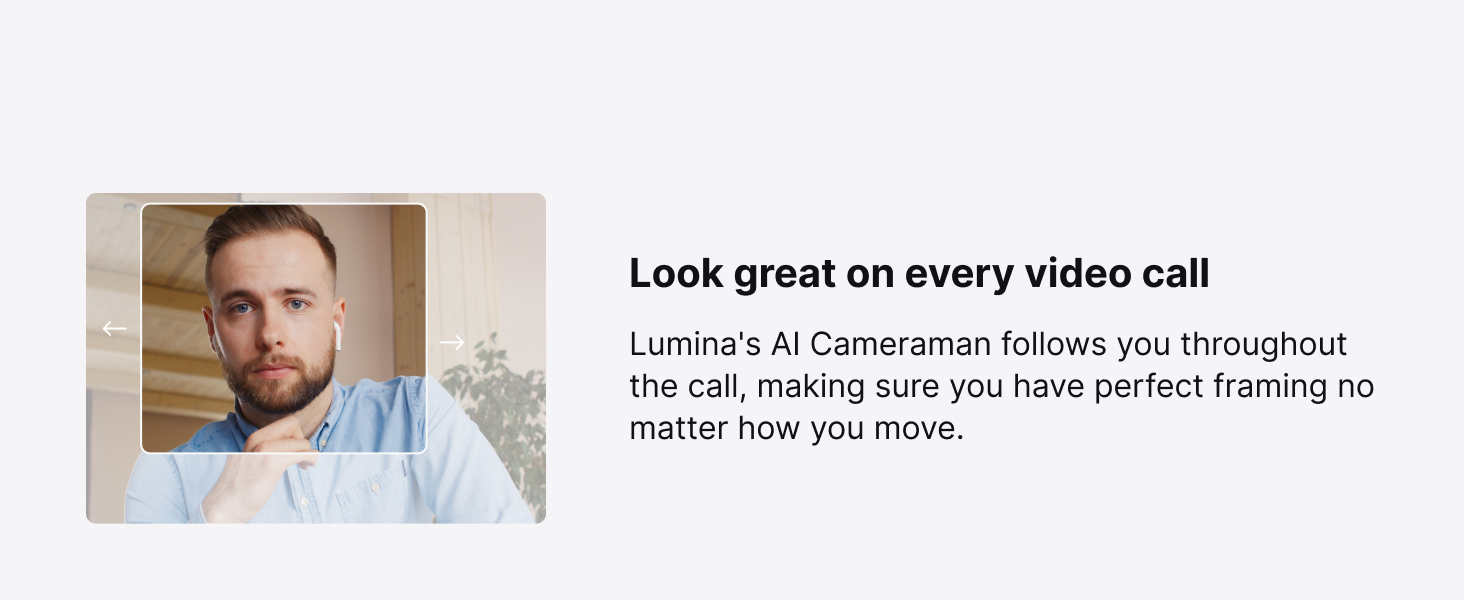
Image 3.2: Visual representation of AI features including Active Calibration, Background Blur, and Auto-Framing.
3.3 Color Calibration Card
Use the included color calibration card to help the webcam's AI system understand and adjust to the lighting conditions of your environment for optimal color accuracy.
Video 3.3: Demonstration on how to use the automatic color card for optimal color balance.
3.4 Magnetic Privacy Cover
The webcam includes a magnetic privacy cover. Simply slide it over the lens when not in use to ensure your privacy.

Image 3.4: The magnetic privacy cover shown in place over the webcam lens.
4. Maintenance
To ensure the longevity and optimal performance of your LUMINA 4K Webcam, follow these maintenance guidelines:
- Cleaning the Lens: Gently wipe the lens with a soft, lint-free cloth. Avoid using harsh chemicals or abrasive materials that could scratch the lens.
- Cleaning the Body: Use a dry or slightly damp soft cloth to clean the aerospace-grade aluminum body.
- Storing the Webcam: When not in use, place the magnetic privacy cover over the lens to protect it from dust and scratches. Store the webcam in a cool, dry place.
- Color Calibration Card: Keep the color calibration card clean and free from smudges or damage to ensure accurate color adjustments.
5. Troubleshooting
If you encounter issues with your LUMINA 4K Webcam, consider the following:
- AI Features Not Activating: If Lumina Plus (AI/cameraman) features do not automatically turn on, try connecting the webcam directly to your computer's USB port, bypassing any monitors or USB hubs.
- Software Installation Issues: If your antivirus software interferes with the Lumina Studio App download or installation, temporarily disable it or add the download files as an exception.
- Video Quality/Frame Rate: Ensure you have adequate lighting in your environment. While the camera supports 4K, actual frame rates can vary based on system resources and application support. Some users have reported lower frame rates (e.g., 22fps instead of 40fps at 4K) even on powerful systems.
- Blurring/Framing Performance: If the background blur or AI auto-framing is not performing as expected, check the settings in the Lumina Studio App. Adjust blurring strength or framing speed as needed.
- No Image/Sound: Verify that the USB cable is securely connected to both the webcam and your computer. Ensure the Lumina Studio App is running and the webcam is selected as the active camera in your video conferencing software.
6. Specifications
| Brand | LUMINA |
| Model Number | 4K-Webcam |
| Video Capture Resolution | 4K |
| Effective Still Resolution | 8 MP |
| Viewing Angle | 95 Degrees |
| Connectivity Technology | USB |
| Operating System | Mac, Windows |
| Features | AI-Powered Auto-Framing, AI-Powered Appearance Control, Lumina Studio App Compatibility |
| Item Weight | 0.33 Kilograms |
| Color | Silver |
7. Warranty and Support
7.1 Warranty Information
Lumina offers a 1-year warranty on our product. If the product becomes defective within the warranty period, please contact us immediately for assistance and to clarify the status of the product.
7.2 Customer Support
For any questions, technical assistance, or warranty claims, please contact Lumina customer support. Lumina provides expert support, including 1-on-1 concierge onboarding calls and access to Lumina experts for quick software setup.
- Seller: Lumina_Inc
- Support Website: Refer to your product packaging or the Lumina Studio App for the official support website.

Image 7.1: Lumina's customer support team offering expert assistance.