
Graywind GW-PTB-CUSTOM
Graywind Manual Sliding Panels Instruction Manual
Model: GW-PTB-CUSTOM
For 100% Blackout Privacy Panel Track Blinds with Wand Control
1. Product Overview
The Graywind Manual Sliding Panels are designed to provide effective room darkening, absolute privacy, and additional thermal insulation for large windows, patio sliding glass doors, and room dividers. These blinds feature a high-quality track system and a convenient wand control for smooth operation.
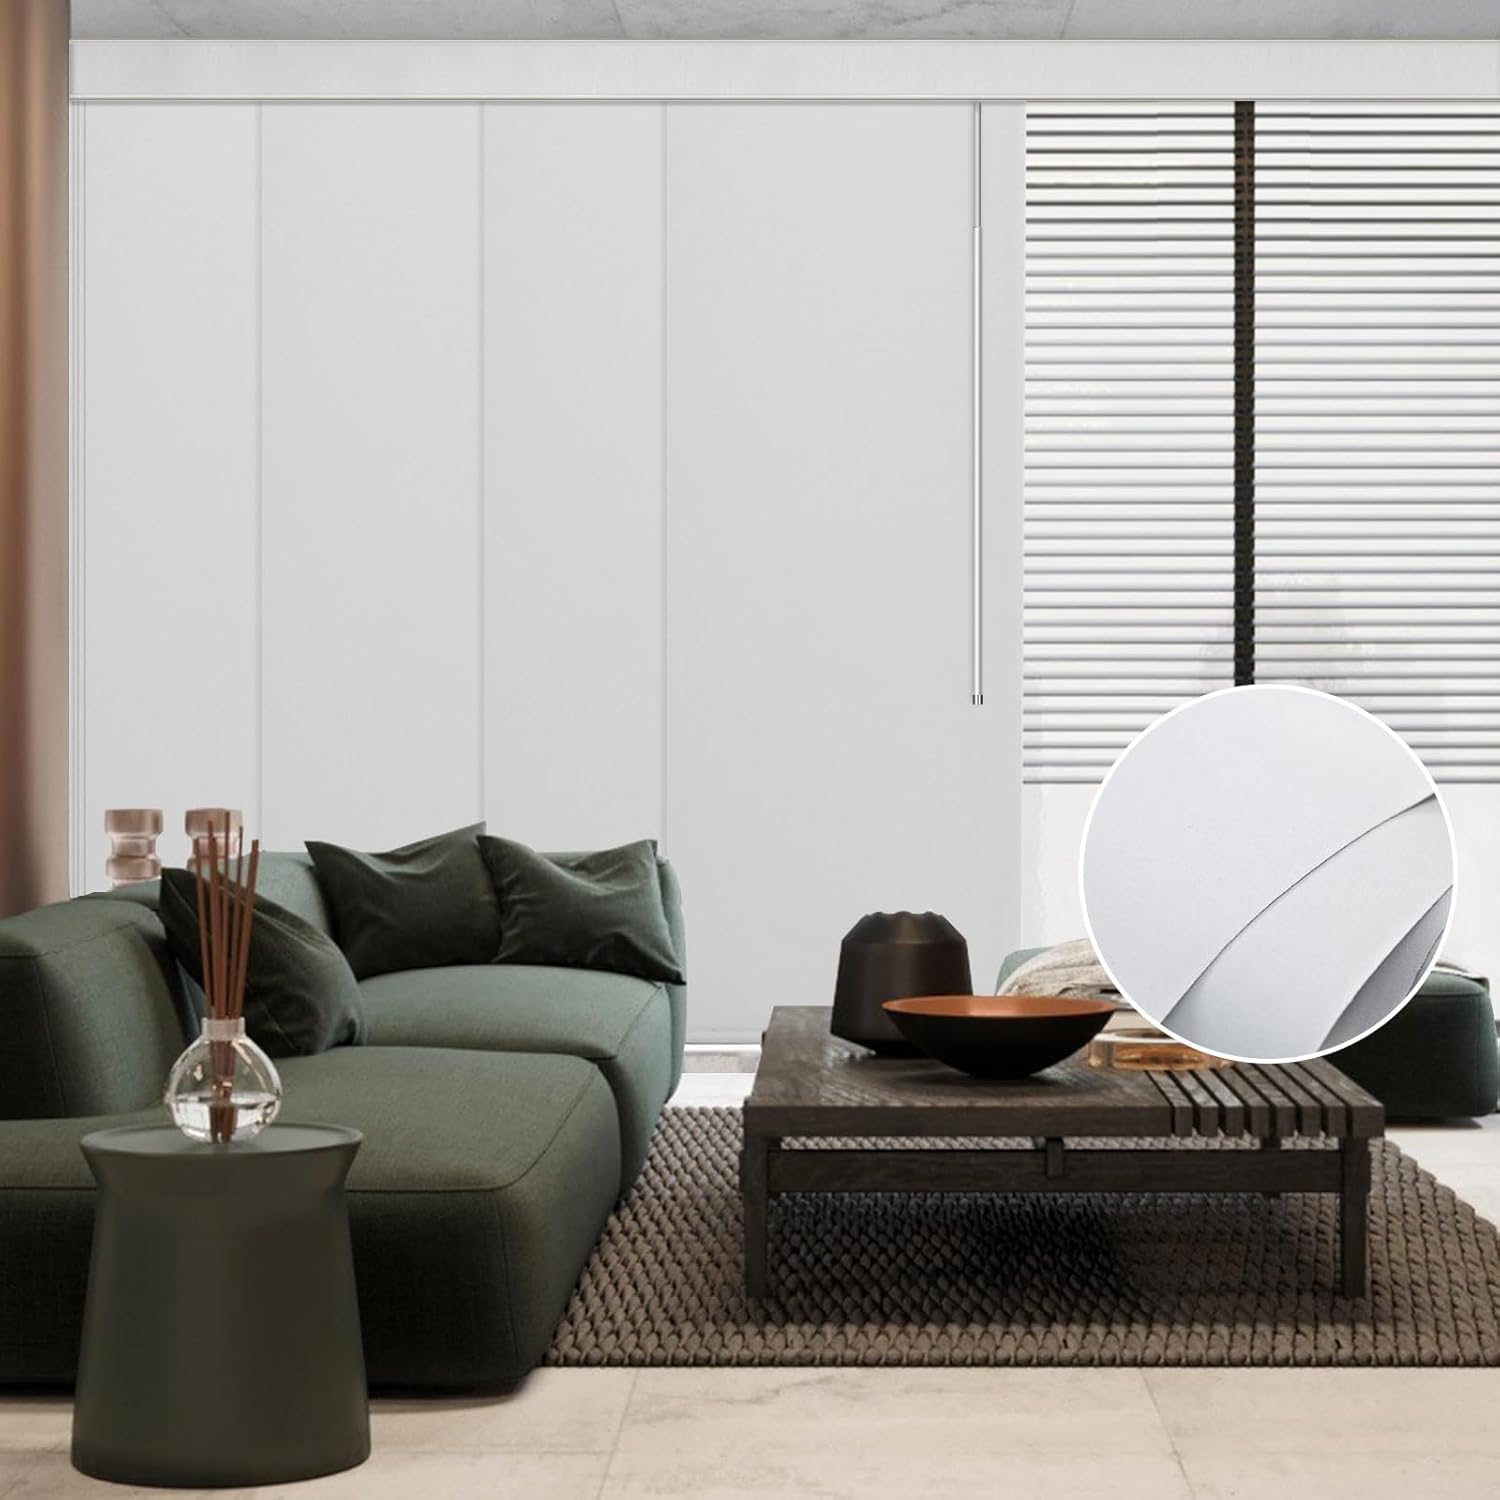
Image: Graywind Manual Sliding Panels in a modern living space, demonstrating their aesthetic and functional integration.
Key Features:
- 100% Blackout Fabric: Triple-weaved fabric ensures complete room darkening, privacy, and thermal insulation.
- Removable & Replaceable Panels: Designed for easy cleaning and maintenance.
- Wand Control: Cordless operation for smooth manual control from left, right, or the middle, ensuring safety for children and pets.
- High-Quality Track: Provides smooth operation and is easy to install.
- Optional Valance: A valance with matching fabric is available for a finished look.

Image: Visual representation of key features including replaceable panels, light control, safety wand control, and energy efficiency.
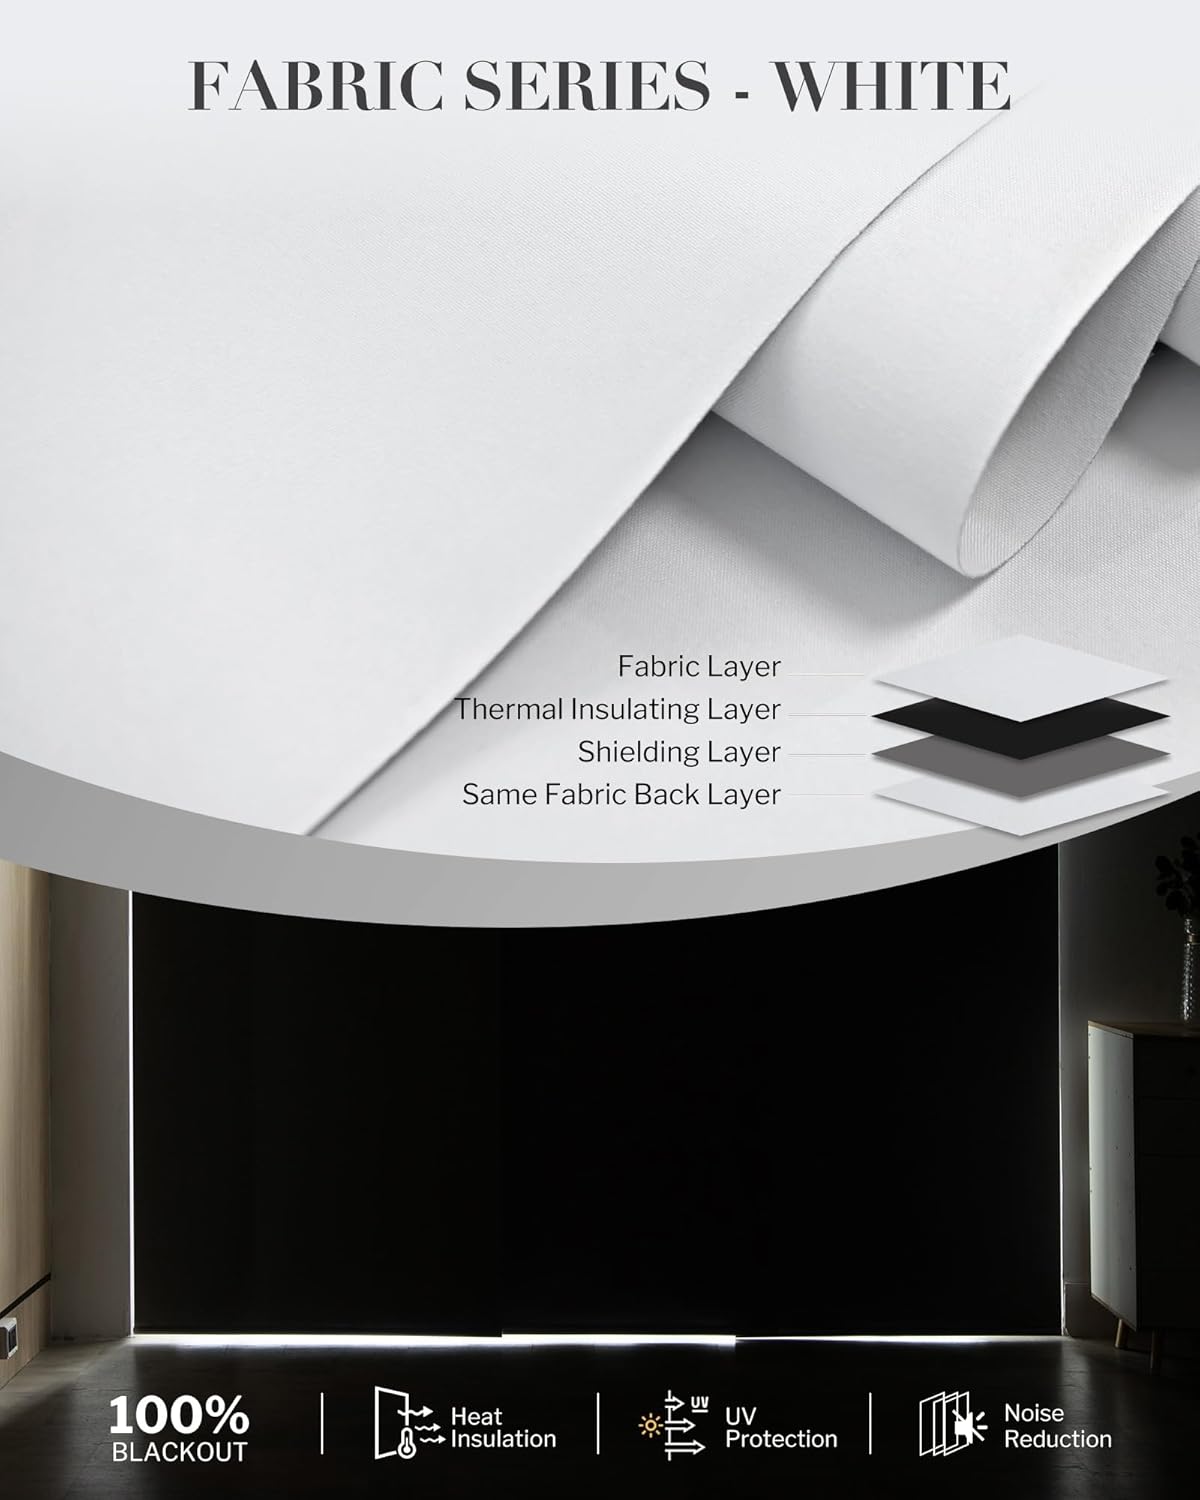
Image: Detailed view of the blackout fabric composition, highlighting its multiple layers for insulation and light blocking.
2. Safety Information
This product features a cordless wand control system, which is designed to be safe for homes with children and pets by eliminating hazardous cords. Always ensure the wand is used as intended for operation.

Image: Hand operating the wand control, illustrating the simple and safe cordless mechanism.
3. Components Checklist
Before beginning installation, please ensure all components are present. Refer to the packing list provided with your product for a complete itemized list. Typical components include:
- Sliding Panel Track (may be joinable for wider sizes)
- Fabric Panels
- Wand Control
- Mounting Brackets (Side Wall or Ceiling)
- Screws and Wall Anchors
- Valance (Optional, if ordered)
- Valance Brackets (Optional)
- Installation Tape (Perforated)
- Allen Key (2.5mm for joinable track)

Image: Illustration of mounting brackets and valance brackets, indicating their use for inside and outside mount options.
4. Installation Instructions
For a visual guide, please refer to the official installation video provided by Graywind. It is highly recommended to watch the video before starting the installation process.
Video: "How To Install | Graywind Manual Sliding Panels" - This video provides a comprehensive step-by-step guide for installing your Graywind Manual Sliding Panels.
4.1. Joinable Track Installation (for wider sizes)
If your track comes in multiple pieces, you will need to join them using the provided metal plate and screws. Use a 2.5mm Allen key to loosen and then tighten the screws.
- Align the two track sections.
- Place the metal joining plate into the track channel.
- Loosen the screws on the plate using a 2.5mm Allen key.
- Slide the plate to bridge both track sections.
- Tighten the screws firmly to secure the connection.
4.2. Side Wall Mount
For side wall mounting, determine the installation position using the perforated tape. Mark the drill holes and install the mounting brackets.
- Determine the desired height and width for your blinds.
- Use the perforated tape to mark the drill hole positions on the wall. Ensure marks are equally spaced.
- Drill pilot holes at the marked positions.
- Insert wall anchors if drilling into drywall.
- Secure the mounting brackets to the wall using screws.
4.3. Ceiling Mount
For ceiling mounting, ensure the ceiling depth is sufficient (≥ 3.9 inches). Use the perforated tape to mark the drill holes on the ceiling.
- Verify that your ceiling has adequate depth for mounting.
- Use the perforated tape to mark the drill hole positions on the ceiling. Ensure marks are equally spaced.
- Drill pilot holes at the marked positions.
- Insert wall anchors if necessary.
- Secure the mounting brackets to the ceiling using screws.
4.4. Installing the Panels (Vanes)
Once the track is securely mounted, you can install the individual fabric panels (vanes) onto the carriers within the track.
- Identify the numbered carriers on the track.
- Align the top edge of each fabric panel with its corresponding carrier.
- Gently push the panel upwards until it clicks securely into place.
- Repeat for all panels, ensuring they are correctly aligned and evenly spaced.
- Adjust the vanes as needed to keep them aligned and ensure smooth movement.
4.5. Valance Installation (Optional)
If you have an optional valance, assemble it and attach it to the track for a finished appearance.
- Assemble the valance sections if they come in multiple pieces, using the provided connectors and screws. Loosen and then tighten screws as needed.
- Insert the fabric into the valance.
- Attach the valance brackets to the valance.
- Hook the assembled valance onto the main track. Ensure it clicks securely into place.

Image: Comparison illustrating the appearance of the blinds with and without the optional valance.
5. Operation
Your Graywind Manual Sliding Panels are operated using a wand control. This allows for easy and precise adjustment of the panels.
Wand Control:
- To open or close the panels, gently push or pull the wand in the desired direction (left, right, or middle stack).
- The panels will slide smoothly along the track.
- The default wand length is calculated as Order Height - 39 inches, with a minimum length of 27.5 inches.

Image: Demonstration of the wand control, showing how it is used to move the panels.

Image: Visual guide for vane stack location, showing options for left or right stacking.
Video: "Product Show | Manual Sliding Panels | Wand Control" - This video demonstrates the smooth operation of the wand control and the sliding panels.
6. Maintenance & Care
To maintain the appearance and functionality of your Graywind Manual Sliding Panels, follow these simple care instructions:
- Spot Clean: For minor stains or dirt, use a soft, damp cloth with mild soap to gently spot clean the fabric panels. Avoid harsh chemicals or abrasive cleaners.
- Dusting: Regularly dust the panels and track with a soft cloth or a vacuum cleaner with a brush attachment.
- Panel Removal: Panels are removable for easier cleaning or replacement if needed.
7. Troubleshooting
If you encounter any issues with your Graywind Manual Sliding Panels, consider the following common solutions:
- Panels not sliding smoothly: Check the track for any obstructions or debris. Ensure all panels are correctly seated in their carriers.
- Panels misaligned: Gently adjust the panels on their carriers to ensure even spacing and alignment. Refer to the installation video for guidance on proper panel placement.
- Wand control issues: Ensure the wand is securely attached to the lead carrier. Check for any kinks or damage to the wand.
If problems persist, please contact Graywind customer support for assistance.
8. Specifications
| Feature | Detail |
|---|---|
| Brand | Graywind |
| Model Number | GW-PTB-CUSTOM |
| Material | Polyester Blend |
| Opacity | Blackout (100%) |
| Control Type | Manual (Wand Control) |
| Recommended Use | Indoor (Patio, Room Divider, Bedroom, Living Room, Sliding Door) |
| Product Care | Spot Clean |
| Max Width | Up to 153 inches |
| Default Wand Length | Order Height - 39" (Min. 27.5") |
9. Warranty and Support
Graywind provides long-term complimentary technical support for your Manual Sliding Panels. For any questions, concerns, or assistance with installation, operation, or troubleshooting, please contact Graywind customer service.
Please refer to your purchase documentation for specific warranty details and contact information.
Ask a question about this manual
Ask about setup, troubleshooting, compatibility, parts, safety, or missing instructions. Manuals+ will review the question and use this page’s manual context to help answer it.