
Introduction
Thank you for choosing the HMF Small Safe. This practical safe is designed for secure storage of cash, valuables, and important documents in various settings such as hotels, shops, or your home. It features an individually programmable electronic lock with a 3 to 8 digit code and a robust double bolt locking mechanism. Constructed from single-layer steel with 1mm thick walls and 3mm thick doors, it is powder-coated in an anthracite finish for durability.

Figure 1: The HMF Small Safe with its door open, revealing the electronic keypad and the spacious interior. The safe is designed for secure storage of valuables.
Setup
1. Battery Installation
The safe requires 4 AA batteries (not included) to power the electronic lock. Open the battery compartment located on the inside of the safe door, typically behind a small cover. Insert the batteries, ensuring correct polarity (+/-). Close the compartment. The safe will emit a beep, indicating successful power-up.
2. Initial Code Setting
Upon first use, or after battery replacement, you will need to set your personal access code. The factory default code is usually "159".
- With the door open, press the red reset button located on the inside of the door, near the hinge. You will hear a beep.
- Within 5 seconds, enter your desired 3 to 8 digit code on the keypad.
- Press the "#" button to confirm. You will hear a confirmation beep.
- Test the new code with the door open to ensure it works correctly before closing the safe.

Figure 2: Detailed view of the electronic keypad, showing the number buttons and indicator lights for battery status and lock operation.
3. Mounting the Safe
For enhanced security, the safe can be mounted to a wall or floor. Pre-drilled holes are provided on the back and bottom of the safe. Mounting hardware (2 metal anchors, 2 fixing screws) is included.
- Choose a suitable location for mounting.
- Mark the drilling points on the wall or floor using the safe's pre-drilled holes as a template.
- Drill holes of appropriate size and depth for the provided anchors.
- Insert the anchors into the drilled holes.
- Align the safe with the anchors and secure it using the fixing screws. Ensure the safe is firmly attached.

Figure 3: The safe's rear panel with pre-drilled mounting holes, alongside the included metal anchors and screws for secure installation.
Operating Instructions
1. Opening the Safe with Your Code
- Enter your personal 3 to 8 digit code on the keypad.
- Press the "#" button.
- If the code is correct, the green "OPEN" light will illuminate, and you will hear a beep.
- Within 5 seconds, turn the knob clockwise to open the safe door.
2. Closing and Locking the Safe
Close the safe door and turn the knob counter-clockwise until the bolts are fully extended and the door is securely locked. There is no need to enter the code to lock the safe.
3. Using the Emergency Key
In case of forgotten code, battery failure, or electronic malfunction, you can use the emergency key to open the safe.
- Locate the emergency keyhole, usually hidden behind a small cover on the keypad panel.
- Insert the emergency key and turn it counter-clockwise while simultaneously turning the knob clockwise to open the door.
- Keep the emergency keys in a secure location, separate from the safe.
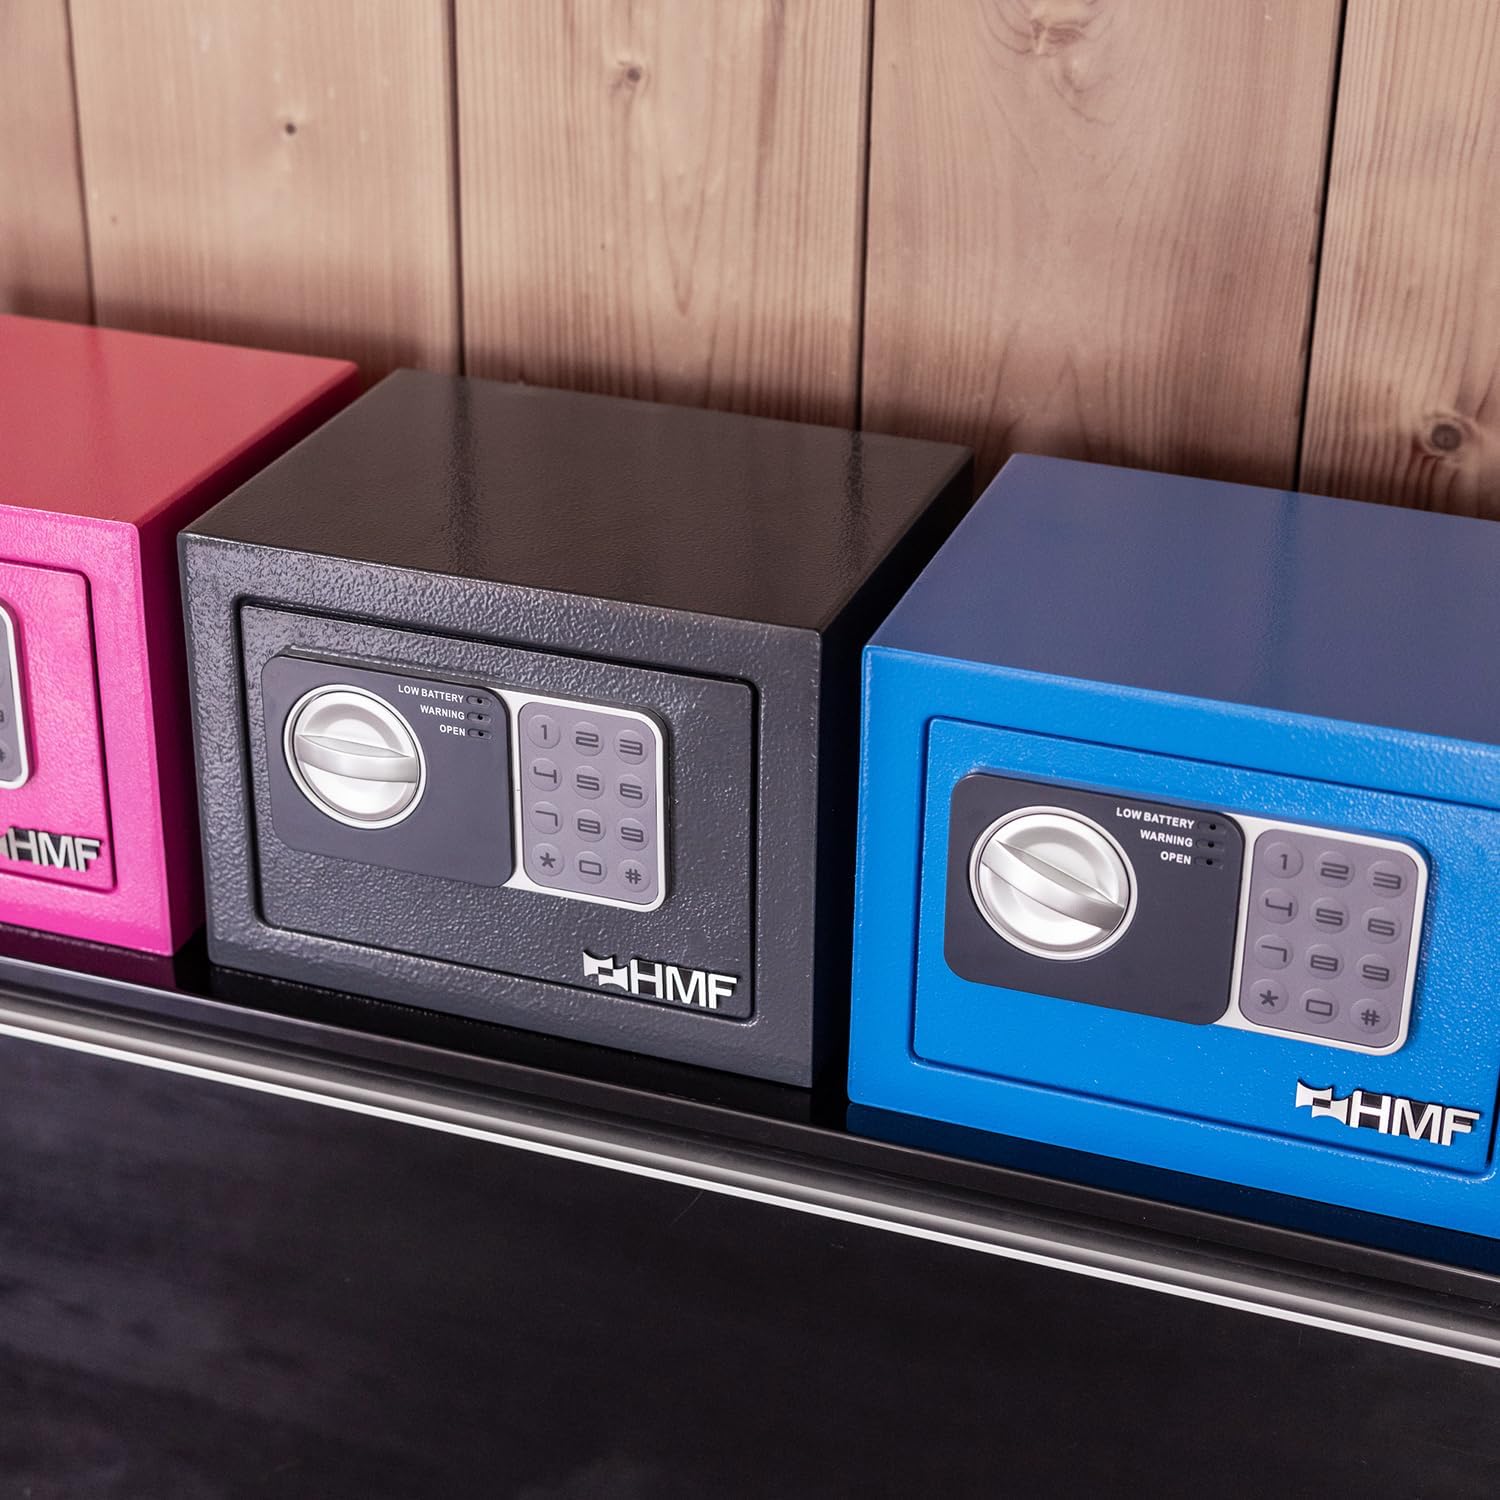
Figure 4: The emergency key inserted into its hidden lock on the keypad, providing an alternative method to open the safe.
Maintenance
1. Battery Replacement
When the "LOW BATTERY" indicator light illuminates, or if the keypad becomes unresponsive, it's time to replace the batteries. Use 4 new AA batteries. Follow the battery installation steps in the "Setup" section. It is recommended to replace batteries annually, even if the low battery indicator has not yet appeared, to ensure optimal performance.
2. Cleaning
Clean the exterior of the safe with a soft, damp cloth. Avoid using abrasive cleaners or solvents, as these can damage the finish. Ensure the keypad and lock mechanism are kept free of dust and debris.
Troubleshooting
| Problem | Possible Cause | Solution |
|---|---|---|
| Safe does not open with code. | Incorrect code entered; Low batteries; Electronic malfunction. | Re-enter code carefully. Replace batteries. Use emergency key. |
| "LOW BATTERY" light is on. | Batteries are low. | Replace all 4 AA batteries immediately. |
| Keypad is unresponsive. | Dead batteries; Electronic malfunction. | Replace batteries. Use emergency key. Contact customer support if issue persists. |
| Door does not close properly. | Obstruction in door frame; Bolts not retracting fully. | Check for obstructions. Ensure knob is turned fully to retract bolts before closing. |
Specifications
- Model: HMF 46126-11
- External Dimensions (W x H x D): 23 x 17 x 17 cm (9.06 x 6.69 x 6.69 inches)
- Internal Dimensions (W x H x D): 22.5 x 16.5 x 16.5 cm (8.86 x 6.50 x 6.50 inches) - Suitable for DIN A5 documents.
- Weight: 2.55 kg (5.62 lbs)
- Material: Alloy Steel, Metal
- Lock Type: Electronic Combination Lock (3-8 digits) with Double Bolt
- Mounting Type: Wall Mount (pre-drilled holes)
- Special Features: Portable
- Included Components: Safe, 2 Emergency Keys, 2 Metal Anchors, 2 Fixing Screws, 1 Instruction Manual

Figure 5: Visual representation of the safe's external dimensions (23x17x17 cm) and internal capacity (22.5x16.5x16.5 cm), suitable for A5 documents.
Warranty and Support
HMF products are designed for durability and reliability. For any questions, technical support, or warranty inquiries, please contact HMF customer service. Please refer to your purchase documentation for specific warranty terms and conditions.
Manufacturer: HMF
For further assistance, please visit the official HMF website or contact your retailer.

