
1. Product Overview
The LawnMaster CLMF2437G is a 24V Max cordless lawn mower designed for efficient and convenient lawn maintenance. It features a 37cm cutting width, a 40L grass collection bag, and a mulching function. The intelligent iPower (TM) battery management system optimizes performance and battery life.

Figure 1: The LawnMaster CLMF2437G Cordless Lawn Mower, including the main unit, two 24V 4.0Ah batteries, and a fast charger.
2. Setup and Assembly
2.1. Battery Charging
The mower comes with two 24V-4.0AH Lithium-ion batteries and a one-hour fast charger. Ensure batteries are fully charged before first use.
- Connect the charger to a power outlet.
- Insert a battery into the charger. The charger indicator will show charging status.
- Allow the battery to charge until the indicator shows full.
- Important: If the battery is hot or cold, it will self-protect and not charge until it reaches an appropriate ambient temperature. Allow it time to adapt.
2.2. Battery Installation
Before operation, ensure the batteries are correctly installed and the safety key is inserted.
- Open the battery compartment cover on the mower.
- Slide the charged battery into the battery slot until it clicks into place.
- Insert the safety key into its designated slot.
- Close the battery compartment cover securely.
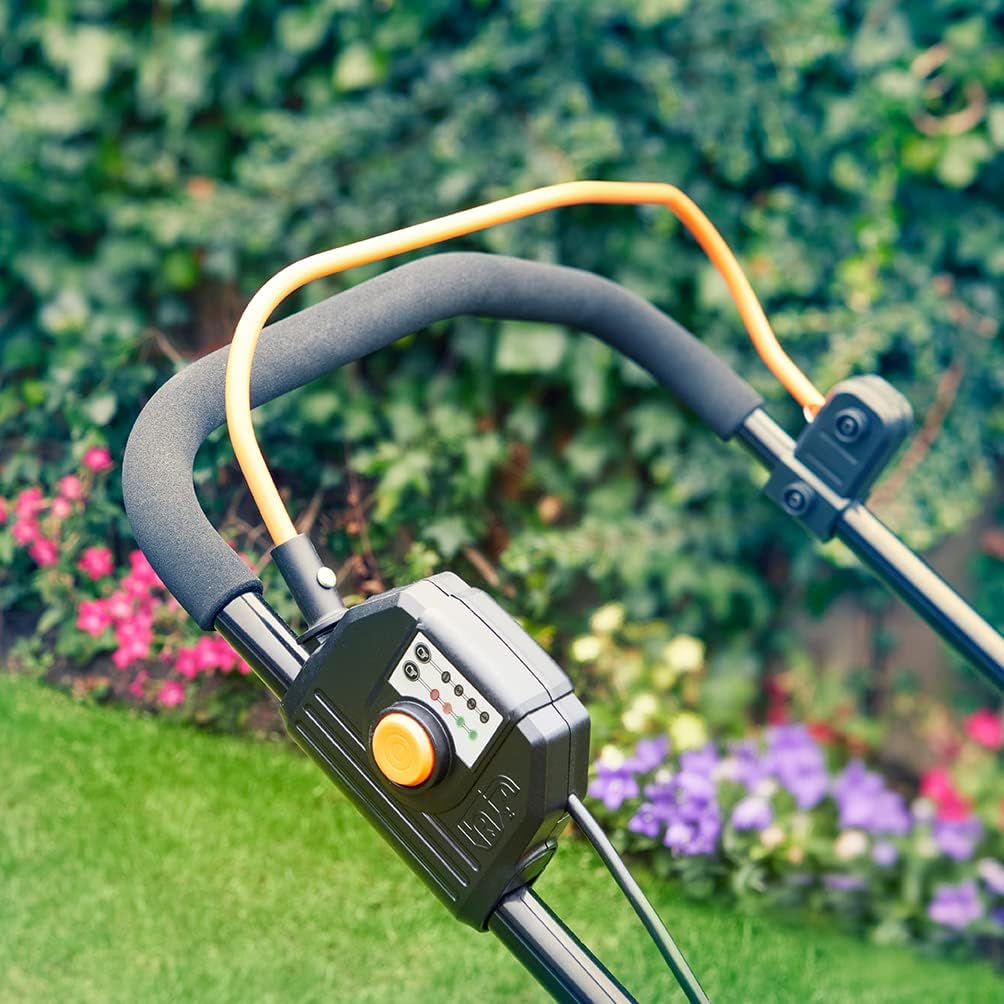
Figure 2: Proper insertion of the 24V battery into the mower's battery slot.
2.3. Handle Assembly
The mower features folding handles for compact storage. Assemble them before first use.
- Unfold the lower handle sections and secure them with the provided knobs.
- Attach the upper handle section, ensuring all cables are clear and not pinched.
- Tighten all securing mechanisms to ensure the handle is stable during operation.
3. Operating Instructions
3.1. Starting and Stopping the Mower
To start the mower, ensure the safety key is inserted and the battery is charged.
- Press and hold the safety button on the handle.
- While holding the safety button, pull the bail lever towards the handle. The mower will start.
- To stop the mower, release the bail lever.
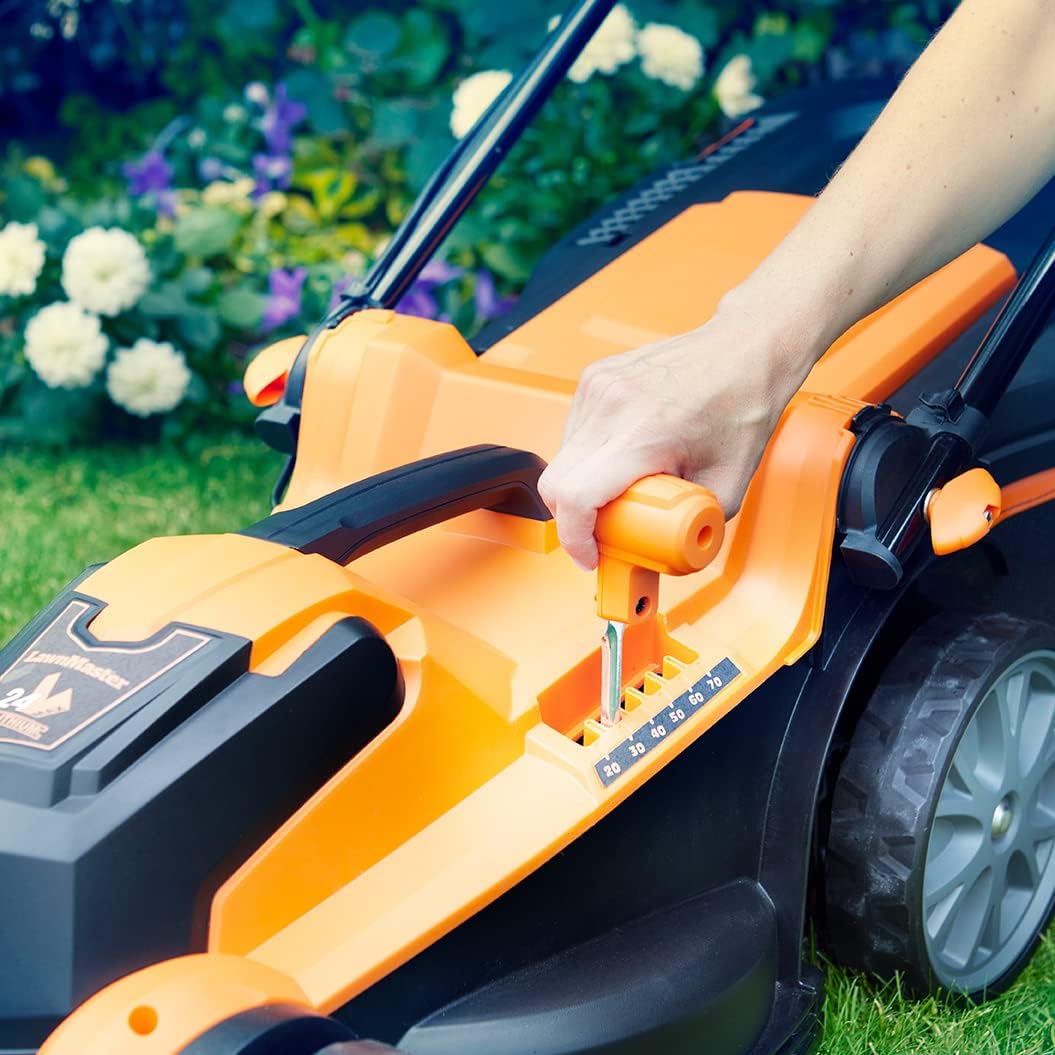
Figure 3: The control panel on the handle, displaying battery charge status and power settings.
3.2. iPower (TM) Intelligent Battery Management System
The iPower system automatically adjusts power output based on grass conditions. You can also manually check battery status and boost performance.
- The system provides additional power for tougher grass and conserves energy for lighter mowing.
- Press the button on the control panel to view the battery charge status indicators.
- If needed, you can manually increase performance via the control panel.
3.3. Cutting Height Adjustment
The mower offers 6 cutting height levels, from 22mm to 72mm, easily adjusted with a central lever.
- Ensure the mower is turned off and the safety key is removed before adjusting.
- Locate the central height adjustment lever on the side of the mower deck.
- Pull the lever outwards and move it to the desired height setting. Release the lever to lock it in place.
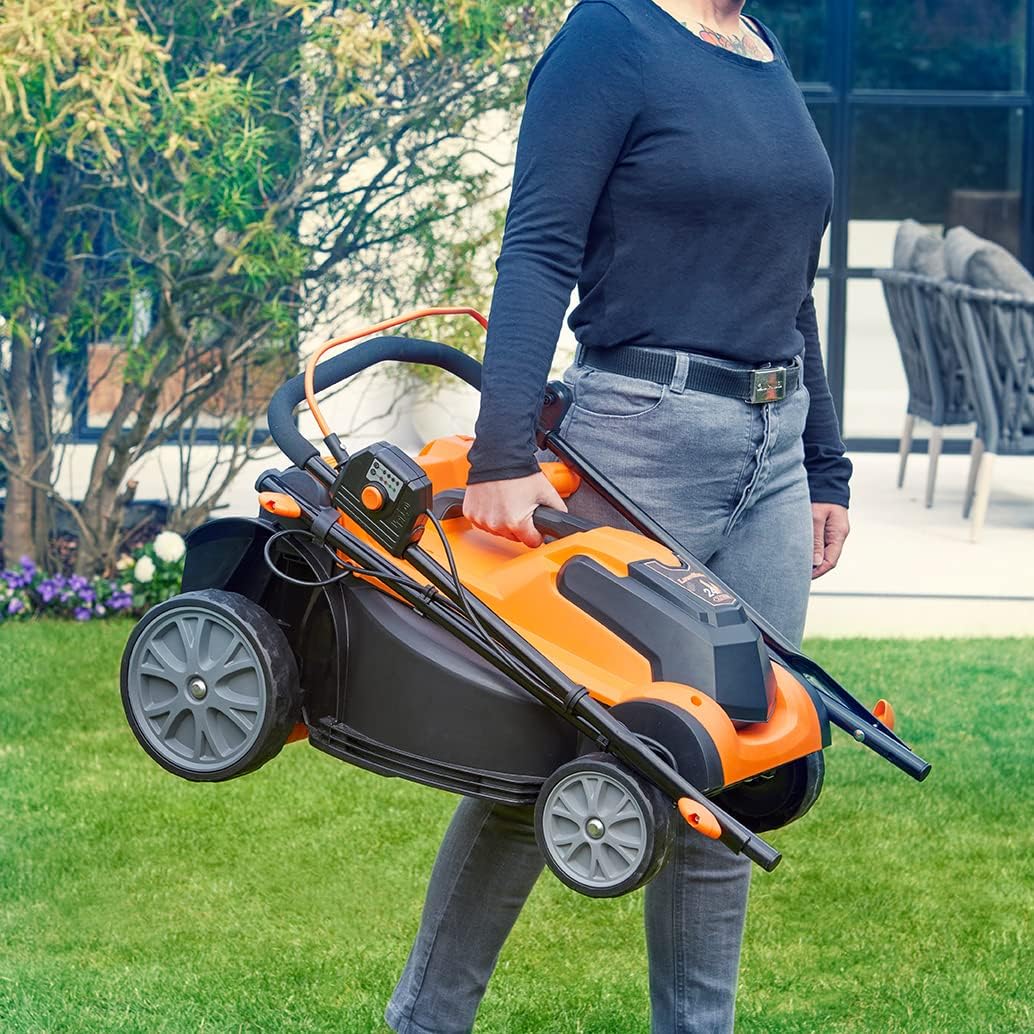
Figure 4: Adjusting the cutting height using the central lever.
3.4. Grass Collection and Mulching Function
You can choose to collect grass clippings in the 40L Redi-Bag or use the mulching function.
- Grass Collection: Ensure the 40L Redi-Bag is properly attached to the mower's rear discharge chute. The bag collects clippings for easy disposal.
- Mulching: To mulch, remove the grass collection bag and insert the provided mulching plug into the discharge chute. The mower will finely cut the clippings and return them to the lawn as natural nutrients.

Figure 5: Accessing the grass collection or mulching plug area at the rear of the mower.
4. Maintenance
4.1. Cleaning and Storage
Regular cleaning ensures optimal performance and extends the life of your mower.
- Always remove the battery and safety key before cleaning or performing any maintenance.
- Clean the mower deck and blade area after each use to prevent grass buildup.
- The Redi-Bag is collapsible for neat storage.
- For compact storage, the handles can be folded. Use the central carrying handle to move the mower easily.

Figure 6: The mower's compact design allows for easy carrying and storage when handles are folded.
4.2. Blade Care
The carbon steel blade provides excellent cutting quality. Inspect it periodically for sharpness and damage.
- If the blade becomes dull or damaged, it should be sharpened or replaced by a qualified service technician.
- Always wear protective gloves when handling the blade.
5. Troubleshooting
5.1. Battery Not Charging
If your battery is not charging, consider the following:
- Temperature: The battery has a self-protection mechanism. If it is too hot or too cold, it will not charge. Move the battery to a room temperature environment and allow it to acclimate for some time before attempting to charge again.
- Charger Connection: Ensure the charger is securely plugged into a working power outlet and the battery is correctly seated in the charger.
5.2. Mower Not Starting
If the mower does not start, check the following:
- Battery Charge: Ensure the battery is fully charged. Check the battery indicator on the control panel.
- Safety Key: Verify that the safety key is fully inserted into its slot.
- Operation Sequence: Confirm you are pressing the safety button before pulling the bail lever.
6. Specifications
| Feature | Specification |
|---|---|
| Model Number | CLMF2437G-03 |
| Power Source | Battery Powered (24V Max) |
| Battery Type | Lithium-ion (2x 4.0Ah included) |
| Charger Type | 1-hour Fast Charger |
| Cutting Width | 37 cm |
| Cutting Height Levels | 6 (22 mm - 72 mm) |
| Grass Bag Capacity | 40 Liters |
| Continuous Run Time | Approx. 25 minutes |
| Weight | 14 Kilograms |
| Dimensions (L x W x H) | 70.6 x 44.3 x 37.7 cm |
| Material | Alloy Steel |
7. Warranty and Support
The LawnMaster CLMF2437G Cordless Lawn Mower comes with a 2-year warranty, ensuring peace of mind regarding product quality and durability.
For replacement batteries, please search for ASIN B09CGM16FZ.
For further assistance or technical support, please refer to the contact information provided with your purchase documentation or visit the official LawnMaster website.


