
1. Introduction
This manual provides essential information for the safe and effective operation, maintenance, and troubleshooting of your TOTAL TR111226 12mm 2200W Router. Please read this manual thoroughly before using the tool to ensure proper handling and to prevent injury or damage.
The TOTAL TR111226 Router is a powerful tool designed for shaping and cutting wood. It features a premium 2200W motor, variable speed control, and an impact-resistant plastic base, making it suitable for various woodworking applications including manual straight cuts, guide cutting, and handle cutting.
2. Safety Instructions
WARNING: Always follow basic safety precautions to reduce the risk of fire, electric shock, and personal injury.
- Work Area Safety: Keep your work area clean and well-lit. Cluttered or dark areas invite accidents. Do not operate power tools in explosive atmospheres, such as in the presence of flammable liquids, gases, or dust.
- Electrical Safety: Power tool plugs must match the outlet. Never modify the plug in any way. Do not expose power tools to rain or wet conditions. Avoid body contact with earthed or grounded surfaces.
- Personal Safety: Always wear eye protection, dust mask, non-skid safety shoes, and hearing protection when operating the router. Dress properly; avoid loose clothing or jewelry.
- Tool Use and Care: Do not force the power tool. Use the correct power tool for your application. Disconnect the plug from the power source before making any adjustments, changing accessories, or storing power tools.
- Maintenance: Maintain power tools. Check for misalignment or binding of moving parts, breakage of parts, and any other condition that may affect the power tool’s operation.
3. Product Components
Familiarize yourself with the main components of your TOTAL TR111226 Router:
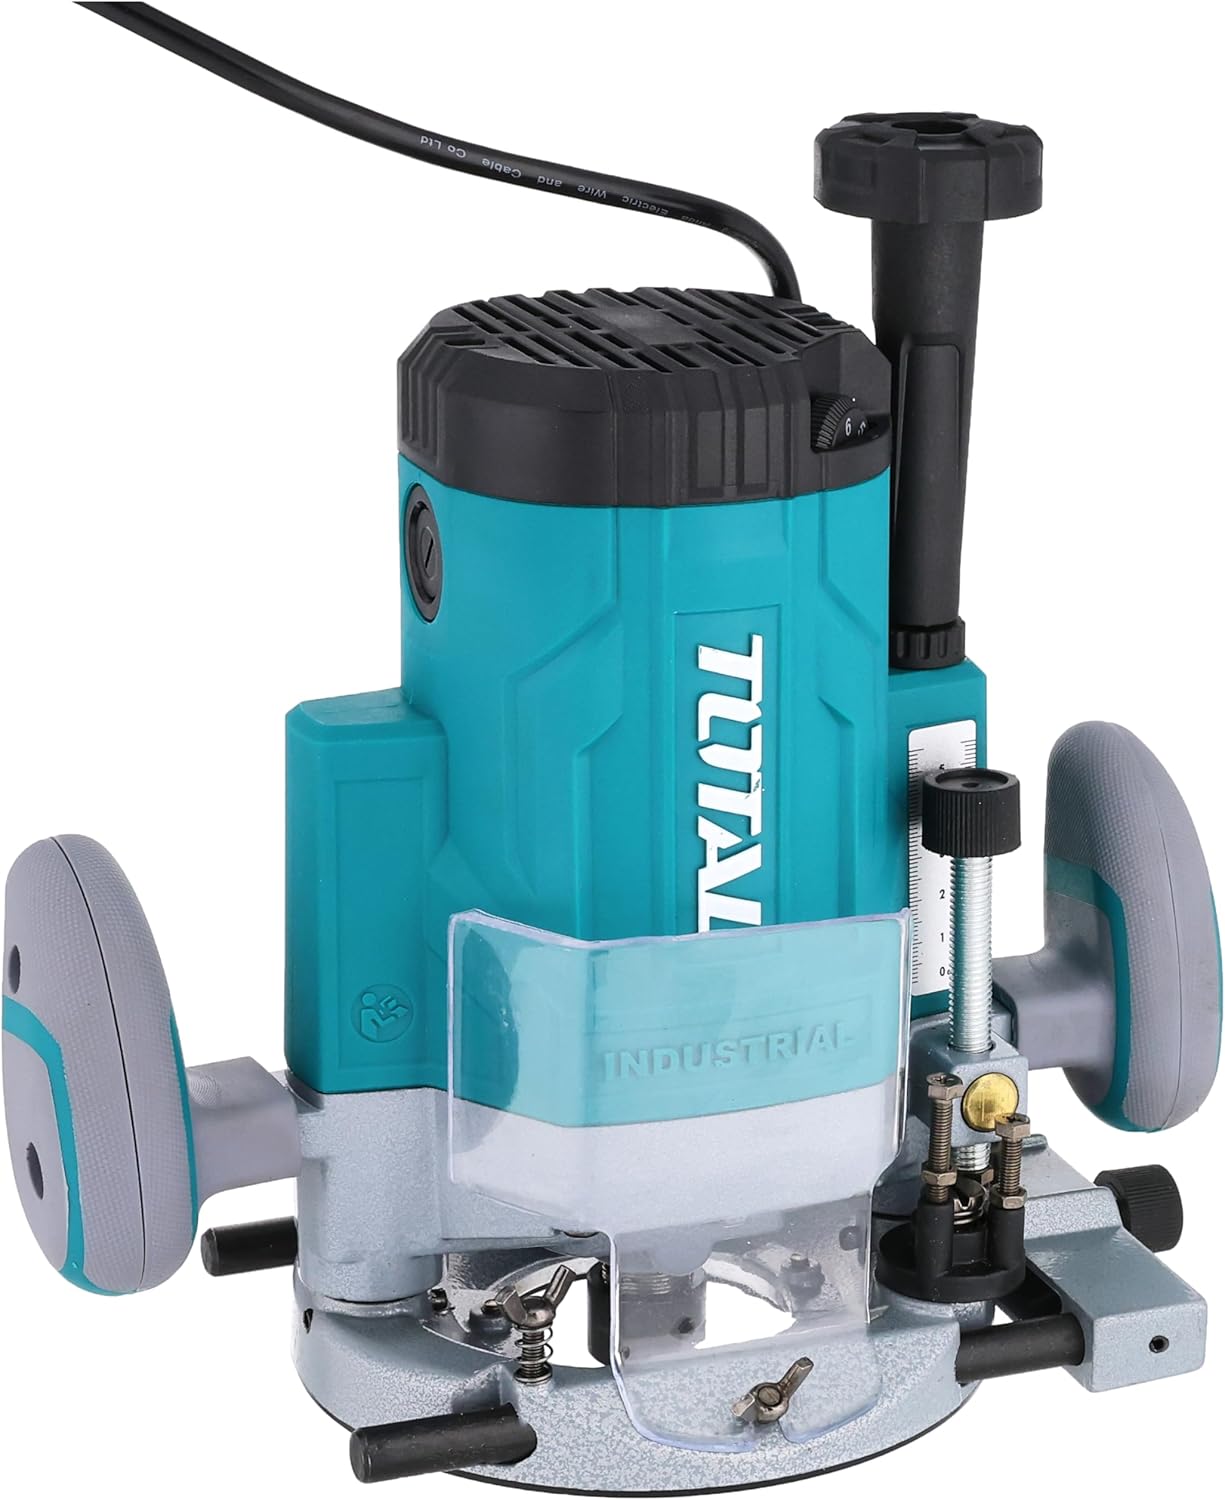
Figure 3.1: Front view of the TOTAL TR111226 Router, showing the main body, handles, and base. This image highlights the overall design and primary components of the tool.

Figure 3.2: Close-up view of the router's depth adjustment mechanism. This shows the threaded rod and locking knob used to precisely set the cutting depth.

Figure 3.3: Rear view of the router, displaying the power cord entry point and the product's identification label with technical specifications.
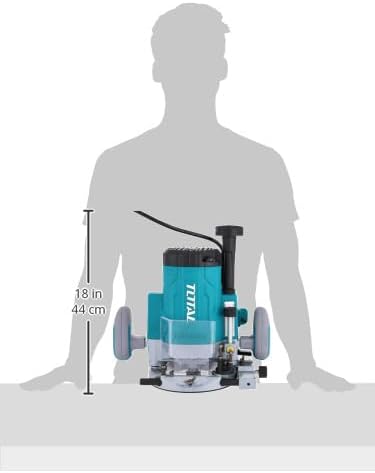
Figure 3.4: Image illustrating the approximate dimensions of the router, providing a visual reference for its size relative to a person.
4. Setup
4.1 Unpacking
Carefully remove the router and all accessories from the packaging. Inspect the tool for any signs of damage during transit. Retain the packaging for future storage or transport.
4.2 Bit Installation
- Ensure the router is unplugged from the power source.
- Loosen the collet nut using the provided wrench.
- Insert the desired router bit into the collet, ensuring it is seated fully but not bottomed out.
- Tighten the collet nut firmly with the wrench. Do not overtighten.
4.3 Depth Adjustment
The router features a precise depth adjustment mechanism:
- Place the router on a flat surface with the desired bit installed.
- Loosen the depth lock knob.
- Lower the motor until the bit touches the surface.
- Adjust the depth fine-tuning knob or scale to achieve the desired cutting depth.
- Tighten the depth lock knob securely to prevent movement during operation.
4.4 Connecting to Power
Ensure the router's power switch is in the OFF position before plugging it into a suitable power outlet. The router operates on a corded electric power source.
5. Operating Instructions
5.1 Basic Operation
- Hold the router firmly with both hands on the handles.
- Ensure the workpiece is securely clamped.
- Press the lock-off switch (if present) and then the power switch to start the motor. Allow the motor to reach full speed before engaging the workpiece.
- Slowly lower the router bit into the workpiece, guiding the tool smoothly along the desired path.
- To stop, release the power switch. Wait for the bit to come to a complete stop before lifting the router from the workpiece.
5.2 Variable Speed Control
The router features variable speed settings to match the bit and material. Adjust the speed dial or control to the appropriate setting before starting the cut. Lower speeds are generally used for larger bits, harder materials, or when more control is needed. Higher speeds are suitable for smaller bits and softer materials.
5.3 Cutting Techniques
- Straight Cuts: Use a straight edge guide or fence to ensure accurate straight cuts.
- Guide Cutting: For curved or intricate cuts, use appropriate templates and guide bushings.
- Edge Profiling: For decorative edges, select the appropriate profiling bit and make multiple shallow passes if necessary.
6. Maintenance
Regular maintenance ensures the longevity and optimal performance of your router.
6.1 Cleaning
- Always unplug the tool before cleaning.
- Clean the router regularly with a soft, damp cloth. Do not use harsh chemicals or abrasive cleaners.
- Use compressed air to clear dust and debris from the motor vents and collet area.
6.2 Bit Care
- Keep router bits sharp and clean. Dull bits can cause kickback and poor cut quality.
- Store bits in a protective case to prevent damage to the cutting edges.
6.3 Storage
When not in use, store the router in a dry, secure place out of reach of children. Protect it from direct sunlight and extreme temperatures.
7. Troubleshooting
This section addresses common issues you might encounter with your router.
| Problem | Possible Cause | Solution |
|---|---|---|
| Router does not start | No power supply Power switch OFF Lock-off switch not engaged | Check power outlet and cord Turn power switch ON Engage lock-off switch before pressing power switch |
| Poor cut quality / Burning wood | Dull bit Incorrect feed rate Incorrect speed setting | Replace or sharpen bit Adjust feed rate (slower for harder materials) Adjust speed setting (lower for larger bits/harder materials) |
| Excessive vibration | Loose bit Damaged bit Motor imbalance | Ensure bit is securely tightened Replace damaged bit Contact customer support if motor imbalance persists |
| Depth adjustment slips | Depth lock knob not tightened Debris in mechanism | Tighten depth lock knob firmly Clean depth adjustment mechanism |
If you encounter problems not listed here or if solutions do not resolve the issue, please contact TOTAL customer support.
8. Specifications
Key technical specifications for the TOTAL TR111226 Router:
| Feature | Specification |
|---|---|
| Model Number | TR111226 |
| Power Source | Corded Electric |
| Power Input | 2200W |
| Collet Size | 12mm |
| Item Weight | 4 kg (8.818 pounds) |
| Product Dimensions | 10 x 20 x 37 cm |
| Base Type | Fixed |
| Material | Plastic, Wood |
| Horsepower | 3 hp |
9. Warranty and Support
TOTAL products are manufactured to high-quality standards. For information regarding the standard product warranty, please refer to the warranty card included with your purchase or visit the official TOTAL website. Extended warranty options may also be available from third-party providers.
For technical support, spare parts, or service inquiries, please contact TOTAL customer service through their official channels. Always provide your product model number (TR111226) and serial number when seeking support.


