1. Product Overview
The NZXT H1 Version 2 is a compact vertical chassis designed for Mini-ITX systems. It features a dual-chamber airflow design for efficient cooling of both the CPU and GPU. This case integrates a 140mm All-in-One (AIO) liquid cooler, an SFX 750W 80+ Gold Power Supply Unit (PSU), and a PCIe Gen4 Riser card for vertical GPU mounting, simplifying the build process.

Image 1.1: Front-side view of the NZXT H1 Version 2 ITX Case in black.
Key Features:
- Compact Vertical Design: Occupies minimal desk space while supporting full-sized GPUs.
- Streamlined Building: Features toolless SSD trays, pre-routed cable channels, and a motherboard I/O facing downwards for clean cable management.
- Integrated Components: Includes a pre-installed 140mm AIO liquid cooler, an SFX 750W 80+ Gold PSU, and a PCIe Gen4 Riser card.
- Efficient Dual-Chamber Airflow: Dedicated air sources for CPU and GPU ensure optimal thermal performance.
- Version 2 Enhancements: Increased chassis size for larger GPU compatibility, upgraded PSU wattage, an added fan controller, and a PCIe Gen4 Riser.
2. Package Contents
The NZXT H1 Version 2 case comes with several pre-installed and included components to facilitate system assembly:
- NZXT H1 Version 2 ITX Case Chassis
- Integrated 140mm All-in-One (AIO) Liquid Cooler
- Integrated SFX 750W 80+ Gold Power Supply Unit (PSU)
- Integrated PCIe Gen4 Riser Card
- Accessory Box (containing screws, zip ties, and additional cables)

Image 2.1: Exploded view showing the main components of the NZXT H1 Version 2 case, including the chassis, PSU, AIO cooler, and panels.
3. Setup and Installation Guide
Follow these steps to assemble your system within the NZXT H1 Version 2 case. Ensure your system components are compatible with the Mini-ITX form factor.
3.1 Accessing the Interior
- Carefully remove the top panel by gently pulling it upwards.
- Remove the front tempered glass panel by pulling it away from the chassis. It is held by magnets.
- Remove the side perforated panels by sliding them upwards and then pulling them away.
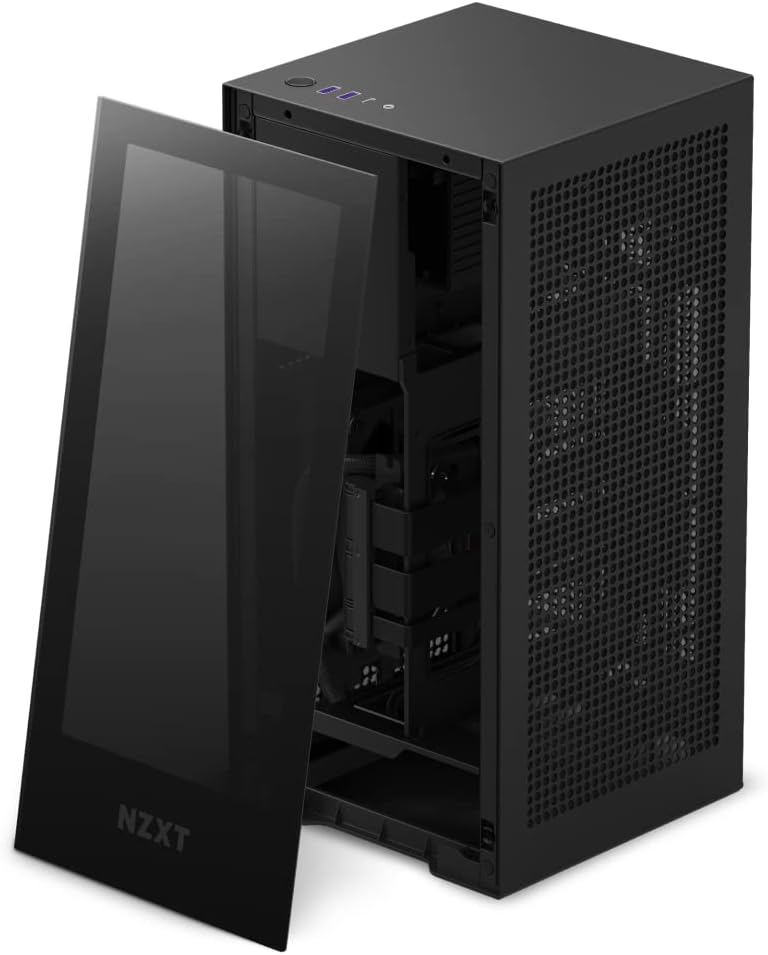
Image 3.1: The NZXT H1 Version 2 with the tempered glass front panel detached, revealing the interior.
3.2 Motherboard Installation
- Locate the motherboard tray. The I/O shield area faces downwards.
- Install your Mini-ITX motherboard onto the standoffs. Secure it with the provided screws.
- Connect the CPU power cable and 24-pin ATX power cable from the integrated PSU to the motherboard.
- Connect the pre-installed AIO liquid cooler's pump and fan cables to the appropriate headers on your motherboard.
3.3 GPU Installation
- The case includes a pre-installed PCIe Gen4 Riser card for vertical GPU mounting.
- Carefully insert your graphics card into the riser card's PCIe slot.
- Secure the graphics card to the chassis using the retention mechanism or screws.
- Connect the necessary PCIe power cables from the integrated PSU to your graphics card.
3.4 Storage Installation
- Locate the toolless SSD trays within the chassis.
- Mount your 2.5-inch SSDs into these trays.
- Connect SATA data and power cables from the PSU to your SSDs.
3.5 Cable Management
The H1 Version 2 features pre-routed cable channels. Utilize these channels and the included zip ties to organize any additional cables, ensuring optimal airflow and a clean interior.
3.6 Reassembling the Case
- Once all components are installed and cables are managed, reattach the side perforated panels.
- Reattach the front tempered glass panel.
- Place the top panel back onto the chassis.
4. Operating Instructions
4.1 Powering On/Off
- Connect the power cable to the PSU input at the bottom rear of the case and to a wall outlet.
- Press the power button located on the top panel of the case to turn your system on or off.

Image 4.1: Top view of the NZXT H1 Version 2, highlighting the power button and front I/O ports.
4.2 Front I/O Ports
The top panel provides convenient access to:
- USB 3.0 Type-A Ports (x2)
- USB 3.0 Type-C Port (x1)
- 3.5mm Audio Jack (x1)
4.3 Airflow Considerations
The H1 Version 2 utilizes a dual-chamber airflow design. Ensure the perforated side panels are unobstructed to allow for proper air intake and exhaust, maintaining optimal component temperatures.

Image 4.2: Diagram showing the dual-chamber airflow path within the NZXT H1 Version 2 case, with cool air intake and hot air exhaust.
5. Maintenance
5.1 Cleaning Dust Filters
The H1 Version 2 includes magnetic dust filters on the perforated panels. Regularly remove and clean these filters to prevent dust buildup and maintain optimal airflow. Use compressed air or a soft brush to remove accumulated dust.
5.2 Exterior Cleaning
Wipe the exterior surfaces of the case with a soft, damp cloth. Avoid using harsh chemicals or abrasive materials that could damage the finish or tempered glass panel.
6. Troubleshooting
6.1 System Not Powering On
- Ensure the power cable is securely connected to both the case PSU and the wall outlet.
- Verify that the 24-pin ATX and CPU power cables are correctly seated on the motherboard.
- Check the front panel power button connection to the motherboard.
6.2 High Component Temperatures
- Confirm that all case fans and the AIO cooler fan are spinning correctly.
- Ensure dust filters are clean and not obstructing airflow.
- Verify that the AIO pump is functioning and making proper contact with the CPU.
- Check for proper cable management to avoid airflow blockages.
6.3 Graphics Card Not Displaying Output
- Ensure the graphics card is fully seated in the PCIe Gen4 Riser card.
- Verify that all necessary PCIe power cables are connected to the graphics card.
- Confirm that your monitor is connected to the graphics card's output, not the motherboard's integrated graphics.
- Check for GPU compatibility with the case's dimensions, especially width (maximum 58mm).
7. Technical Specifications
| Feature | Specification |
|---|---|
| Model Name | NZXT H1 Version 2 |
| Item Model Number | CS-H11BB-US |
| Motherboard Compatibility | Mini ITX |
| Case Type | Integrated |
| Color | Black |
| Material | Tempered Glass |
| Cooling Method | Water (140mm AIO Liquid Cooler) |
| Power Supply | SFX 750W 80+ Gold PSU (Integrated) |
| PCIe Riser | PCIe Gen4 (Integrated) |
| Front I/O Ports | 2x USB 3.0, 1x USB-C, 1x Audio Jack |
| Item Weight | 17.25 pounds (approx. 7.82 kg) |
| Product Dimensions (LxWxH) | 7.7 x 7.7 x 15.9 inches (approx. 19.5 x 19.5 x 40.4 cm) |
| Max GPU Length | 324mm (12.75 inches) |
| Max GPU Width | 58mm (2.28 inches) |

Image 7.1: Diagram showing the dimensions of the NZXT H1 Version 2 case: 7.7 inches (width) x 7.7 inches (depth) x 15.9 inches (height).
8. Warranty and Support
NZXT products are covered by a manufacturer's warranty. For detailed information regarding warranty terms, conditions, and duration, please refer to the official NZXT website or the warranty card included with your product.
For technical support, troubleshooting assistance, or to contact customer service, please visit the official NZXT support portal:


